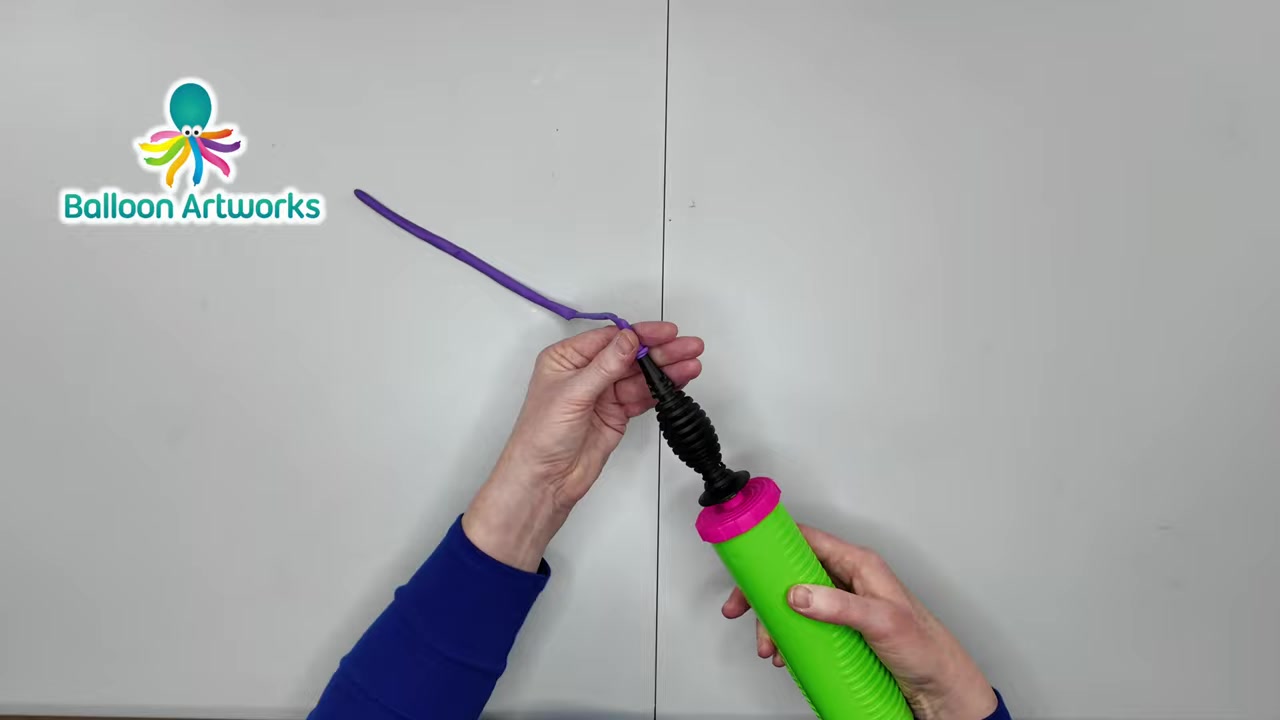
01 Inflate and Tie the Balloon
00:00 - 00:21Use the pump to inflate the 260 balloon, leaving about 3 to 4 inches uninflated at the tail. Burp the balloon slightly to soften the pressure, then tie a secure knot.
A party-ready balloon dog you can finish in about 3 and a half minutes with simple twists and zero guesswork.
Use the pump to inflate the 260 balloon, leaving about 3 to 4 inches uninflated at the tail. Burp the balloon slightly to soften the pressure, then tie a secure knot.
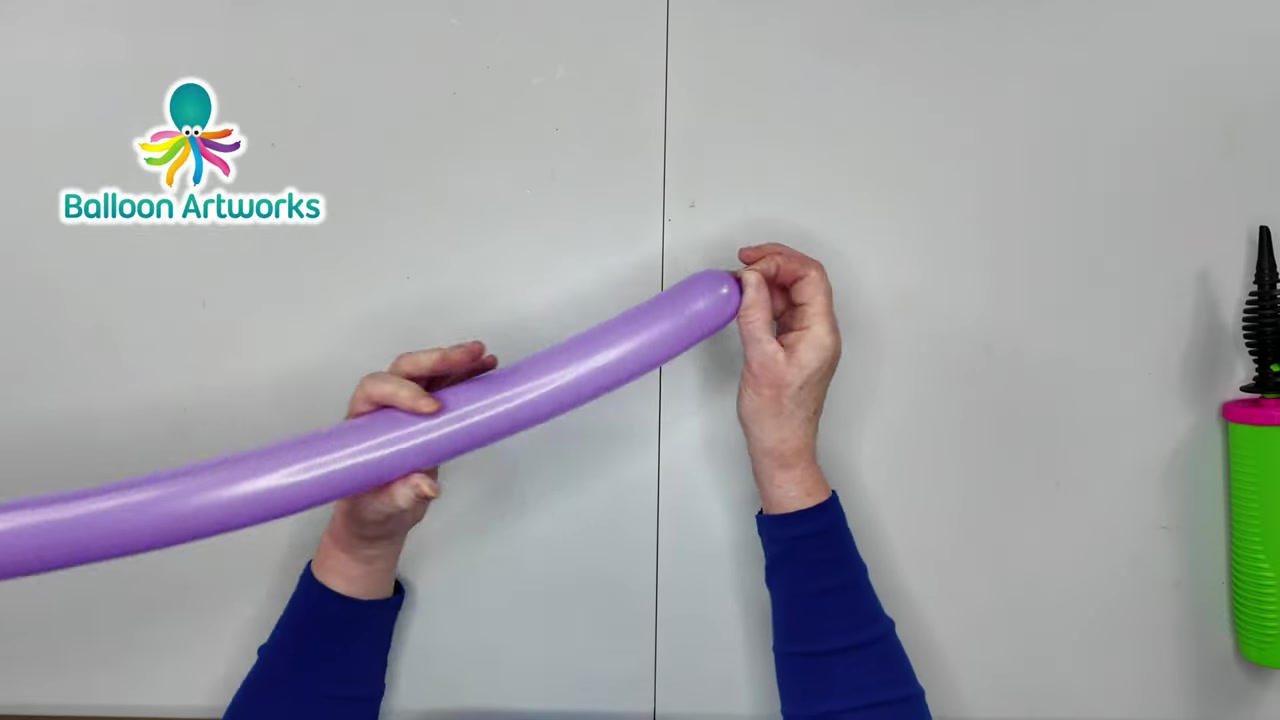
Make a 3-inch bubble for the snout, then twist two equal 3.5-inch bubbles for the ears. Fold the ear bubbles together and lock-twist them at the base to form the head.
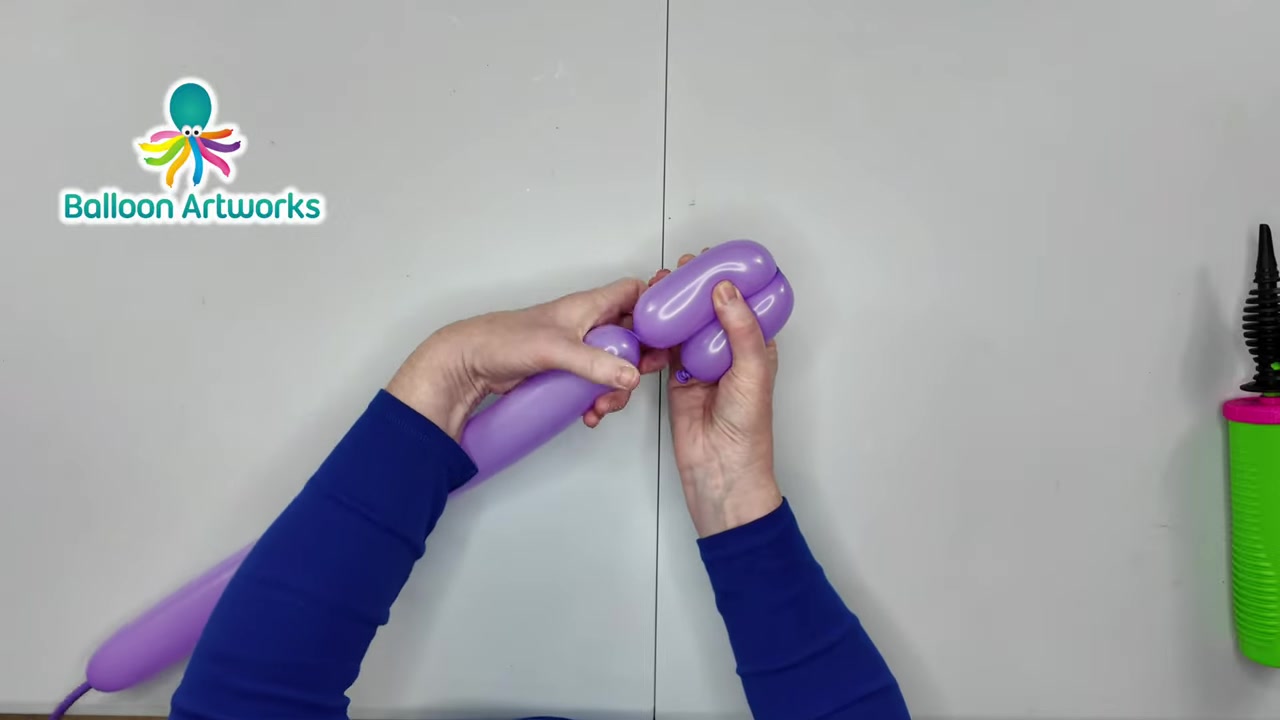
Twist a 2-inch neck bubble, then make two equal 3.5-inch front leg bubbles. Fold the leg bubbles down and lock-twist them together right below the neck.
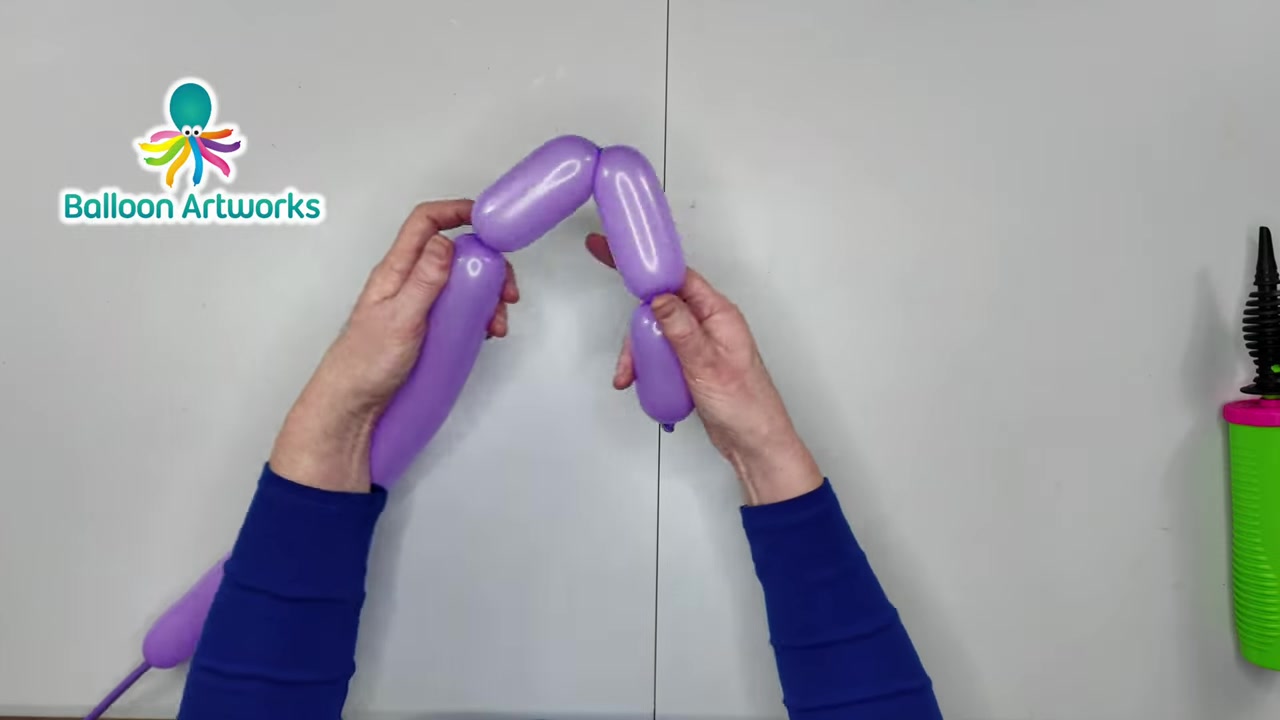
Gently squeeze and massage the remaining balloon length so the air spreads evenly toward the tail. This keeps the balloon flexible and helps the head structure stay clean and balanced.
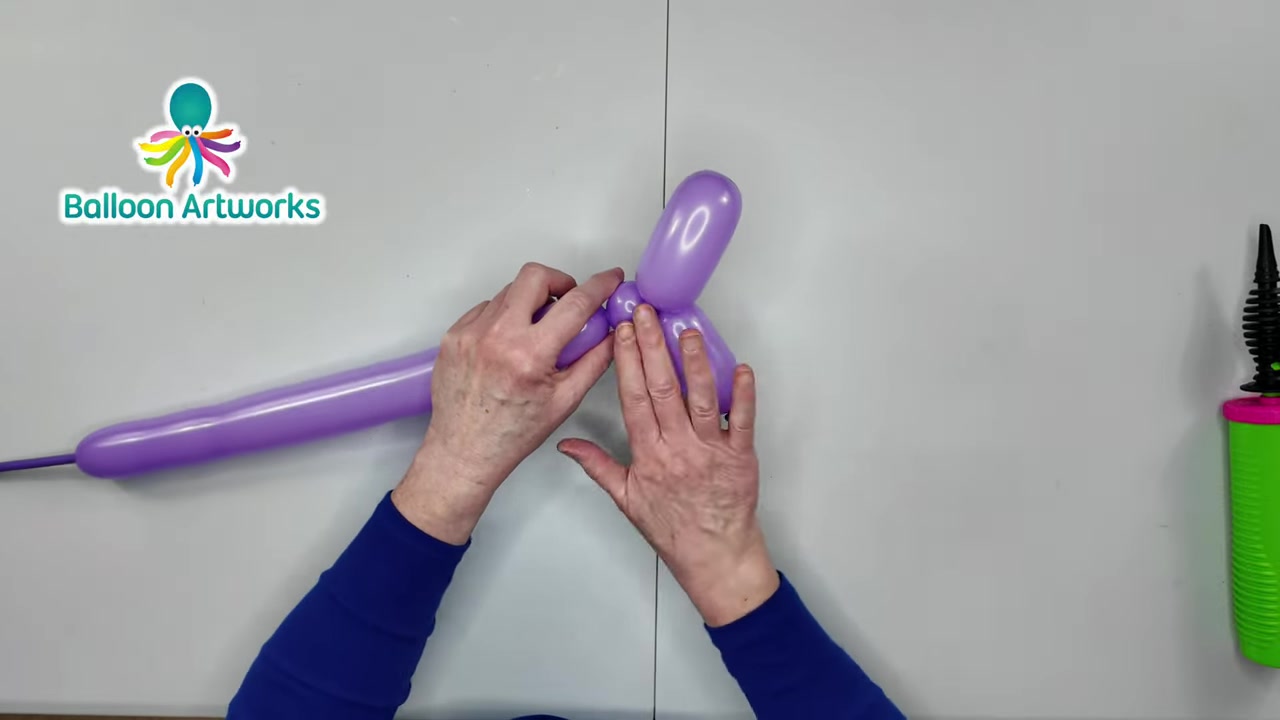
Twist a 3.5-inch body segment, then make two equal 3.5-inch leg bubbles along the torso line. Keep the sizes even so the dog stands more steadily.
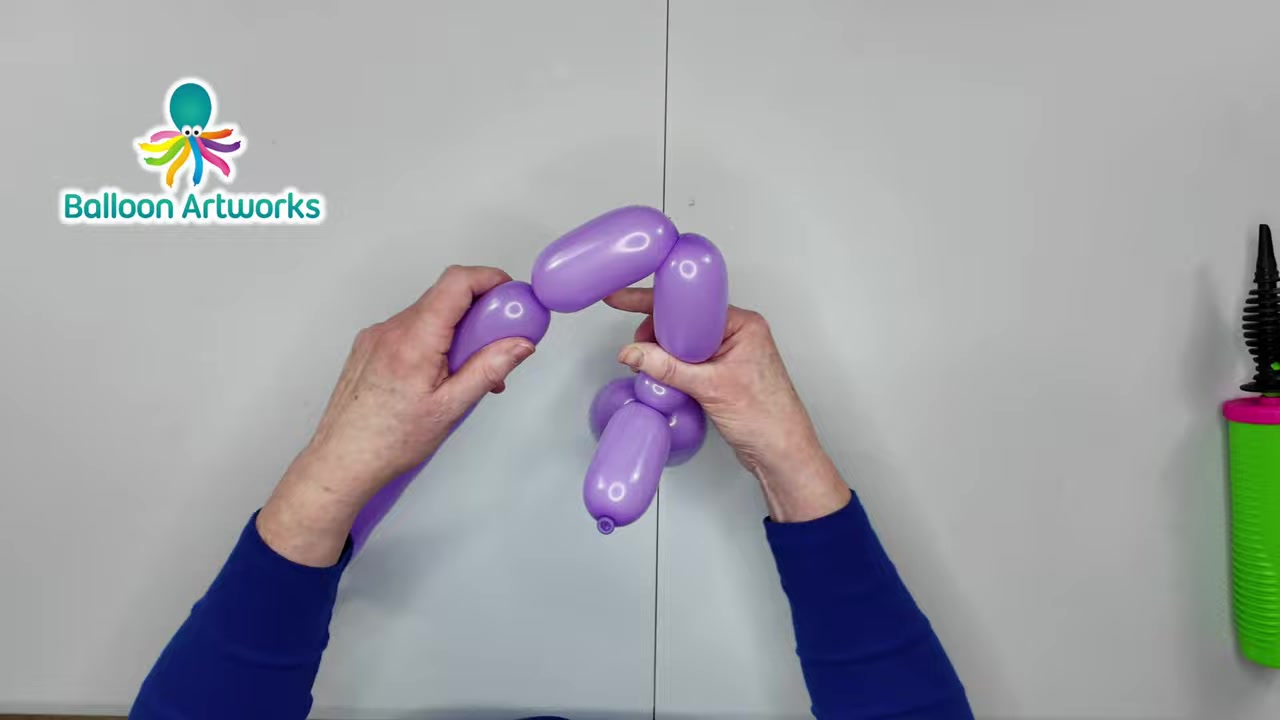
Fold the two newly twisted leg bubbles side by side and lock-twist them securely at the body junction. Tighten the twist so the middle section holds its shape.
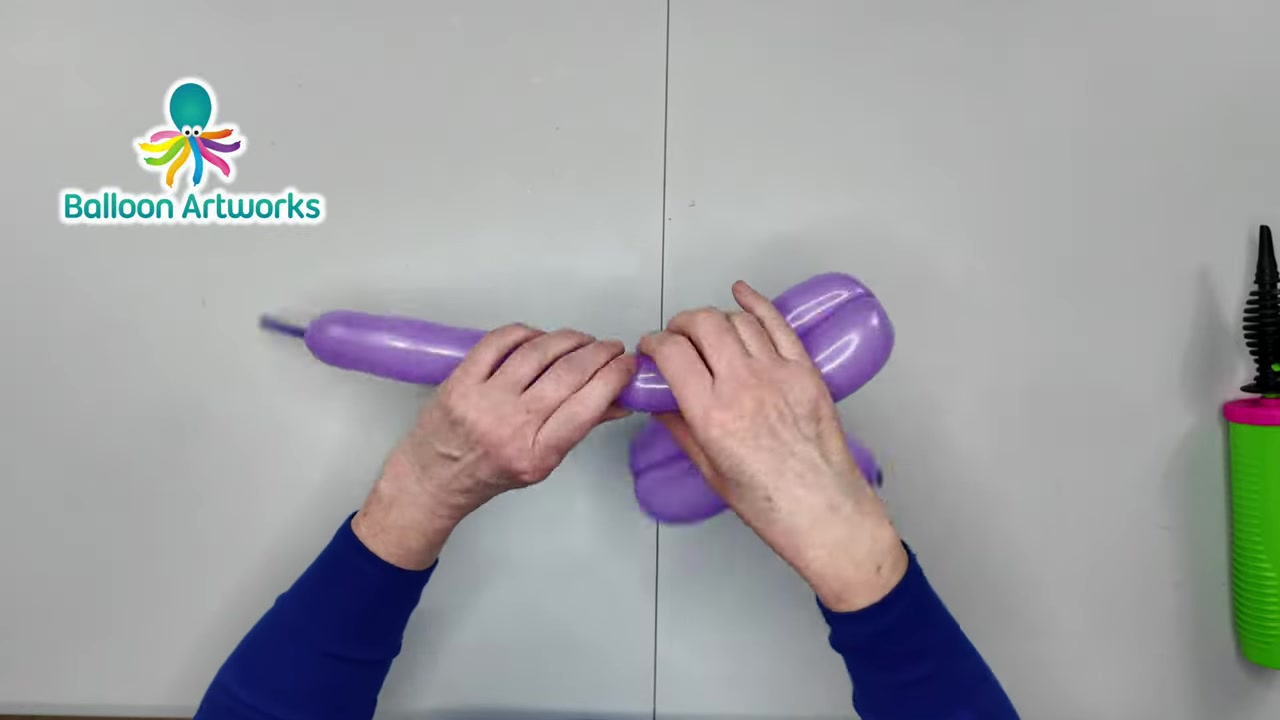
Twist one more body segment, then make two hind leg bubbles. Fold the hind leg pair together and lock-twist them to finish the long dog frame.
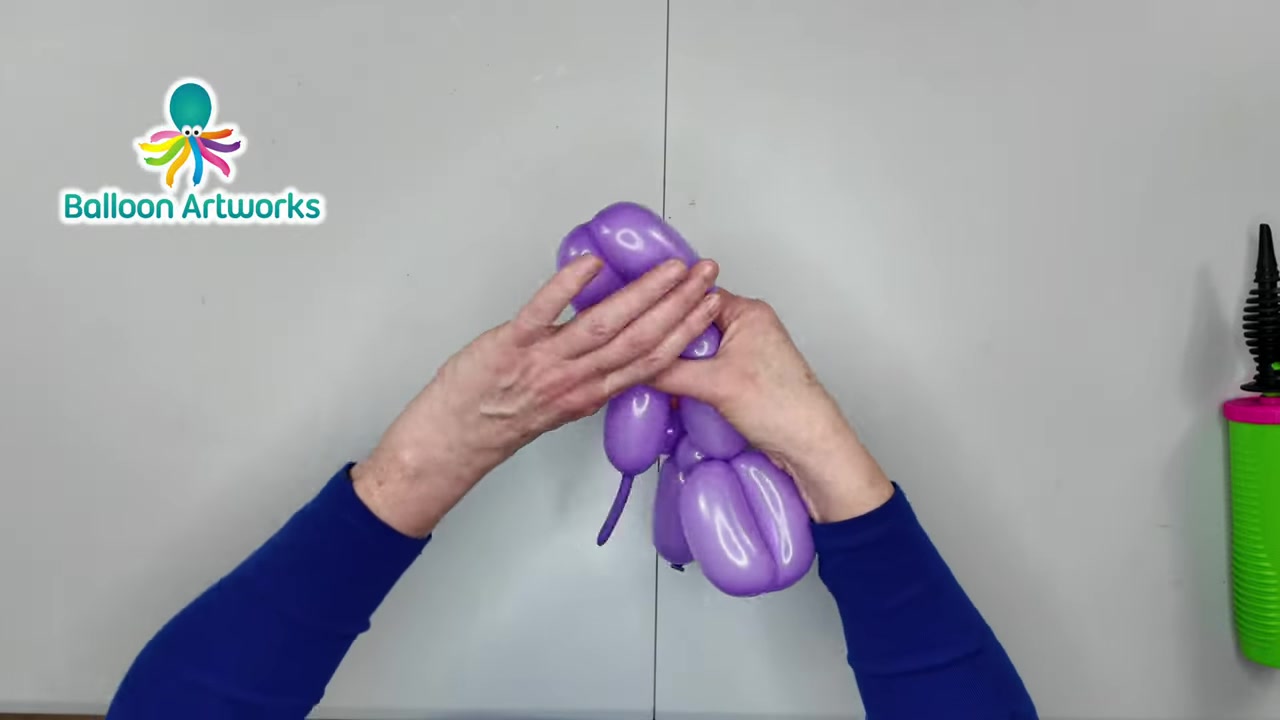
Arrange the front, middle, and back legs so the balloon dog stands as evenly as possible. Leave the narrow tail tip uninflated and ready for the final finish.
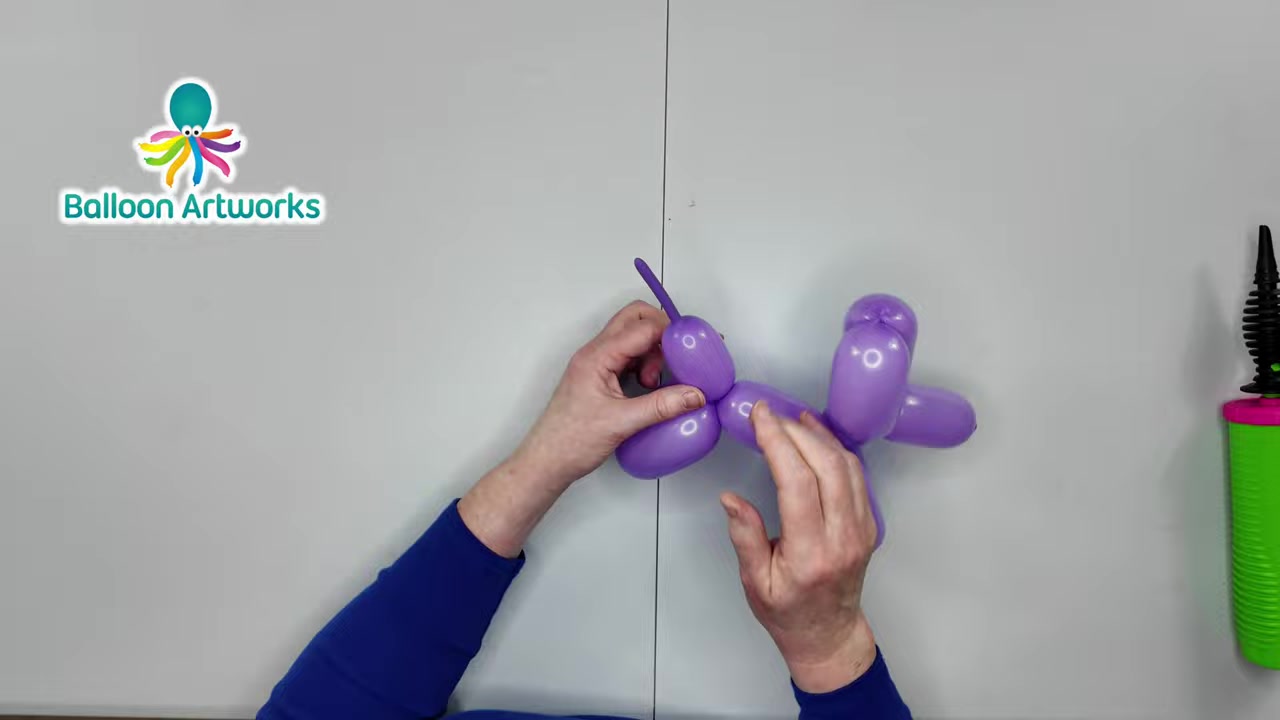
Squeeze the inflated base of the tail to push air into the tip and create a round pom-pom end. Give the sculpture one last look and present the finished balloon dog.
Real-world answers for busy mornings, active recess hold, and tear-free removal.
With a properly inflated 260Q balloon and gentle handling, it can last for hours and often through the whole party. Keep it away from sharp edges, hot cars, and rough squeezing.
Stop and burp a little more air out before continuing. A slightly softer balloon twists more cleanly and is much less likely to pop.
A 260Q modeling balloon is the best choice because it has the right length and stretch for the head, legs, and tail. Shorter balloons usually won’t leave enough room for the full dog shape.
Gently untwist and re-balance the bubble sizes before locking them again. Matching the bubble lengths on both sides is the fastest way to get a cleaner, more stable dog.
 Level 2: Handy Dad
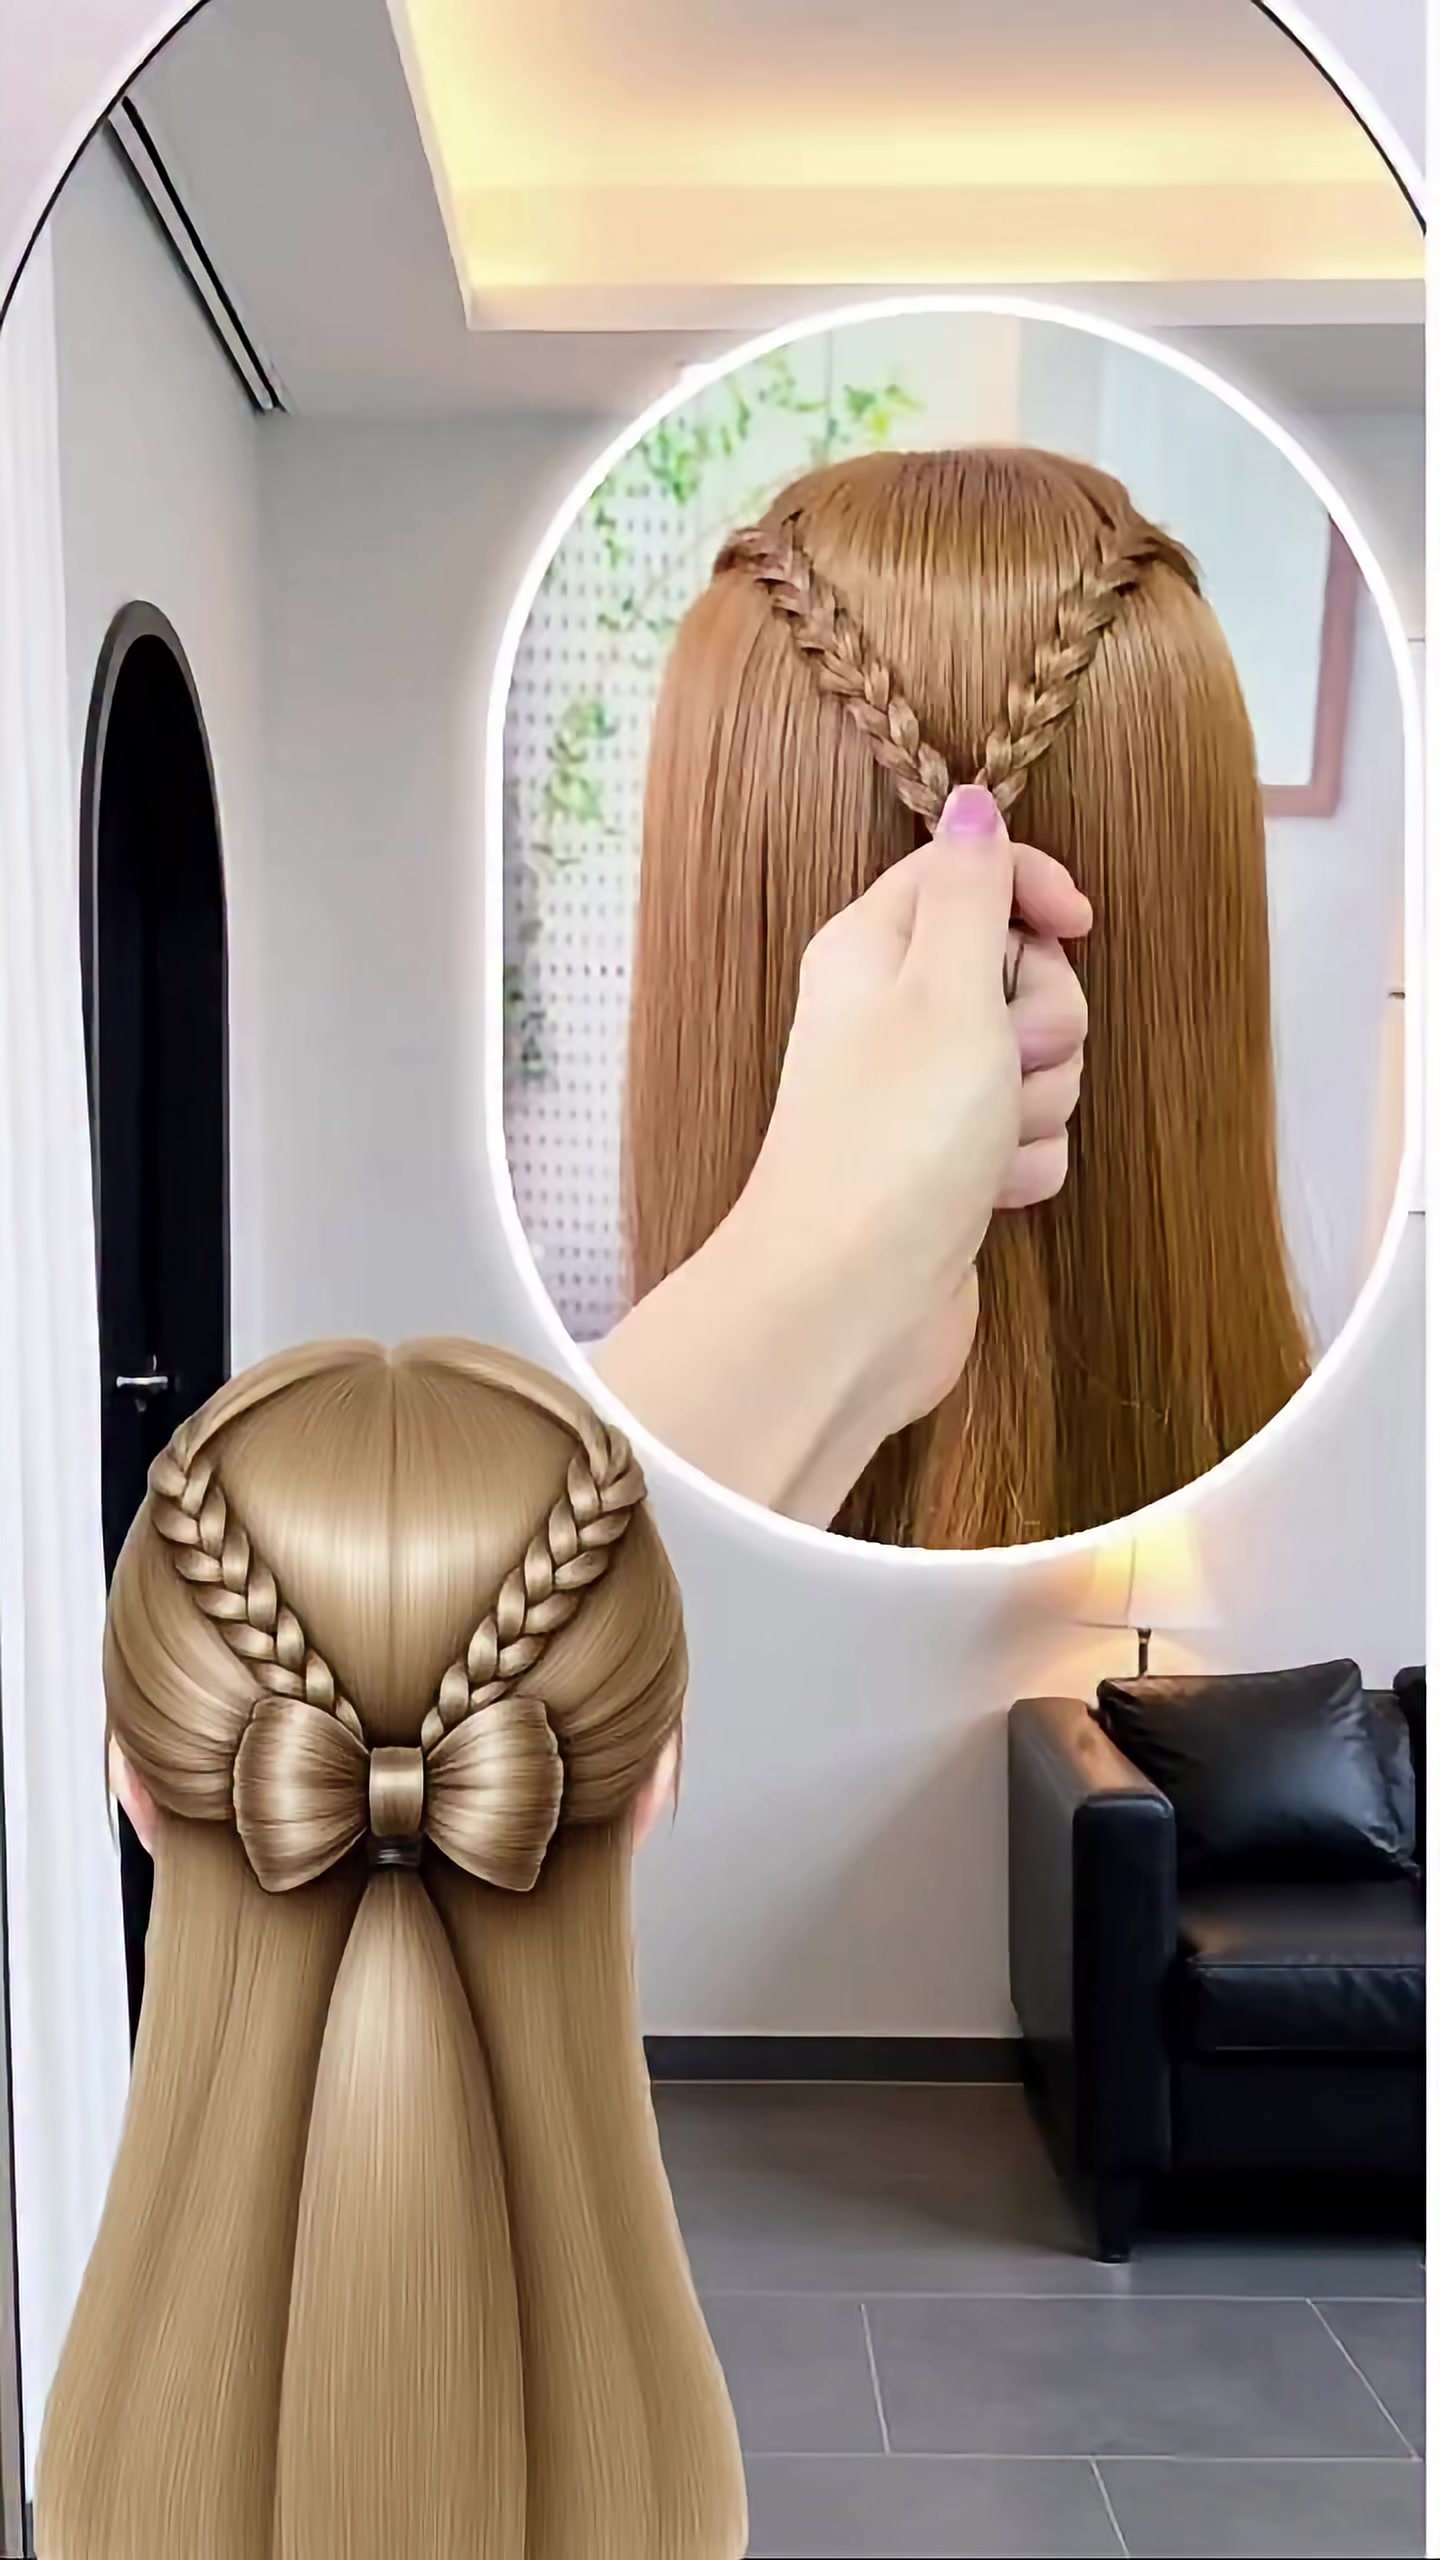
How to Do a Half-Up Hair Bow: Cute and Easy Princess Hairstyle
Turn a simple half-up ponytail into a show-stopping bow that stays neat all day.
Wide-tooth detangling comb
 Level 2: Handy Dad
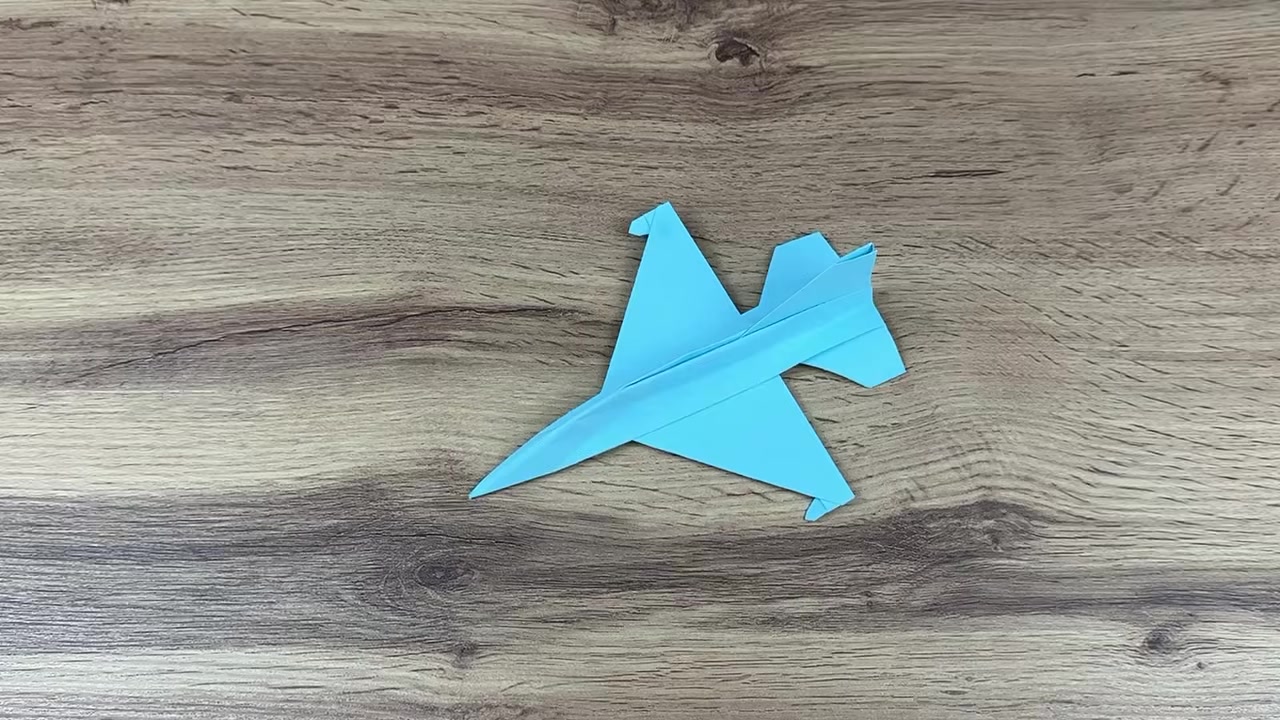
How to Fold an Origami Jet Fighter That Flies Cleanly
A sharp, balanced jet fighter that looks clean and folds fast with one strong center line.
1 A4 sheet of paper
 Level 2: Handy Dad
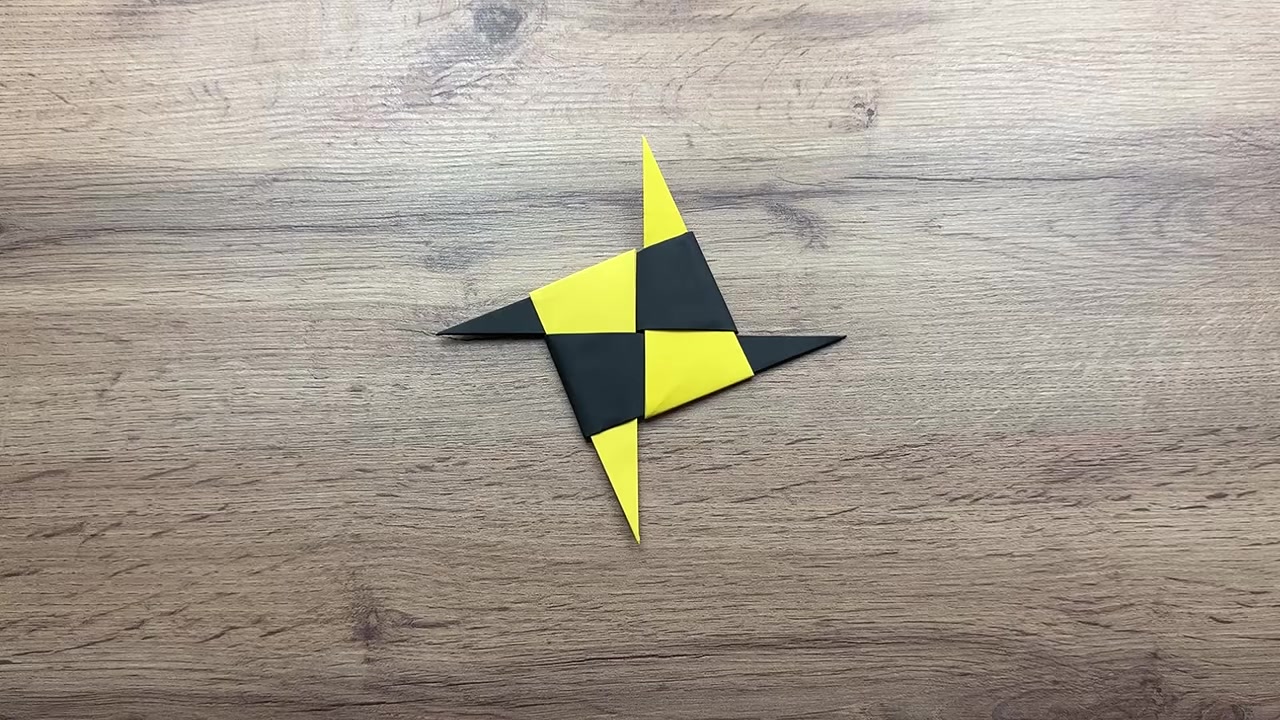
How to Make an Origami Ninja Star: Easy Step-by-Step for Kids
A classic 4-point paper ninja star folded from simple square sheets and locked together for a sharp, satisfying finish.
4 sheets of square origami paper (two colors recommended)
 Level 2: Handy Dad
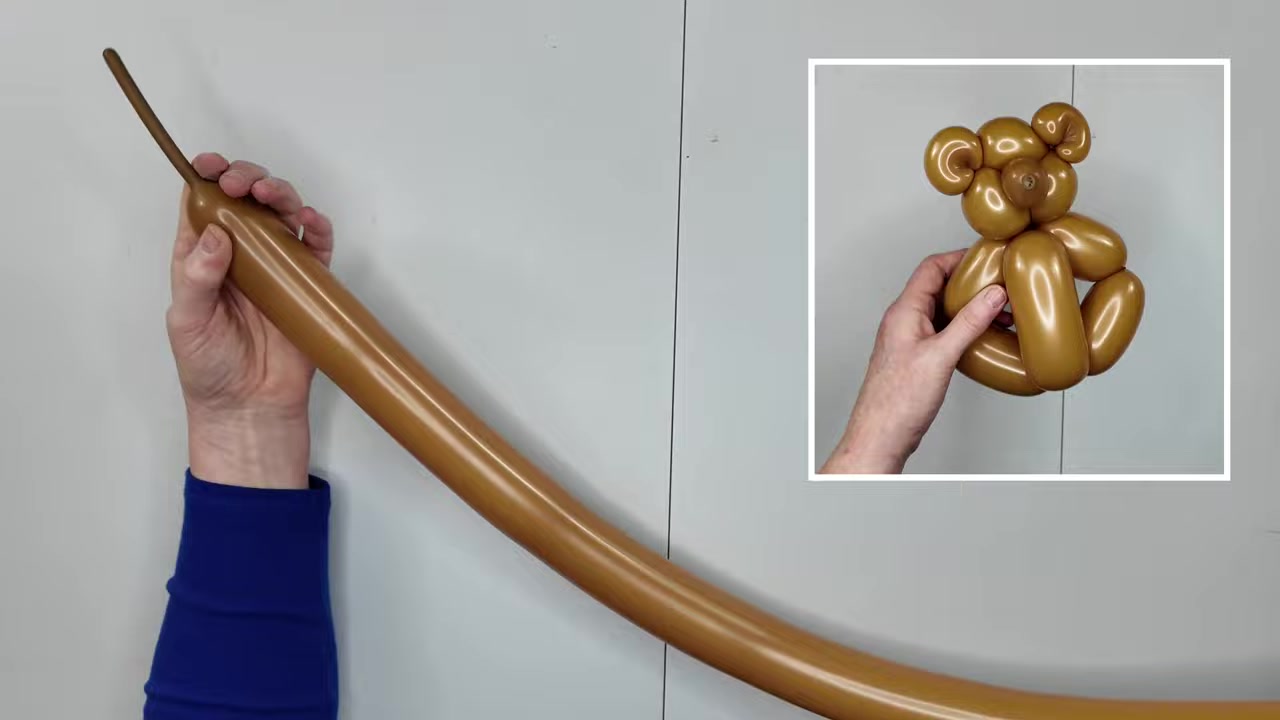
How to Make a One-Balloon Teddy Bear for Kids
A cute teddy bear from one balloon, with the twists locked so it holds its shape.
1 x 260Q balloon