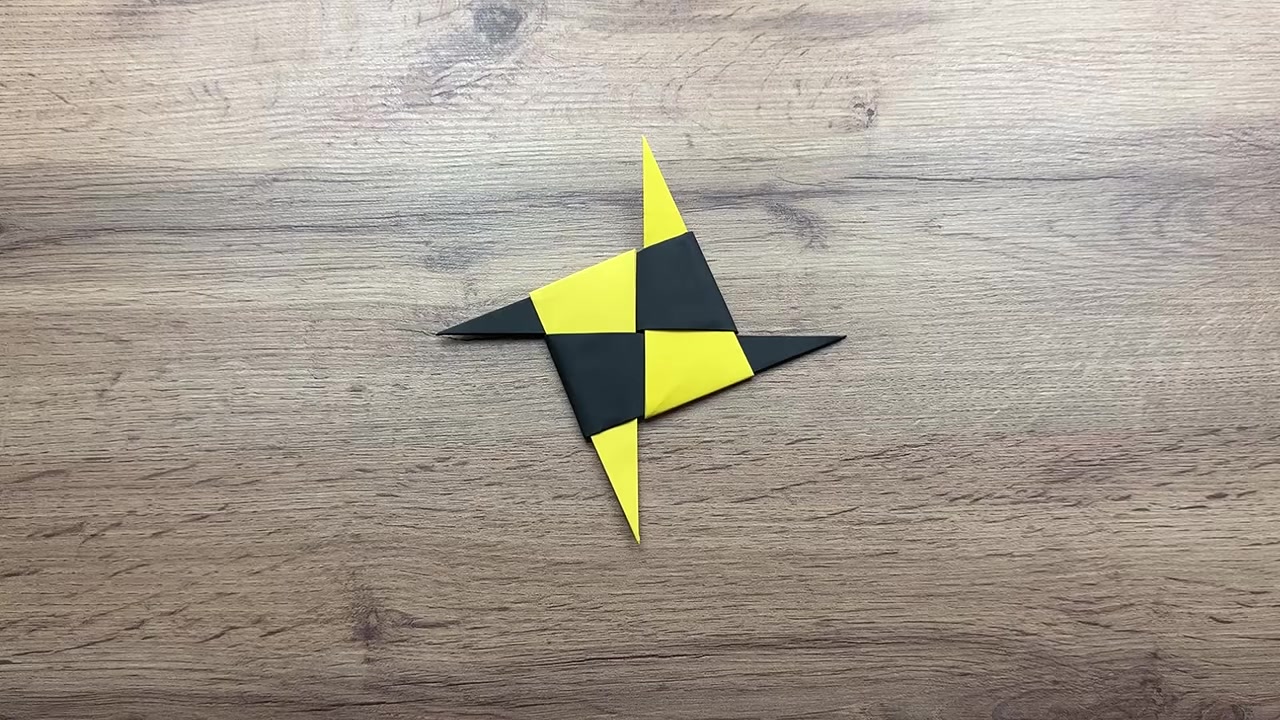
01 Show the Finished Ninja Star
00:00 - 00:05Hold up the completed star first so your kid knows the goal. Point out the 4 points and the two-color pattern before you start folding.
A classic 4-point paper ninja star folded from simple square sheets and locked together for a sharp, satisfying finish.
Hold up the completed star first so your kid knows the goal. Point out the 4 points and the two-color pattern before you start folding.
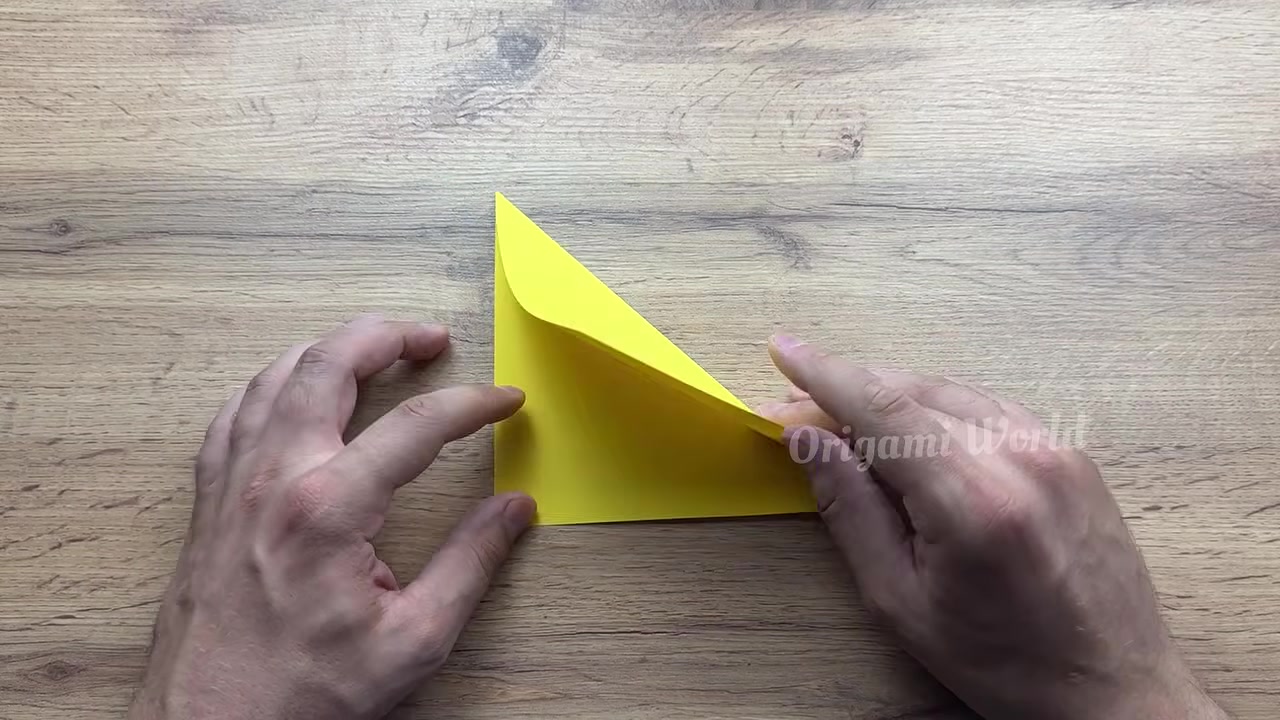
Place one square sheet flat on the table. Fold it corner-to-corner on the diagonal, press the crease firmly, then open it back up to leave a clear center guide line.
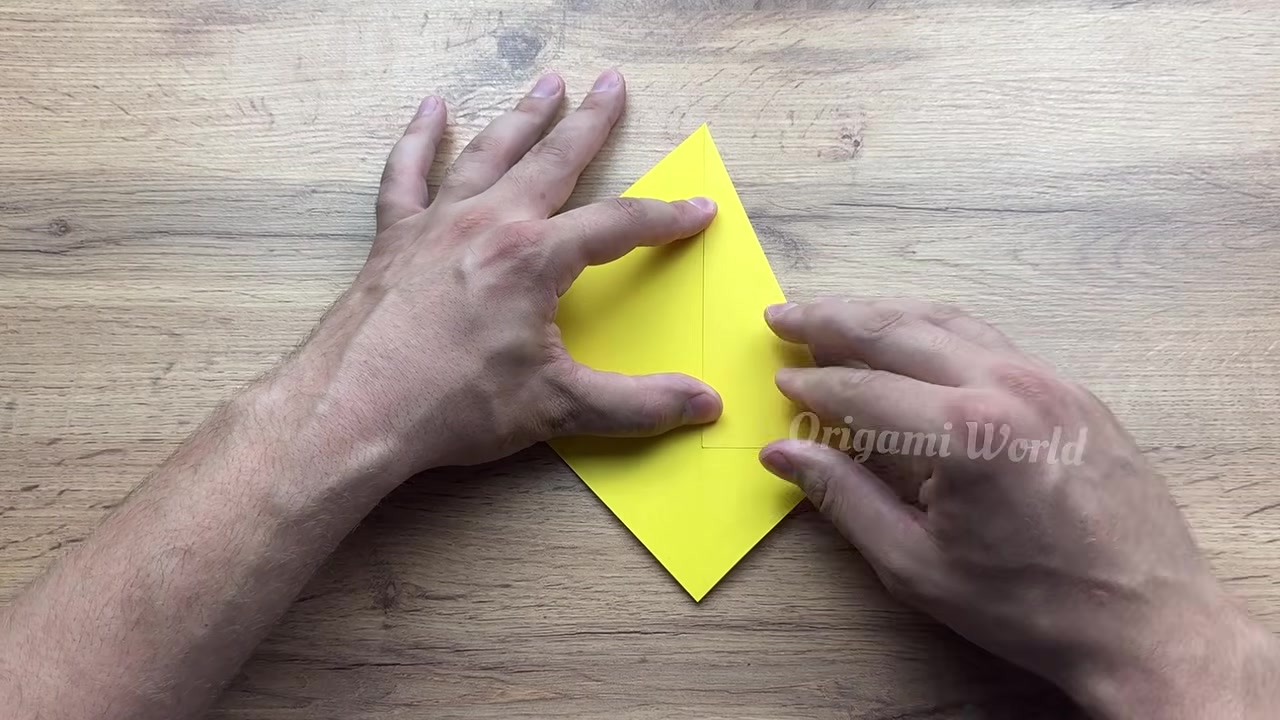
Bring the two upper side edges inward so they meet neatly along the diagonal center line. Keep both sides even to form a clean kite shape.
Fold the top flaps inward again along the center line. This tightens the top into a sharper, slimmer point, so press the crease hard.
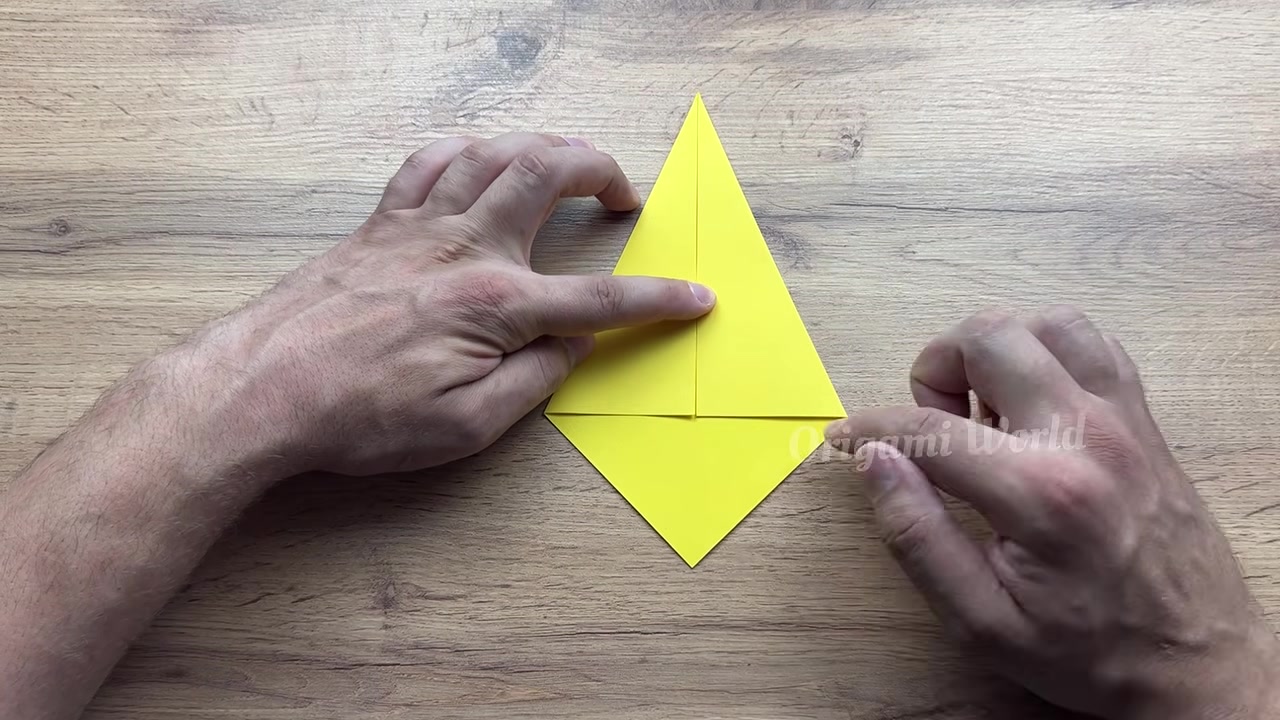
Fold the remaining lower outer edges inward toward the center crease. You should end up with a long, symmetrical diamond shape with clean, straight sides.
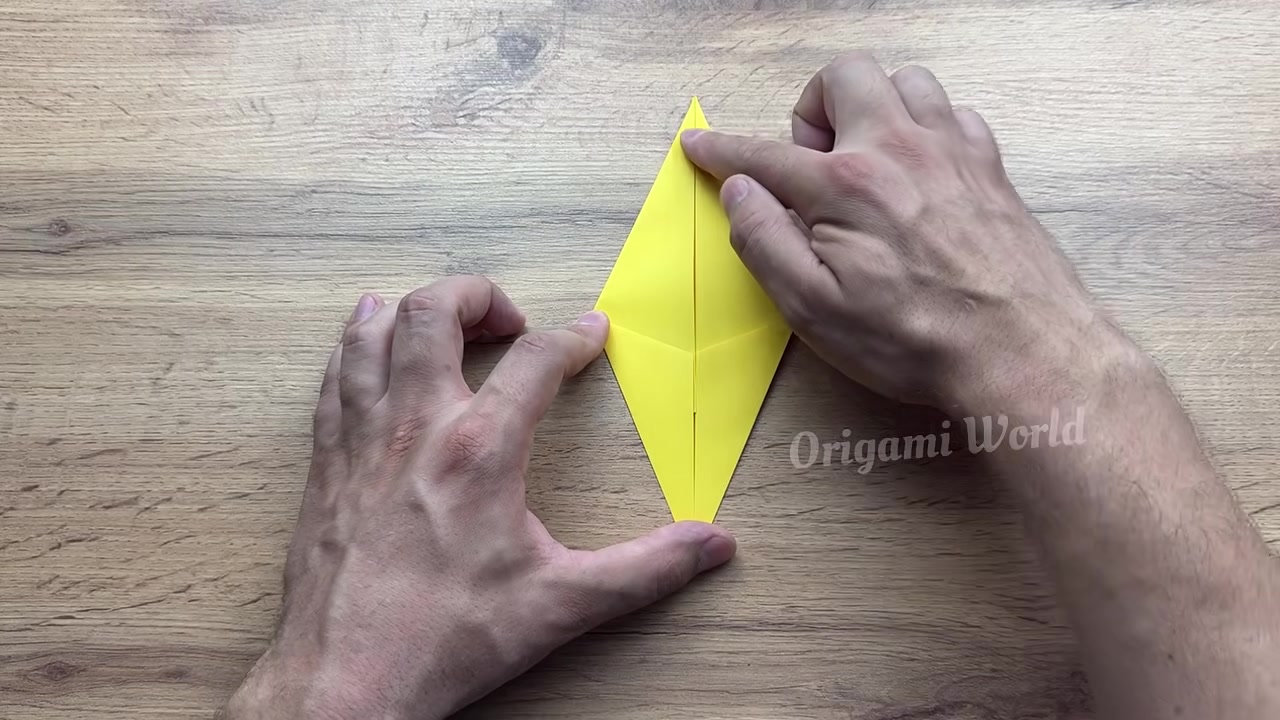
Fold the full diamond lengthwise along the original center crease. Flatten it into a narrow triangular module, making sure the edges stay aligned.
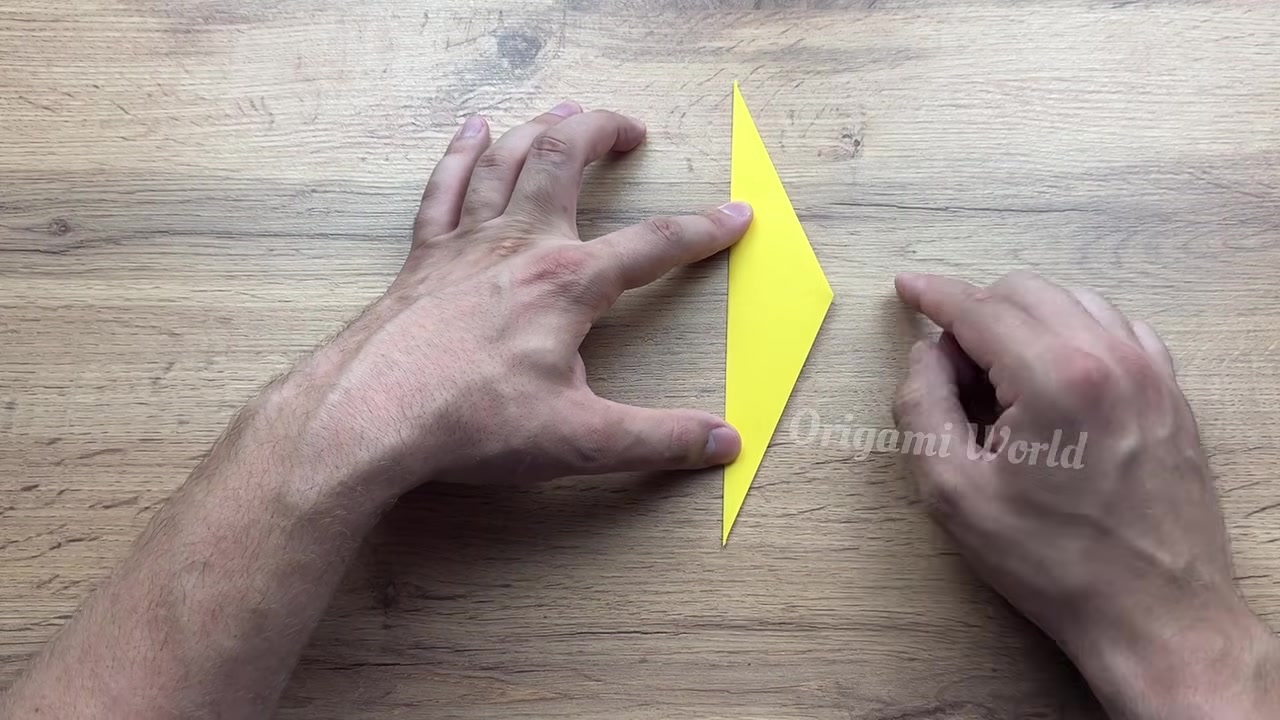
Bend the module across the middle at a slight angle to form one blade unit. Leave the pocket opening accessible, because that’s where the next piece will lock in.
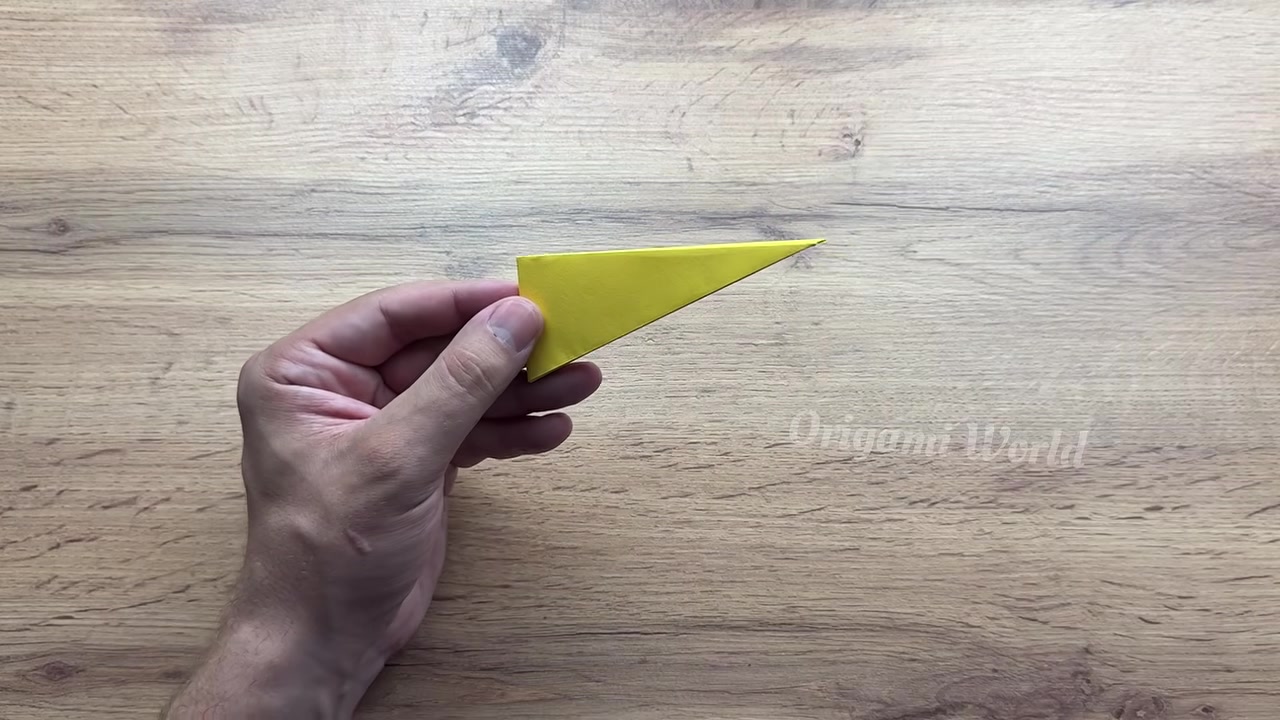
Take a second prepared module and slide its pointed tip into the pocket of the first module. Push it in fully so the connection sits snug and flat.
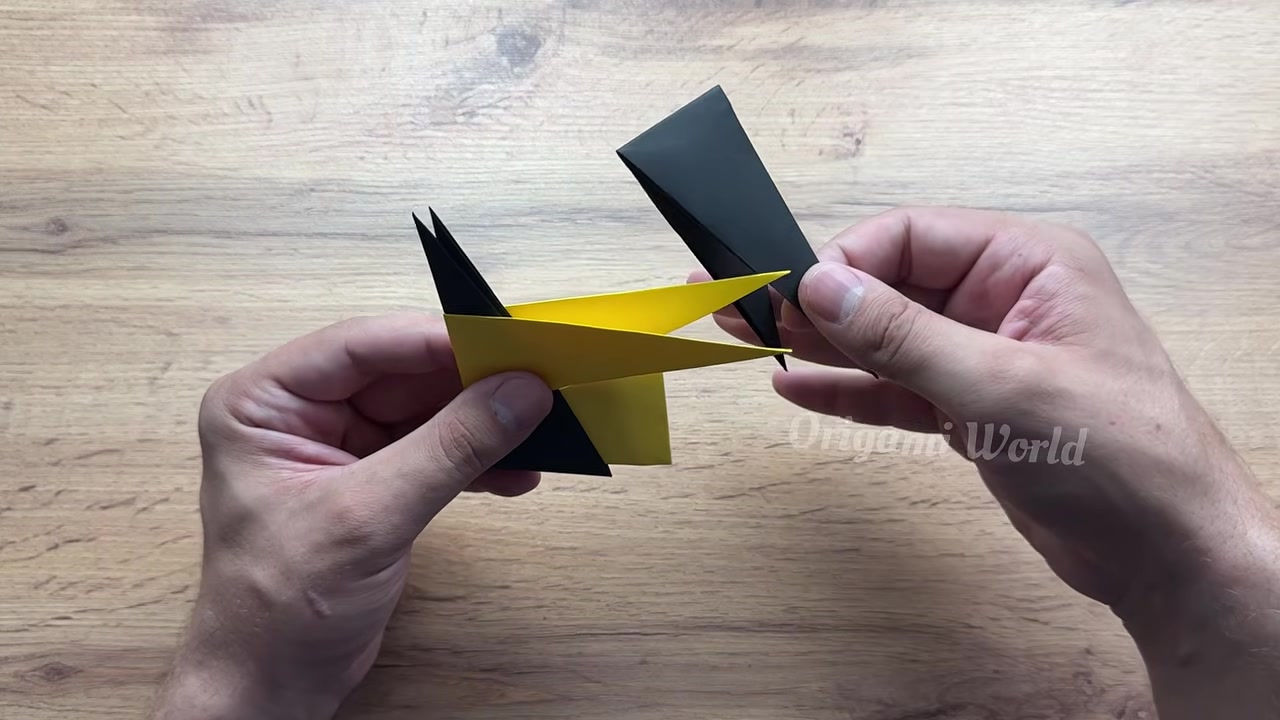
Attach the third and fourth modules one at a time, alternating the colors as you go. Tuck each flap into the next pocket until the square center is fully woven together.
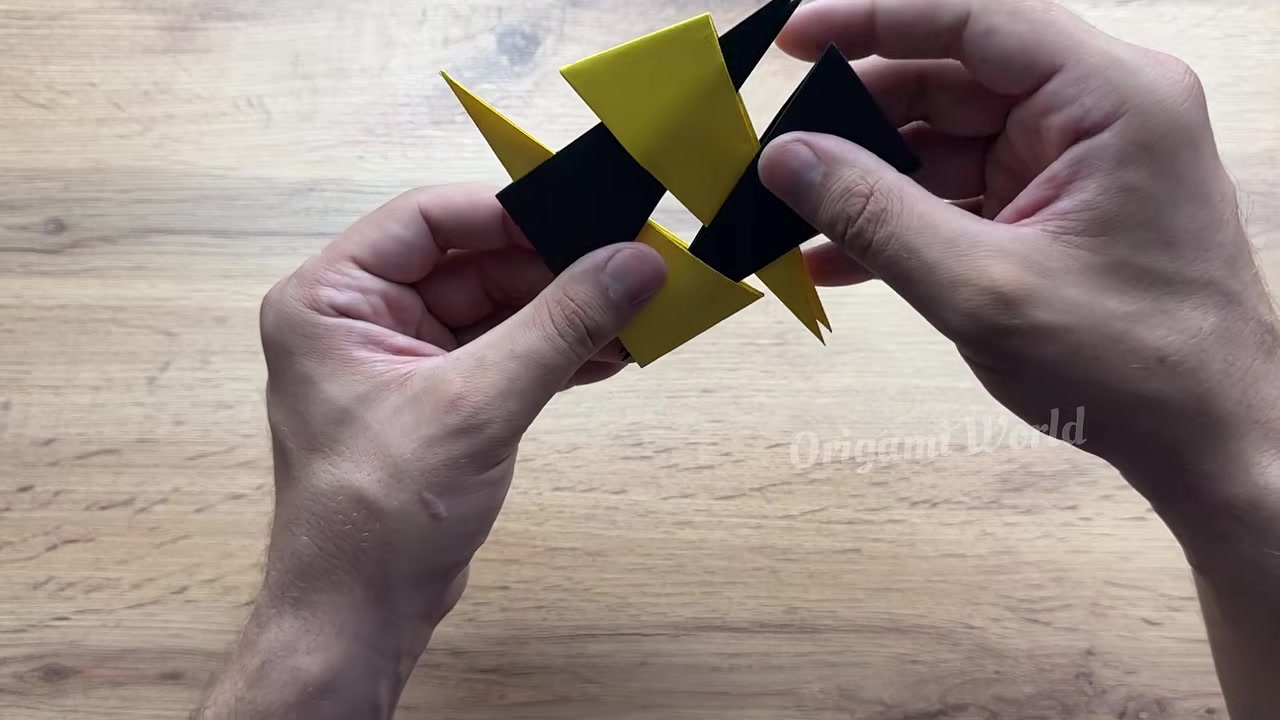
Press every joint flat, check that the points are even, and adjust the shape until it looks balanced. Show off the finished ninja star and give it a gentle spin or toss for the reveal.
Real-world answers for busy mornings, active recess hold, and tear-free removal.
You need 4 square sheets total. Using two colors makes the final star easier to see and gives it that classic two-tone look.
Usually the pocket is too tight or the tip isn’t fully inserted. Reopen the fold slightly, slide the tip in deeper, and press the center flat again.
Older kids usually can, but the first few folds and the final interlocking step are easier with a dad nearby. Once the pattern clicks, the rest goes fast.
Make sure each module is folded the same way and press the center square flat before adjusting the points. Small alignment fixes at the end make a big difference.
 Level 2: Handy Dad
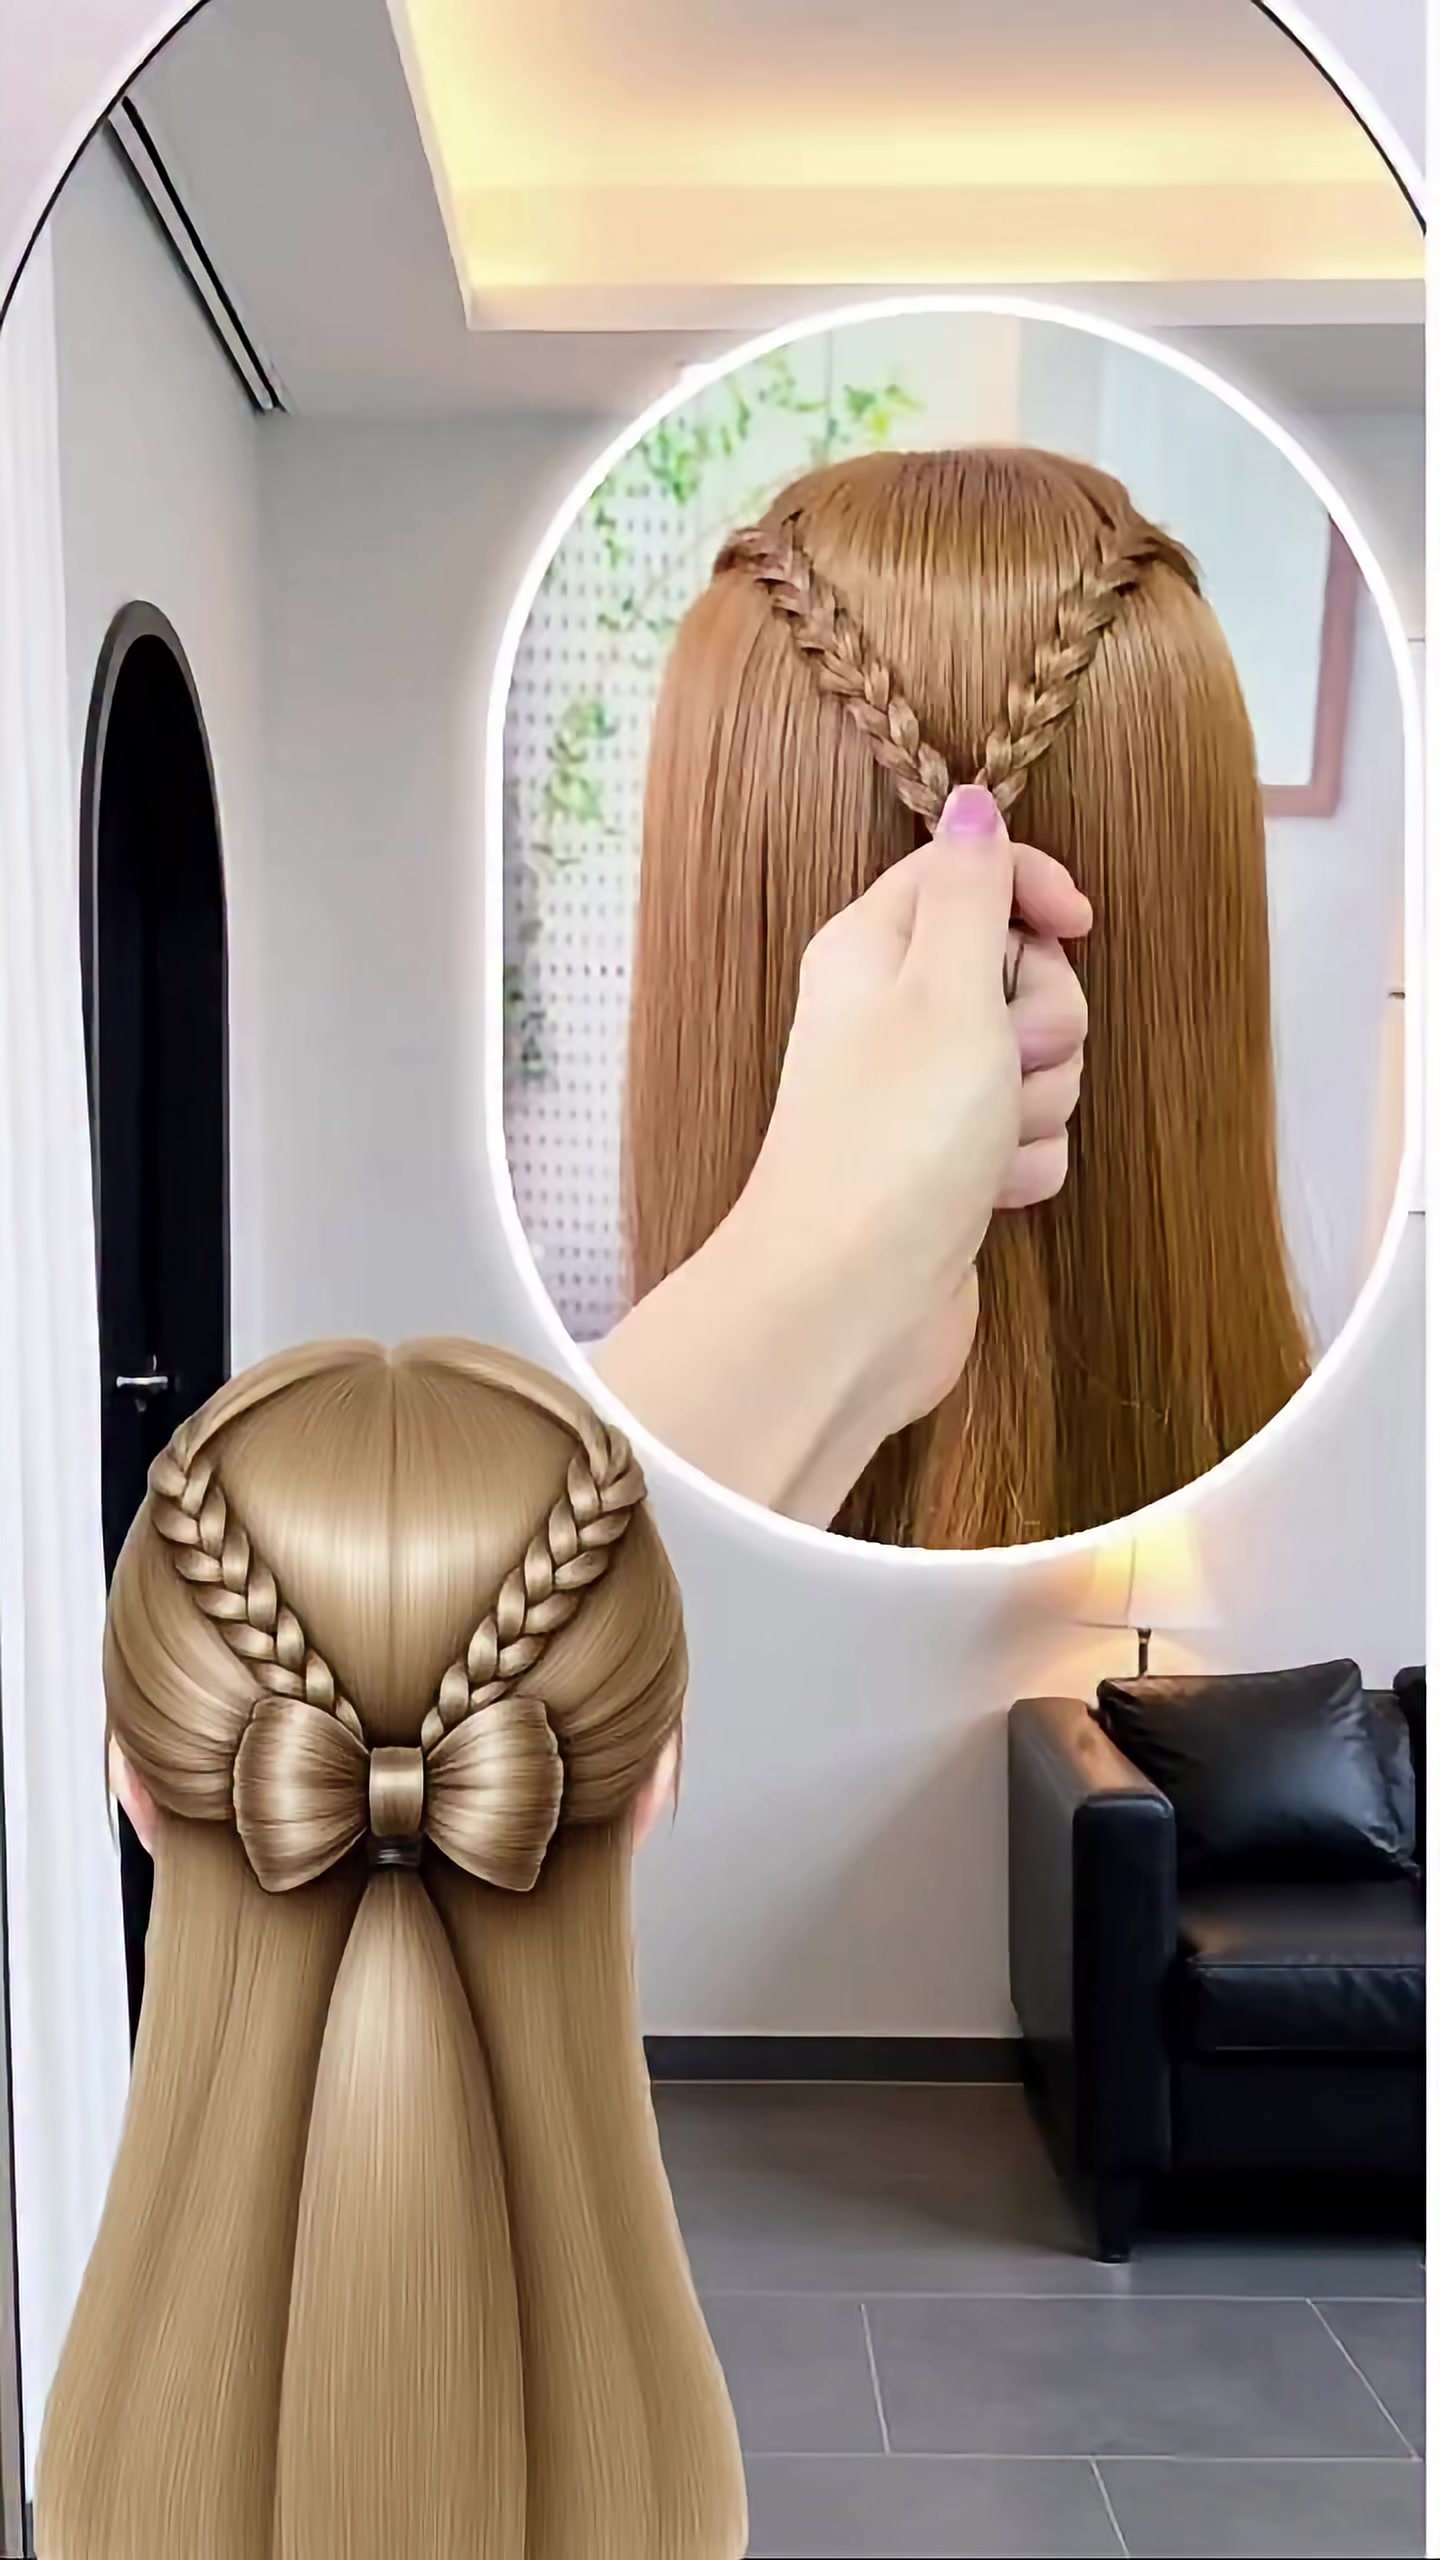
How to Do a Half-Up Hair Bow: Cute and Easy Princess Hairstyle
Turn a simple half-up ponytail into a show-stopping bow that stays neat all day.
Wide-tooth detangling comb
 Level 2: Handy Dad
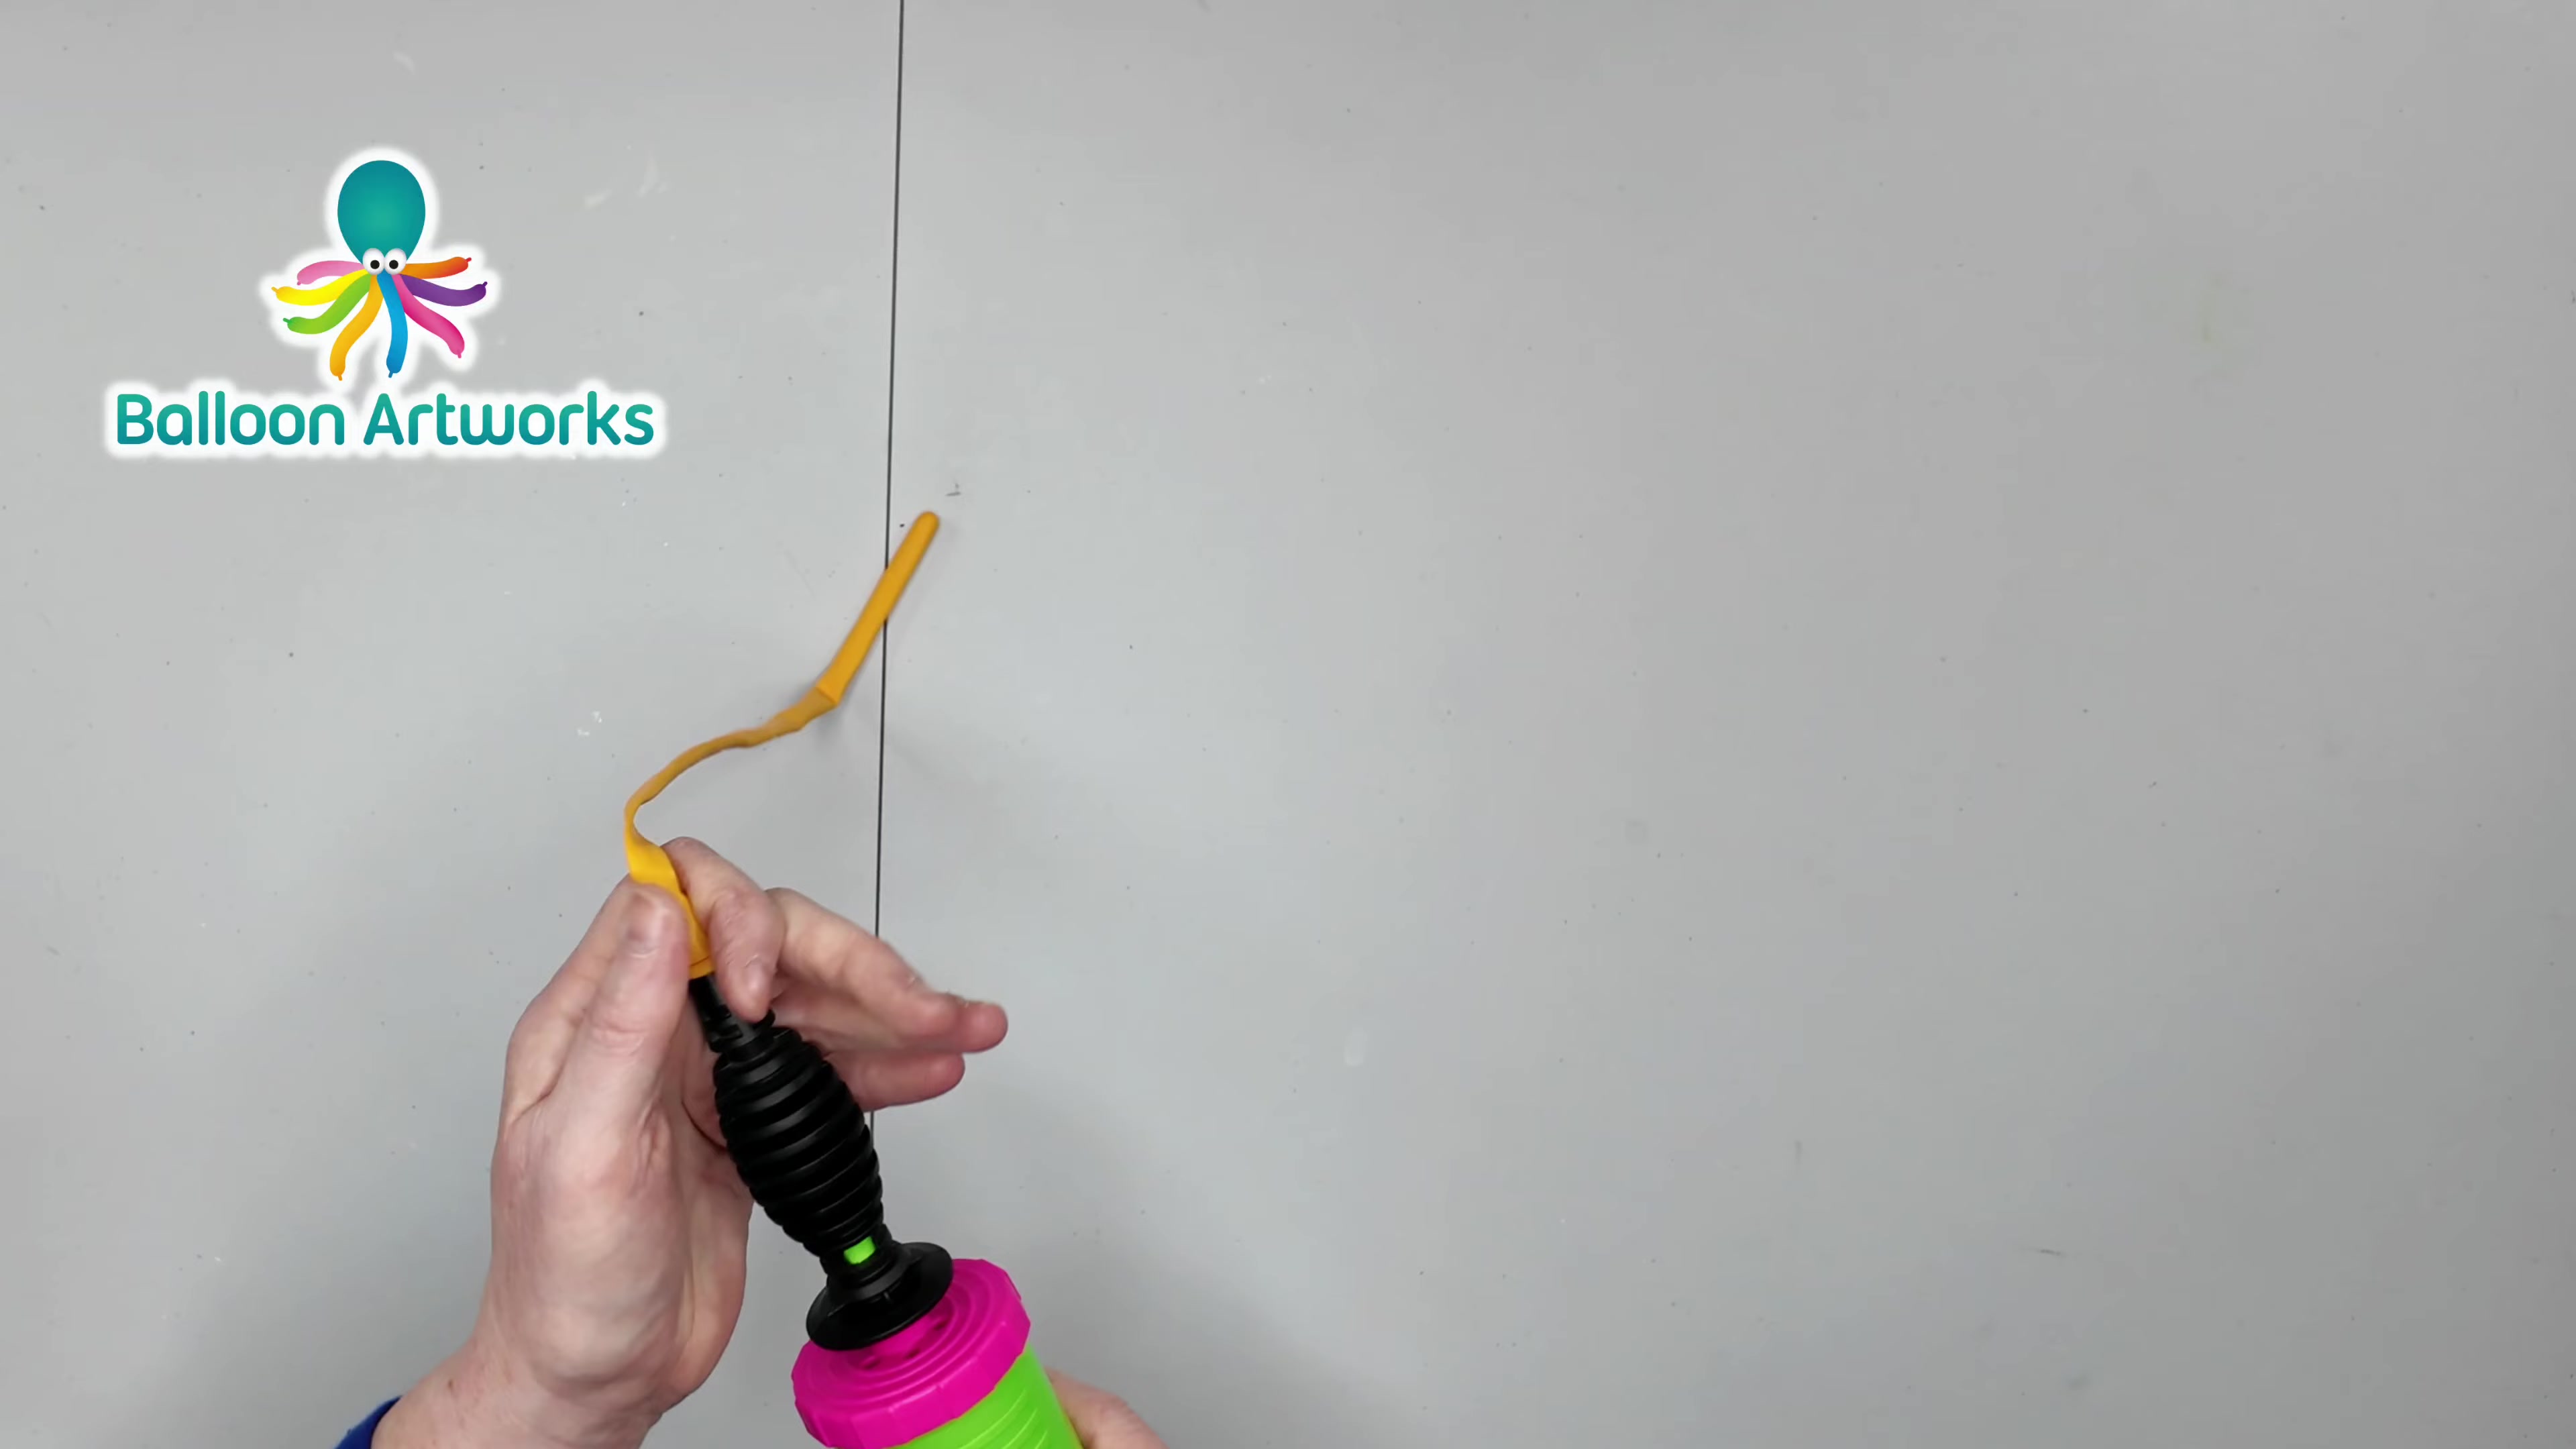
How to Make a Balloon Giraffe: Fun and Easy Animal for Kids
A classic balloon win that turns one 260Q into a cute giraffe in under 3 minutes.
1x yellow 260Q modeling balloon
 Level 2: Handy Dad
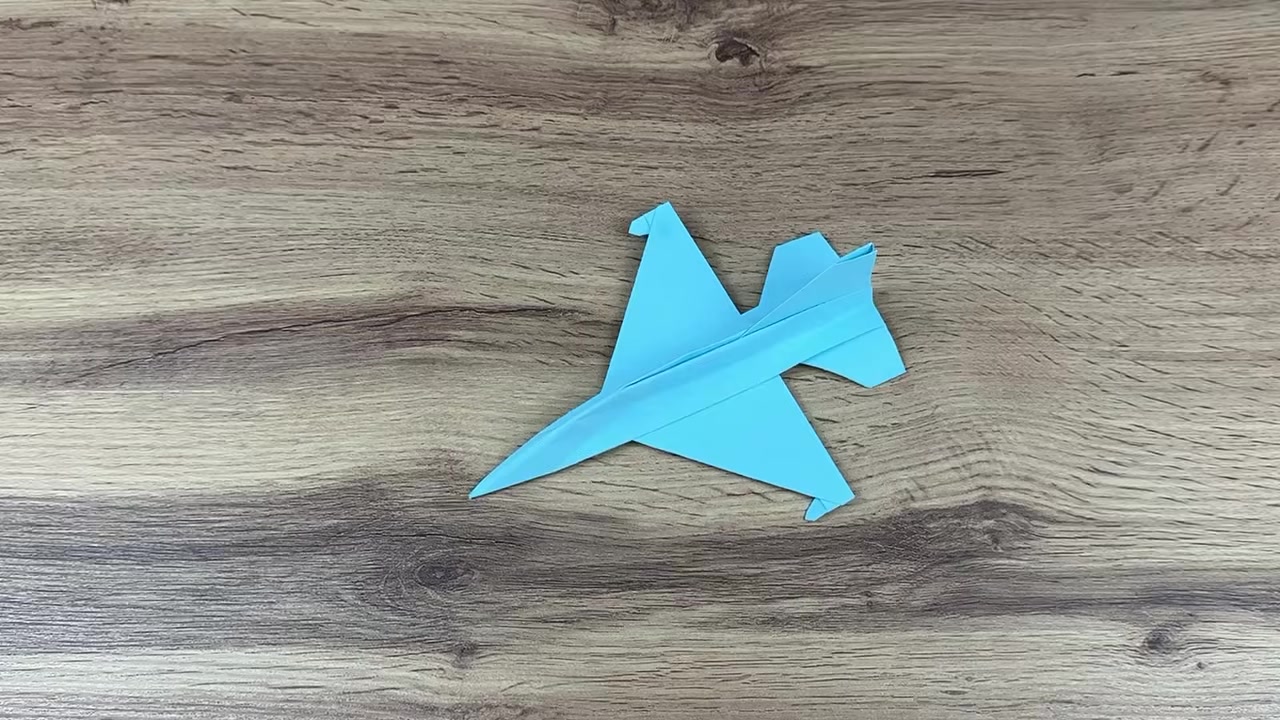
How to Fold an Origami Jet Fighter That Flies Cleanly
A sharp, balanced jet fighter that looks clean and folds fast with one strong center line.
1 A4 sheet of paper
 Level 2: Handy Dad
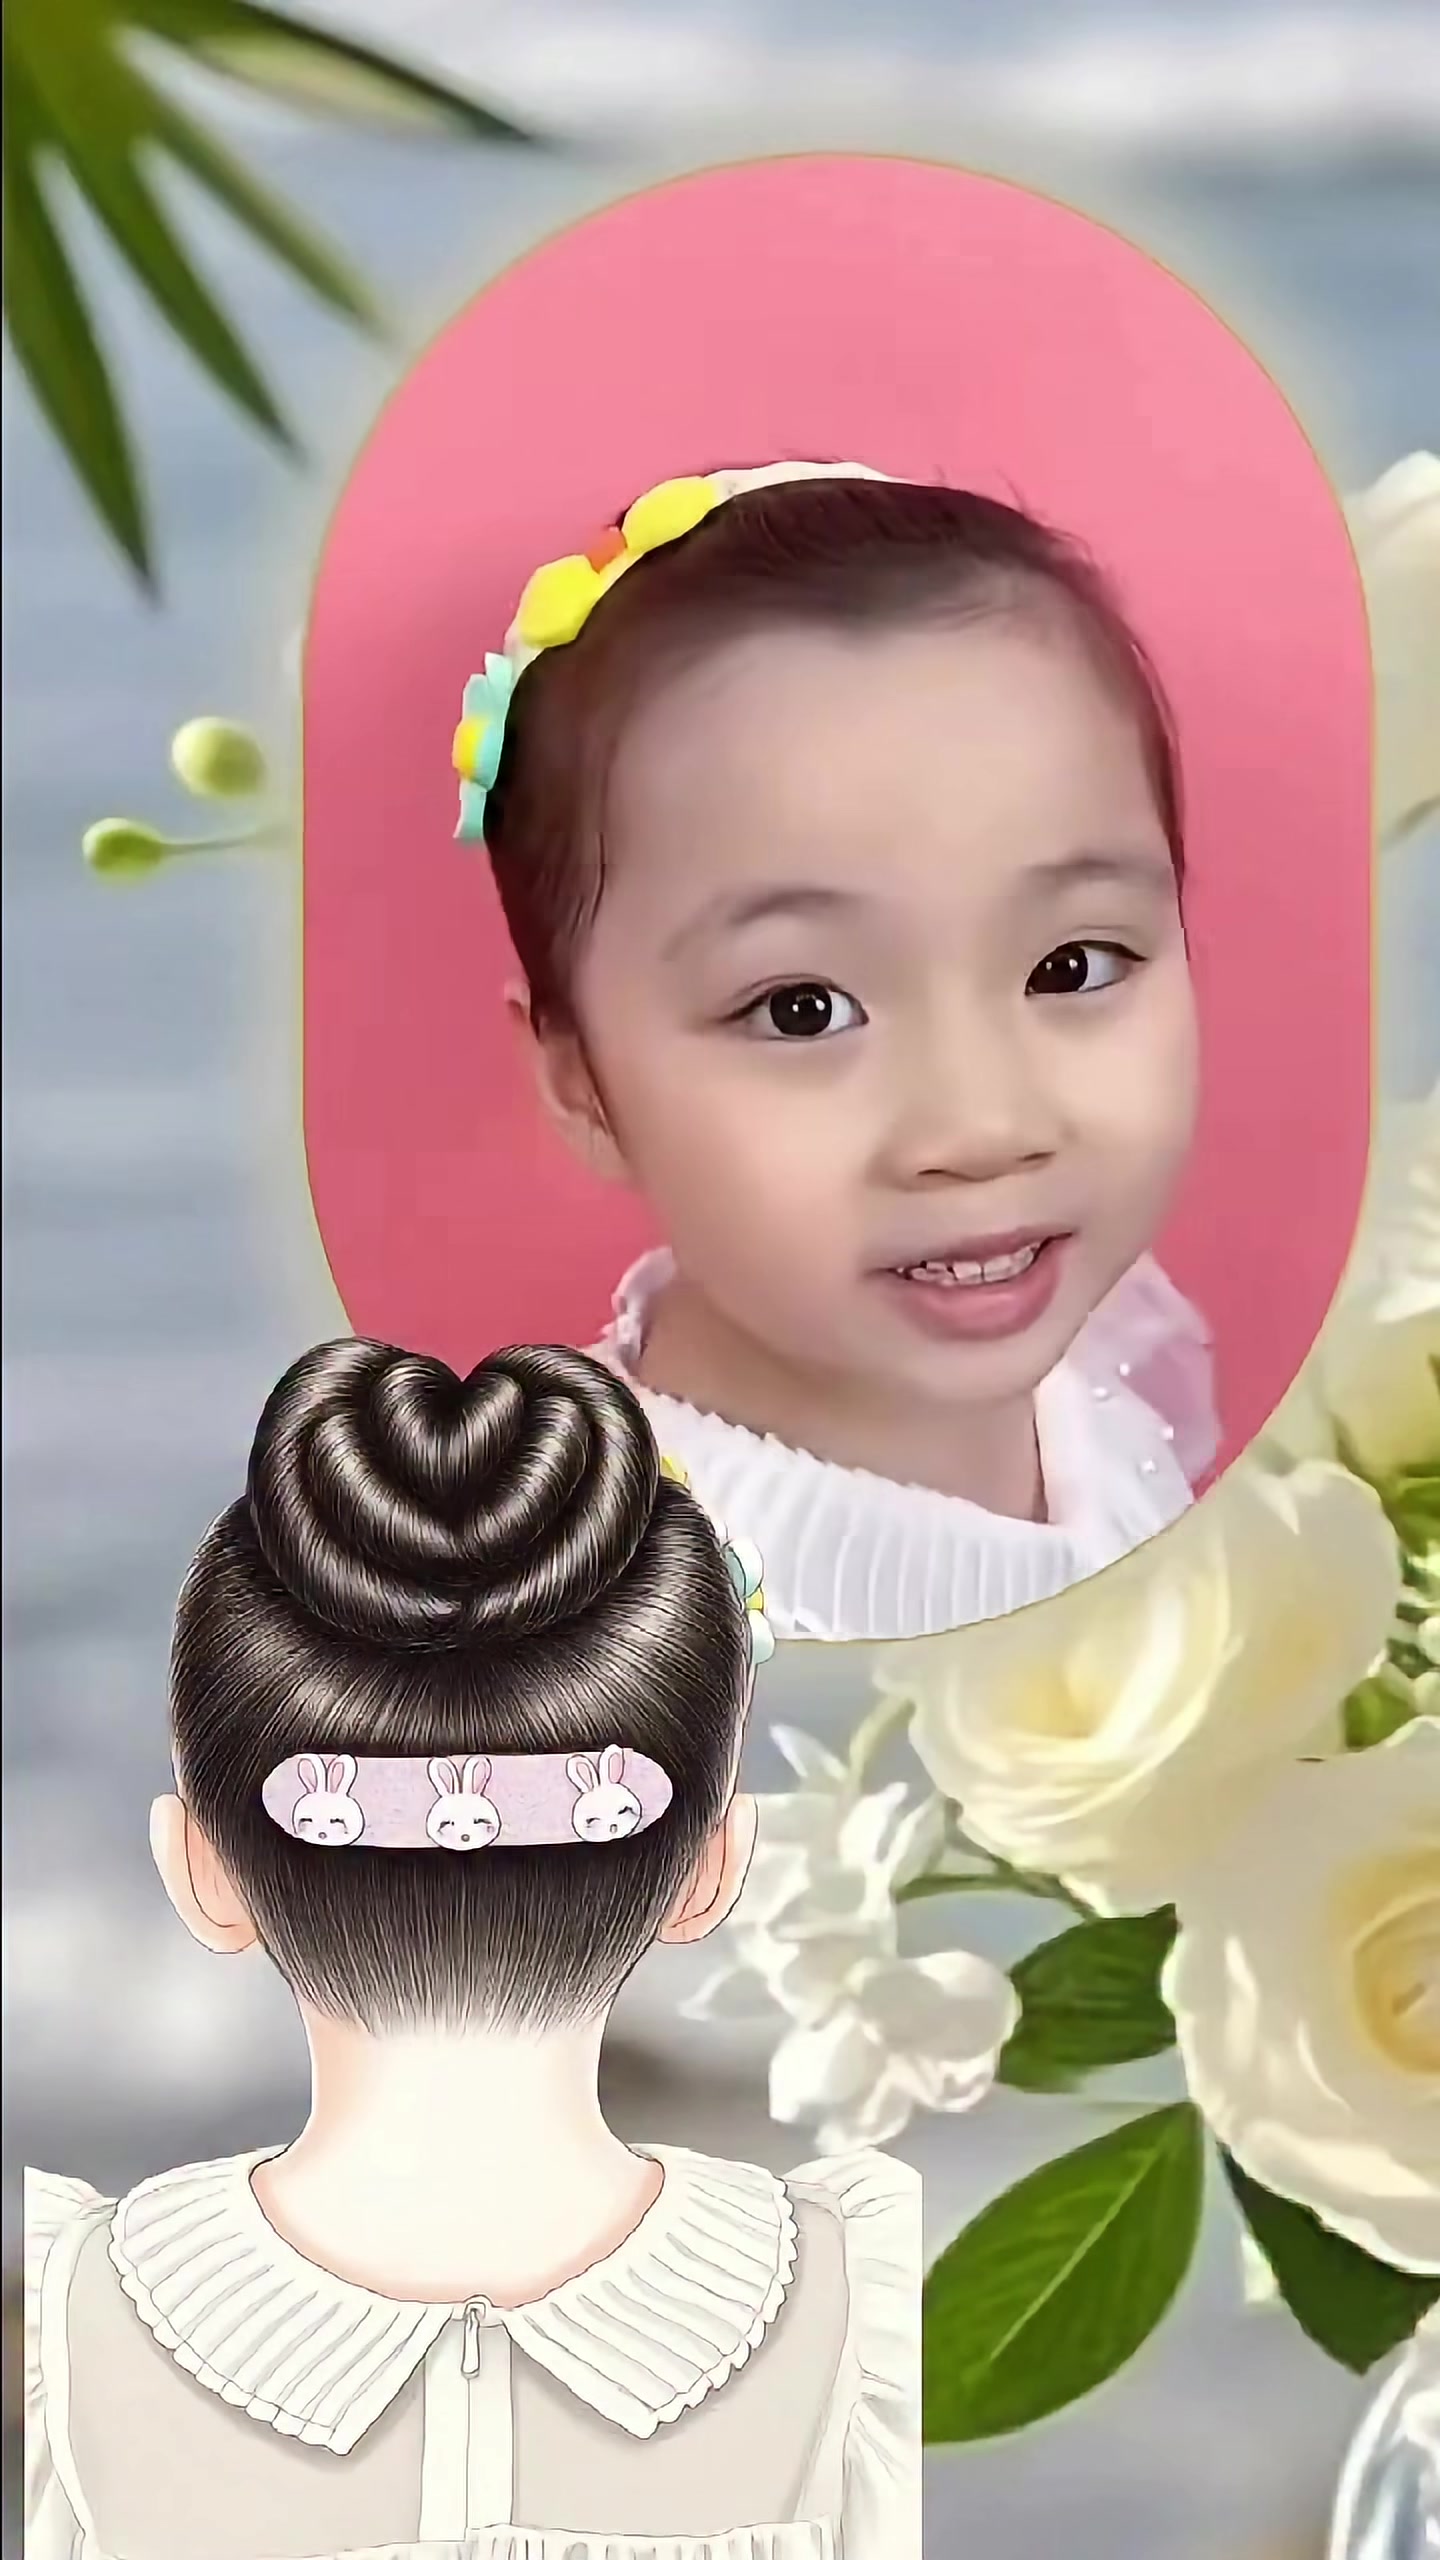
How to Make a Princess Heart Bun: Easy 5-Minute Girl Hairstyle
A sweet heart-shaped bun that looks polished, stays put, and gives Dad a big win fast.
Soft snag-free elastic band