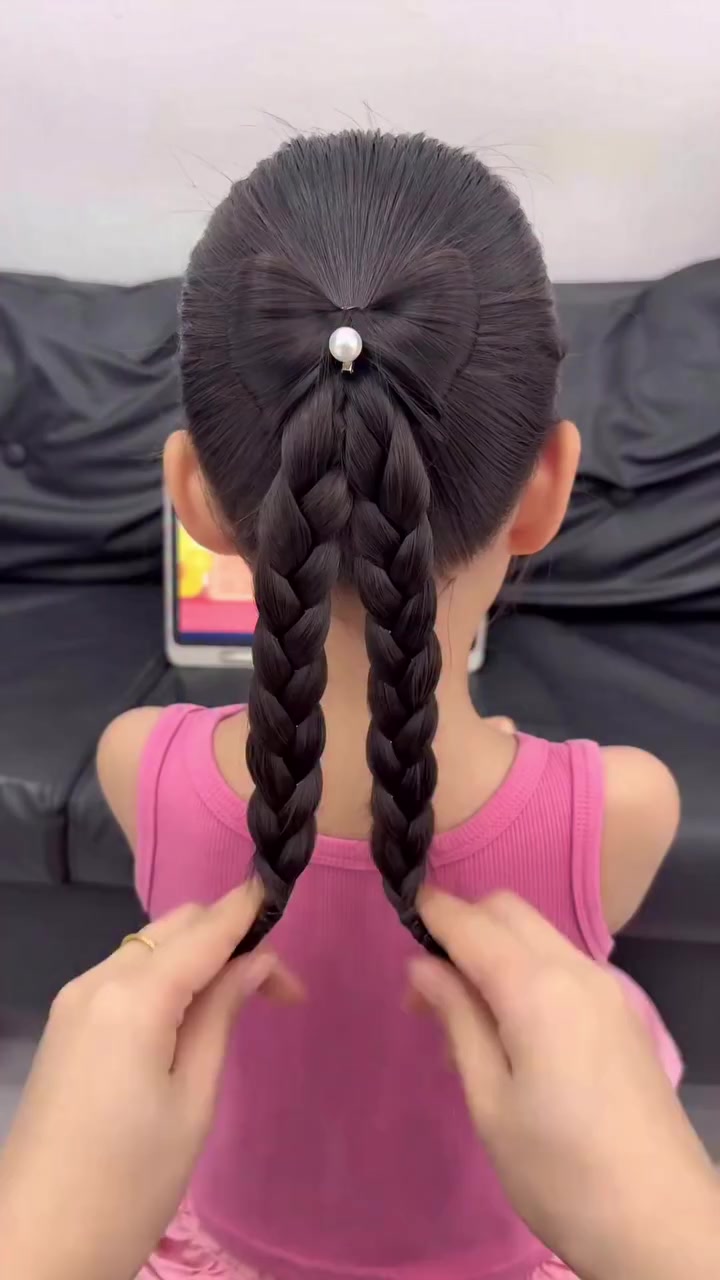
01 Build the Ponytail Base
00:00 - 00:04Brush the hair smooth and gather it into a high ponytail at the crown. Secure it with a snag-free elastic, then separate a small top-center section from the ponytail bundle for the bow.
A polished bow ponytail that stays neat and photo-ready in minutes.
Brush the hair smooth and gather it into a high ponytail at the crown. Secure it with a snag-free elastic, then separate a small top-center section from the ponytail bundle for the bow.
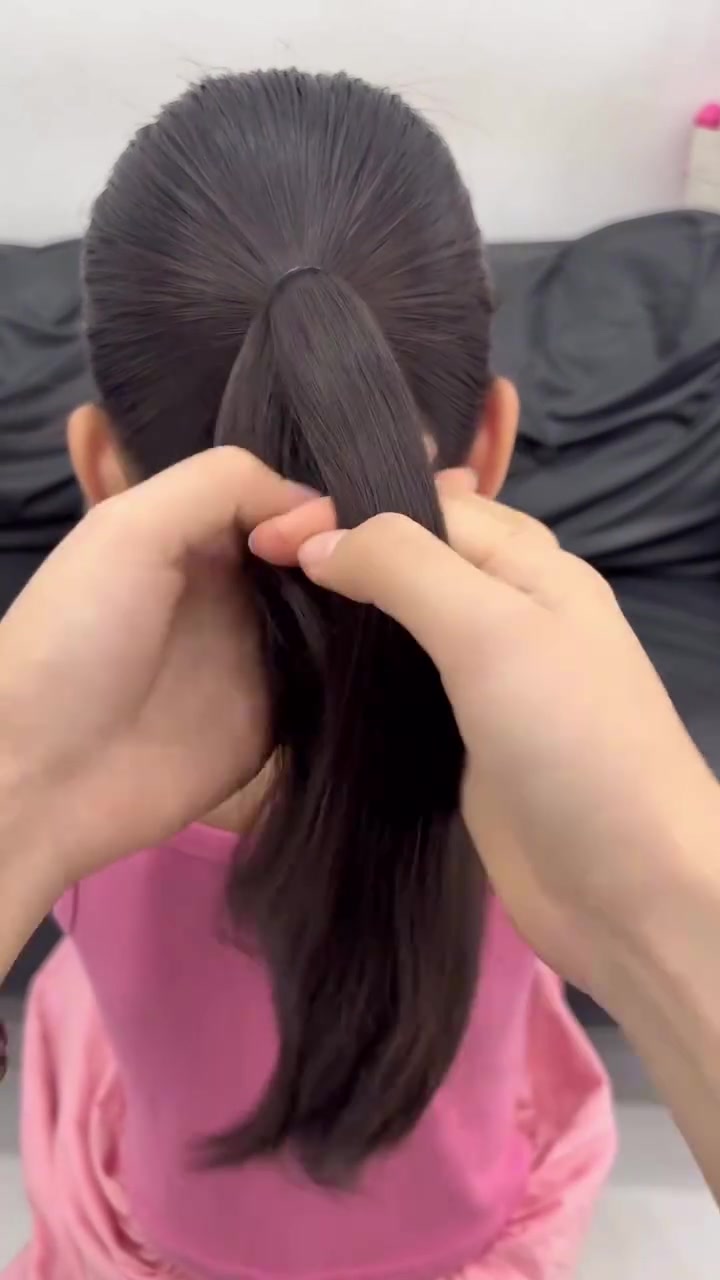
Place a mini clear elastic about two inches down on the separated section. Make a split opening above that elastic, then flip the hair tail upward through the hole to create the first bow wing.
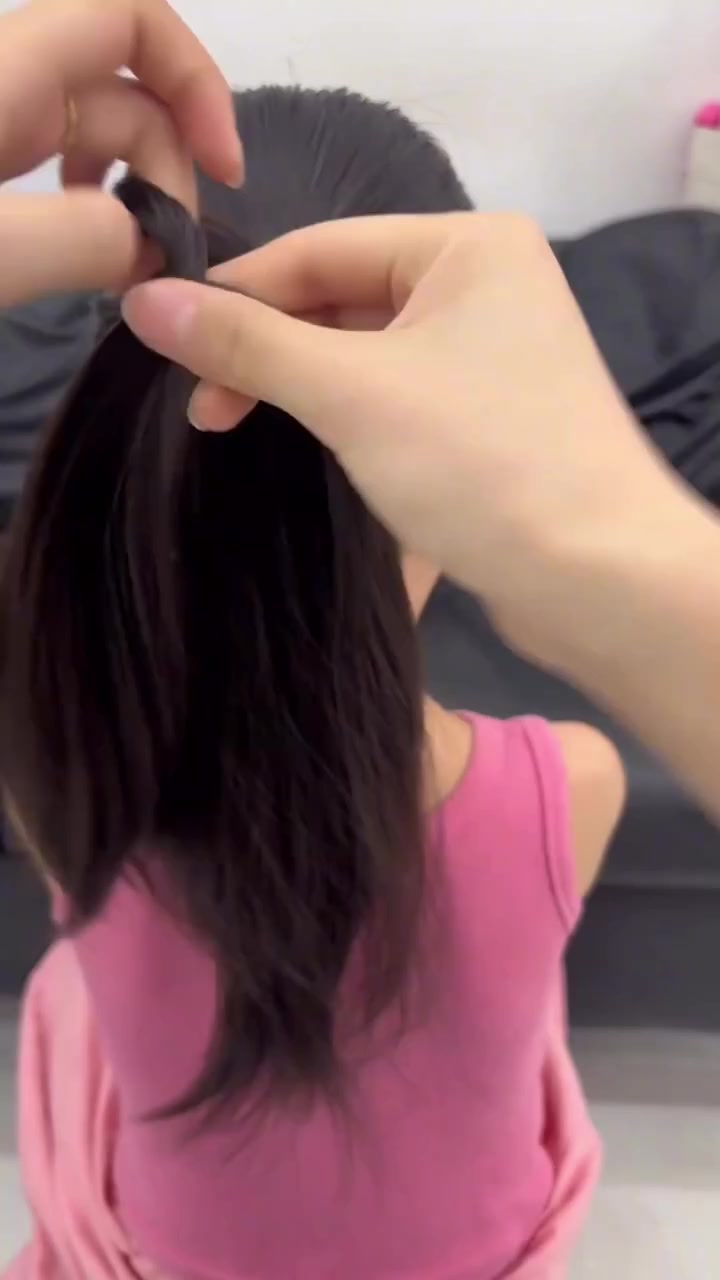
Take the loose end from the flipped section and thread it back through the opposite side of the center gap. Shape both sides evenly so the bow wings look balanced and symmetrical.
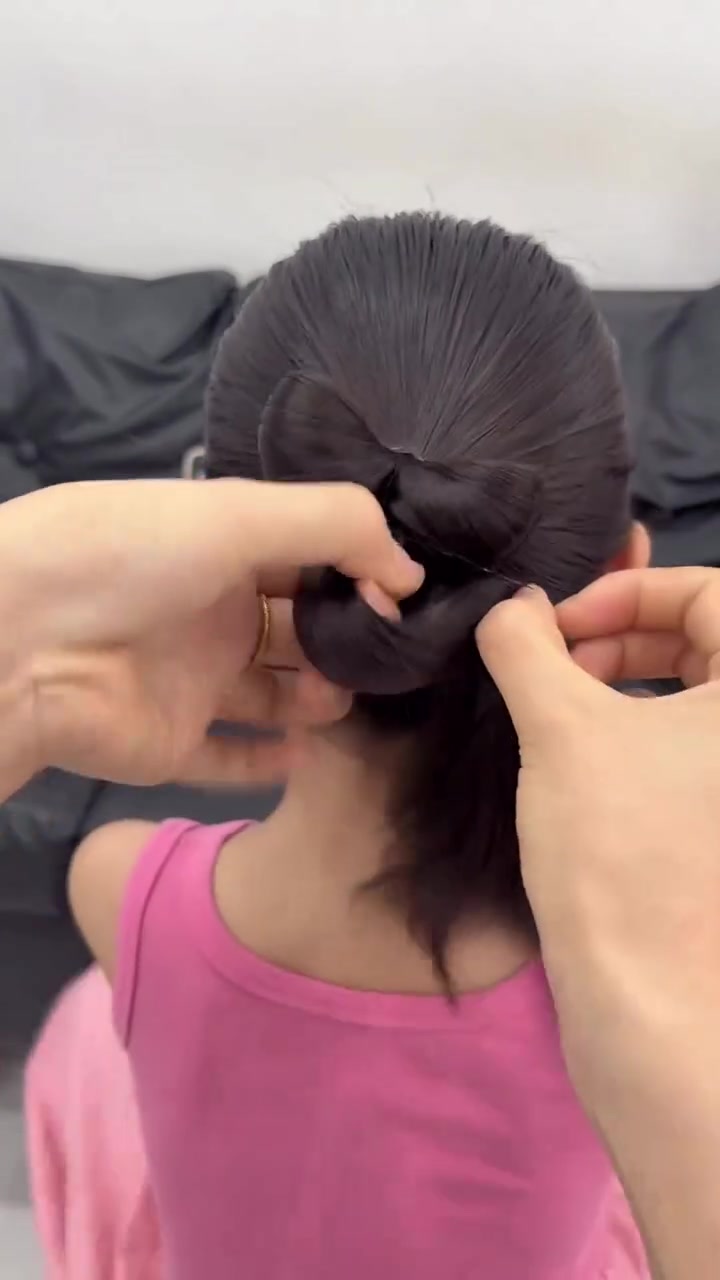
Pull the center tail snug to tighten the middle knot. Pin both outer edges of the bow flat against the head with bobby pins so the loops stay in place.
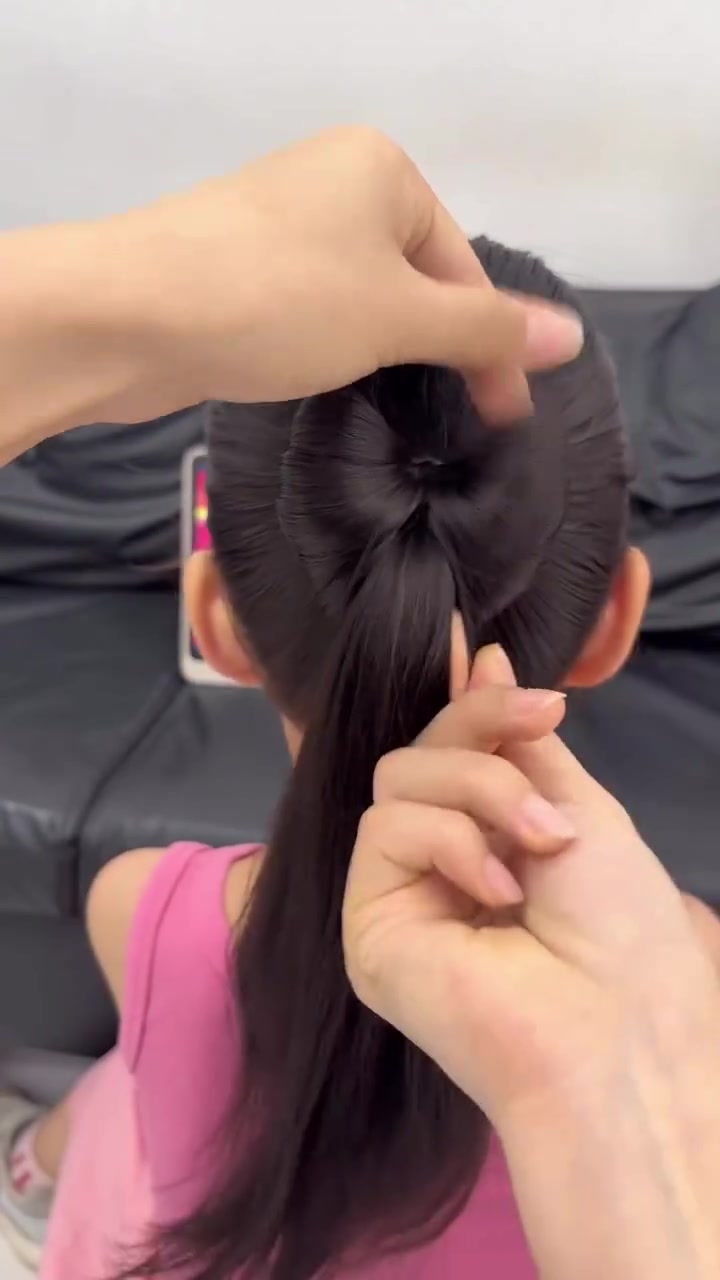
Split the remaining ponytail into two equal sections and braid each one into a neat three-strand braid. Add the pearl hairpin at the center bow knot to finish the look.
Real-world answers for busy mornings, active recess hold, and tear-free removal.
Yes, if you keep the center knot tight and pin the bow flat with bobby pins. For extra hold, make sure the ponytail base is secure before you start the bow.
Yes. On fine hair, keep the sections smaller and use a snug elastic at the crown. If the hair is shorter, make the bow loops a little smaller so the shape stays controlled.
Roll each elastic off gently instead of pulling it straight down. Then slide out the bobby pins one at a time while holding the hair near the pin so it doesn’t snag.
Use a light mist of water and smooth the hair with your palm or fingertips. That keeps the style neat without the sticky buildup gels can leave behind.
 Level 2: Handy Dad
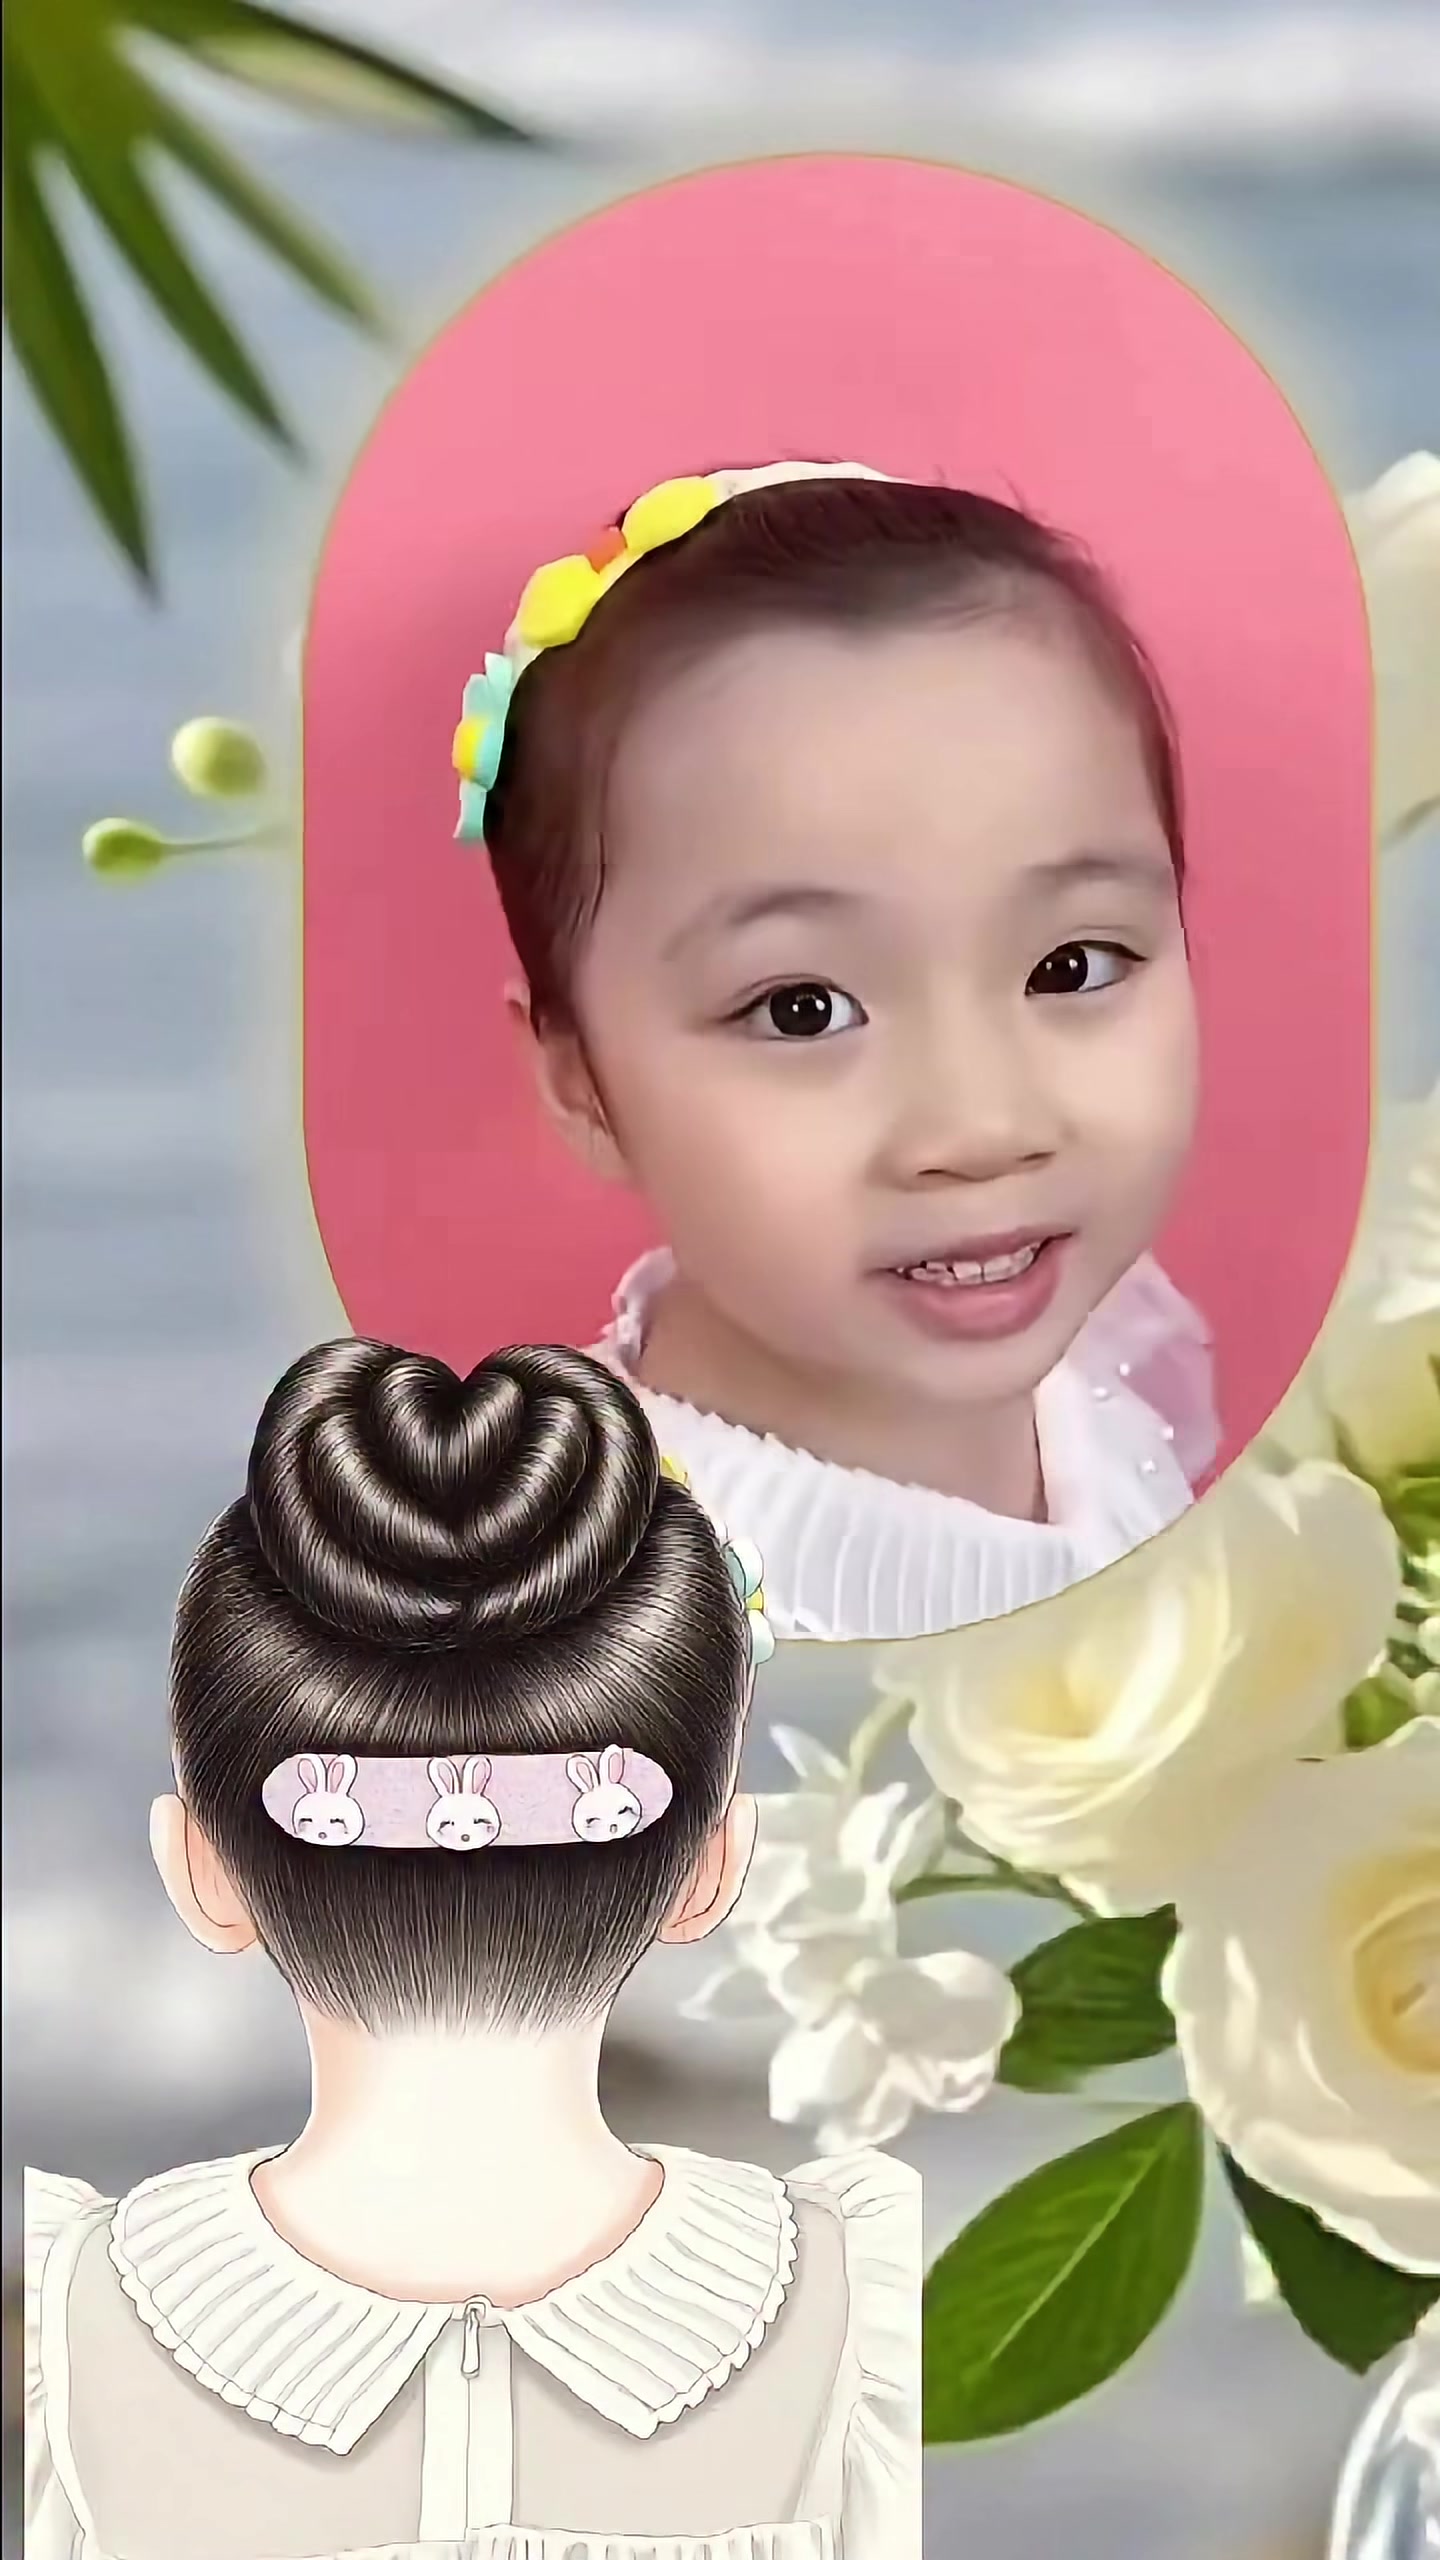
How to Make a Princess Heart Bun: Easy 5-Minute Girl Hairstyle
A sweet heart-shaped bun that looks polished, stays put, and gives Dad a big win fast.
Soft snag-free elastic band
 Level 3: Superhero Dad
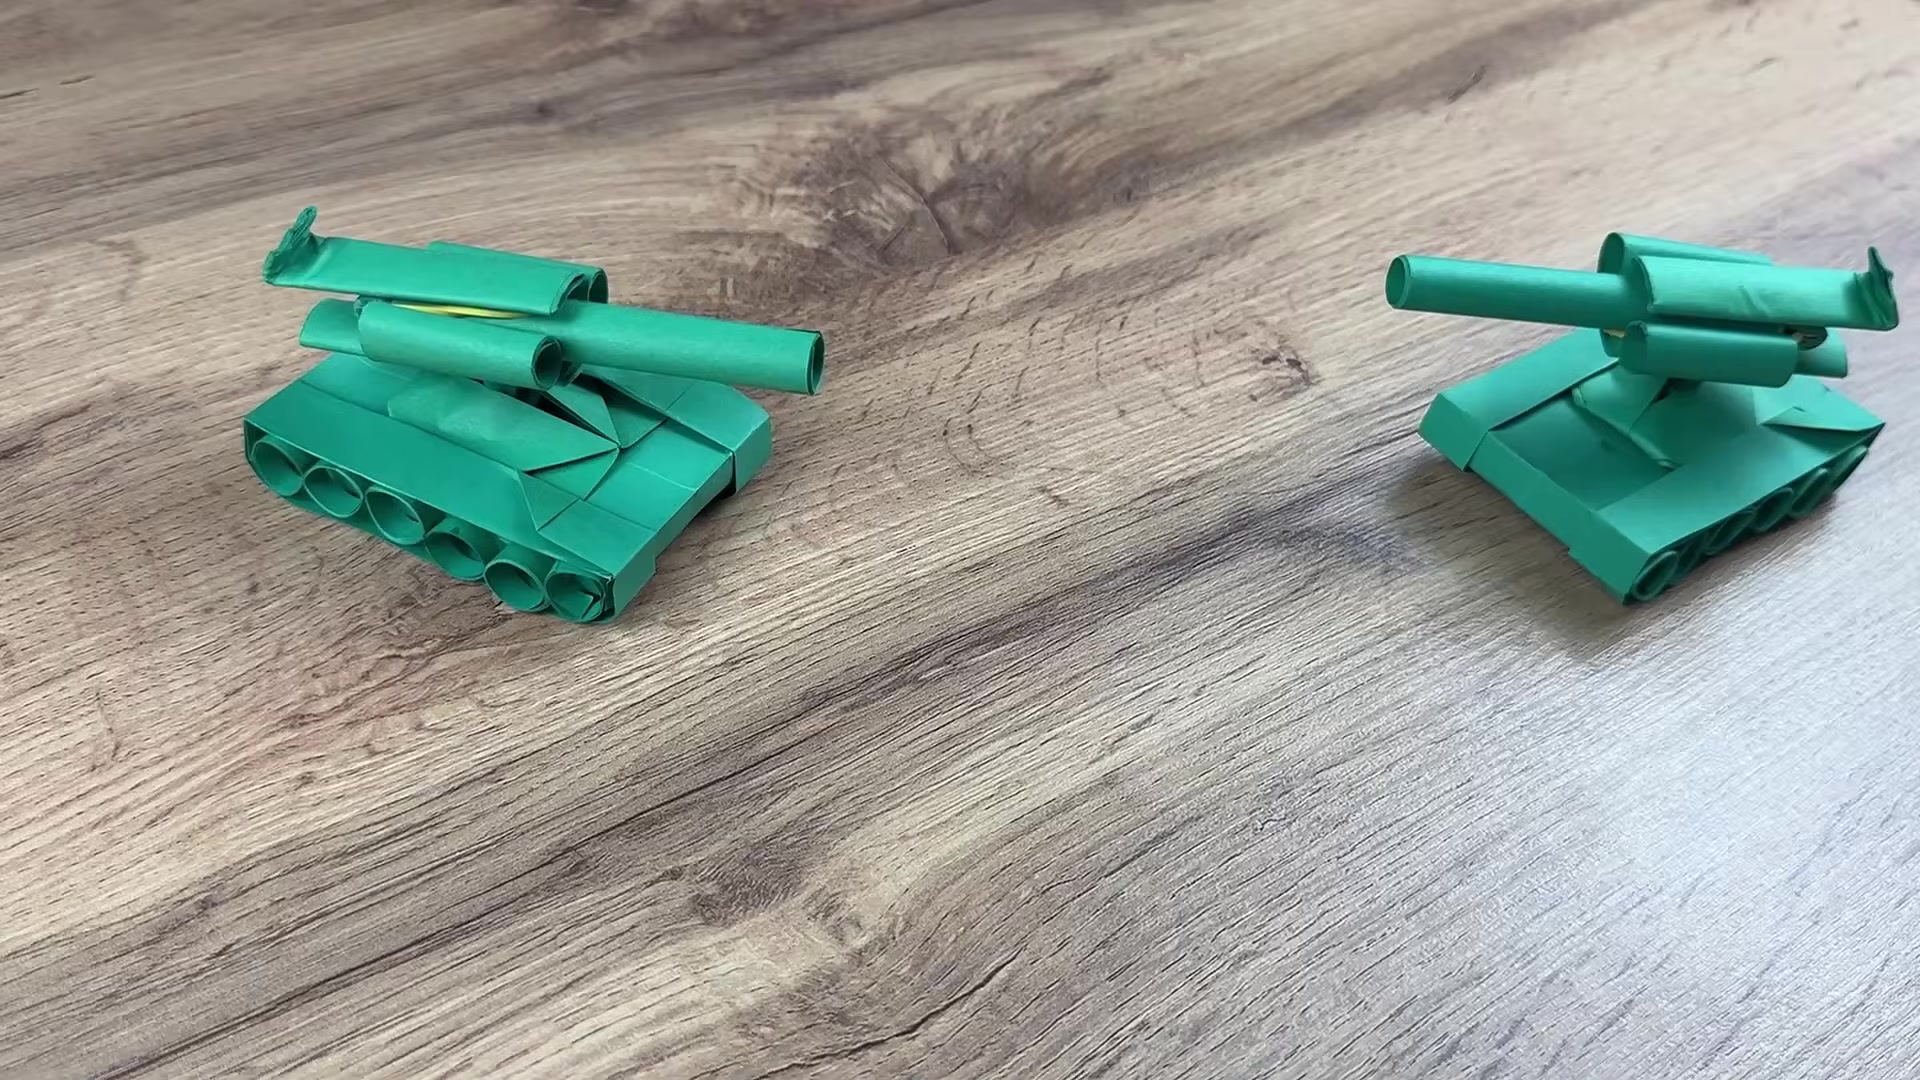
How to Make a Paper Tank That Shoots (Easy Step-by-Step Toy)
A fold-and-build paper tank that rolls, swivels, and fires a paper bullet using simple paper parts.
1 green A4 paper sheet cut in half lengthwise
 Level 2: Handy Dad
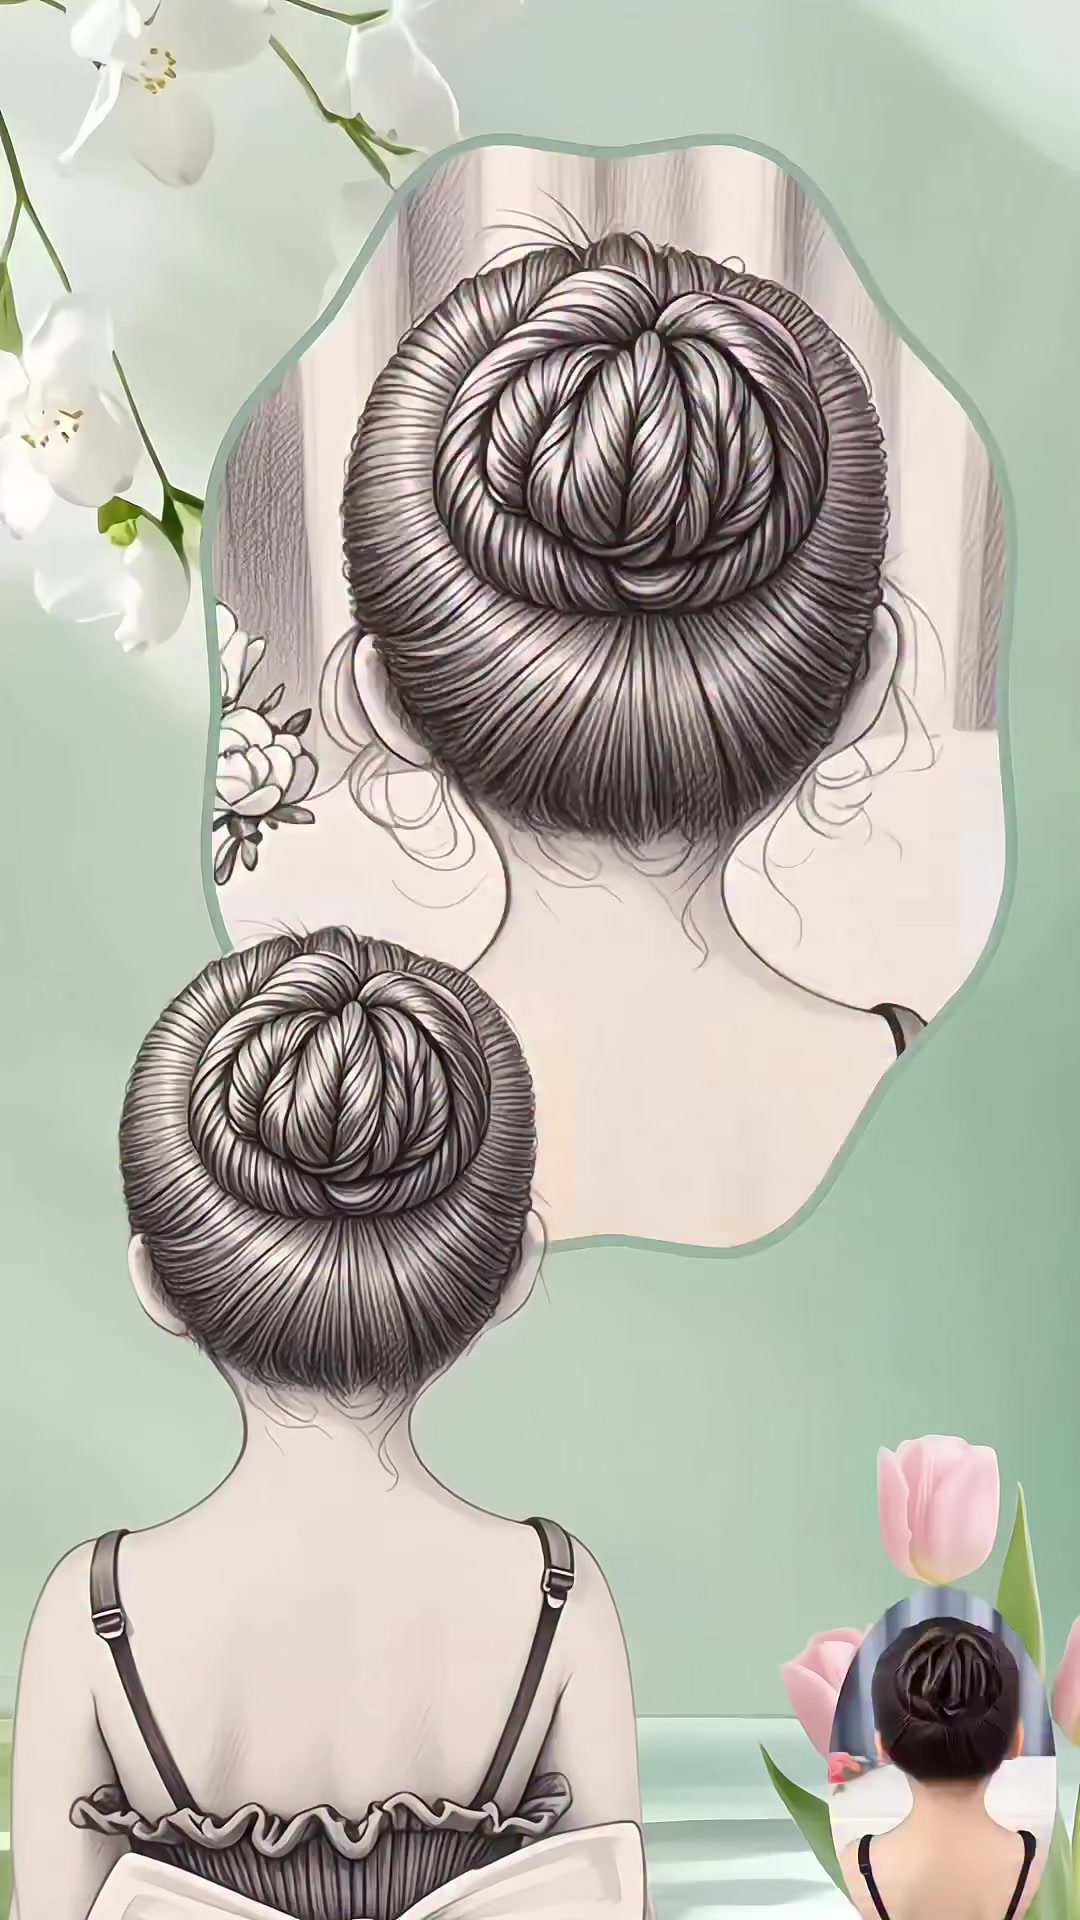
How to Braid a Woven Princess Bun: Easy Step-by-Step Updo
A neat, princess-ready bun that looks fancy fast and stays put without the drama.
Hairbrush
 Level 2: Handy Dad
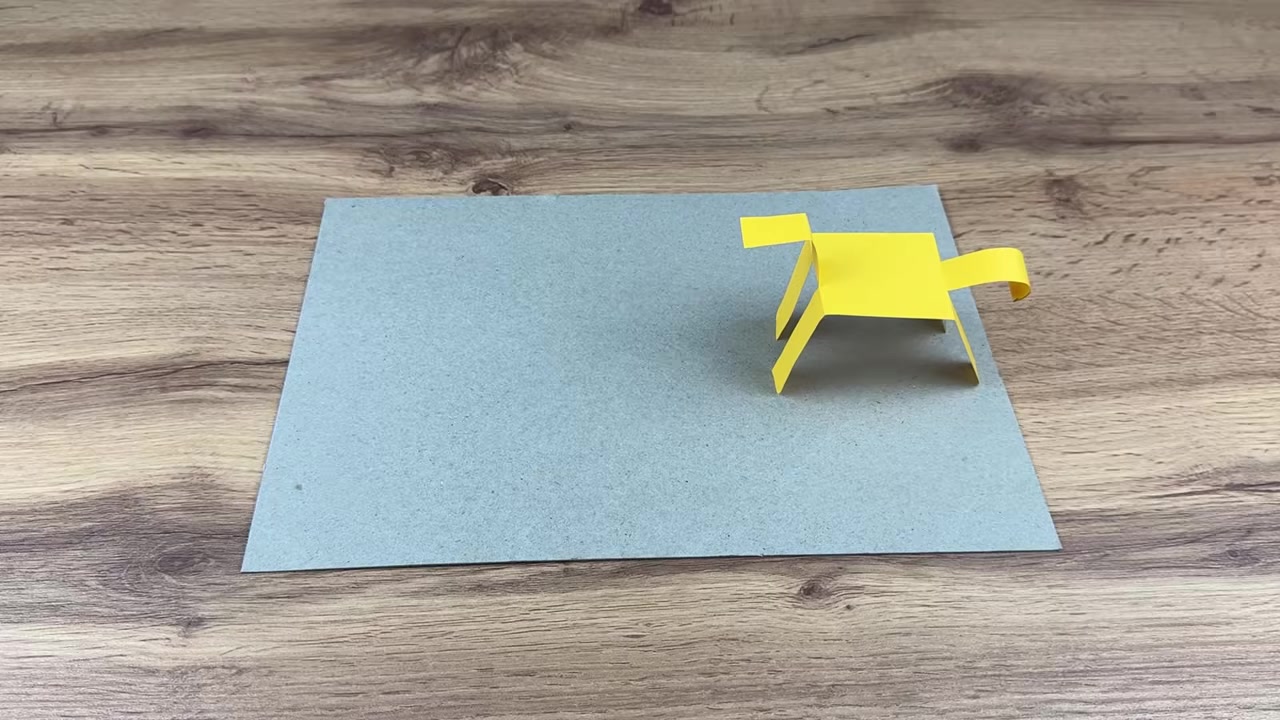
How to Fold a Walking Paper Horse: Fun Origami Toy That Moves
A simple origami horse that rocks and walks down a slope using one strip of paper and a few clean folds.
1 strip of yellow paper