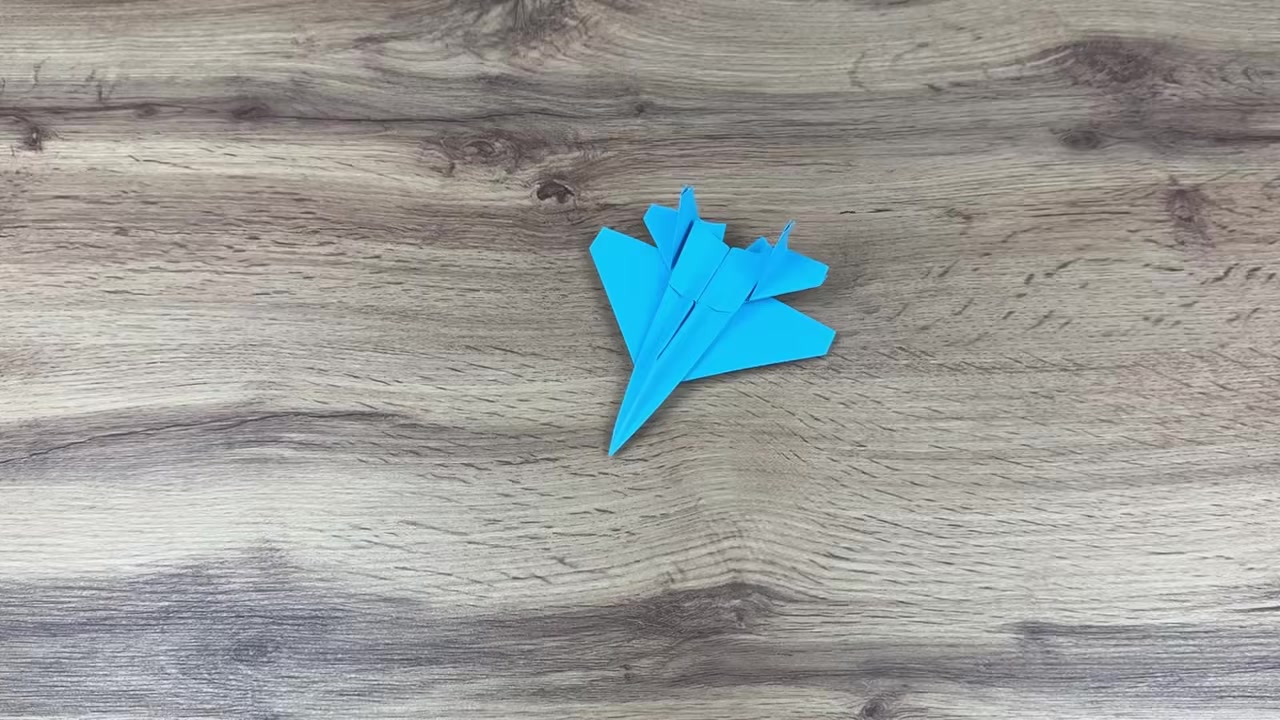
01 Preview the Finished Jet
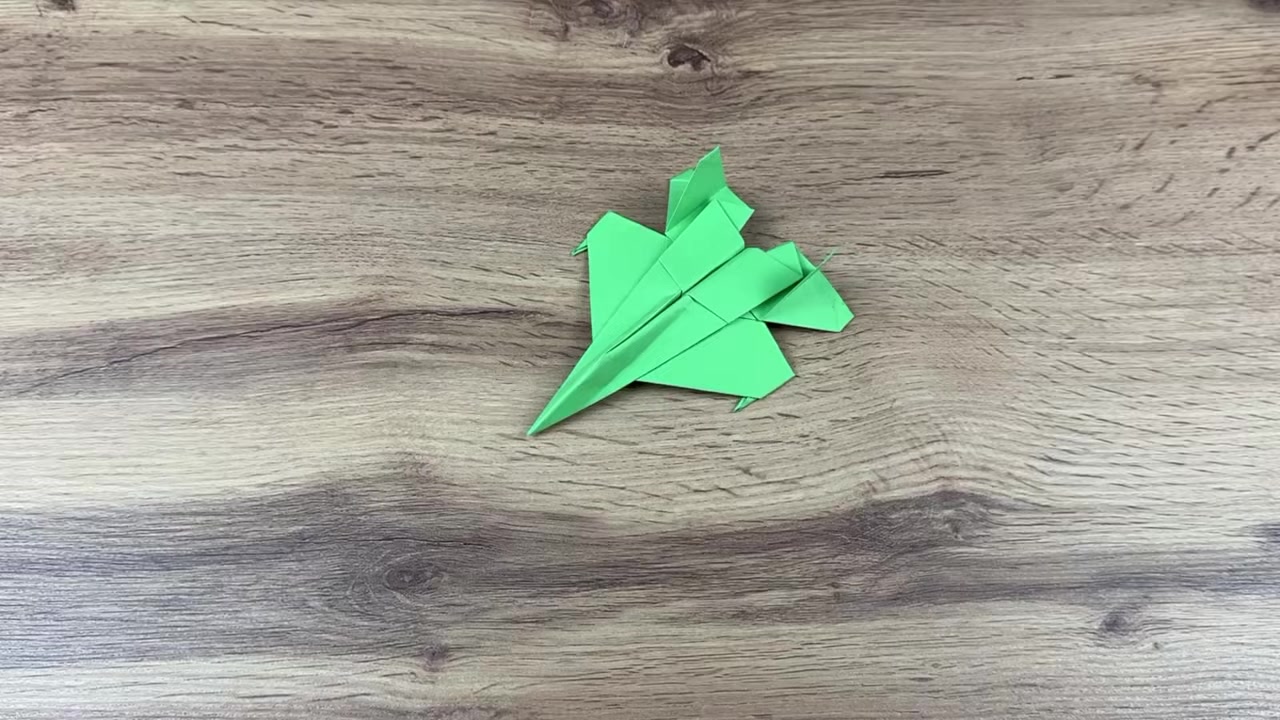
00:00 - 00:10Show the completed jet fighter first so your kid knows the goal. Keep it simple: one clean paper plane with sharp wings and a lifted tail.
A sleek paper jet that folds fast, locks in cleanly, and flies better with a tiny upward bend on the rear wing tips.
Show the completed jet fighter first so your kid knows the goal. Keep it simple: one clean paper plane with sharp wings and a lifted tail.
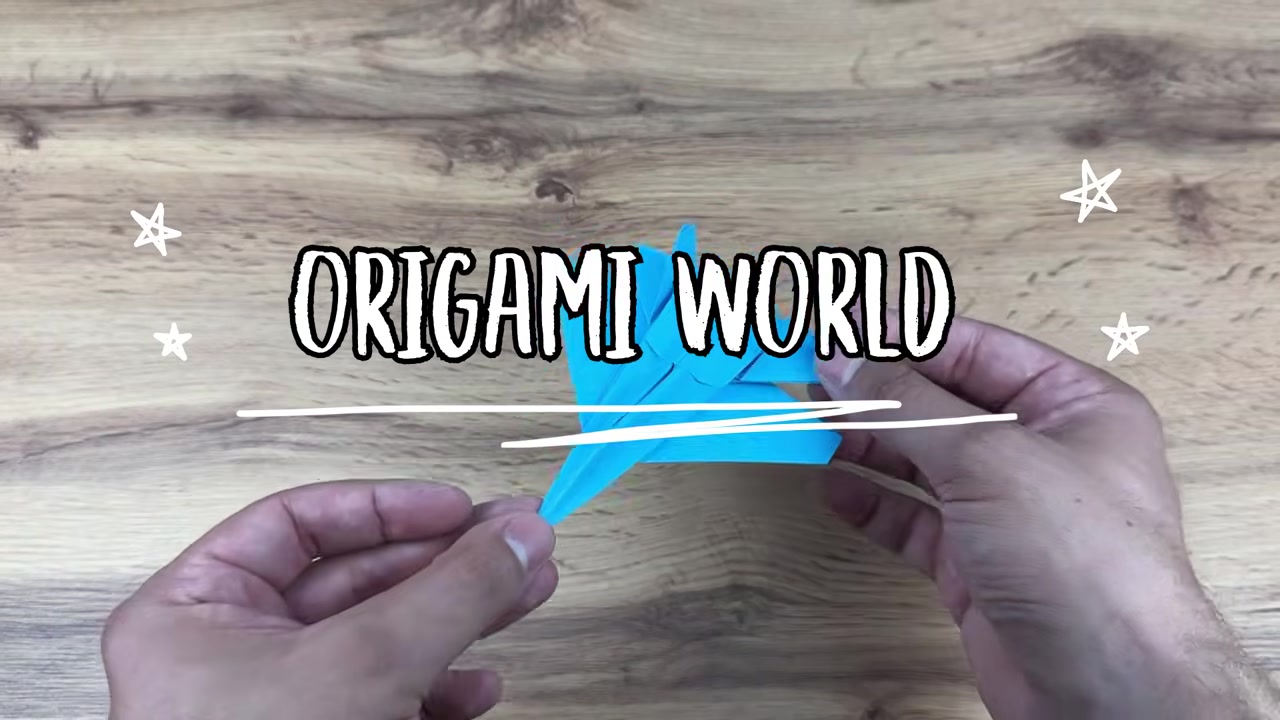
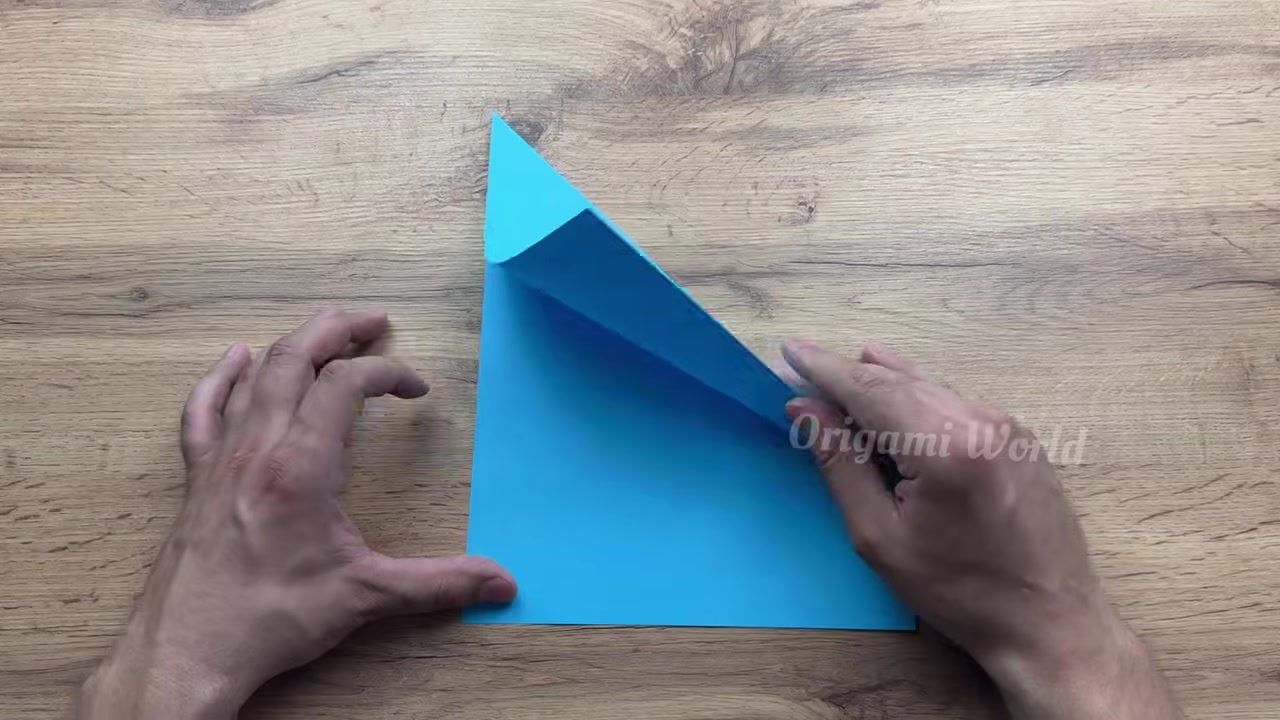
Lay the A4 paper flat. Fold the top right corner diagonally over to the left edge and press the crease firmly from tip to bottom. Unfold cleanly.
Fold the top left corner diagonally to the opposite edge to mirror the first fold. Press hard, then unfold so the paper now has a clear X crease.
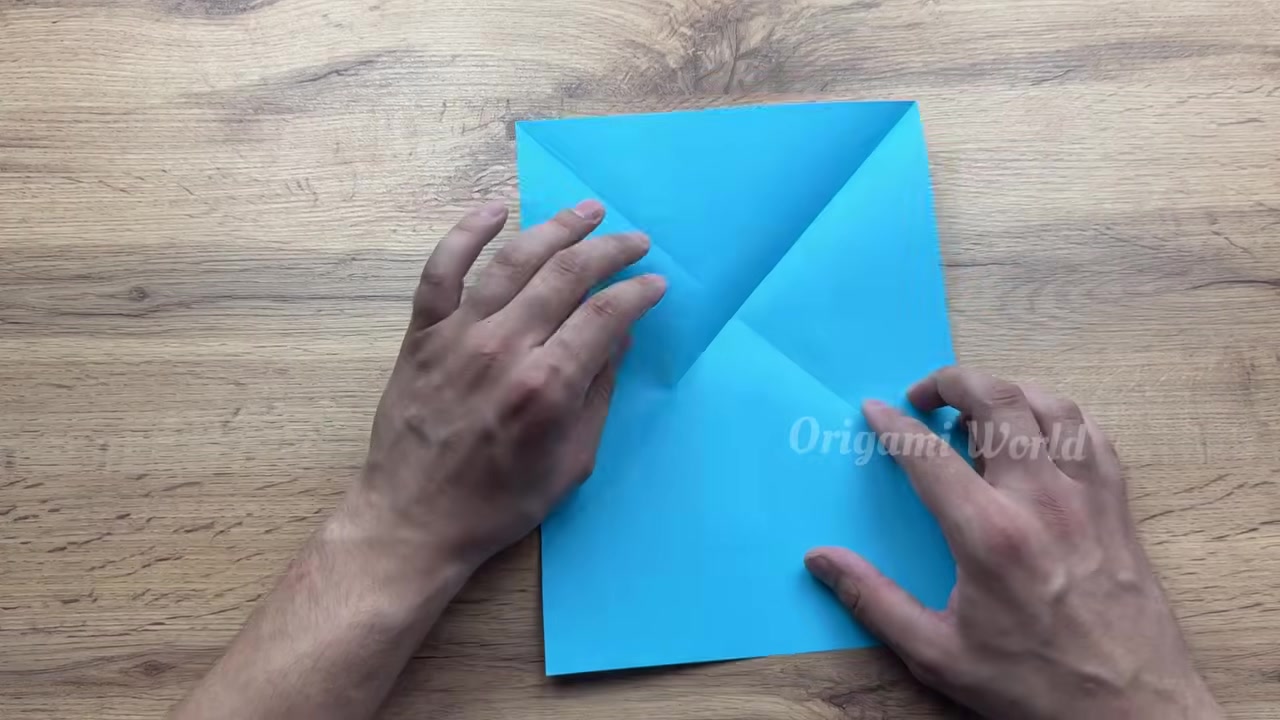
Fold the paper in half lengthwise to make a strong vertical center crease. Open it back up and use that line as your main guide.
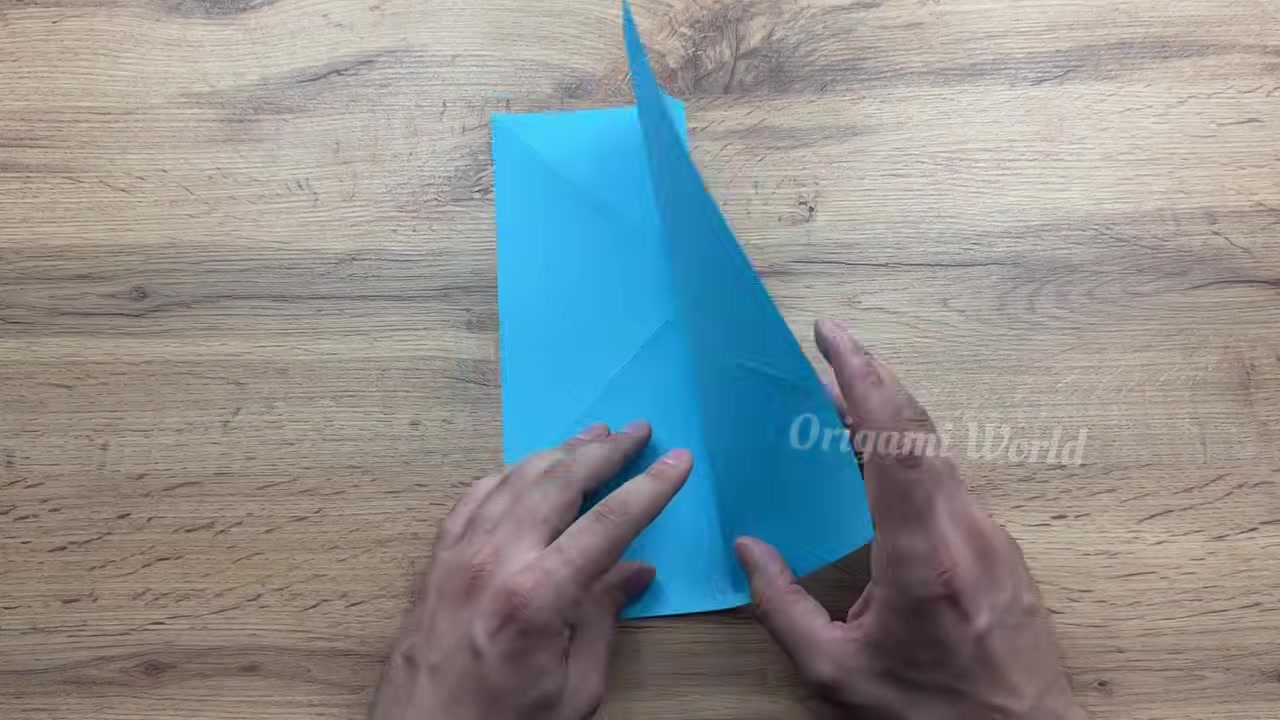
Fold the top edge downward so it passes through the point where the creases meet. Make the fold crisp, because this sets up the collapse.
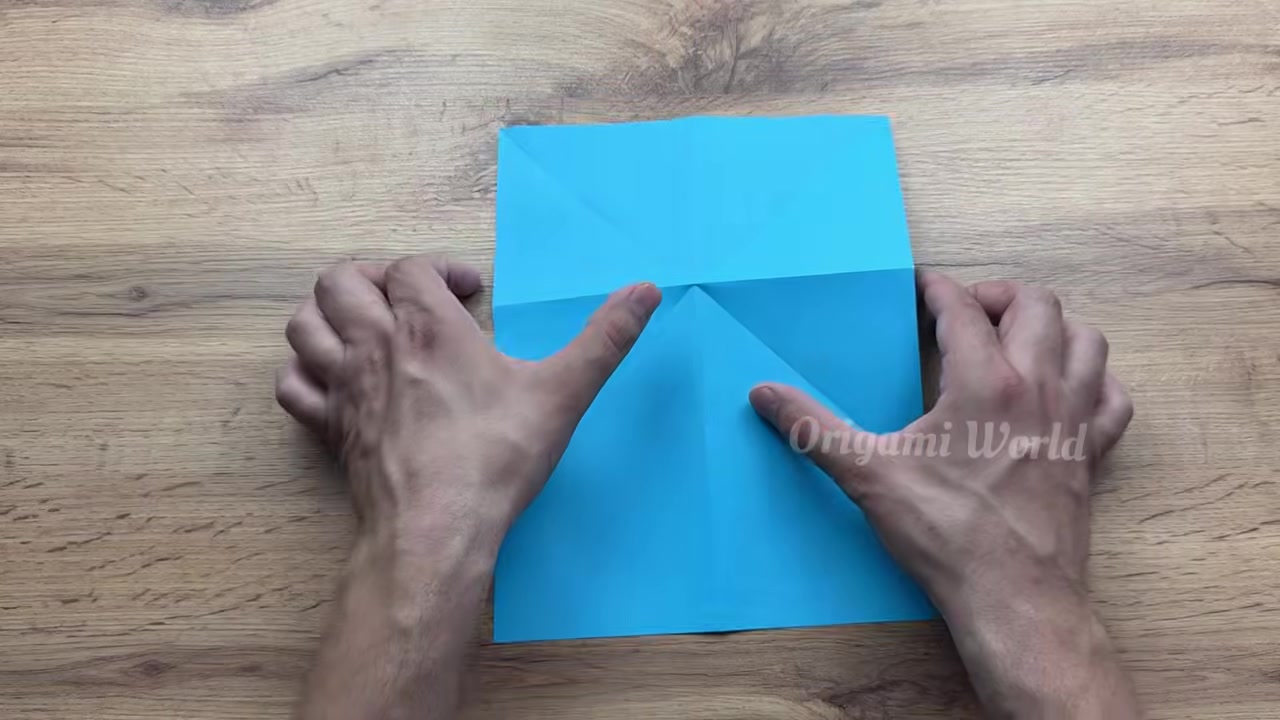
Push the sides inward along the existing creases and let the top section collapse into a neat triangle. Flatten it carefully so both sides stay even.
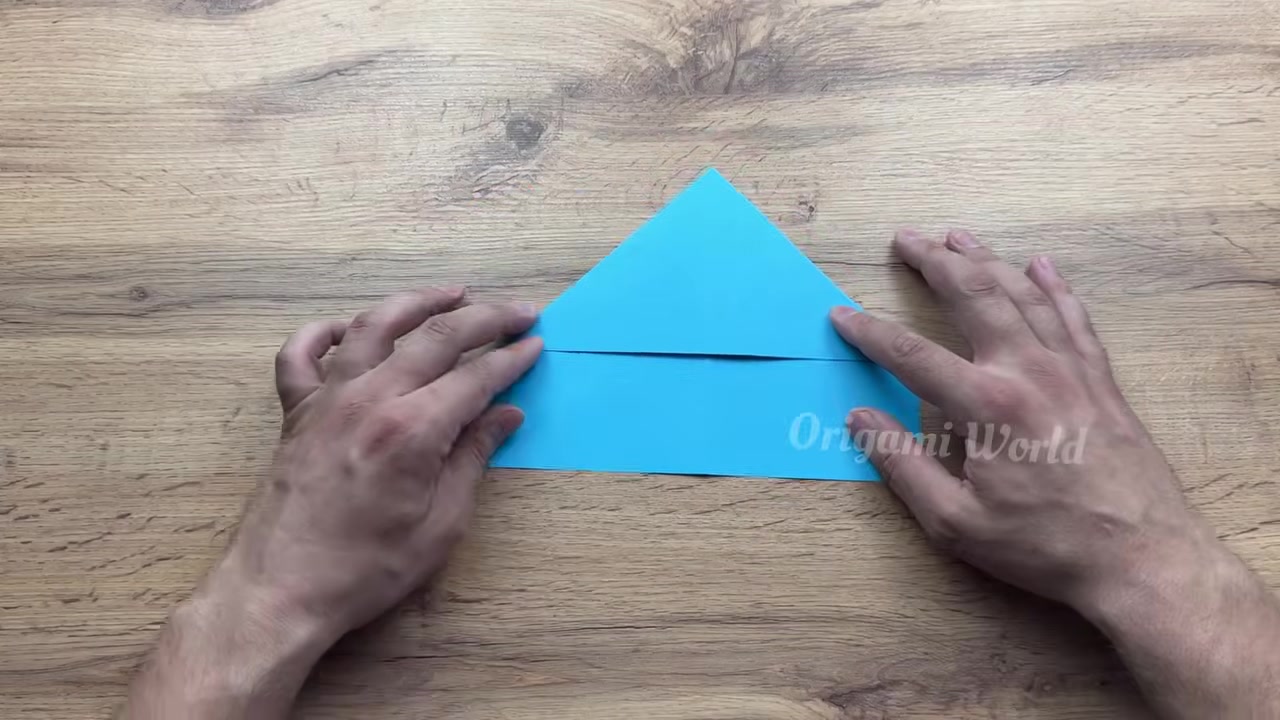
Bring the bottom rectangular section upward to meet the base of the triangle. Press the fold firmly so the body starts to lock together.
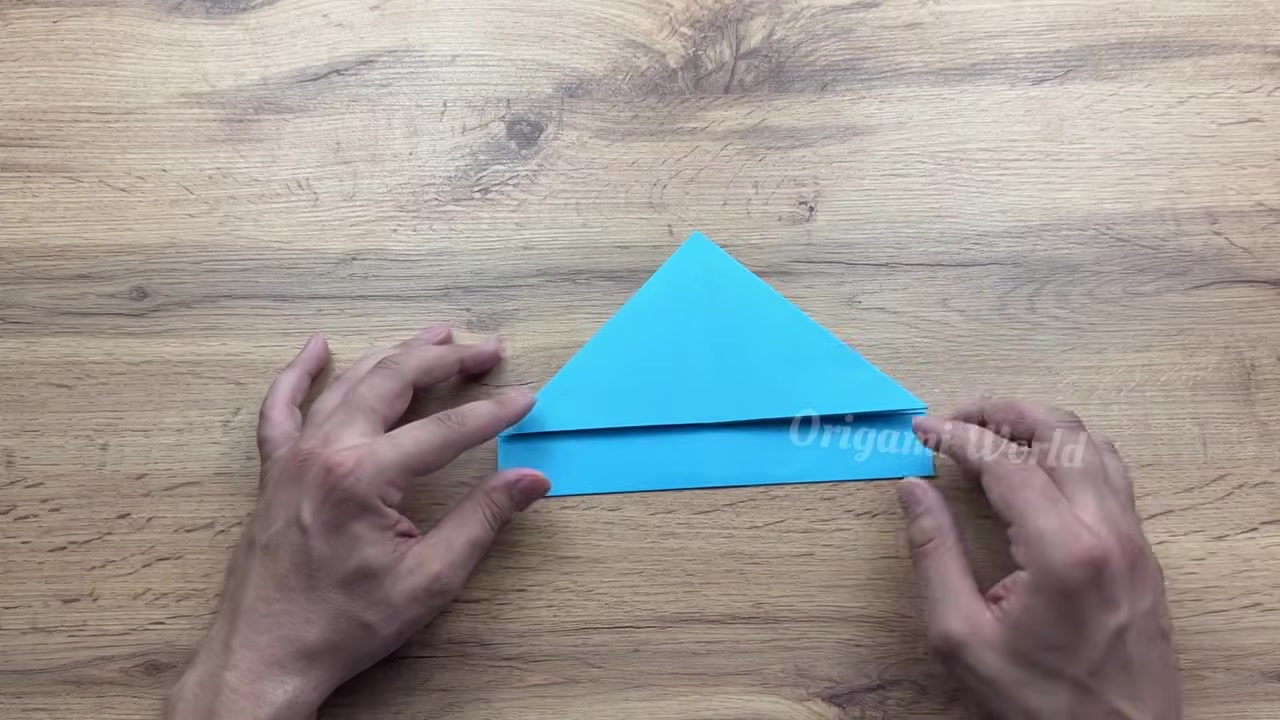
Take the left triangular layer and fold it inward along the centerline. Match the edge carefully to keep the jet straight and balanced.
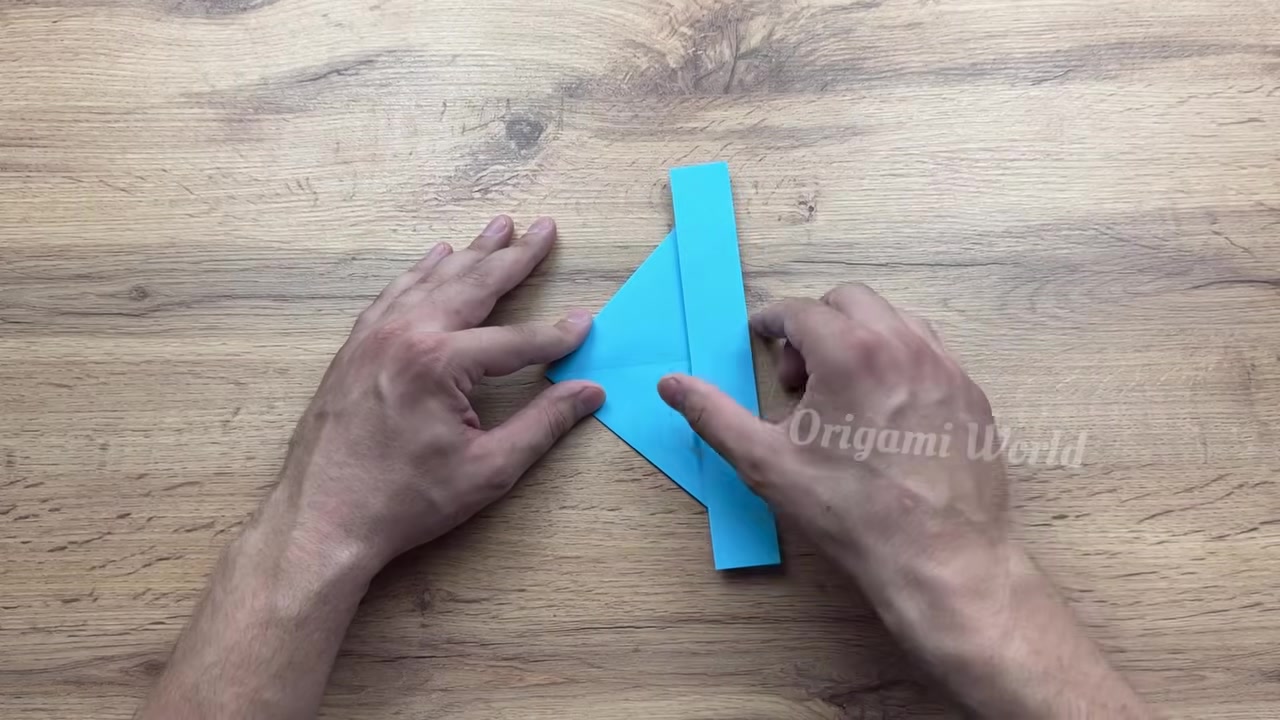
Fold the top edge layers downward horizontally to tighten the internal structure. Keep the fold flat and even so the fuselage stays compact.
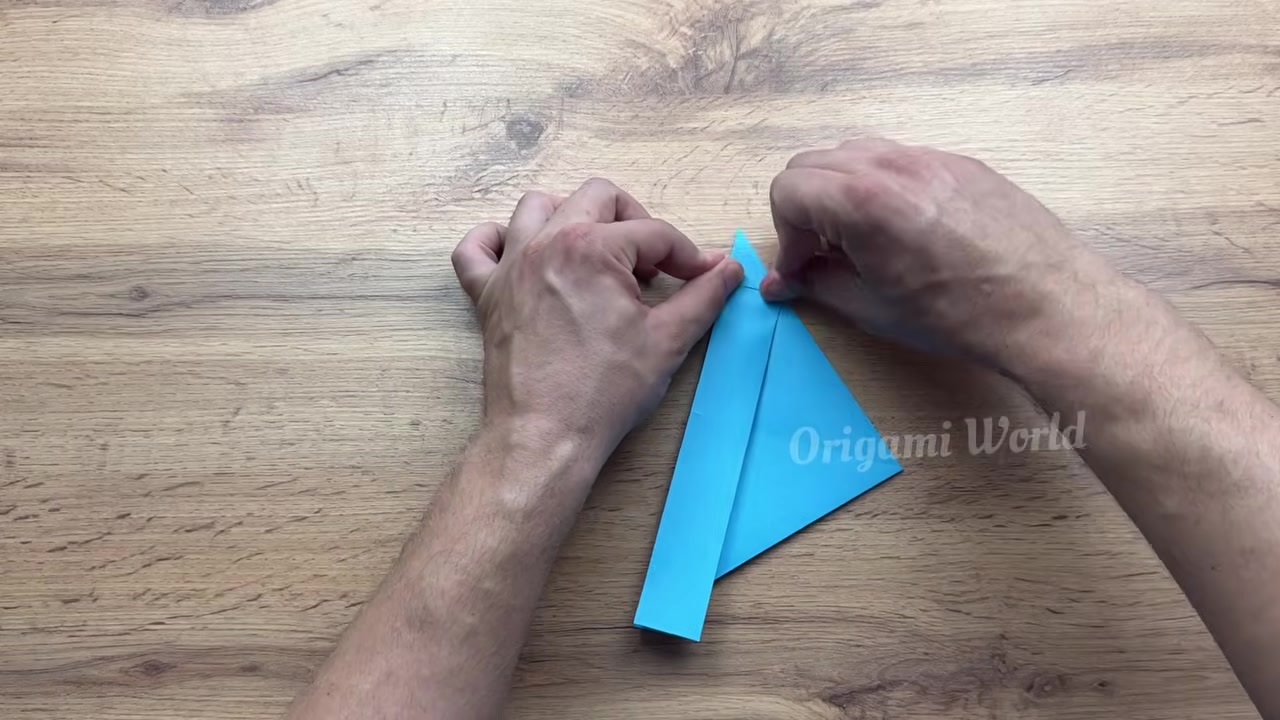
Mirror the left side by folding the right triangular layer inward toward the center crease. Press the edge firmly so both wings match.
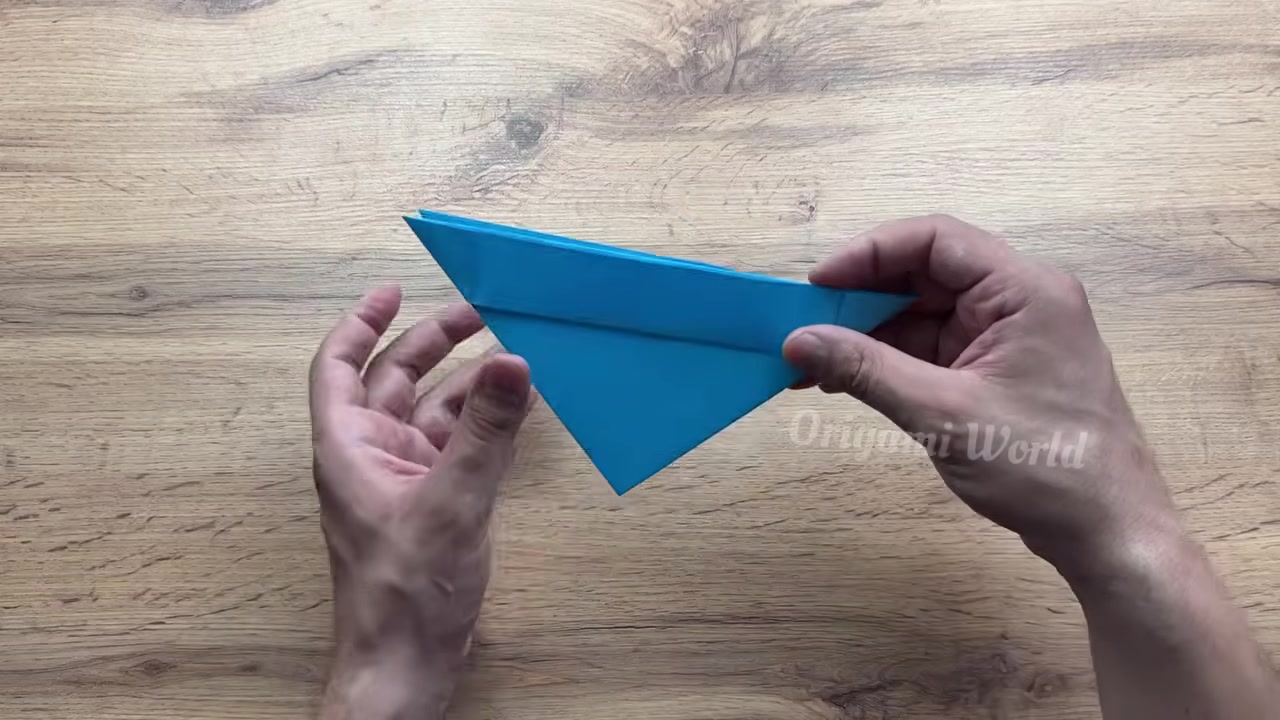
Lift and crease the right rear flap upward to form the first vertical tail stabilizer. Make it stand cleanly and keep the angle consistent.
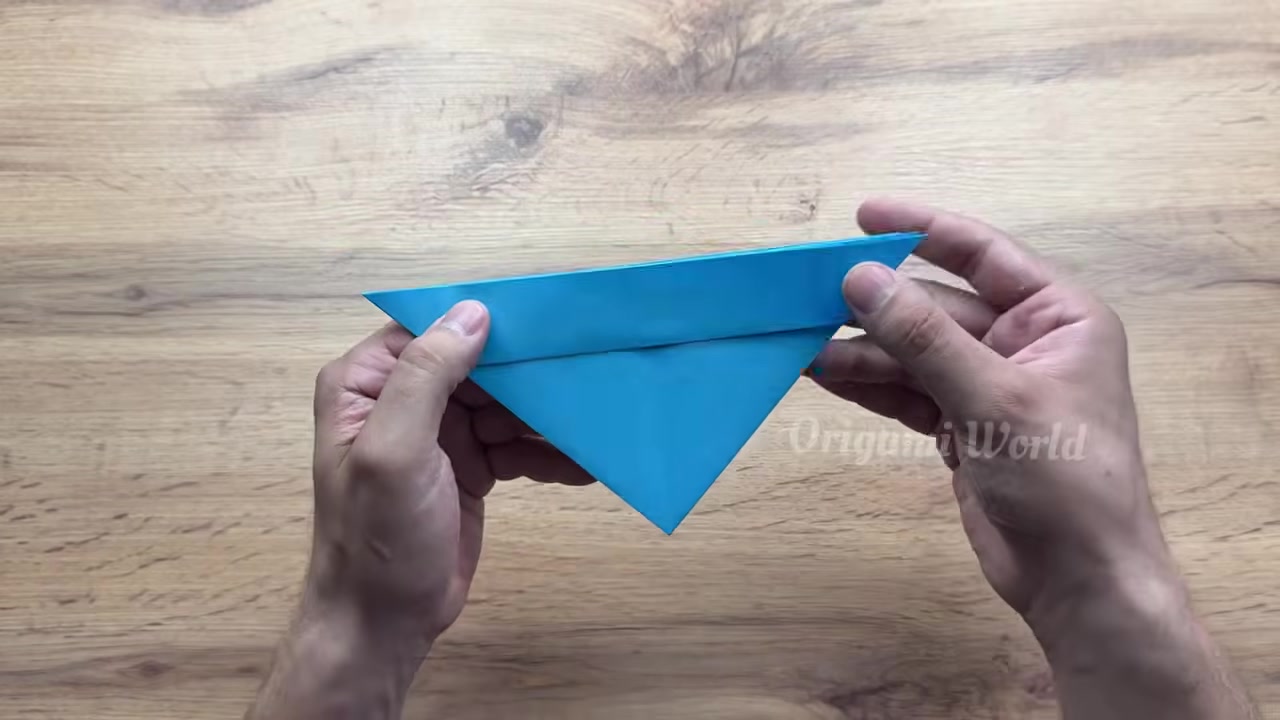
Repeat the same move on the left rear flap so both tail fins match. Check that they sit evenly and don’t lean too far inward.
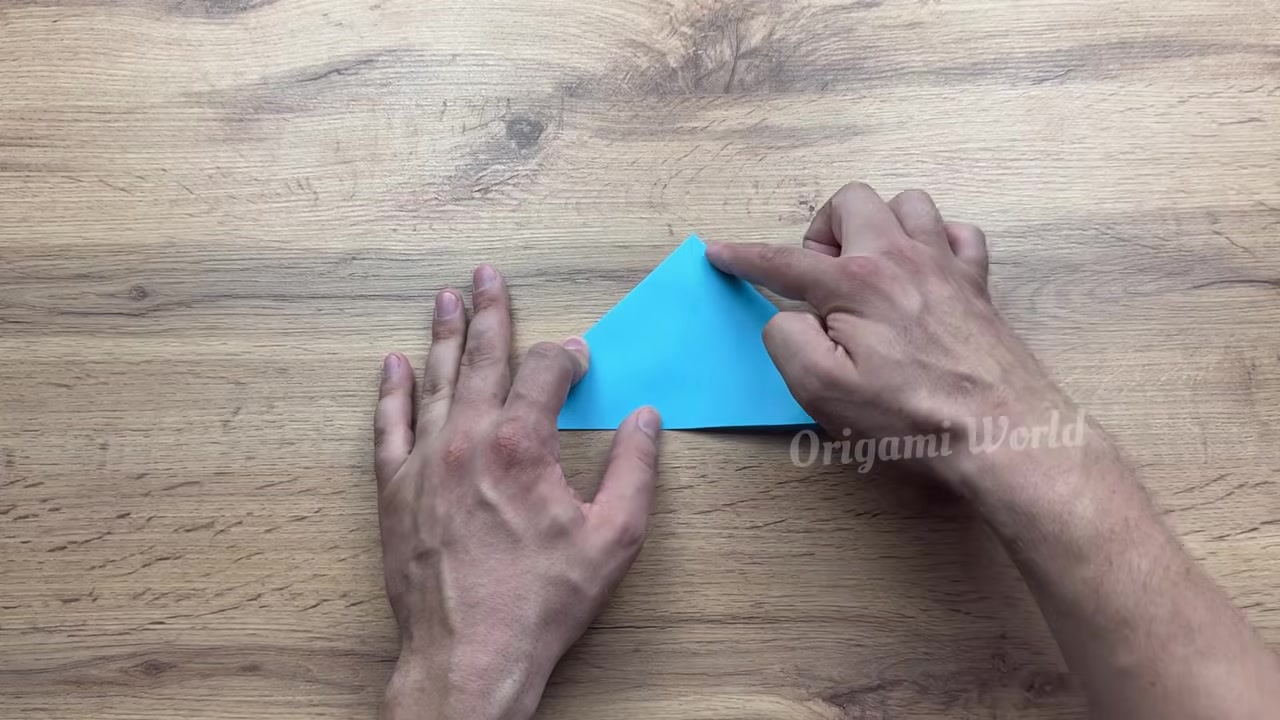
Fold the left outer diagonal edge toward the center to streamline the body. Keep the nose area tight and the fold line sharp.
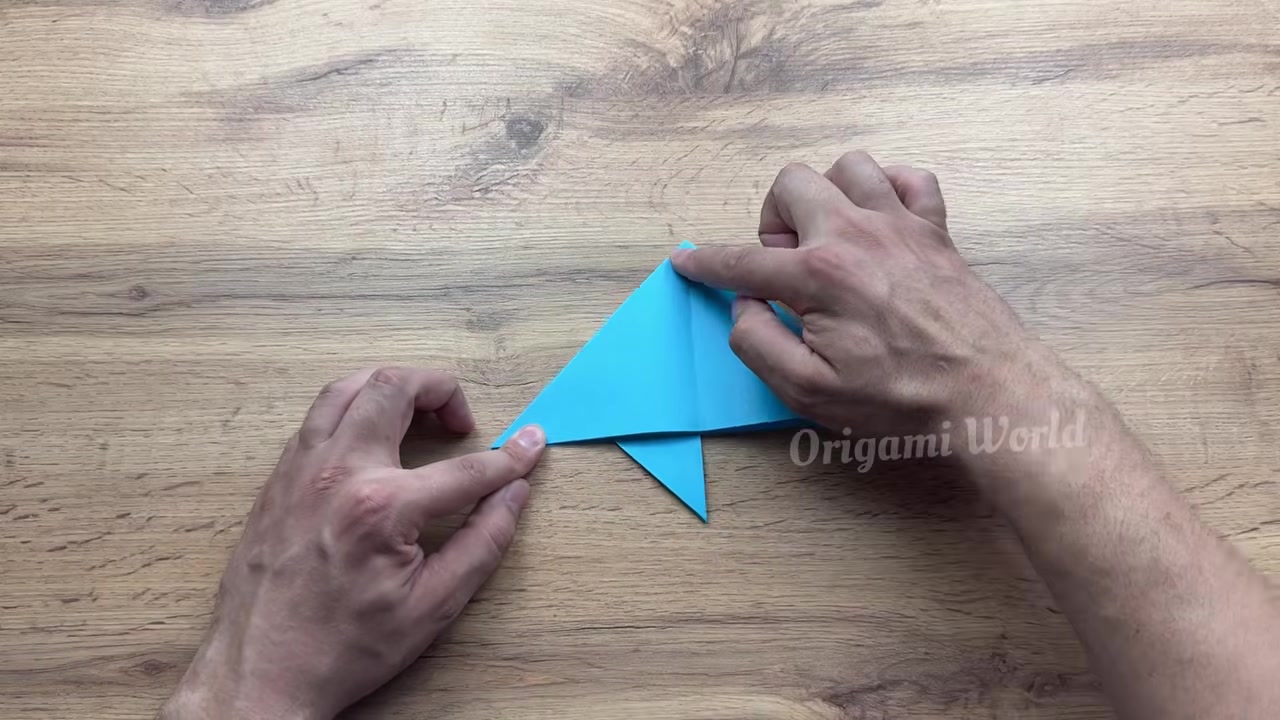
Mirror the previous fold on the right side so the jet stays symmetrical. Press both sides flat to keep the body sleek.
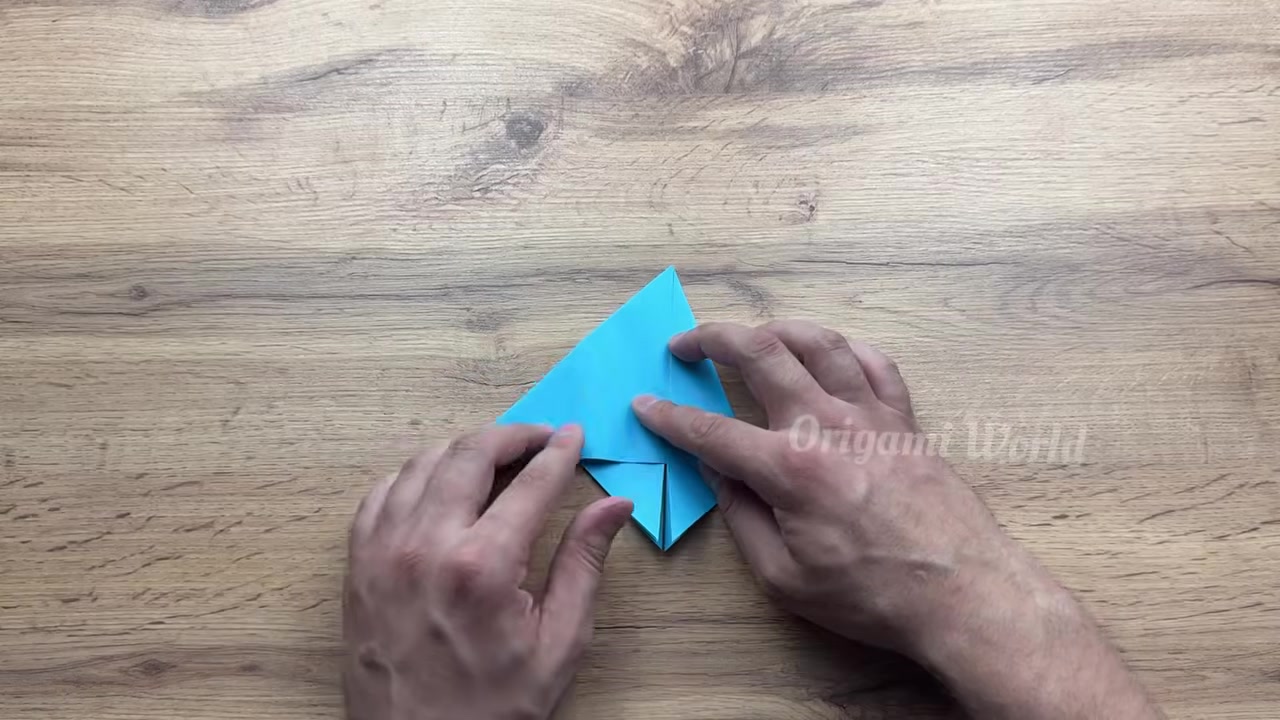
Fold up the small trailing-edge tab on the right wing to create a winglet or elevator. Give it a slight upward angle for better flight.
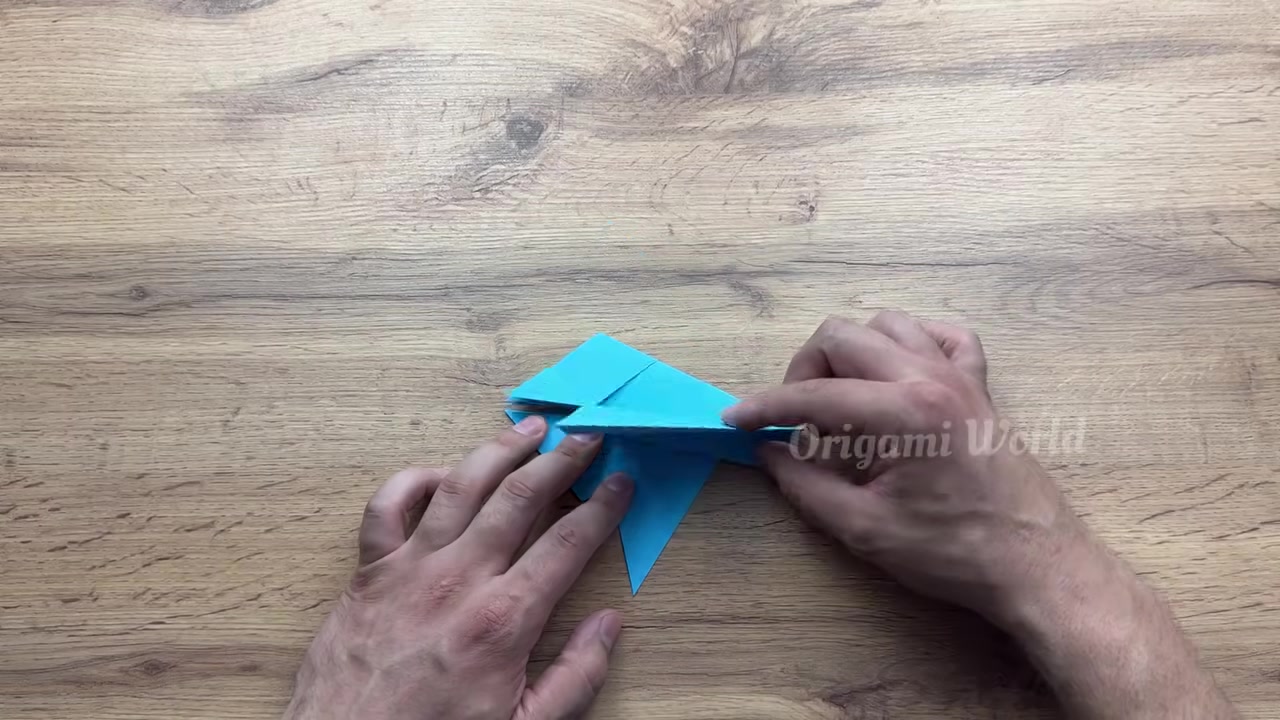
Repeat the same small fold on the left wing. Match the angle to the right side so the plane doesn’t pull to one side.
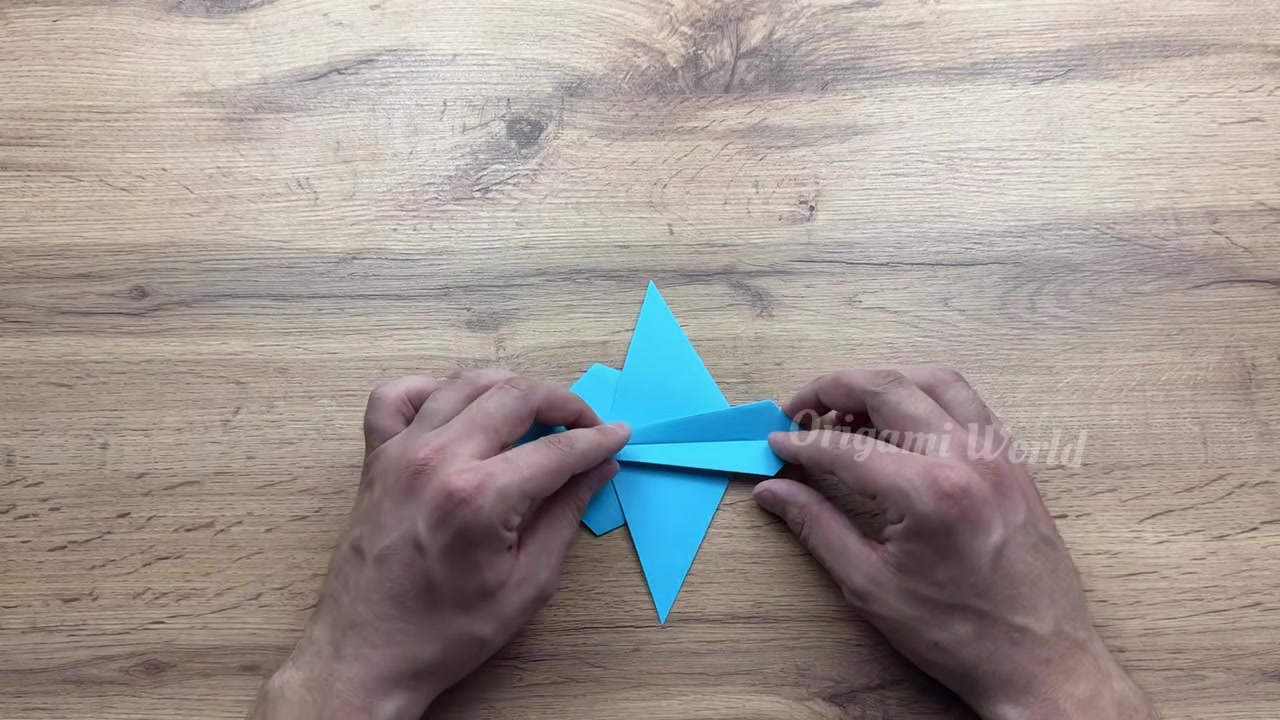
Tuck and crease the nose point layers so the center fuselage locks together securely. Press the front firmly so the tip stays tight.
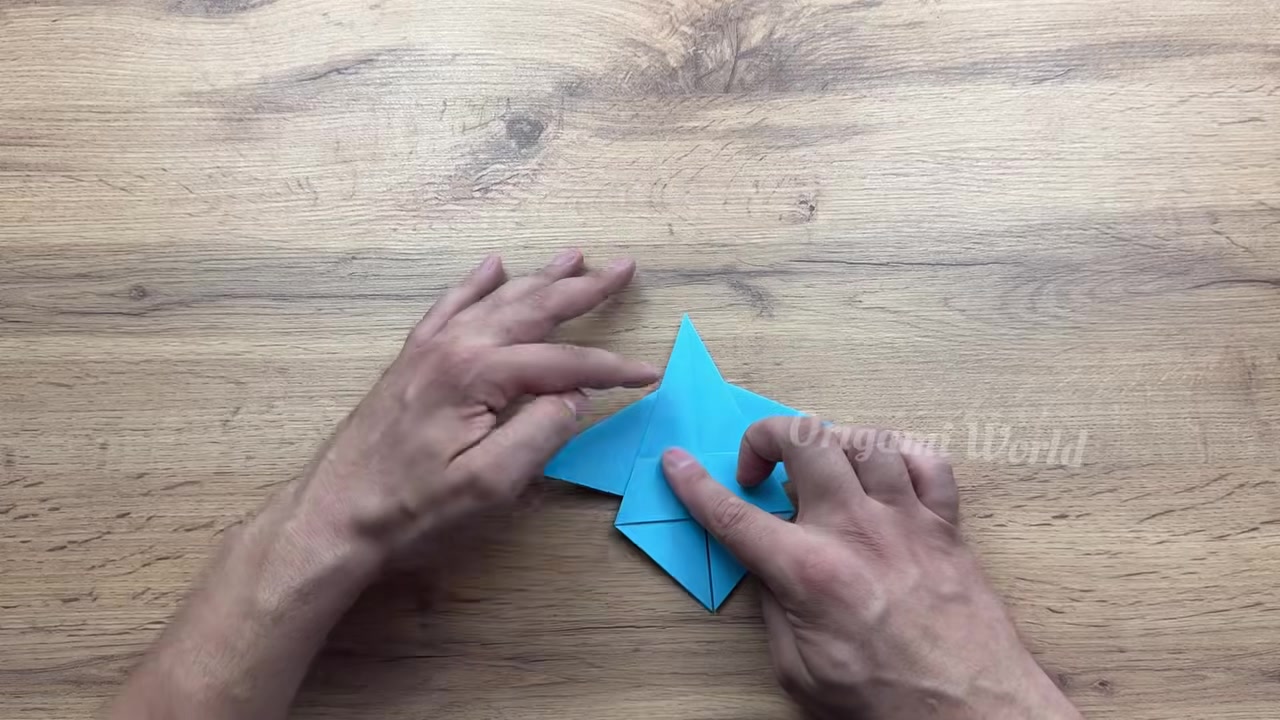
Raise both vertical tail fins so they stand perpendicular to the wings, then give them a slight outward cant. This helps the jet stay stable in the air.
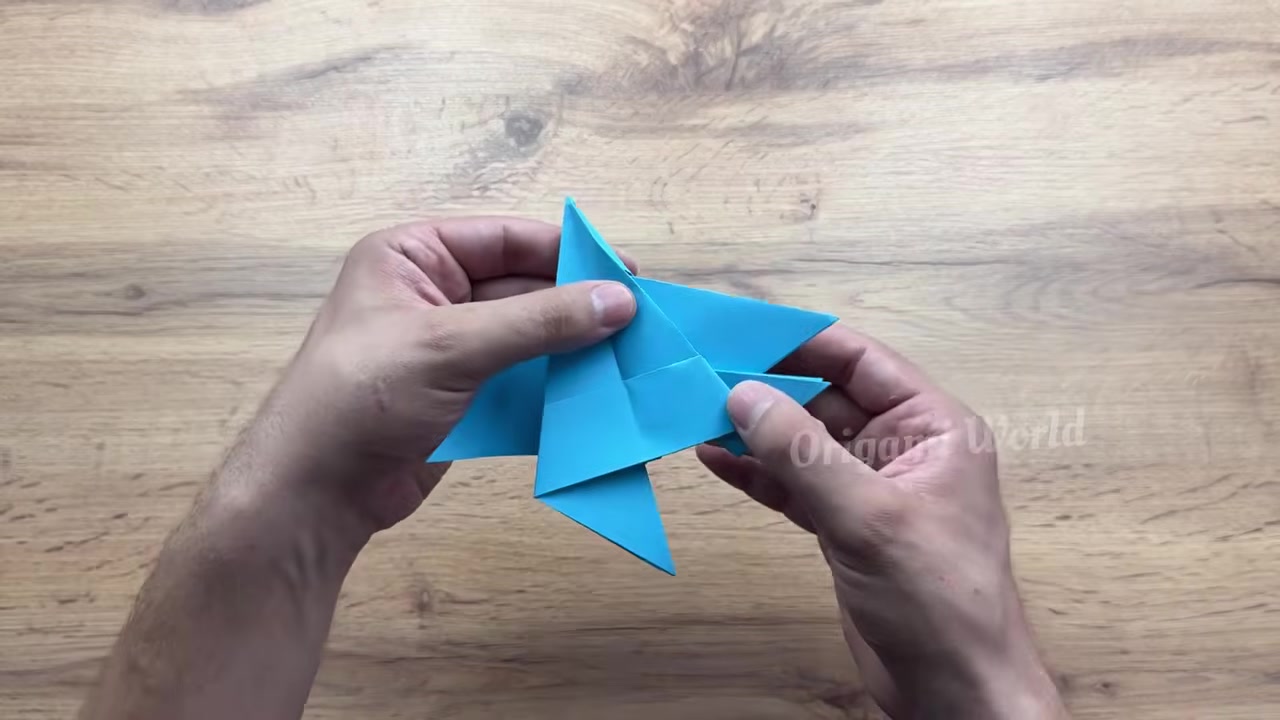
Mountain-fold along the central spine to shape the grip keel and body profile. Keep the fold centered so the jet feels solid in your hand.
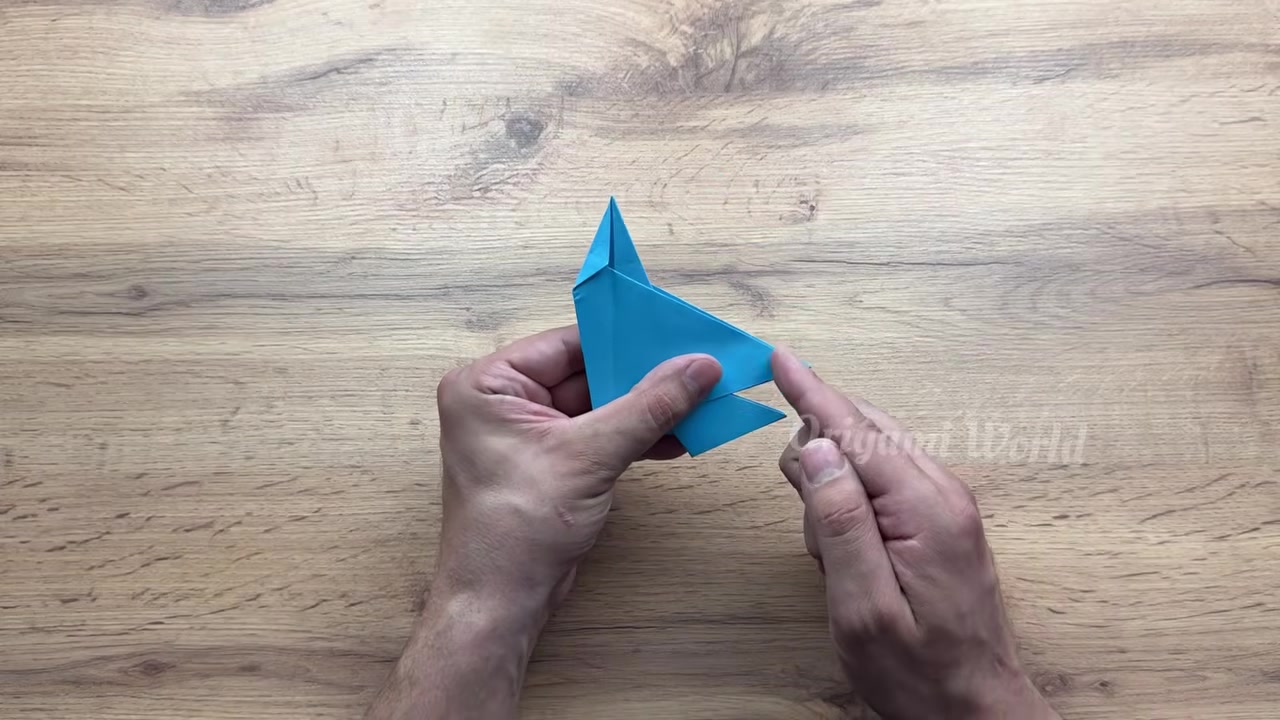
Make tiny adjustments to the trailing edges and rear elevator tabs on both wings. Small changes matter here, so bend a little at a time.
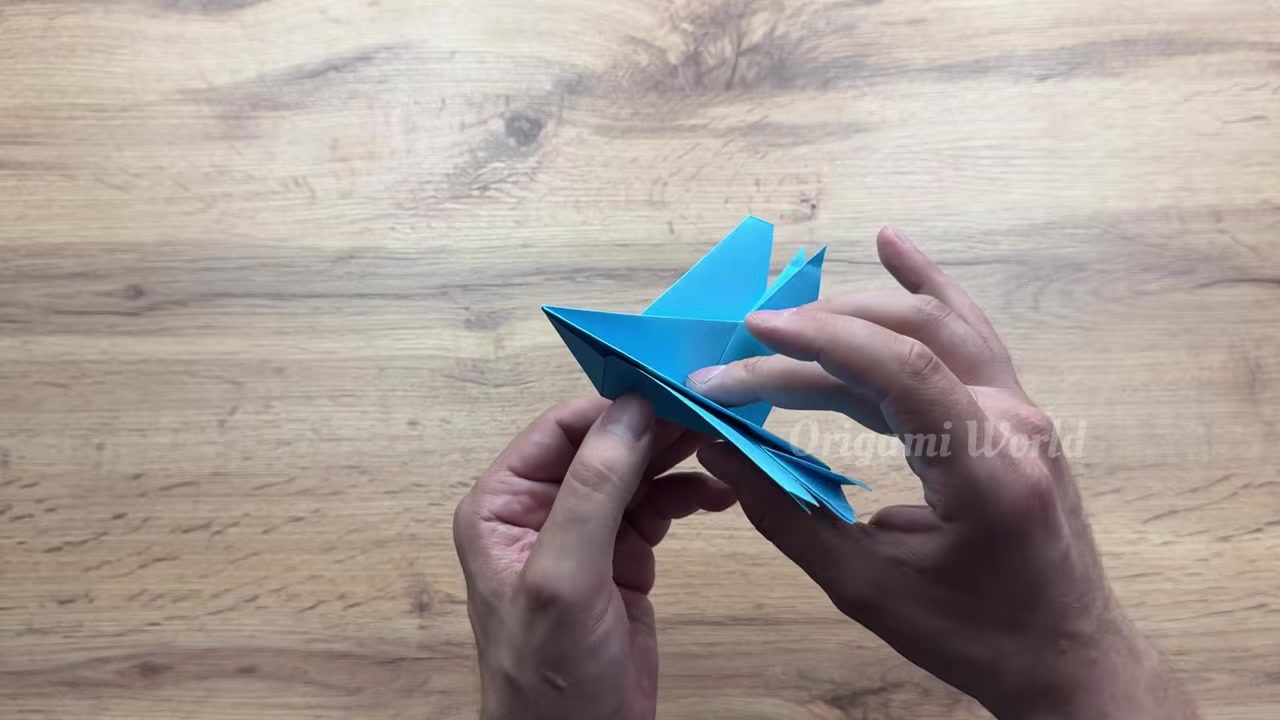
Open and shape the central intake folds underneath the forward fuselage. Work slowly so the front stays neat and the body doesn’t buckle.
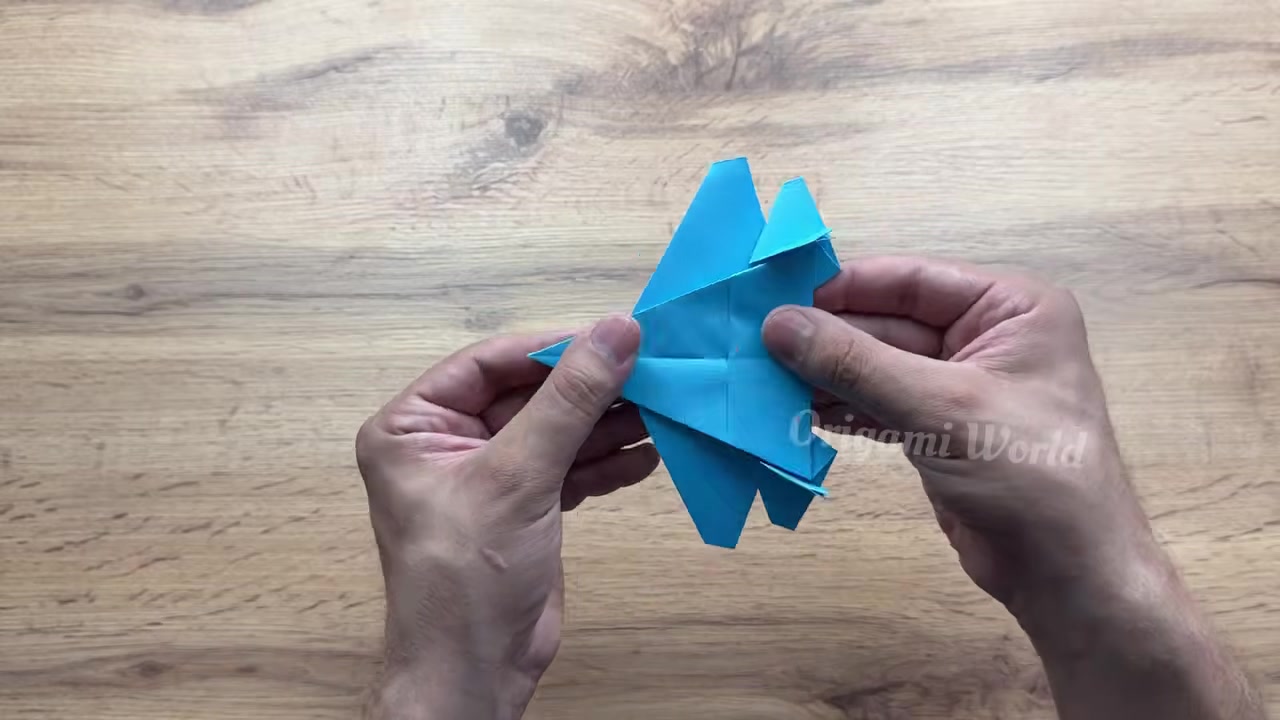
Adjust both wings into a slight upward V-shape. This dihedral helps the jet glide straighter and recover better in flight.
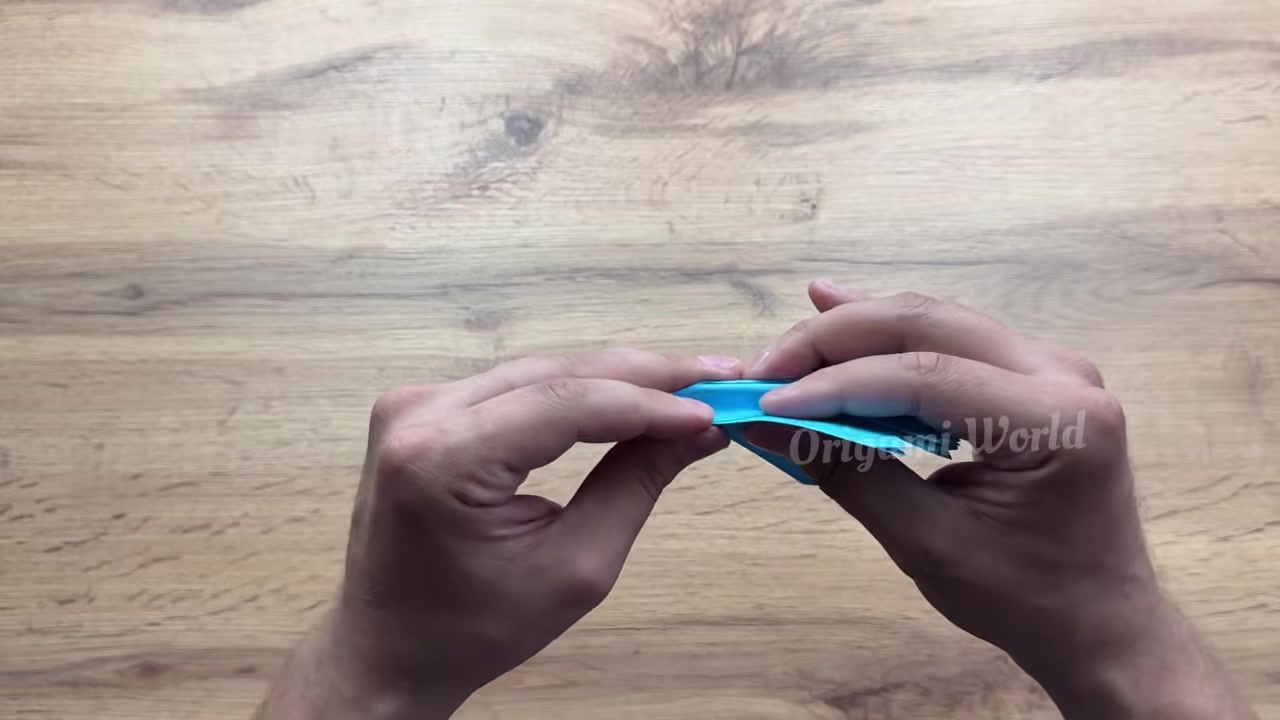
Compare both wings, tail fins, and the nose from front to back. Make tiny corrections now so the jet flies cleanly instead of veering off.
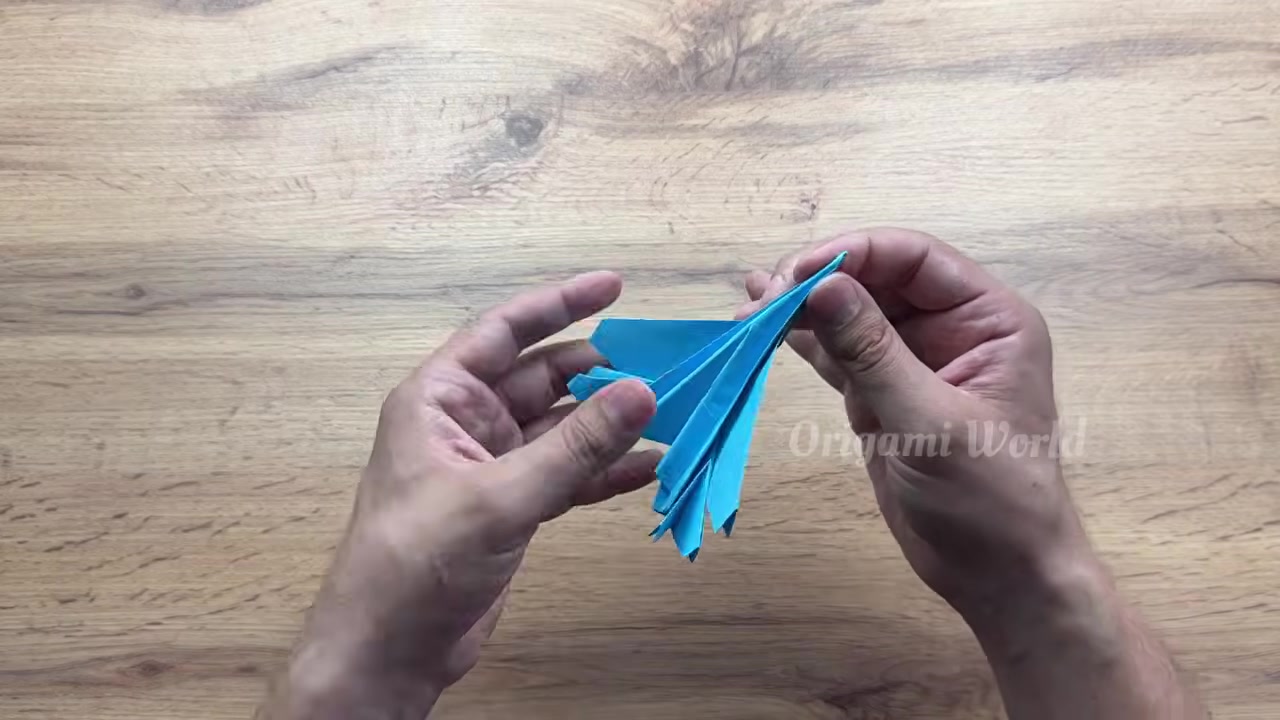
Hold up the completed origami fighter jet and show it from a few angles. Give the wings one last look and you’re ready for a test glide.
Real-world answers for busy mornings, active recess hold, and tear-free removal.
Usually the nose is too heavy or the rear wing tips are flat. Recheck symmetry, then bend the rear wing tips slightly upward to help the jet glide instead of dropping.
Fold one side, then mirror it exactly on the other side using the center crease as your guide. If one wing looks off, reopen and correct it before pressing hard.
Yes. A standard A4 sheet works perfectly for this jet, and it’s actually the paper used in the timeline.
Go back to the nose and center flap area, then press the tuck and crease again. A firmer lock at the front usually tightens the whole body.
 Level 3: Superhero Dad
How to Fold a Long-Distance Paper Airplane That Flies Fast
A sleek origami jet that folds from one sheet into a fast, stable flyer with crisp creases and easy wing tuning.
1 sheet of A4 printer paper or square origami paper
 Level 3: Superhero Dad
How to Make a Paper Tank That Shoots (Easy Step-by-Step Toy)
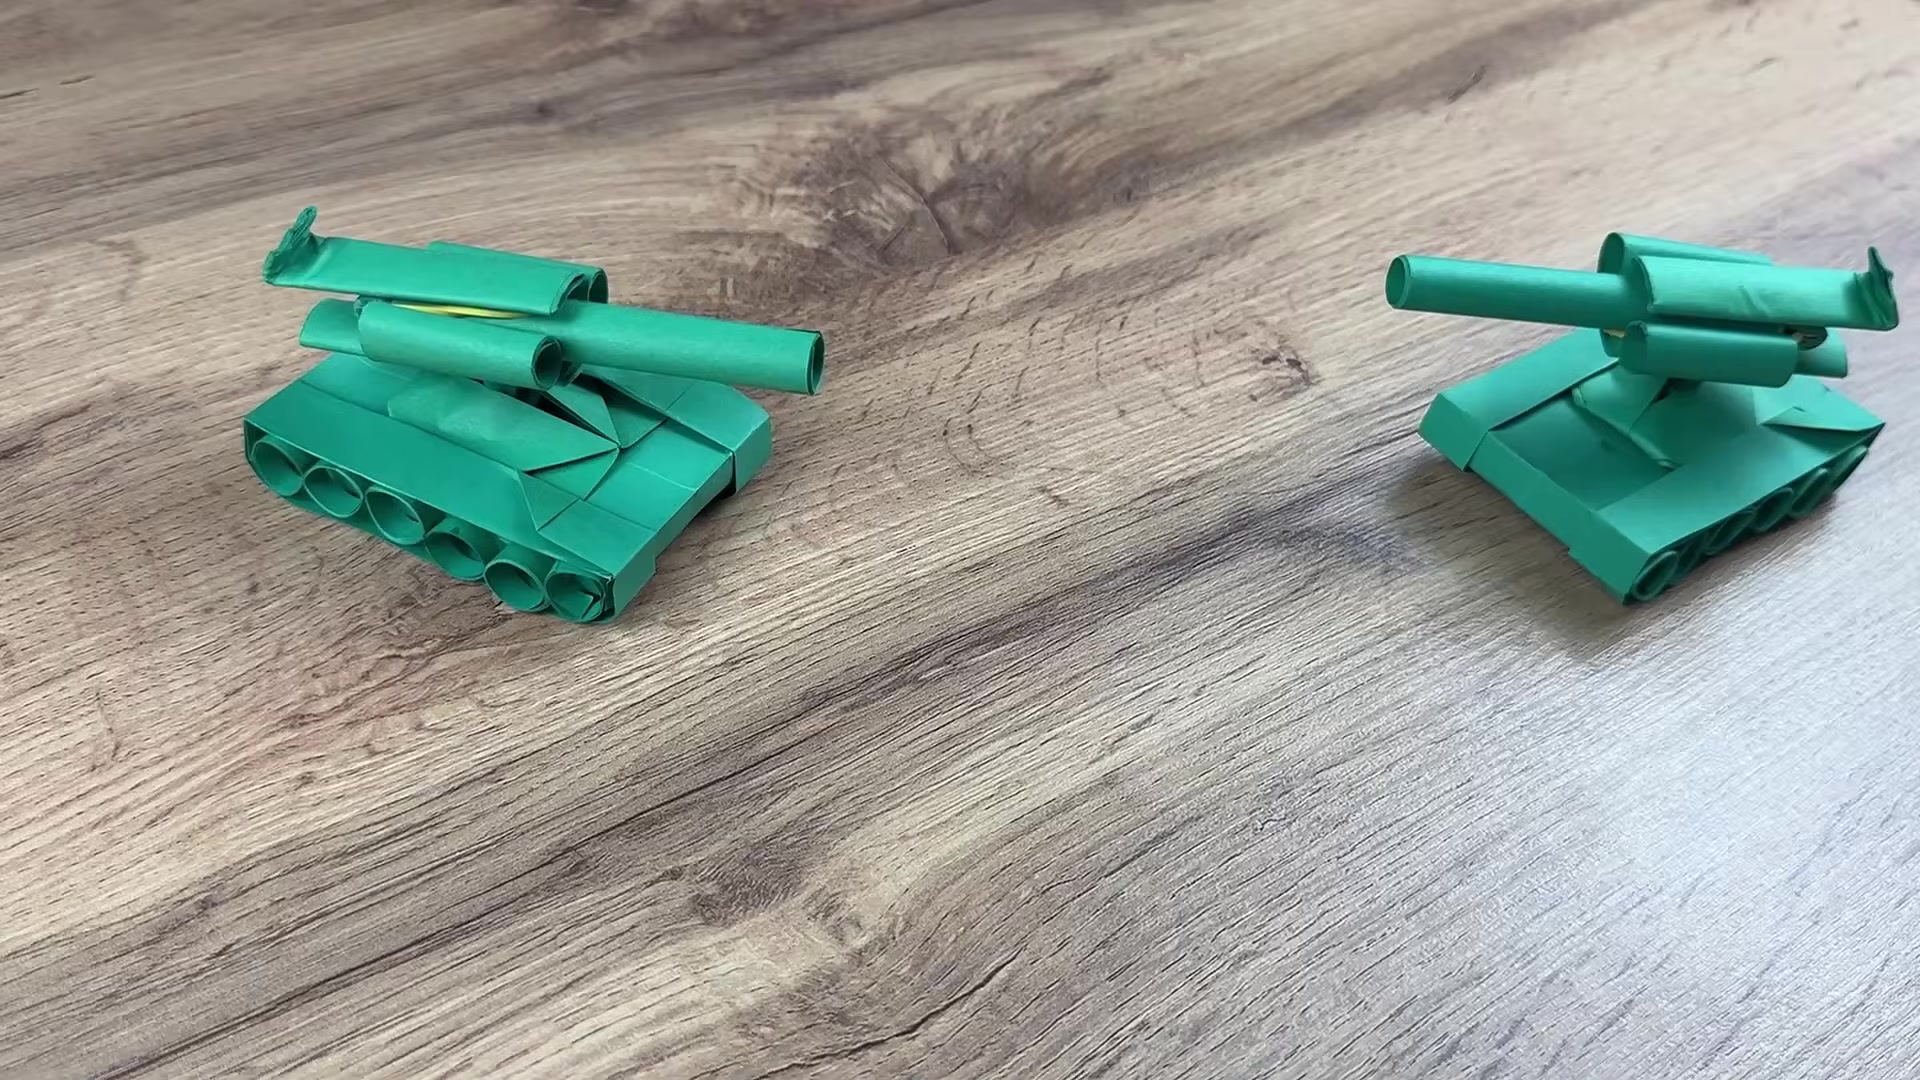
A fold-and-build paper tank that rolls, swivels, and fires a paper bullet using simple paper parts.
1 green A4 paper sheet cut in half lengthwise
 Level 2: Handy Dad
How to Make an Origami Ninja Star: Easy Step-by-Step for Kids
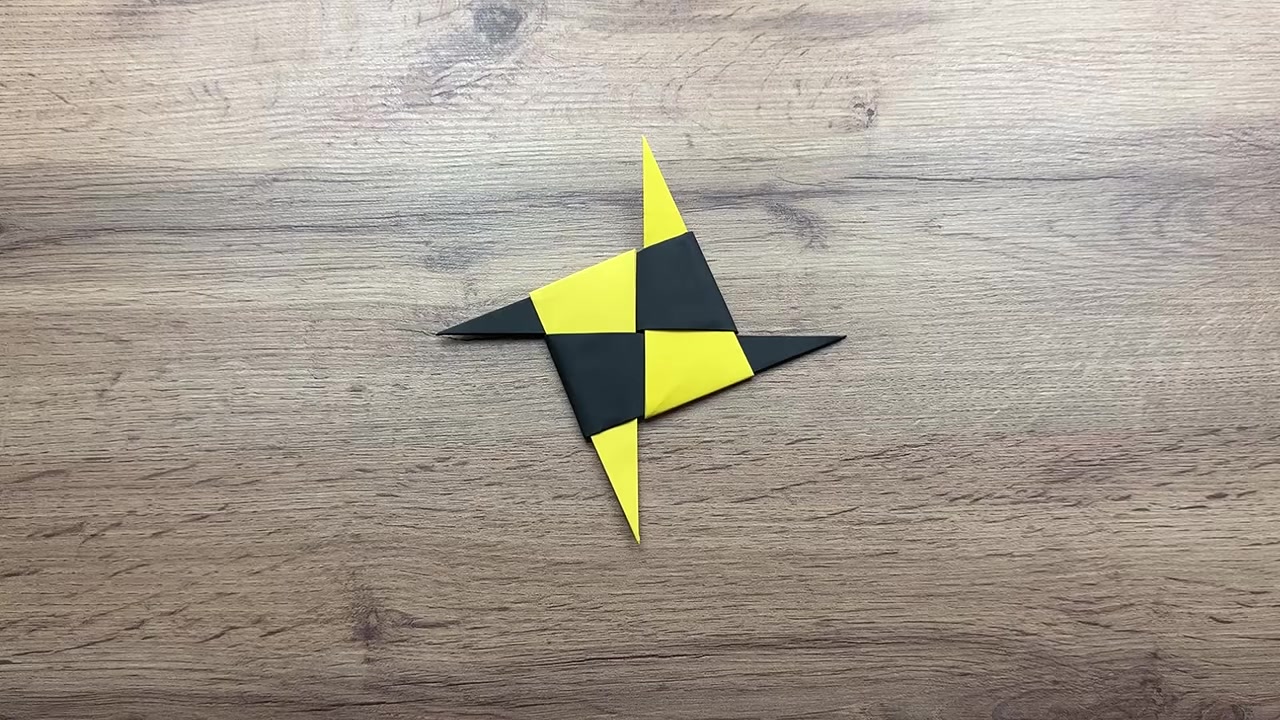
A classic 4-point paper ninja star folded from simple square sheets and locked together for a sharp, satisfying finish.
4 sheets of square origami paper (two colors recommended)
 Level 2: Handy Dad
How to Make a Princess Heart Bun: Easy 5-Minute Girl Hairstyle
A sweet heart-shaped bun that looks polished, stays put, and gives Dad a big win fast.
Soft snag-free elastic band