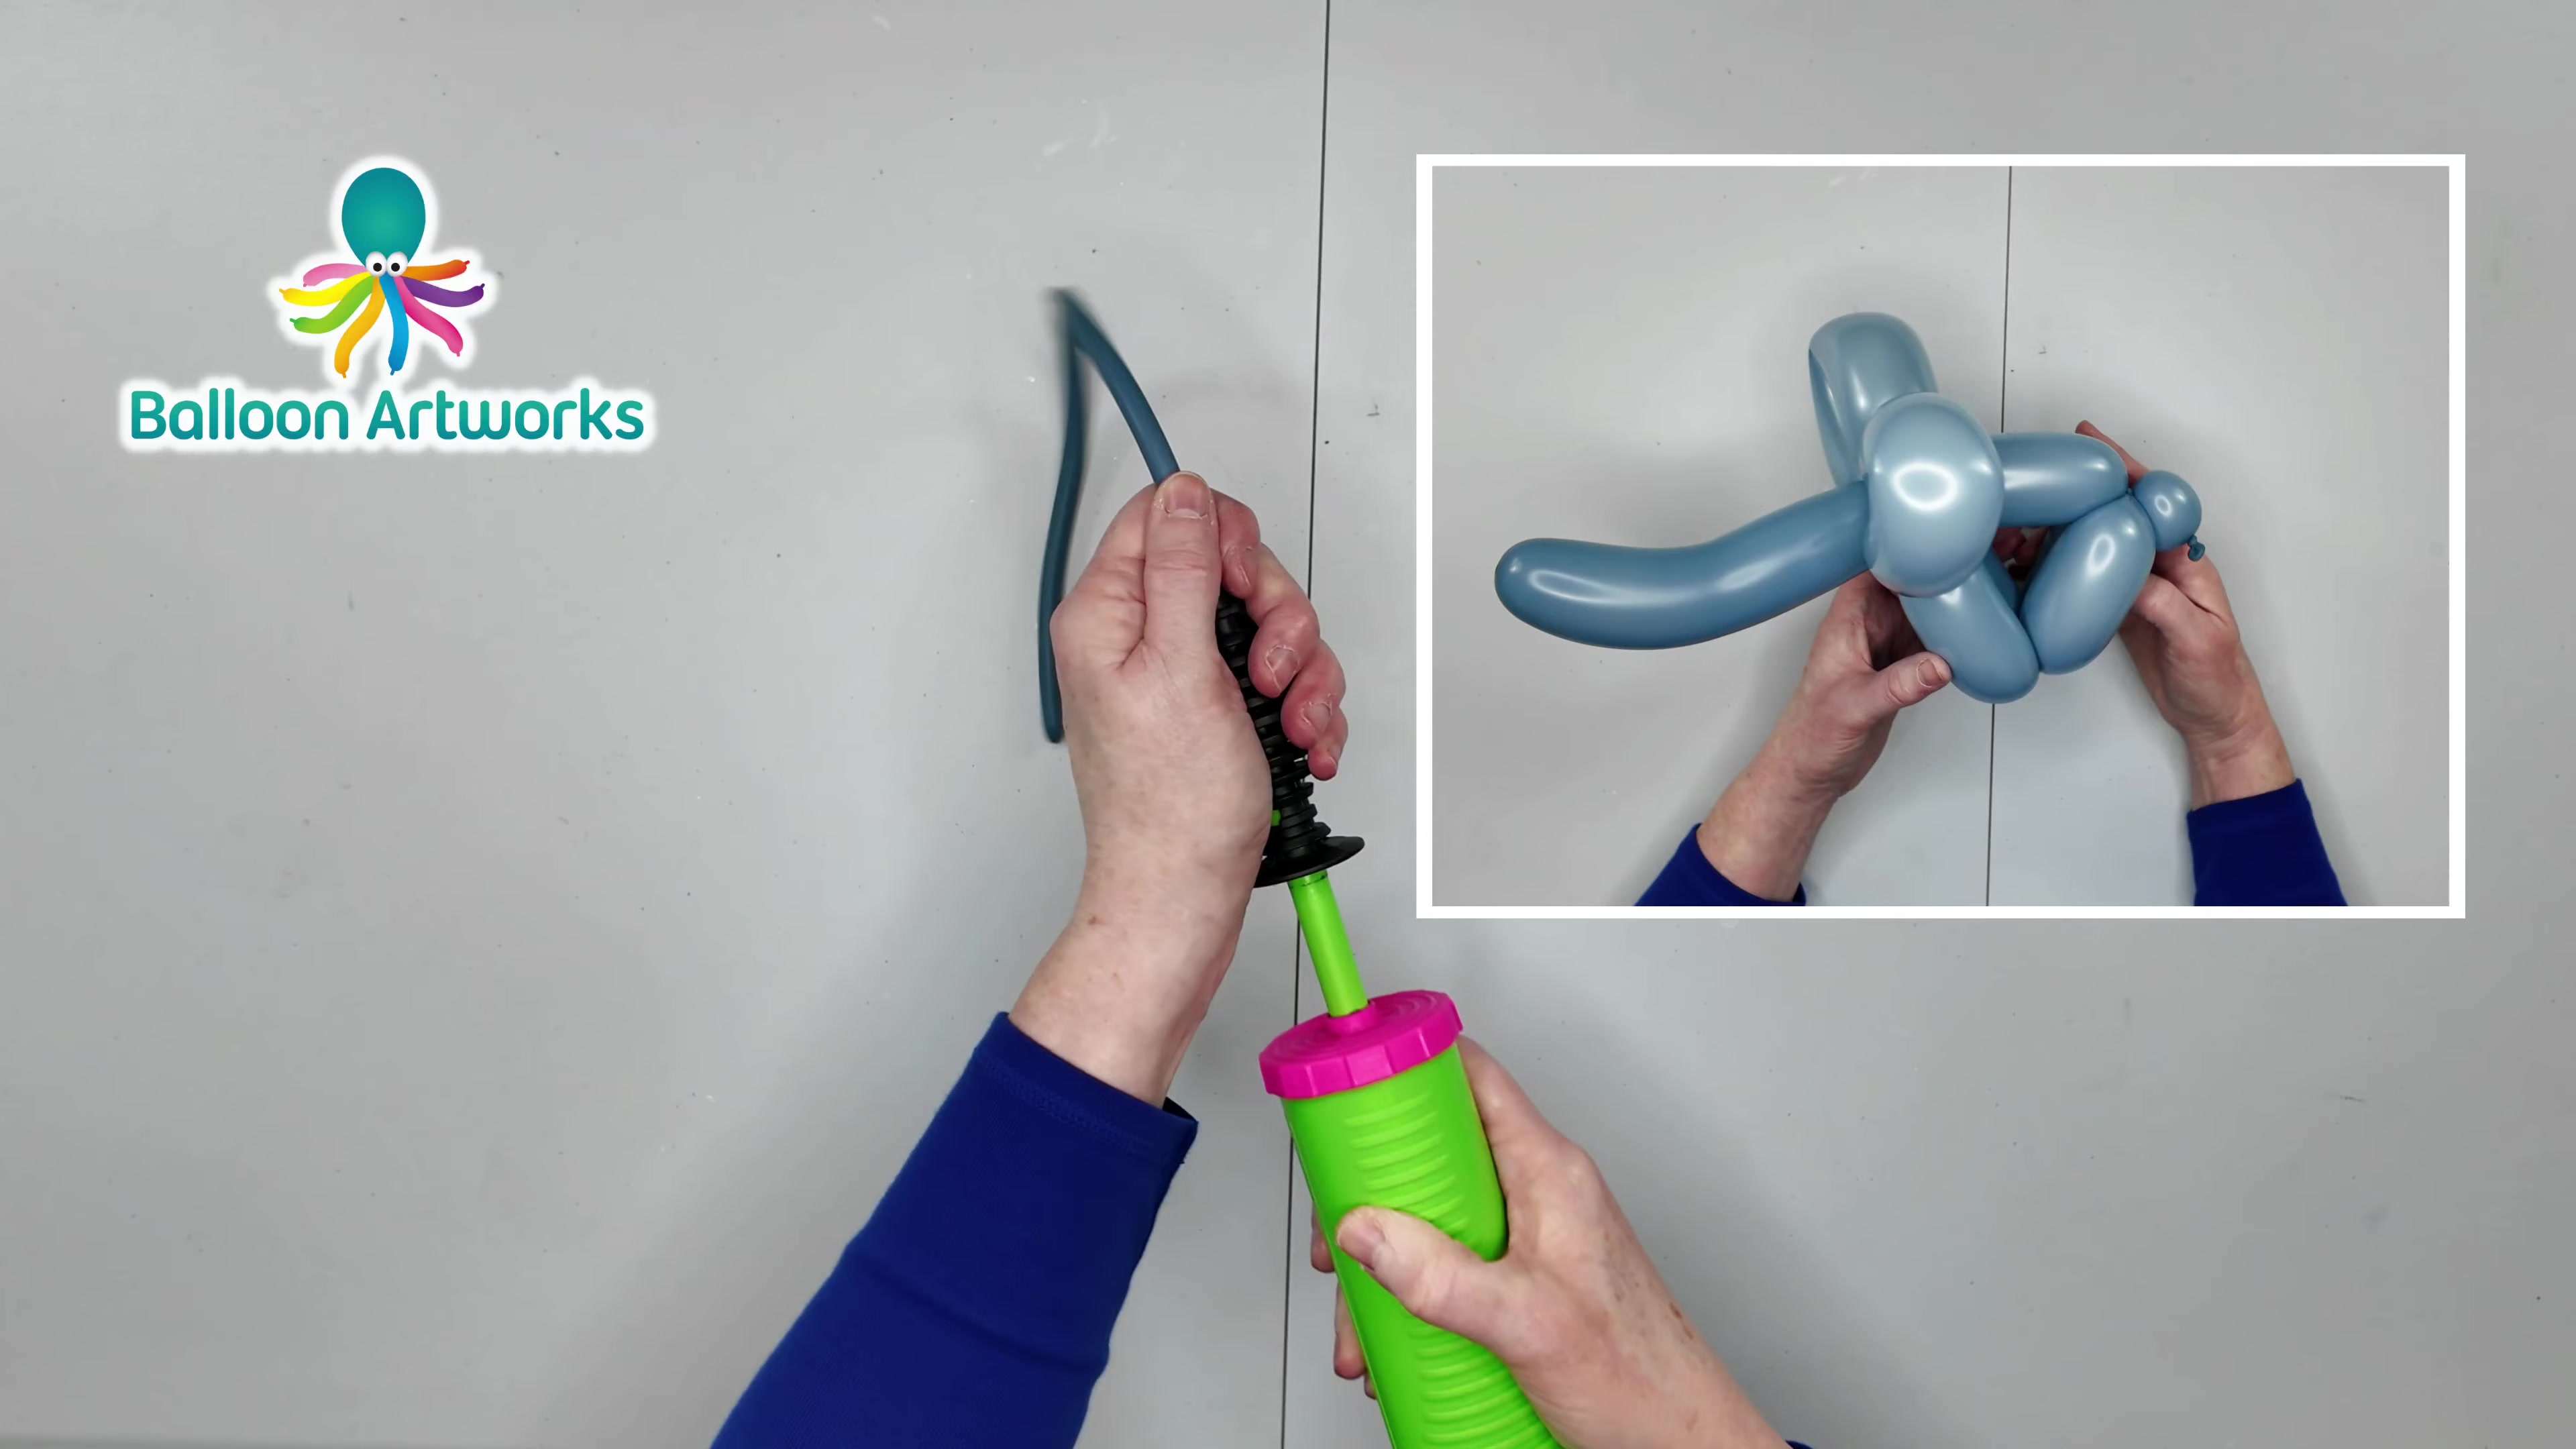
Balloon Animals & Sculpting 03:47 Level 2: Handy Dad Big Kids (6+ Years)

How to Twist a Balloon Puppy: Easy 1-Balloon Sculpt for Dads

A quick, kid-pleasing balloon puppy you can build in one smooth run with no guesswork and fewer pops.

Step-by-Step Instructions

12 Simple Steps
Step 1: Inflate and Leave a Soft Tail

01 Inflate and Leave a Soft Tail

00:00 - 00:11

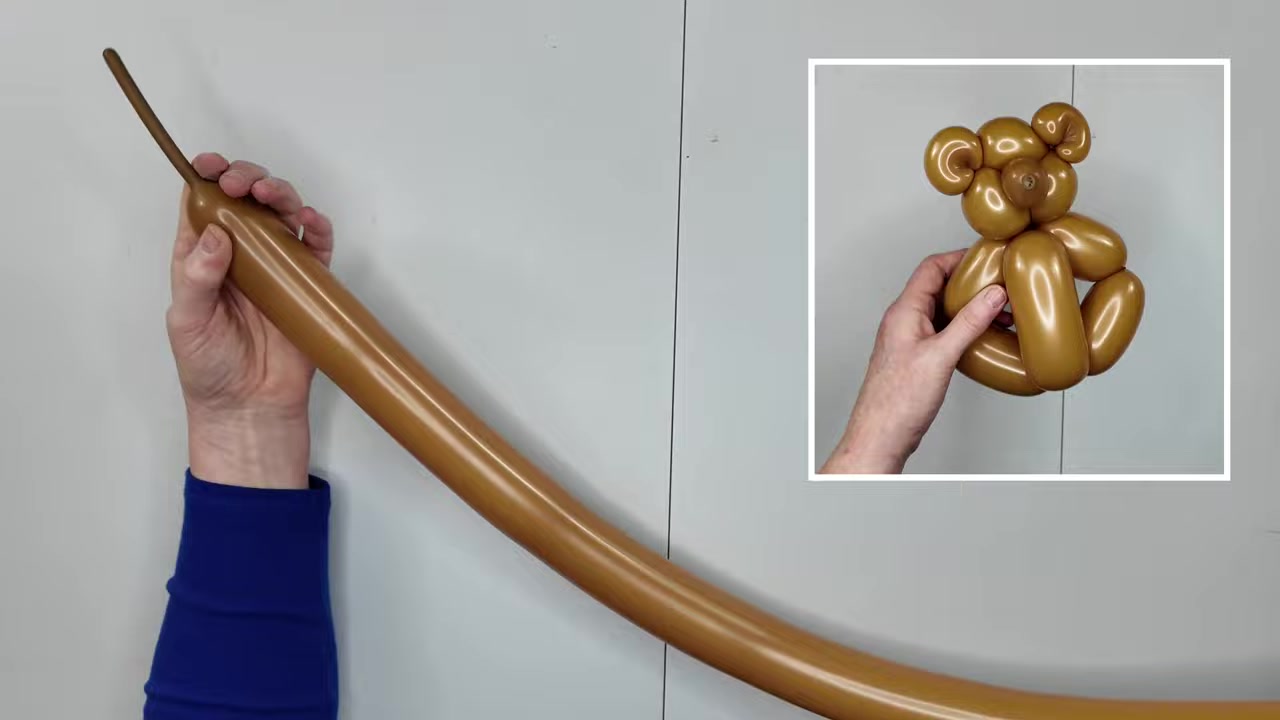
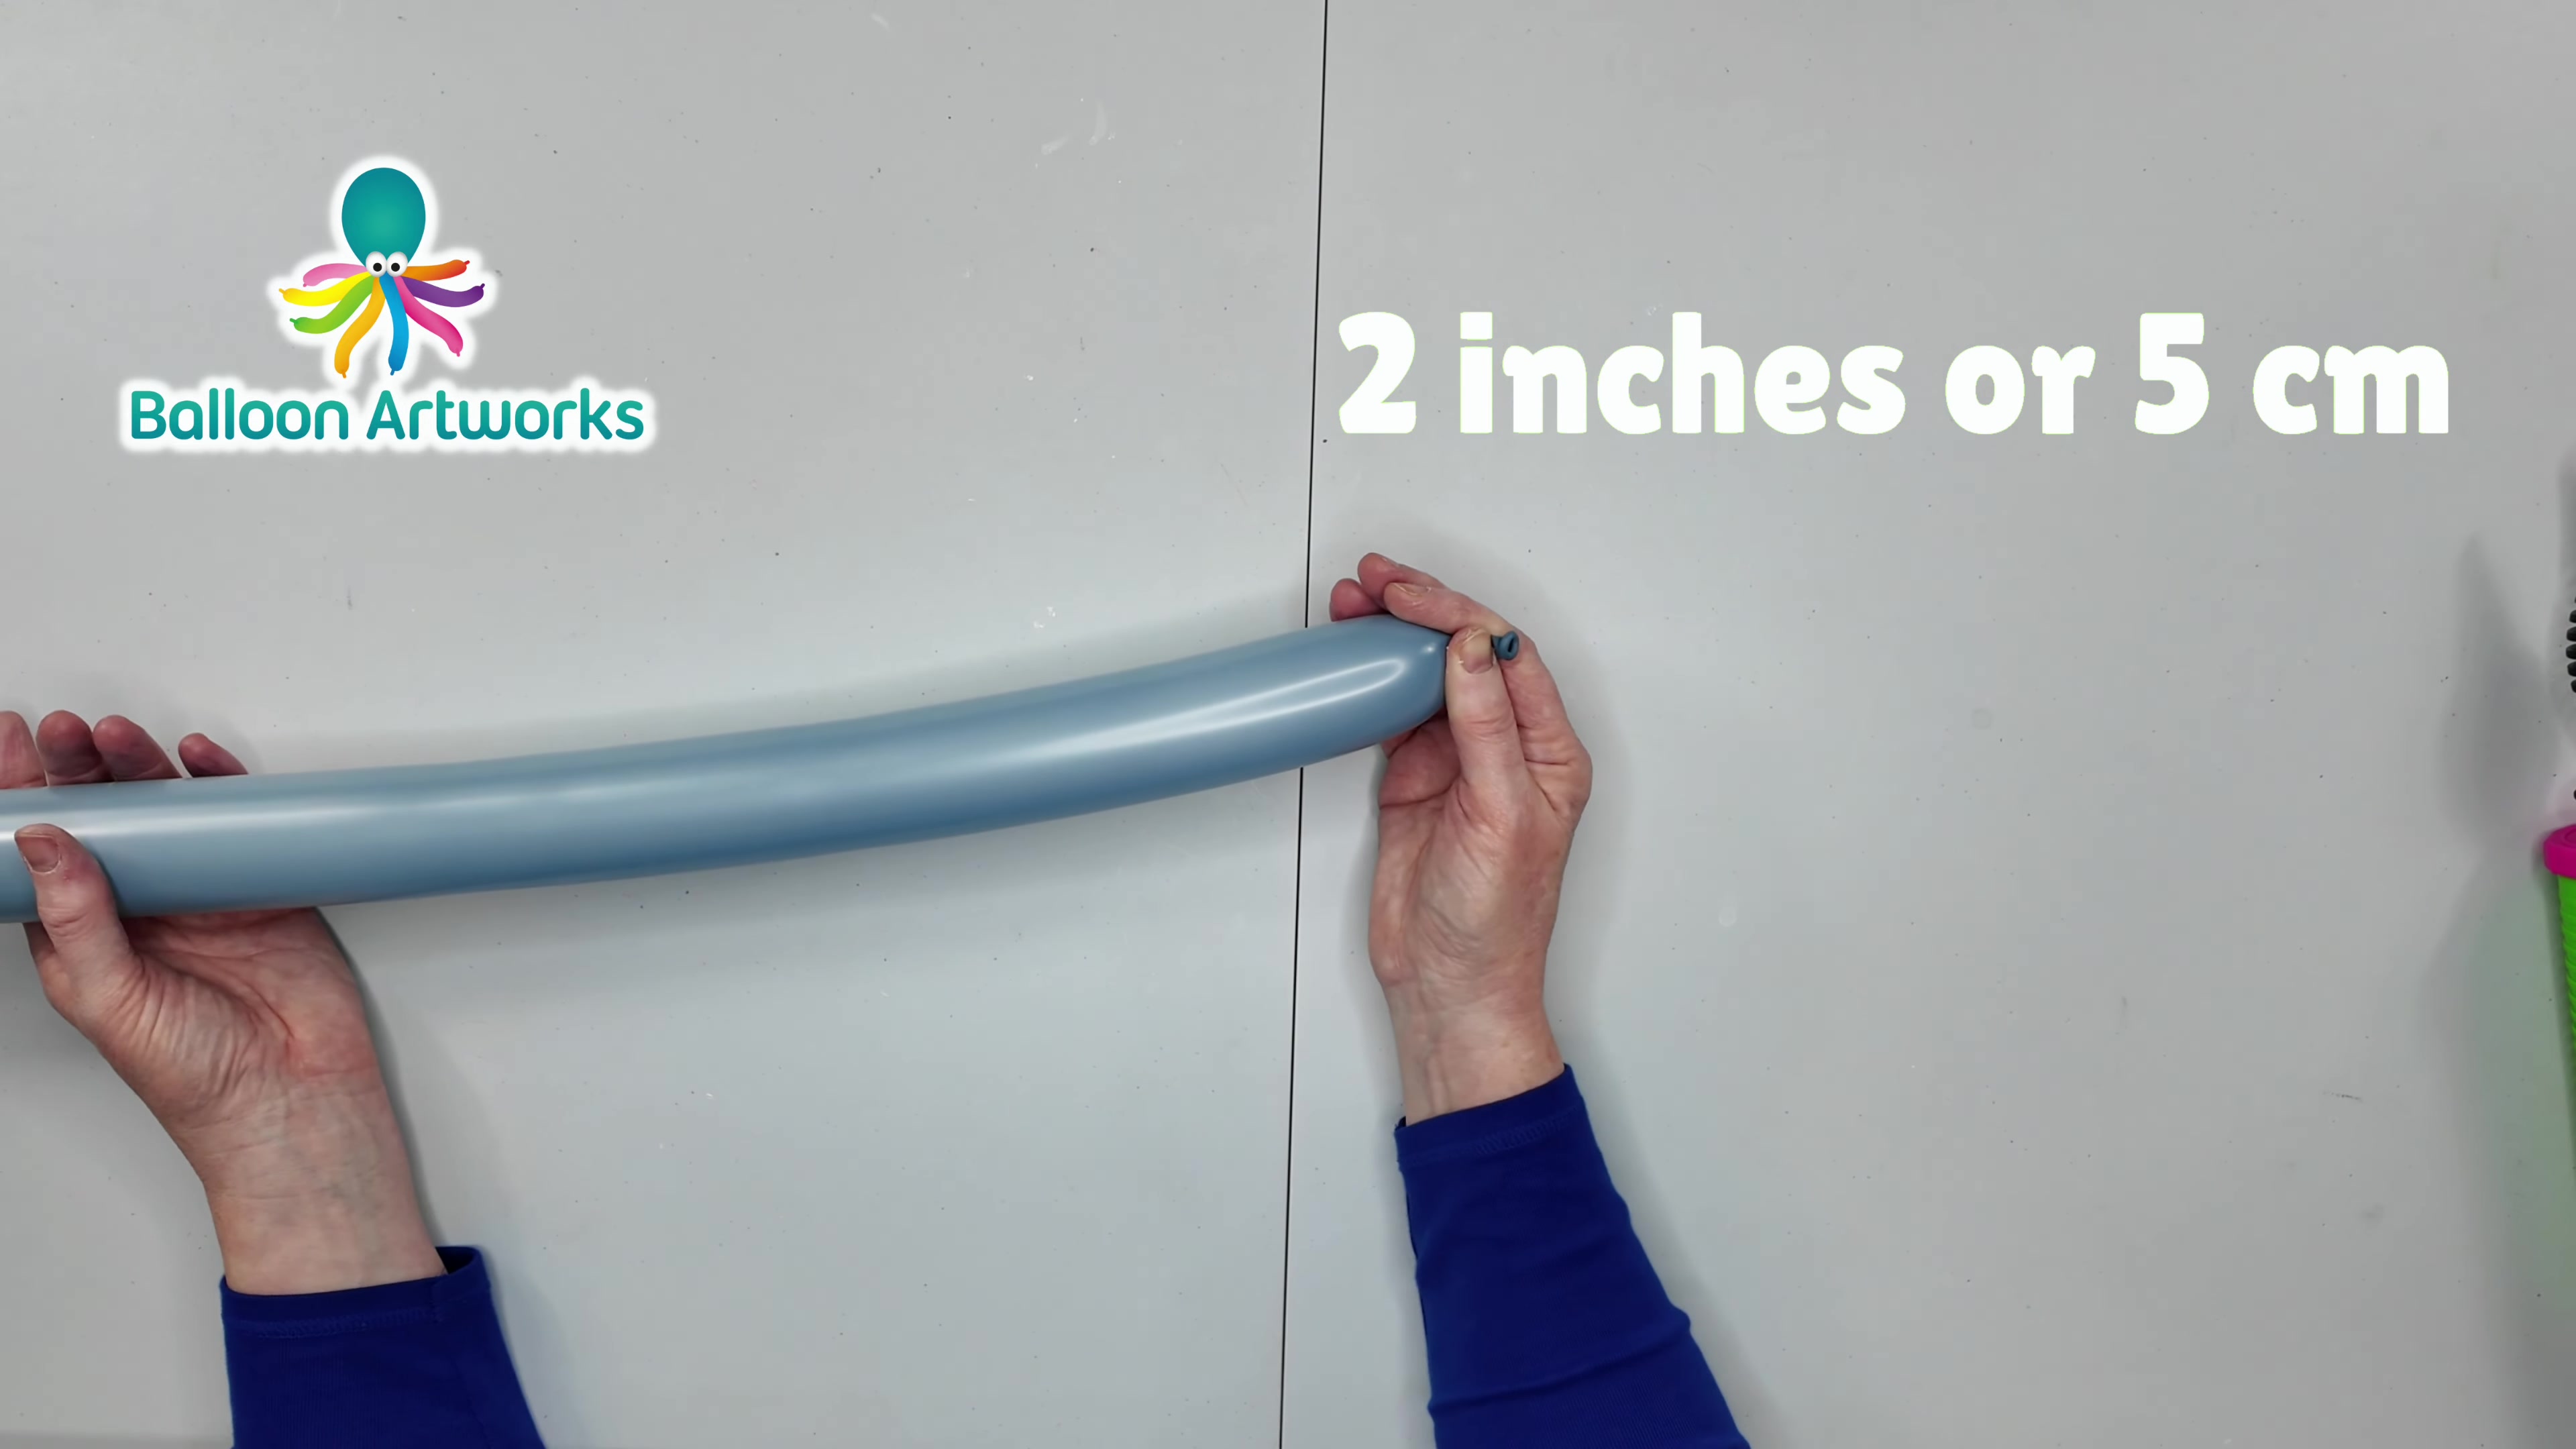
Use the hand pump to inflate the 260 balloon, but leave about 2 inches of uninflated tail at the end. Burp the balloon by letting out a little air, then tie a knot so the balloon stays soft and easier to twist.
Step 2: Twist the Tiny Nose Bubble

02 Twist the Tiny Nose Bubble

00:11 - 00:28

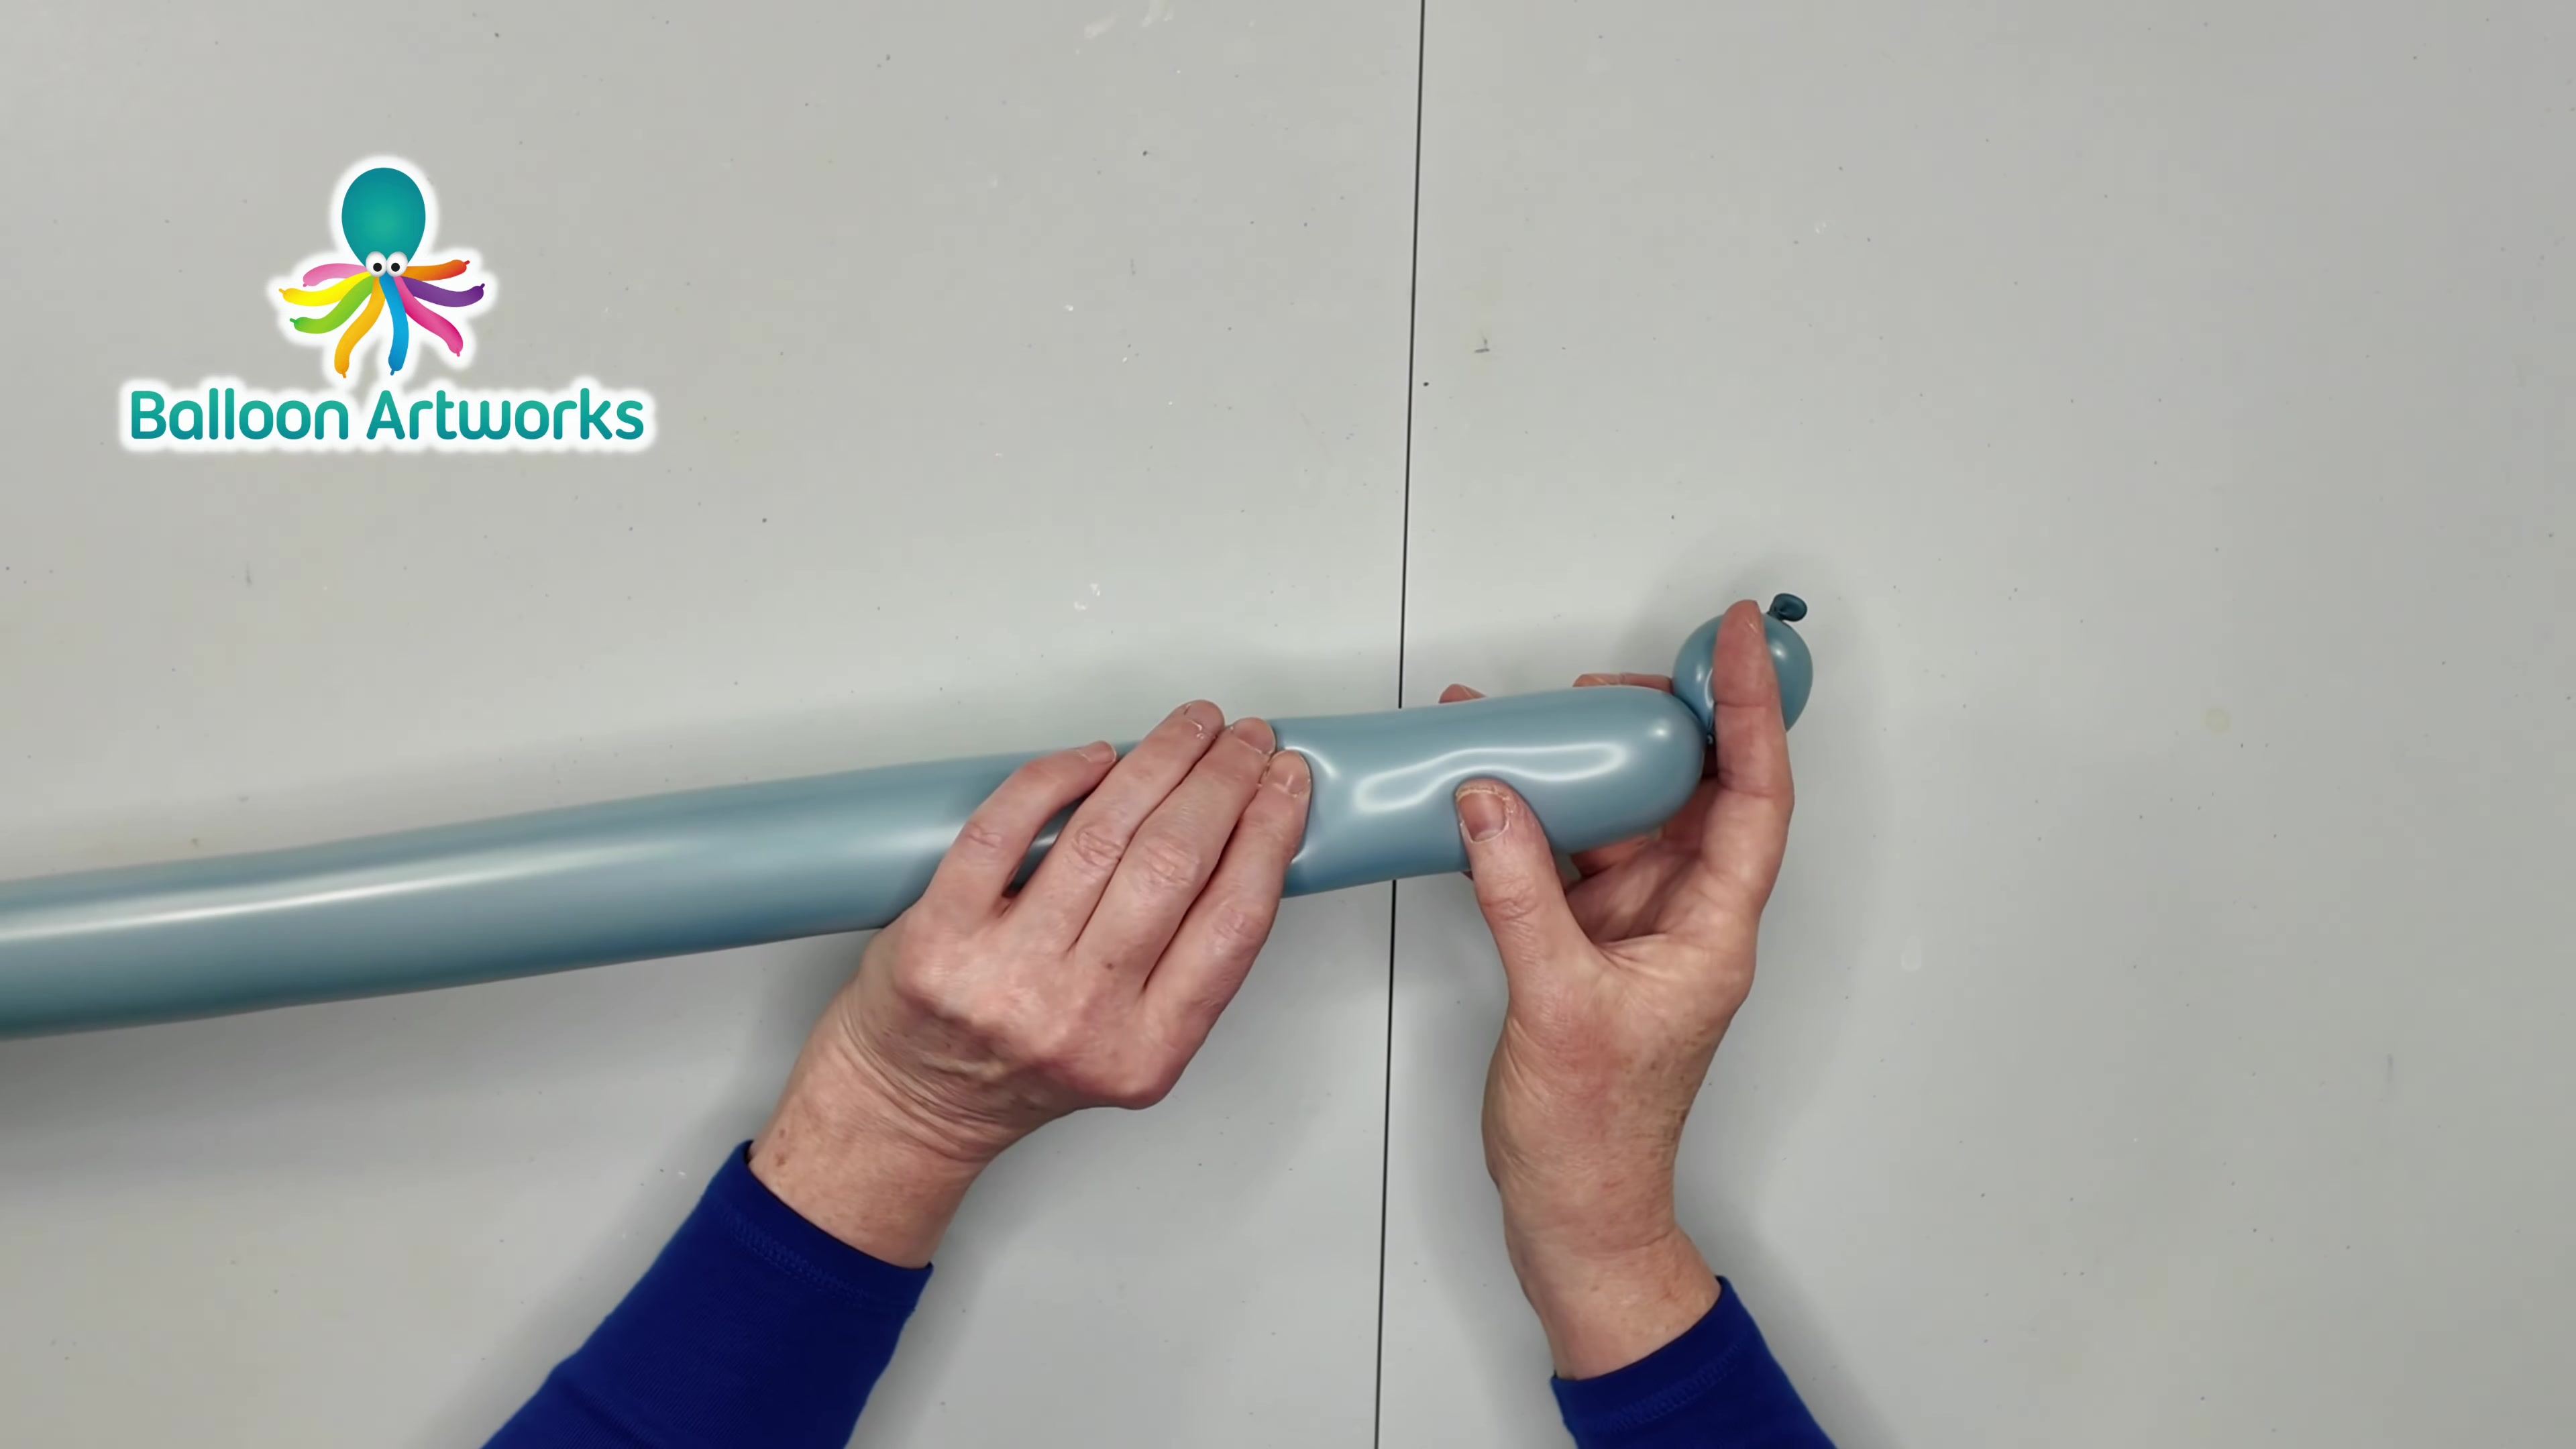
Right next to the knot, measure and twist a small 1-inch bubble. This becomes the nose or snout tip, so keep it tight and neat.

Step 3: Build the First Head Bubble

03 Build the First Head Bubble

00:28 - 00:43

Behind the snout, twist a 3-inch bubble for the first part of the head. Keep the size steady so the head stays balanced.

Step 4: Make and Lock the Head Loops

04 Make and Lock the Head Loops

00:43 - 01:03

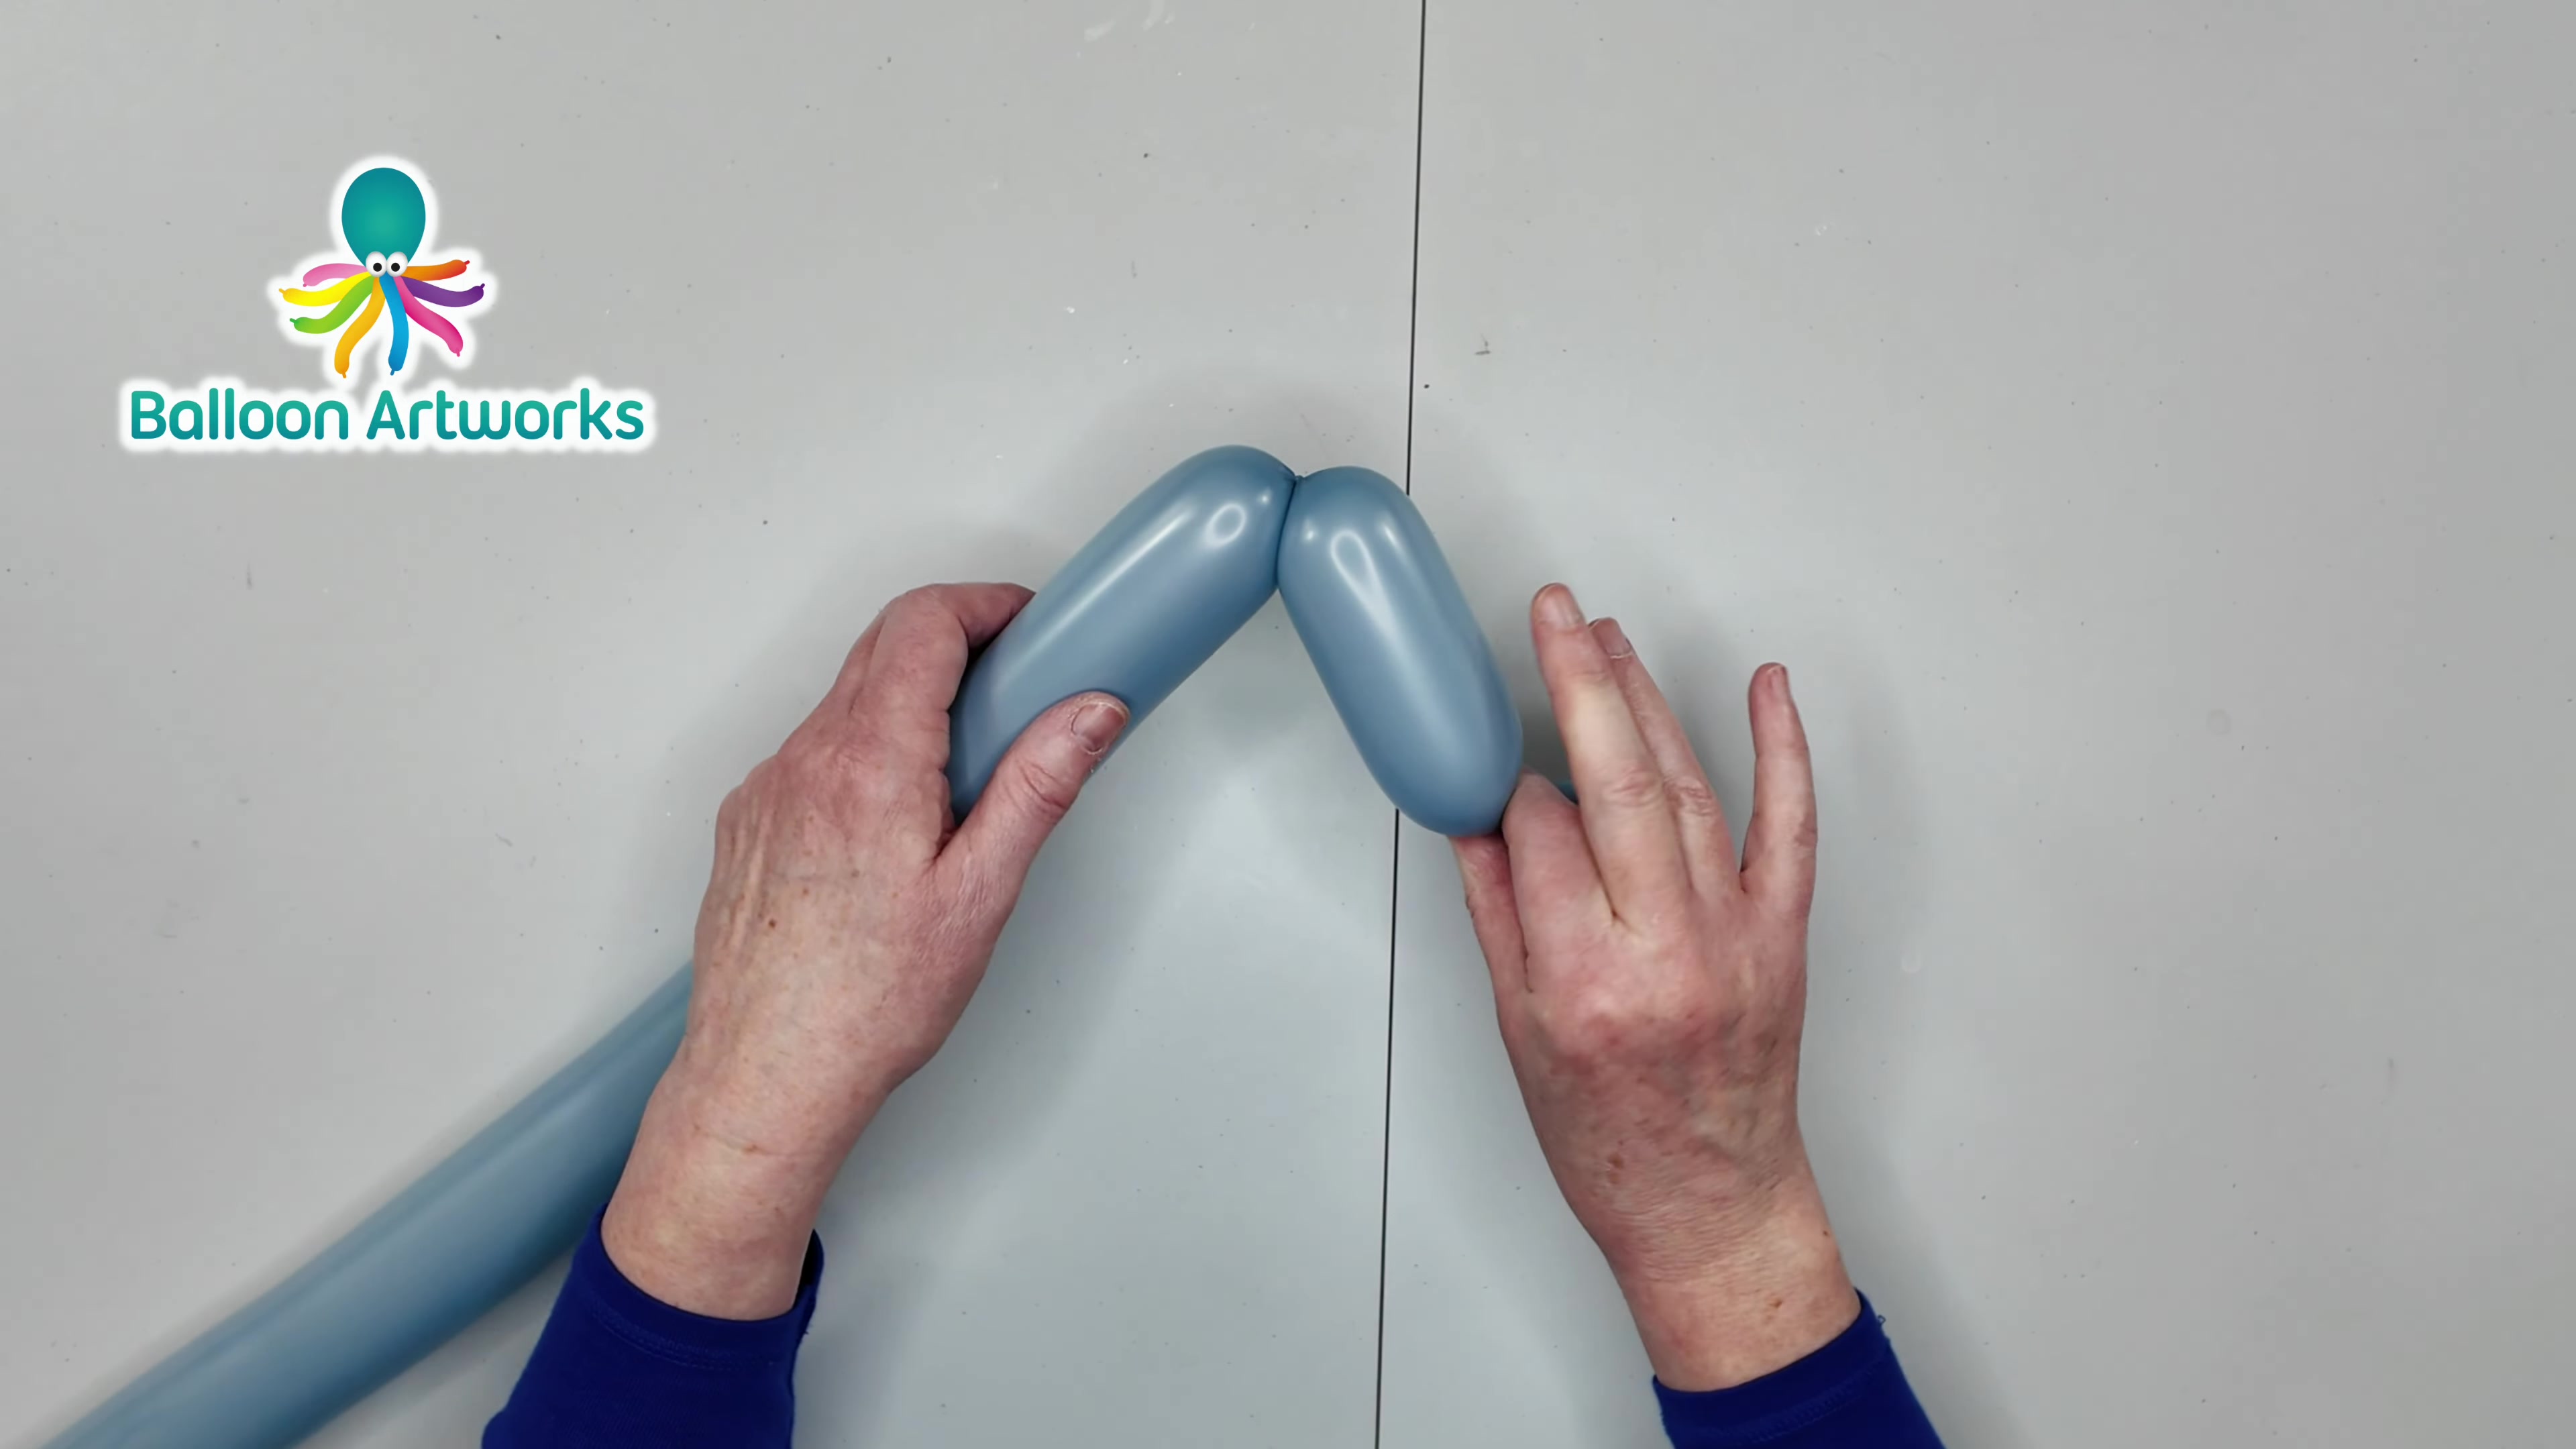
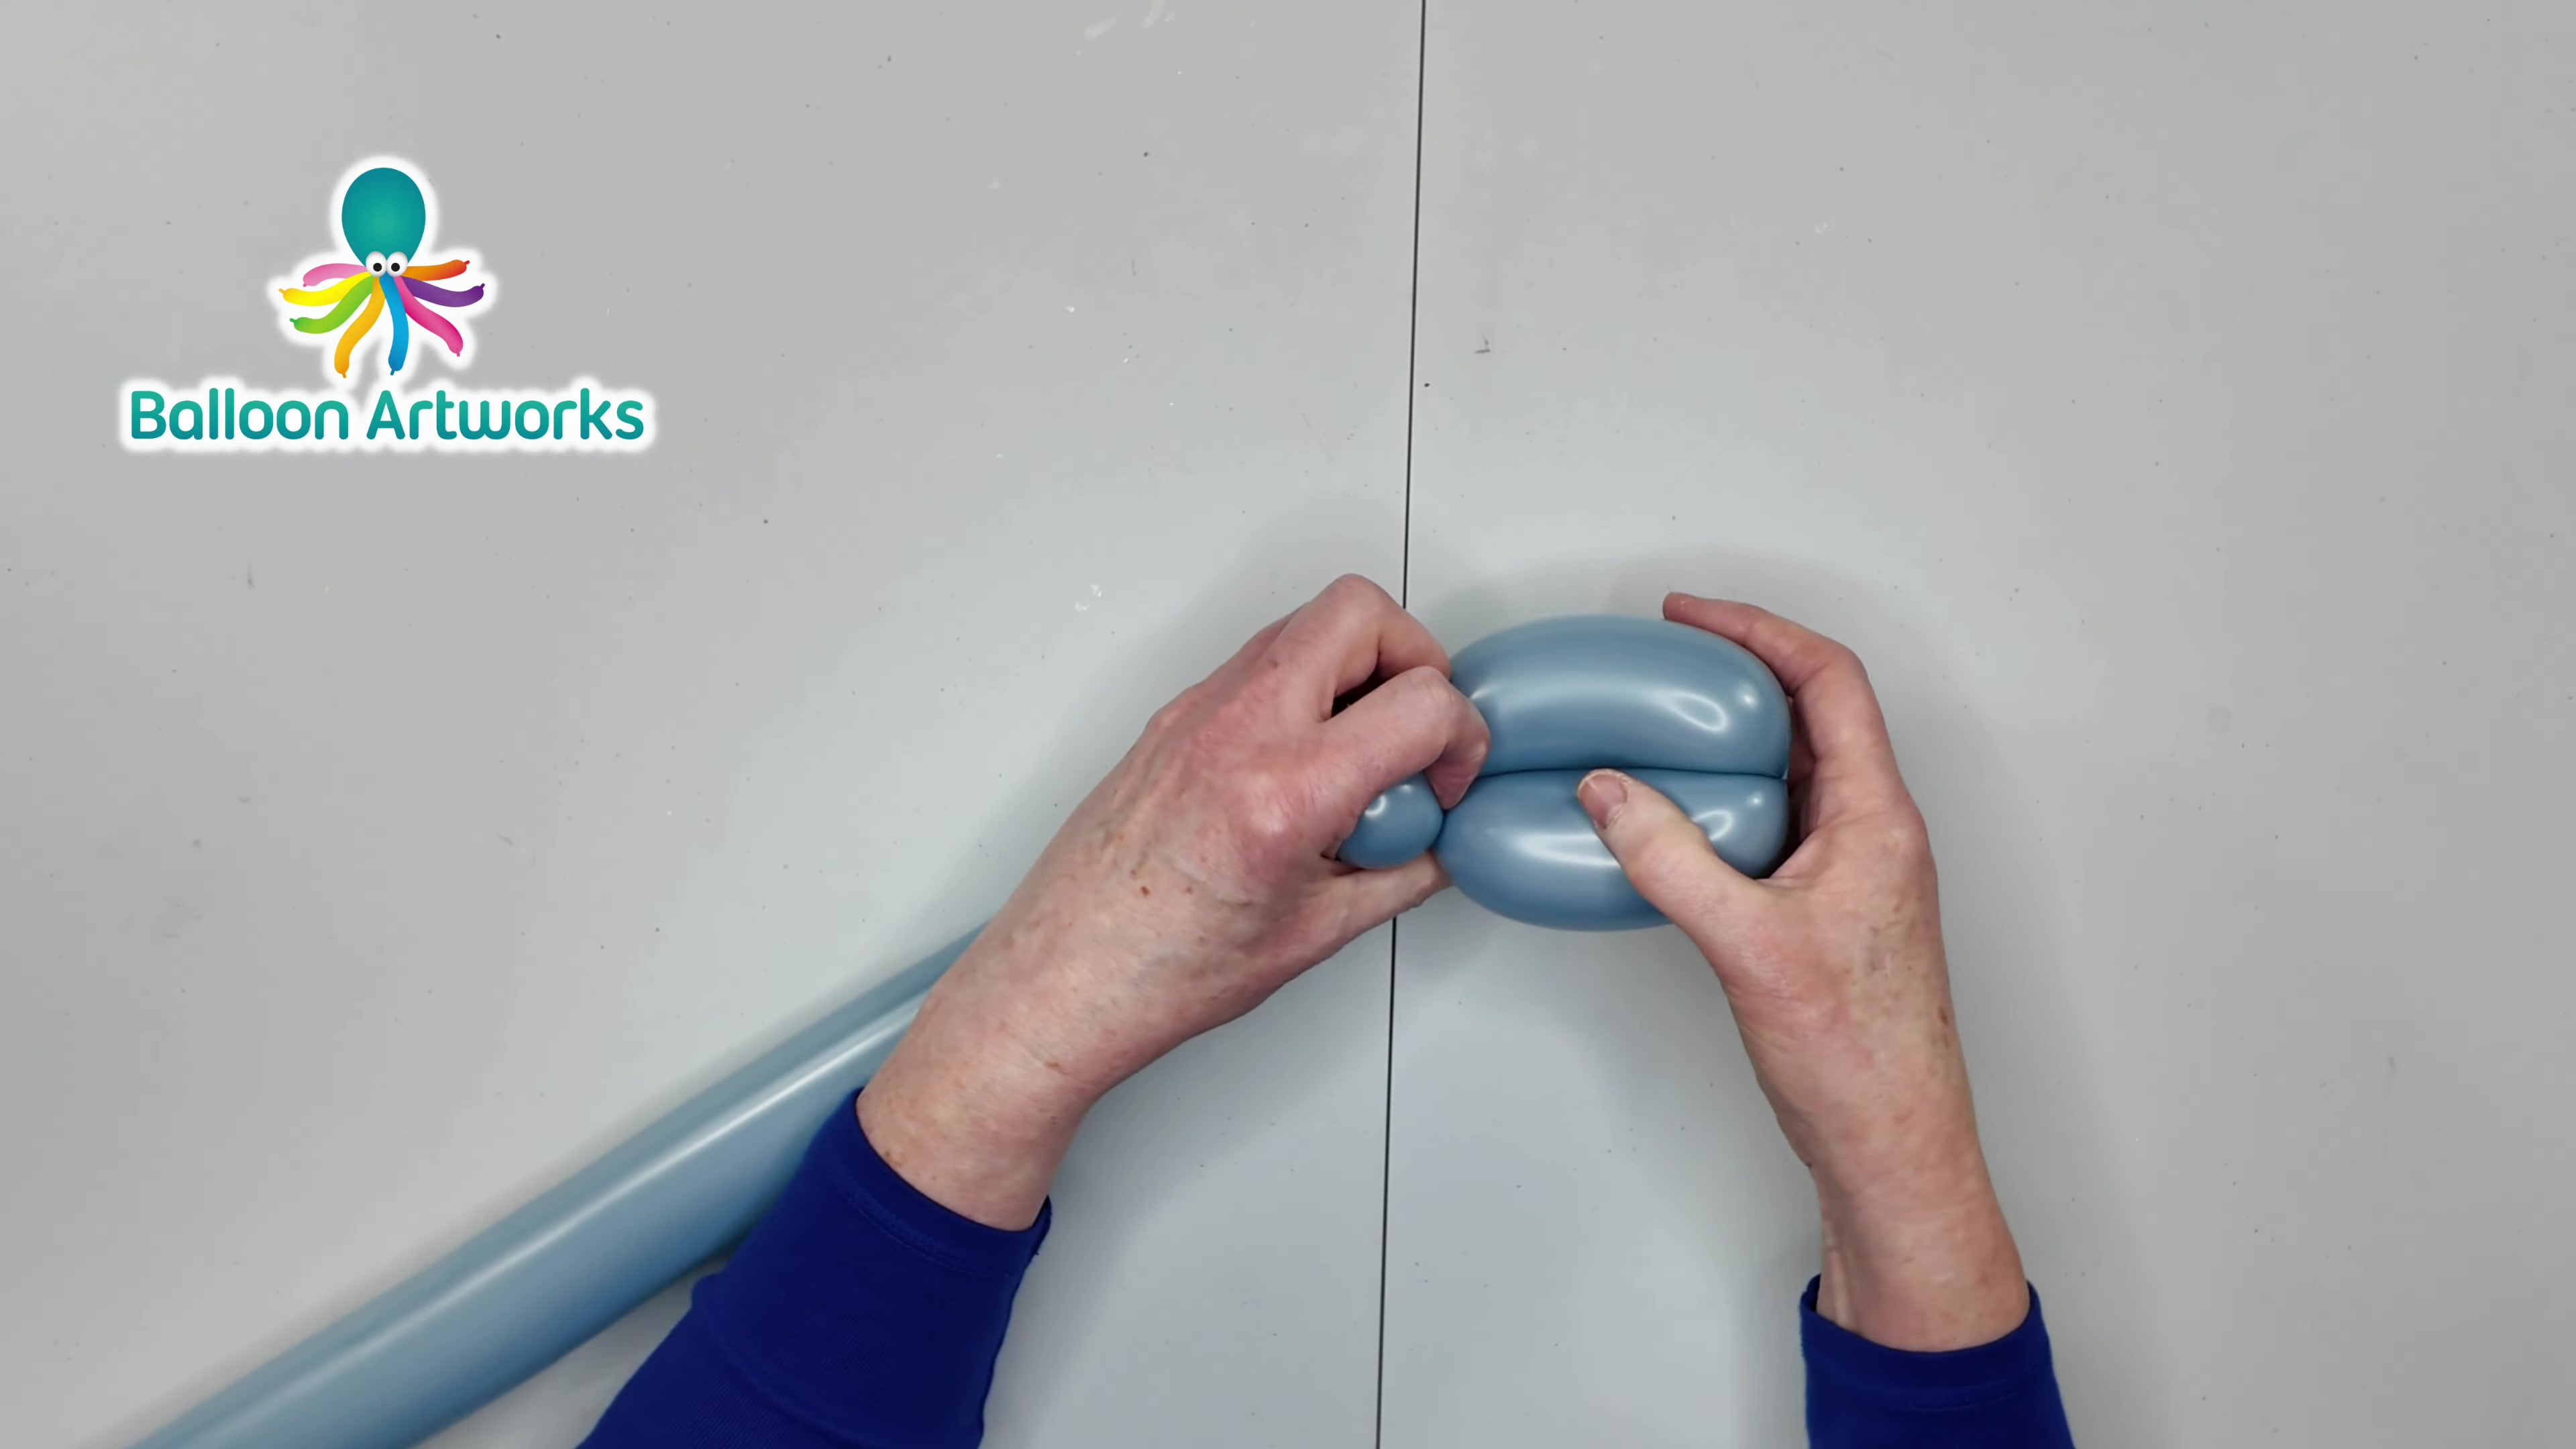
Twist a second 3-inch bubble, fold it back, and lock-twist both 3-inch bubbles together behind the snout. This creates the head shape and keeps it from slipping apart.

Step 5: Add the Neck Bubble

05 Add the Neck Bubble

01:03 - 01:17

Measure and twist another 3-inch bubble below the locked head section. This gives the puppy a neck and separates the head from the body.

Step 6: Form the Front Loop Segment

06 Form the Front Loop Segment

01:17 - 01:31

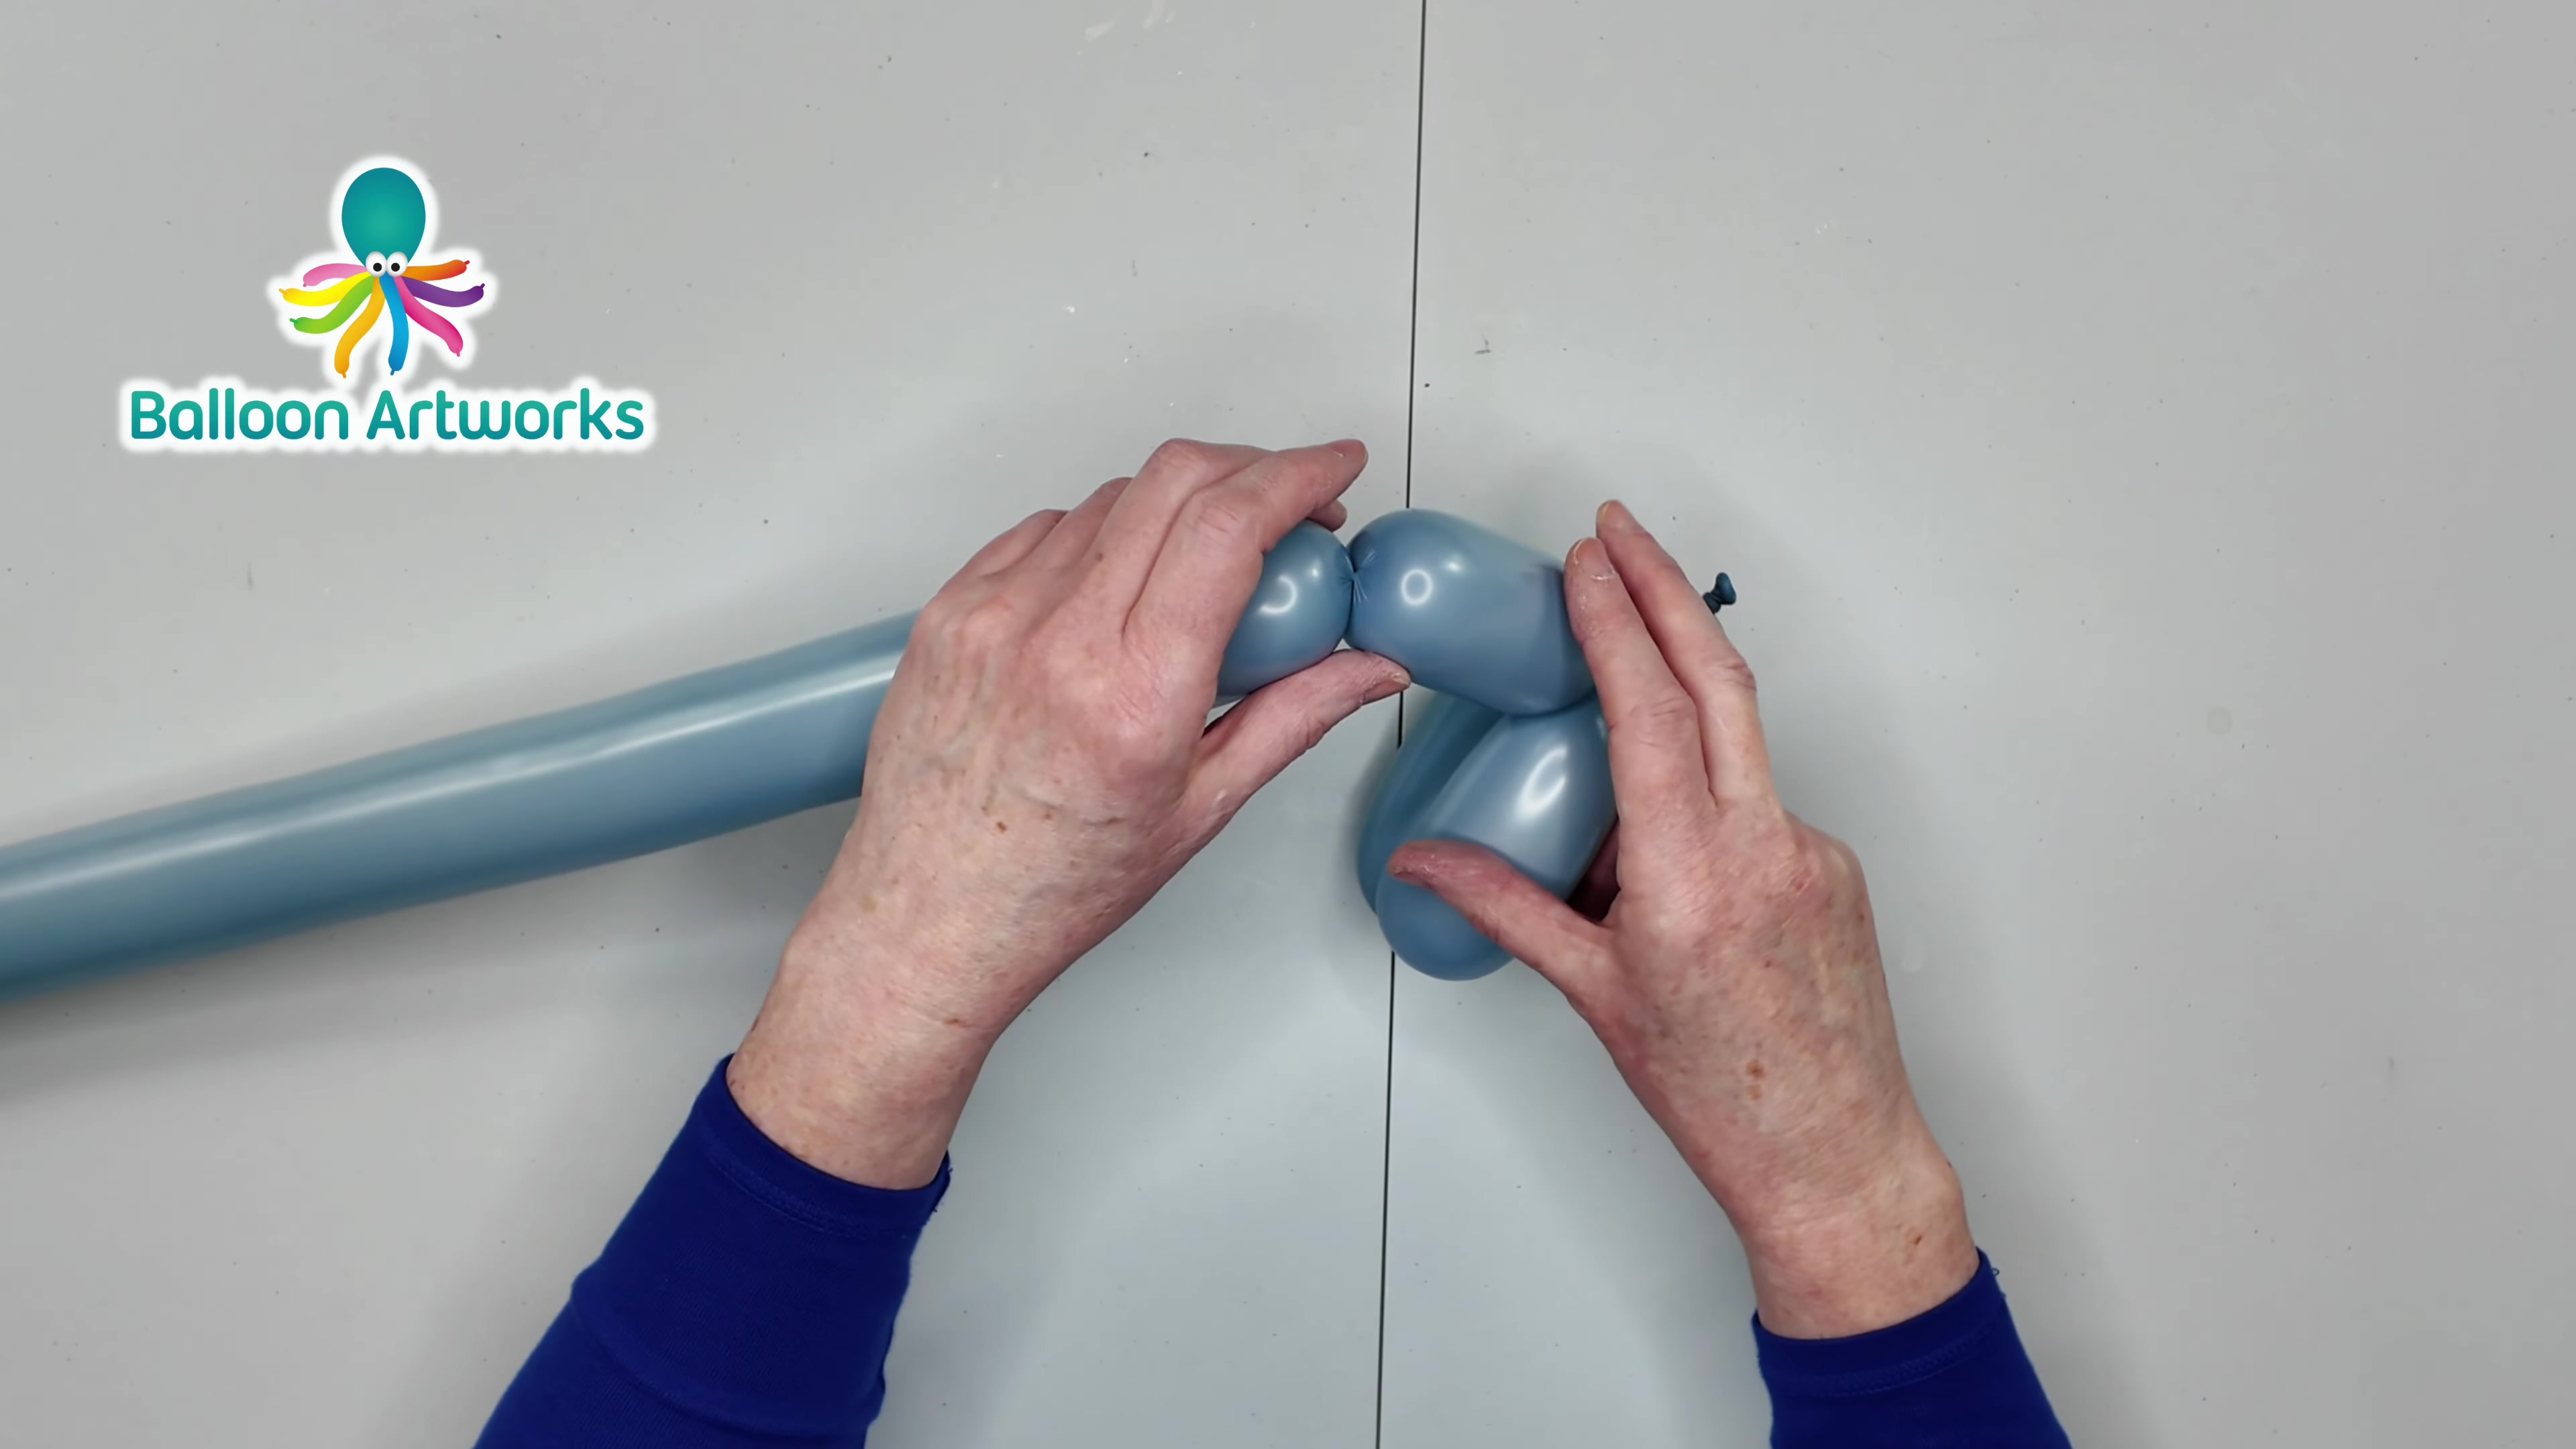
Twist one more 3-inch bubble, then fold the remaining balloon length to start the first loop of the body frame. Keep the fold smooth so the next step threads easily.

Step 7: Thread the Balloon Through the Loop

07 Thread the Balloon Through the Loop

01:31 - 01:52

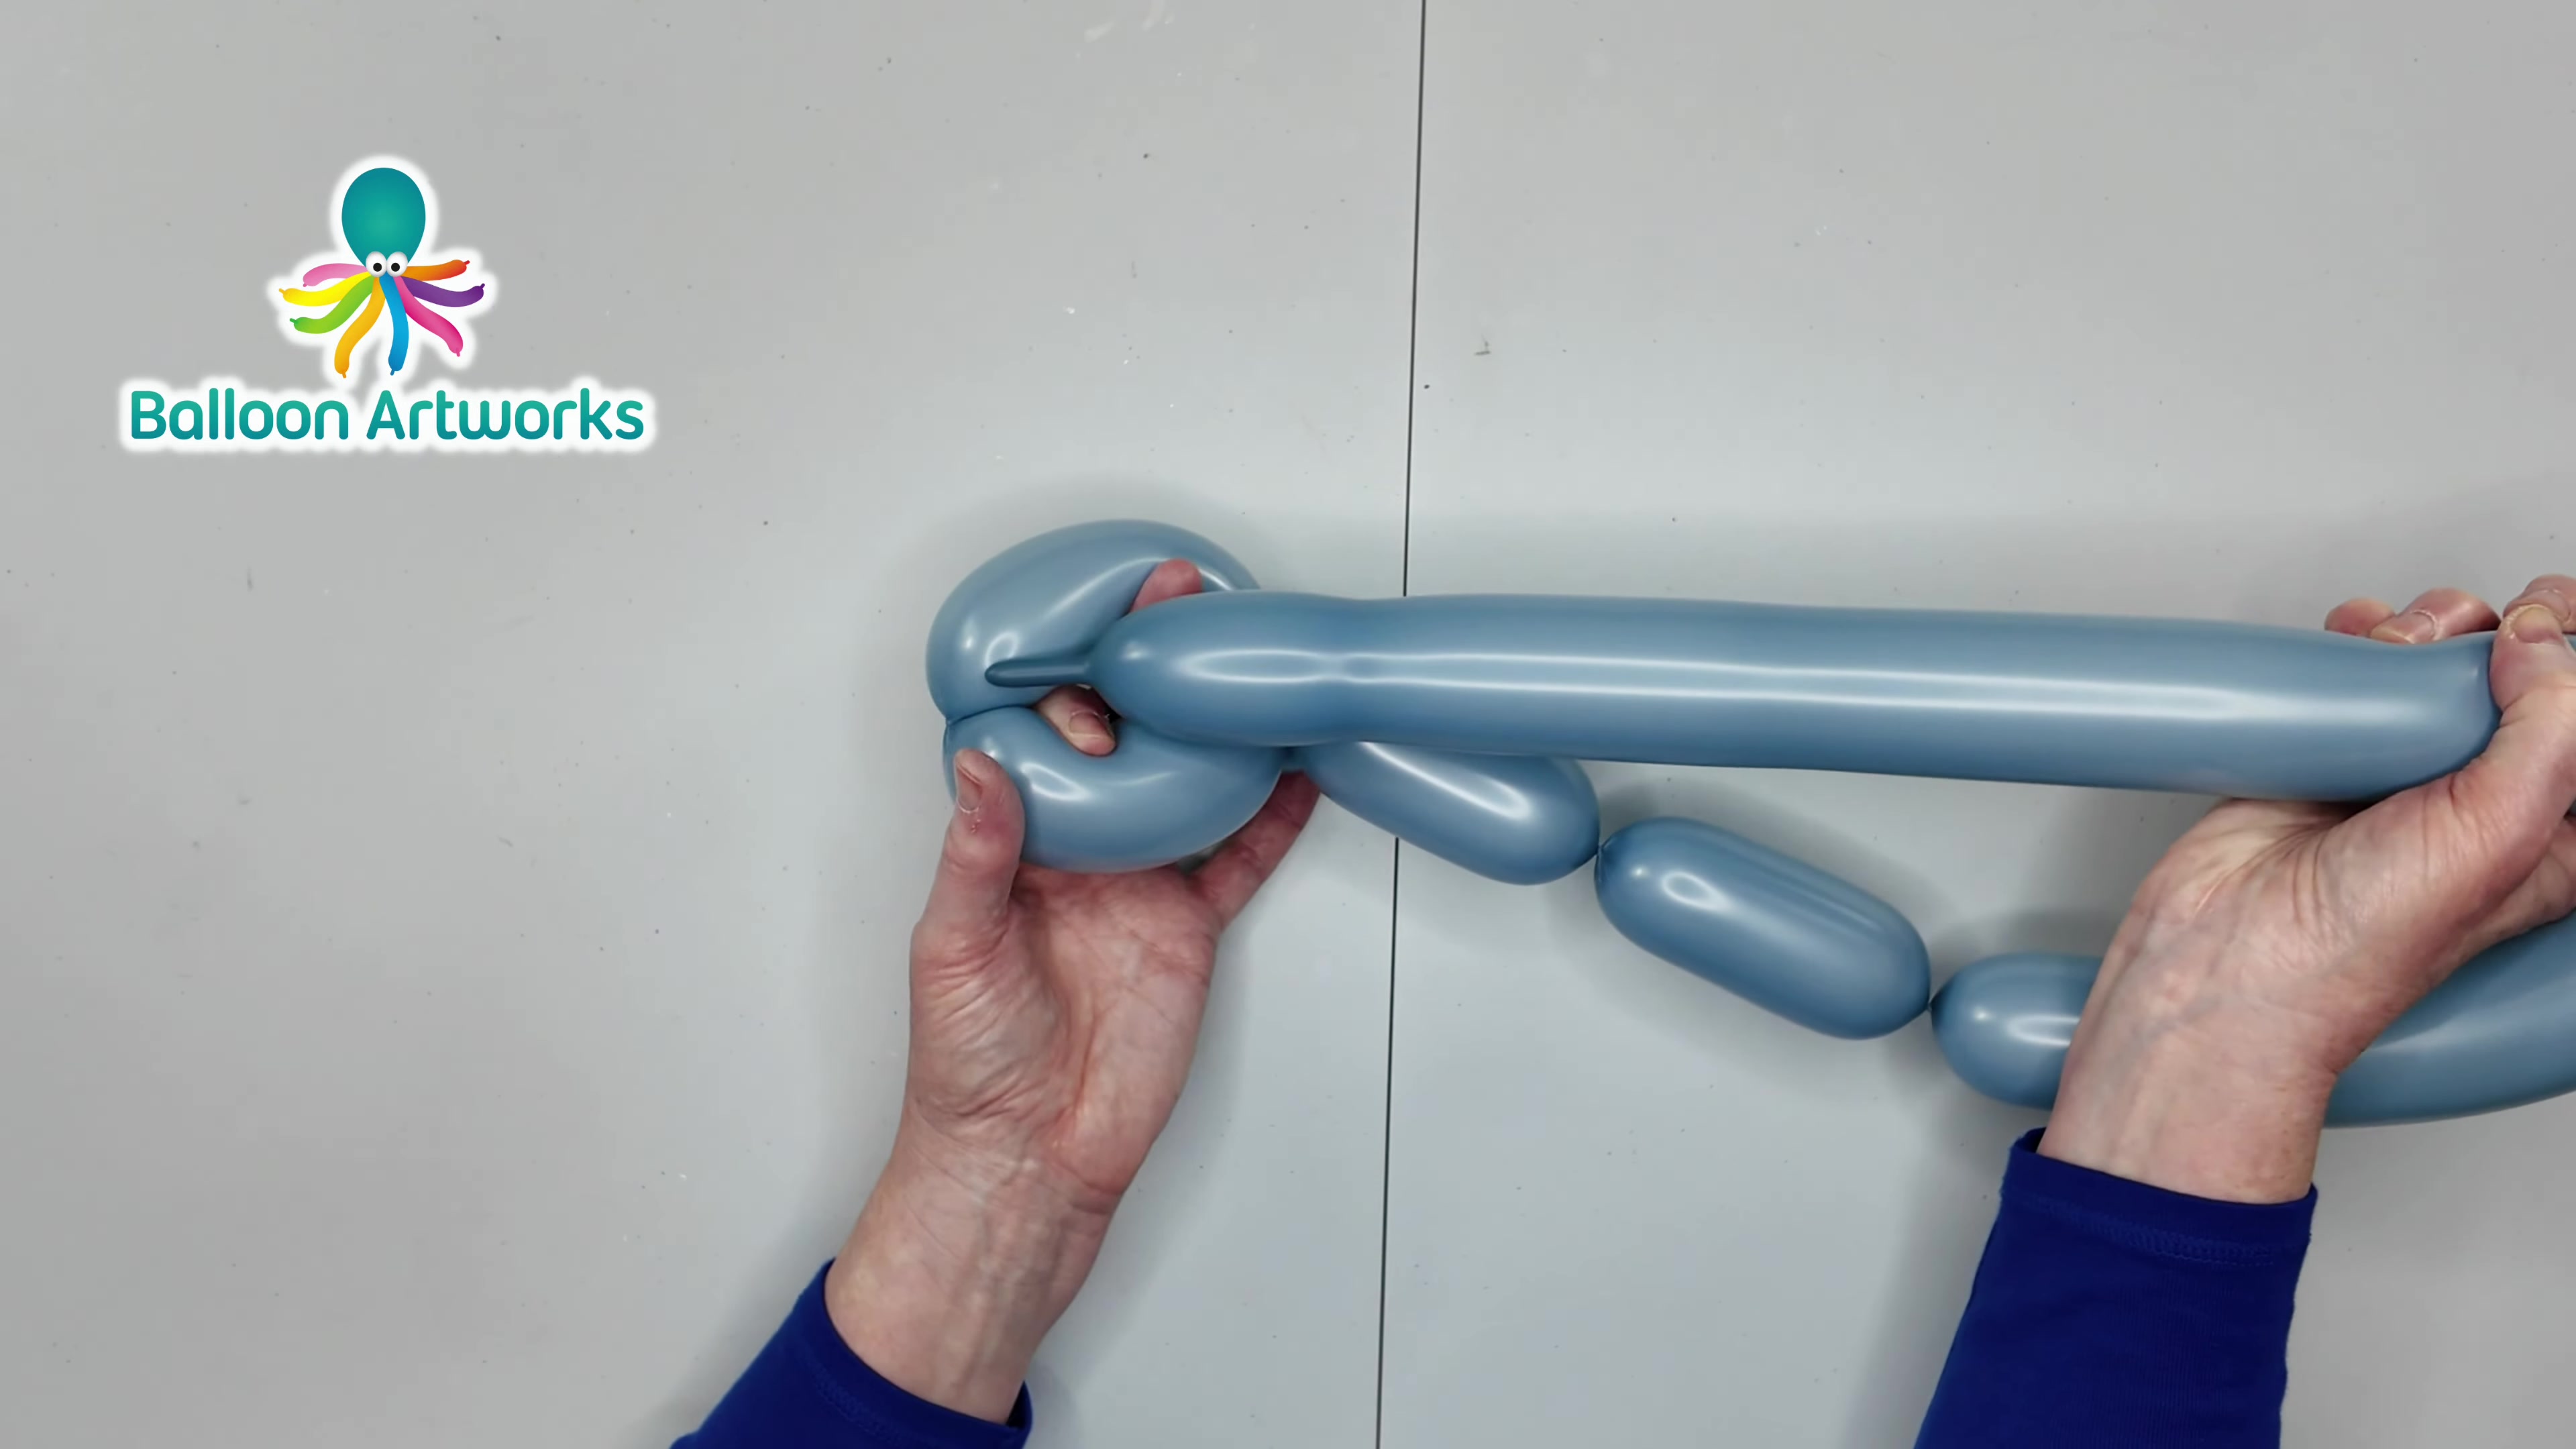
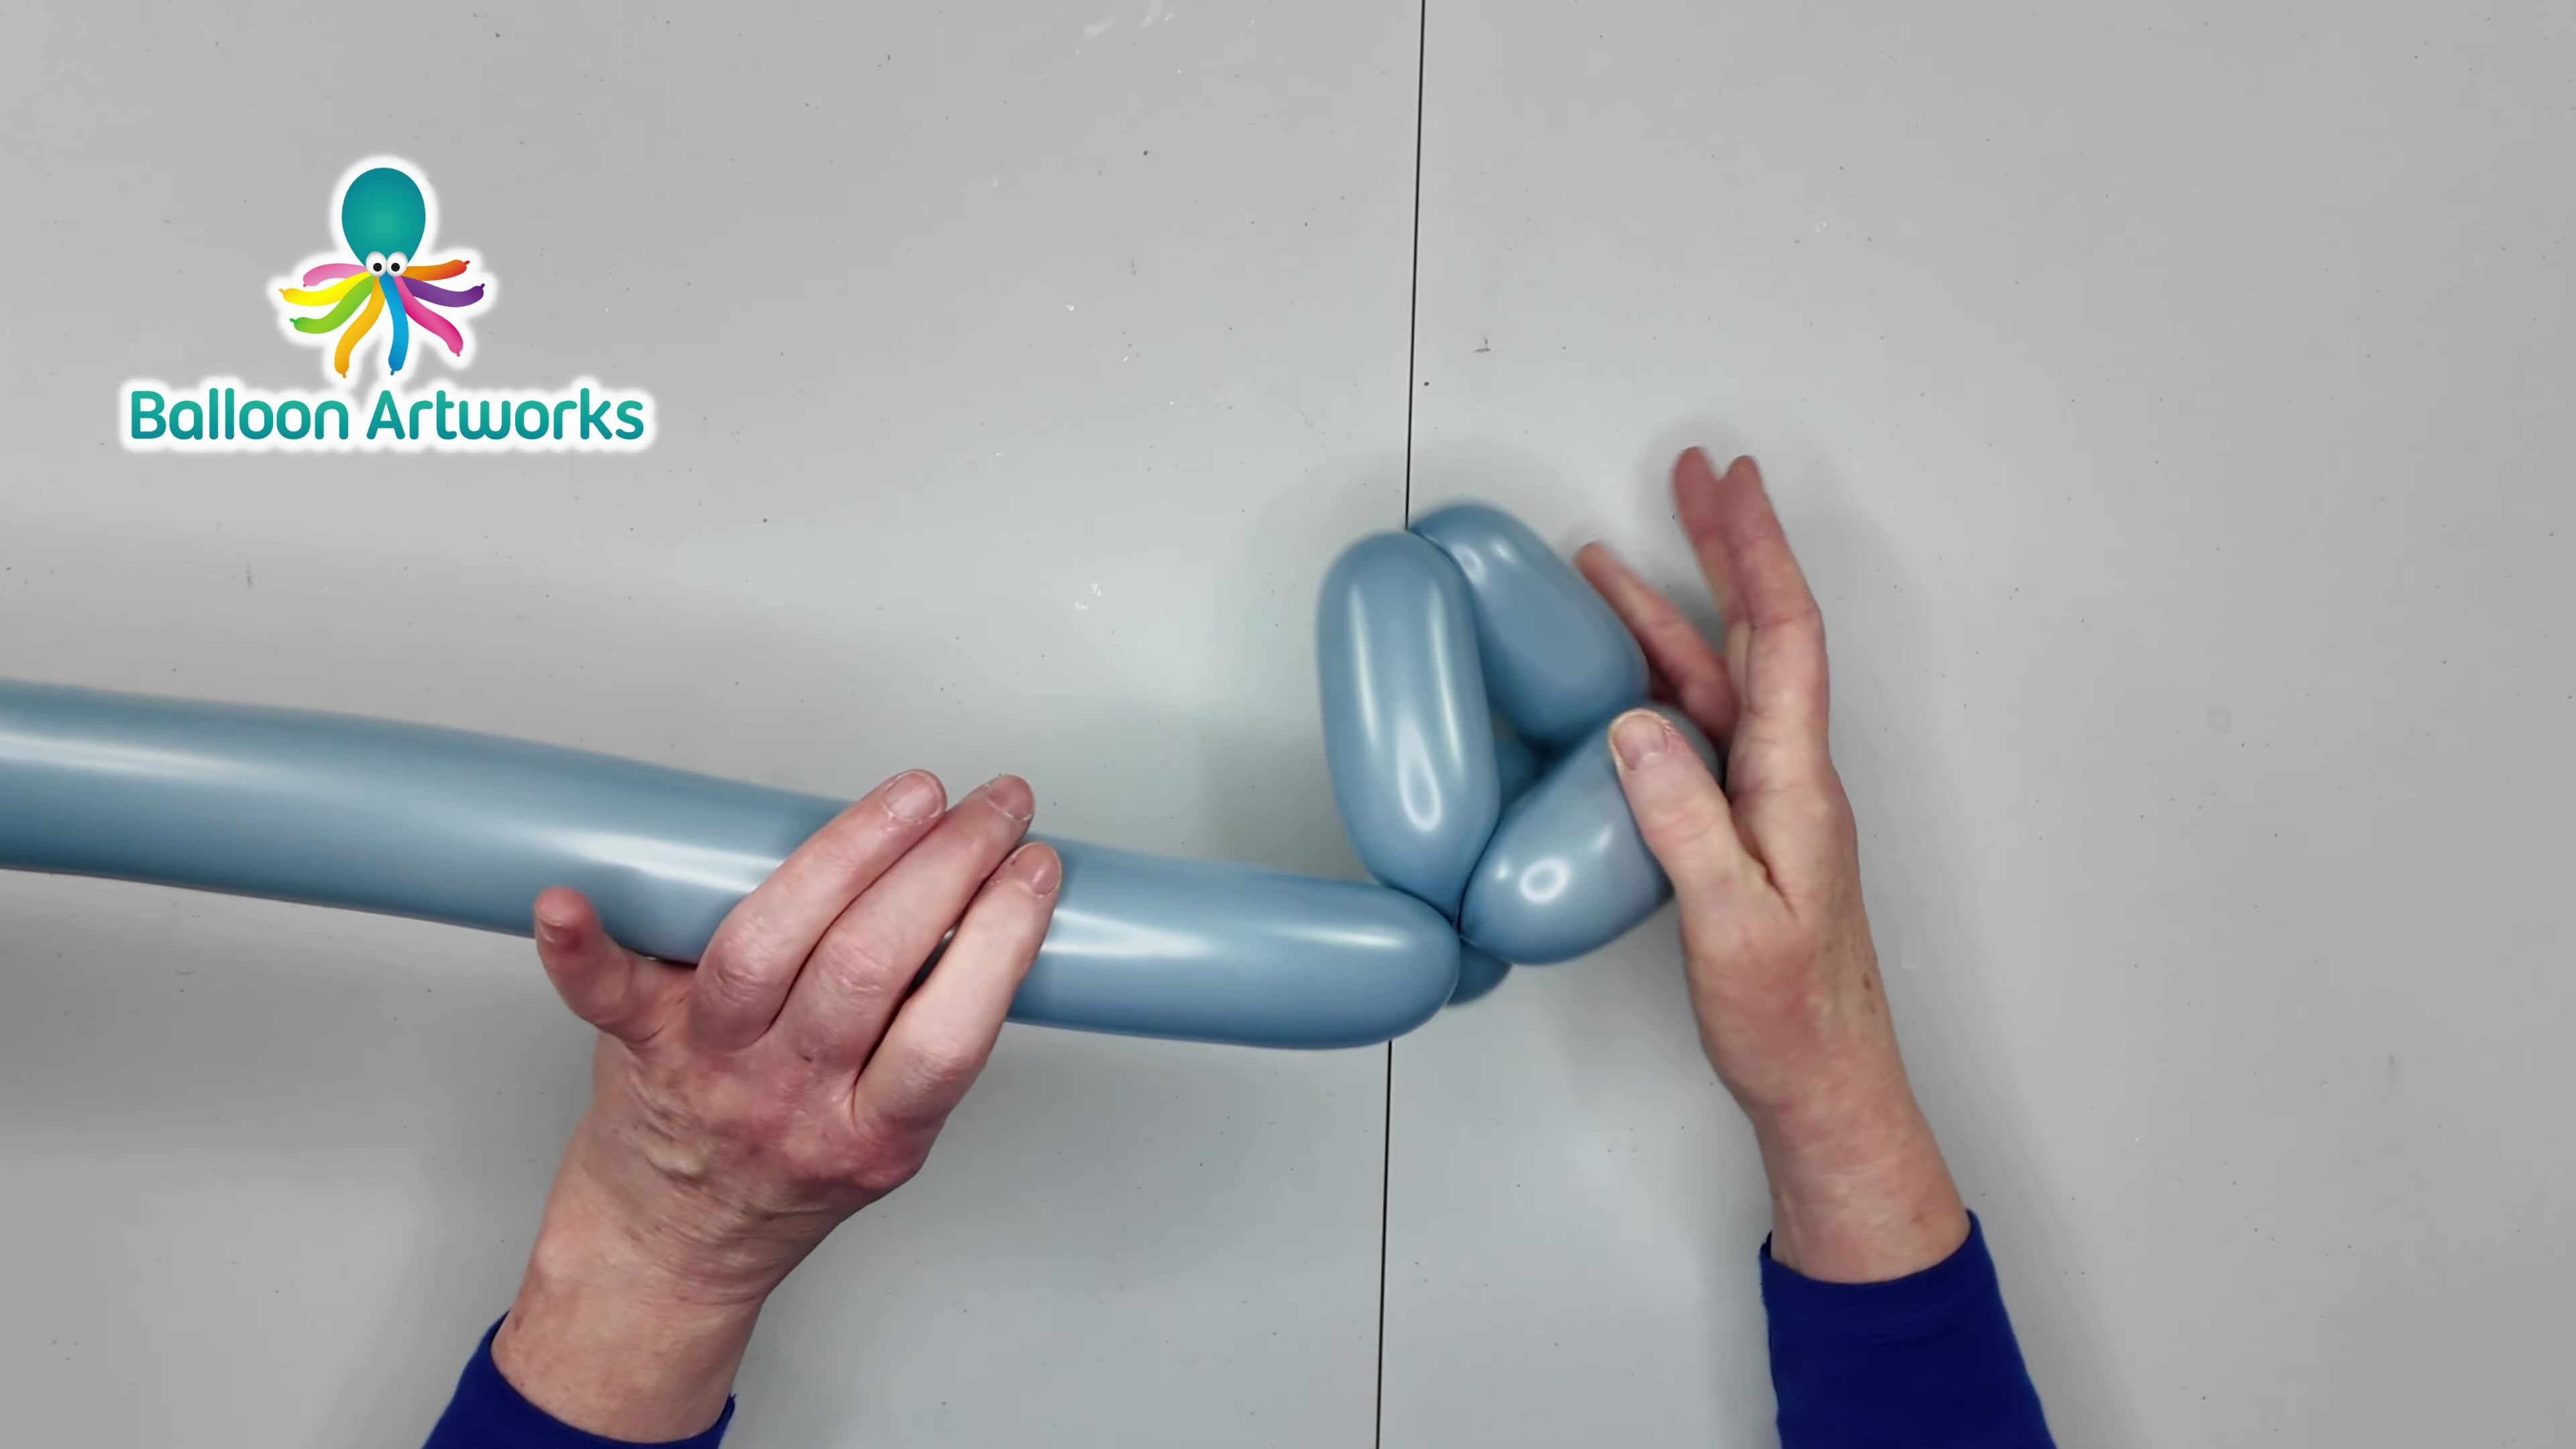
Pass the tail portion through the center of the head and neck loop, then pull it through to anchor the body connection. This is what starts locking the sculpture together.

Step 8: Weave the Upper Torso

08 Weave the Upper Torso

01:52 - 02:16

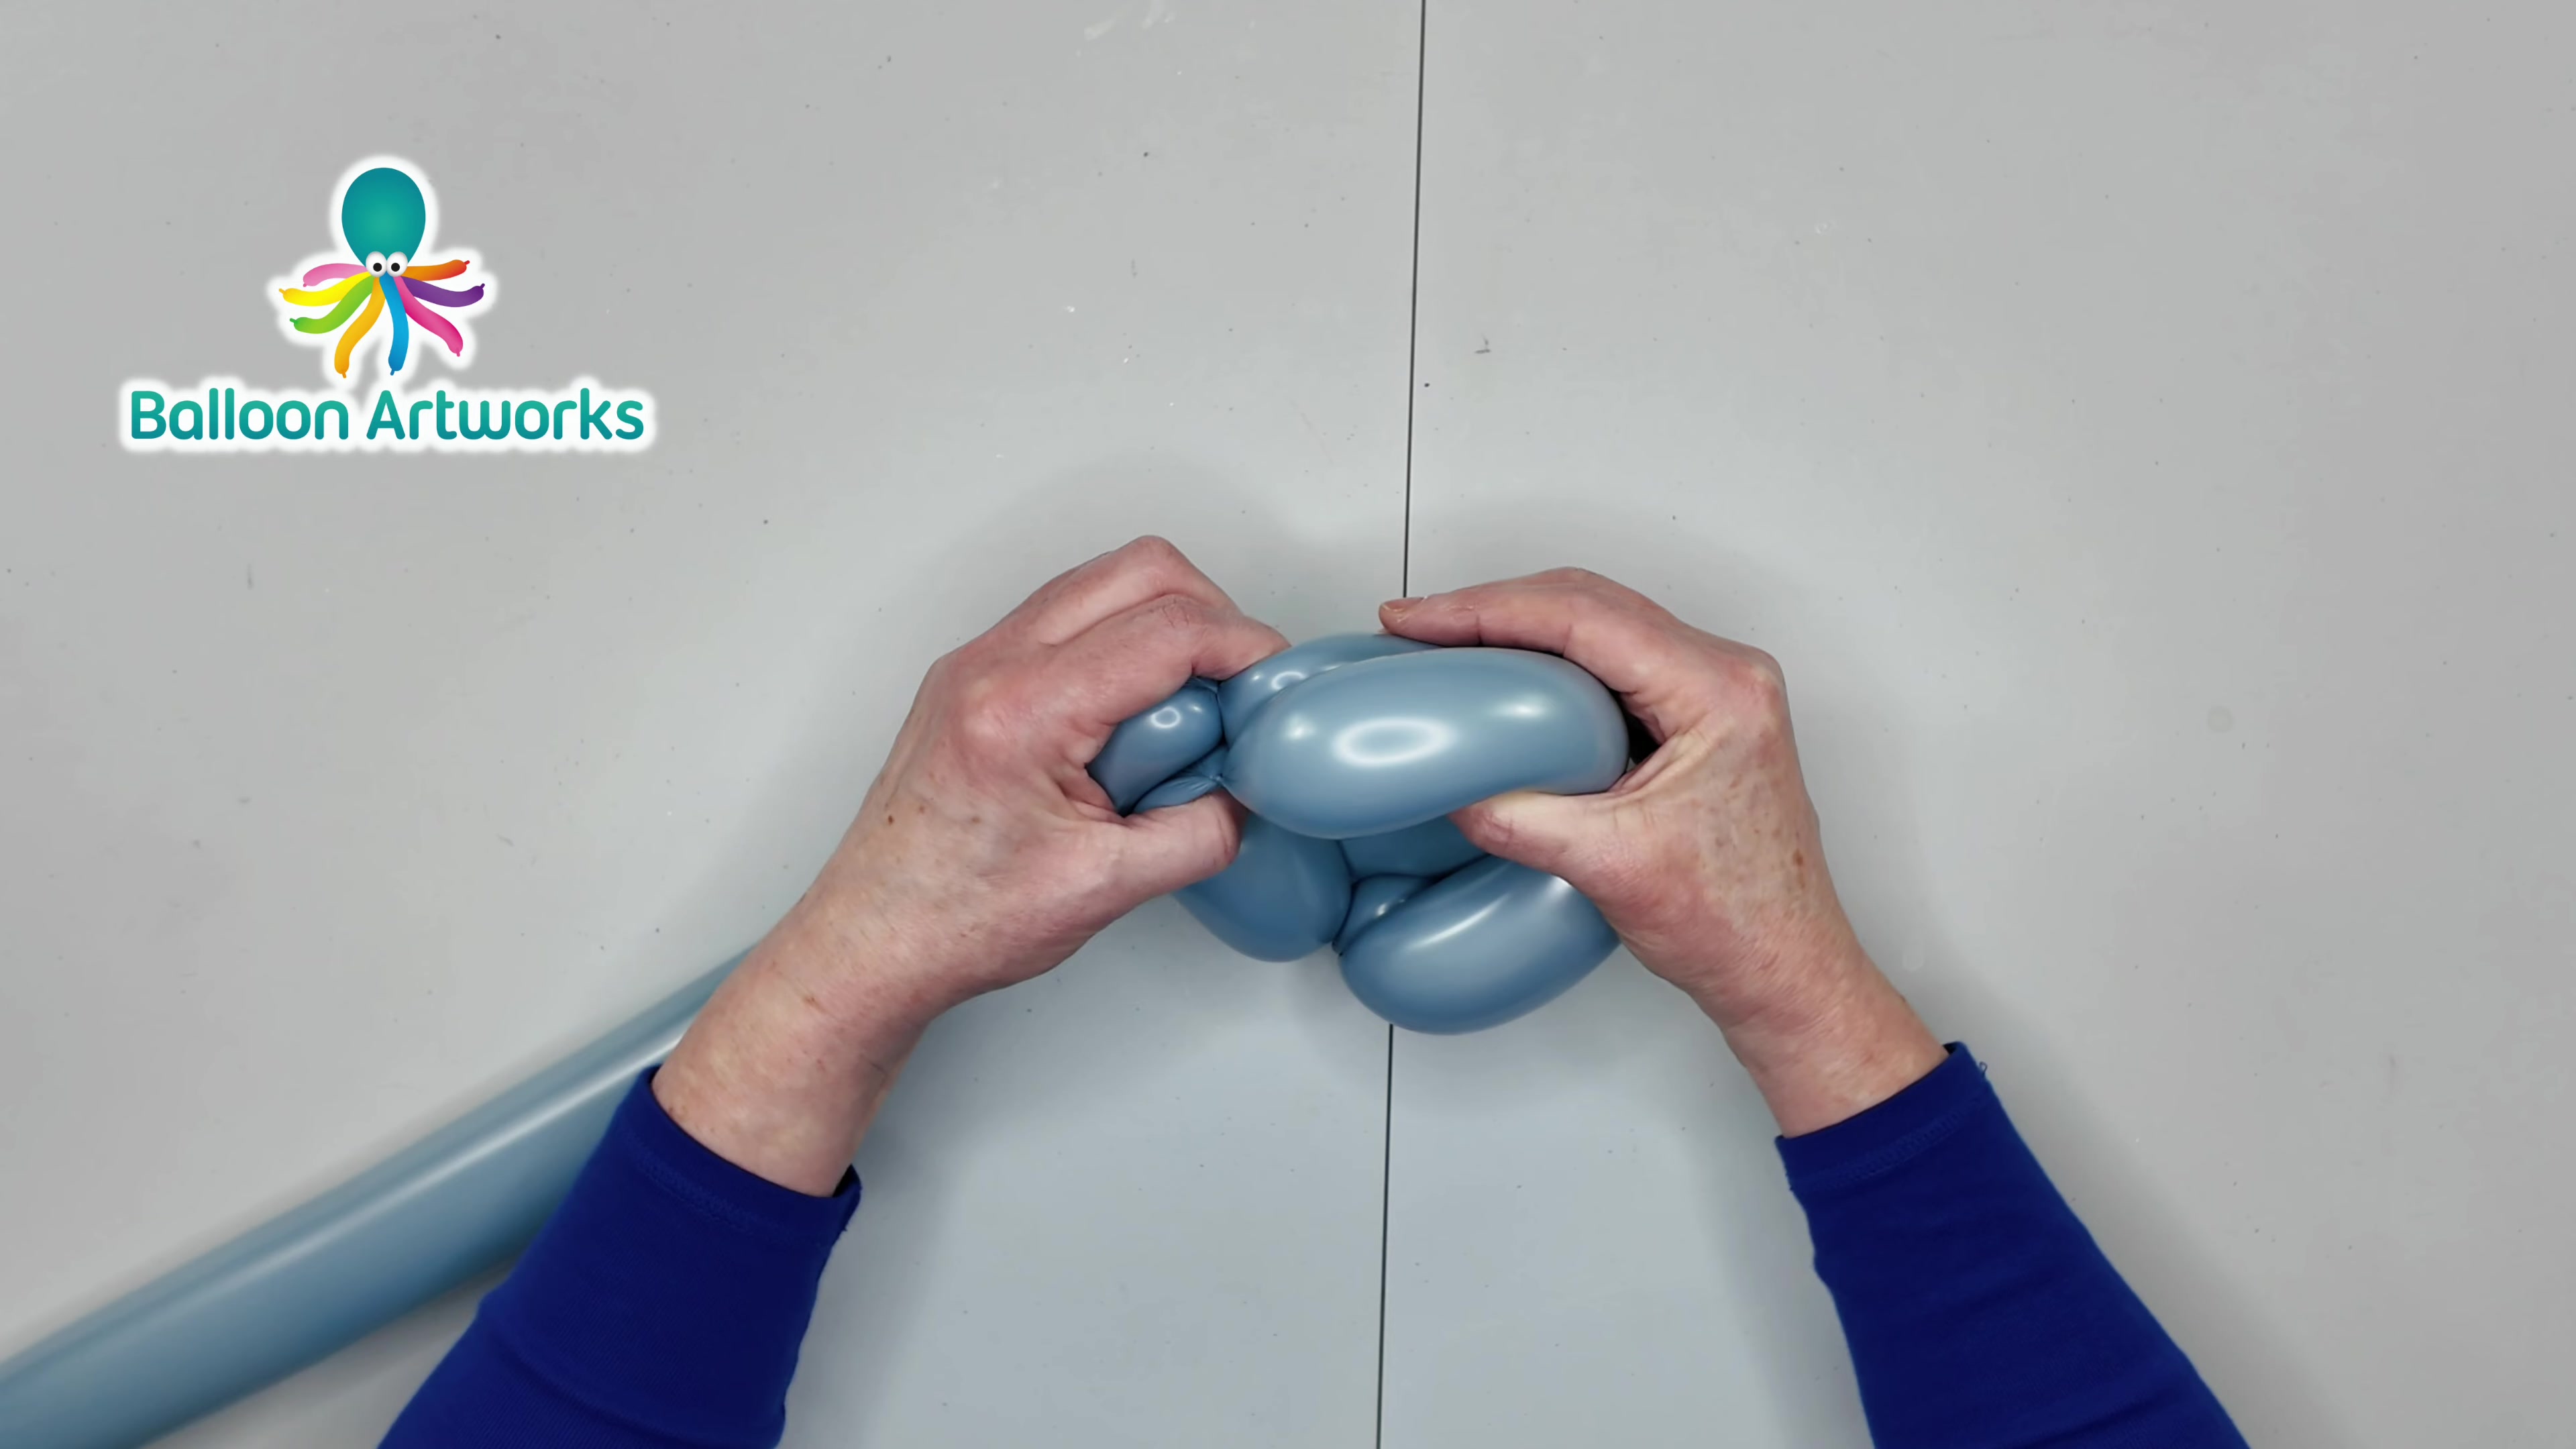
Twist two parallel body bubbles and press them into the chest loop to build a secure torso. Keep the twists even and rotate them in the same direction so the shape holds.

Step 9: Measure the Long Tail Section

09 Measure the Long Tail Section

02:16 - 02:41

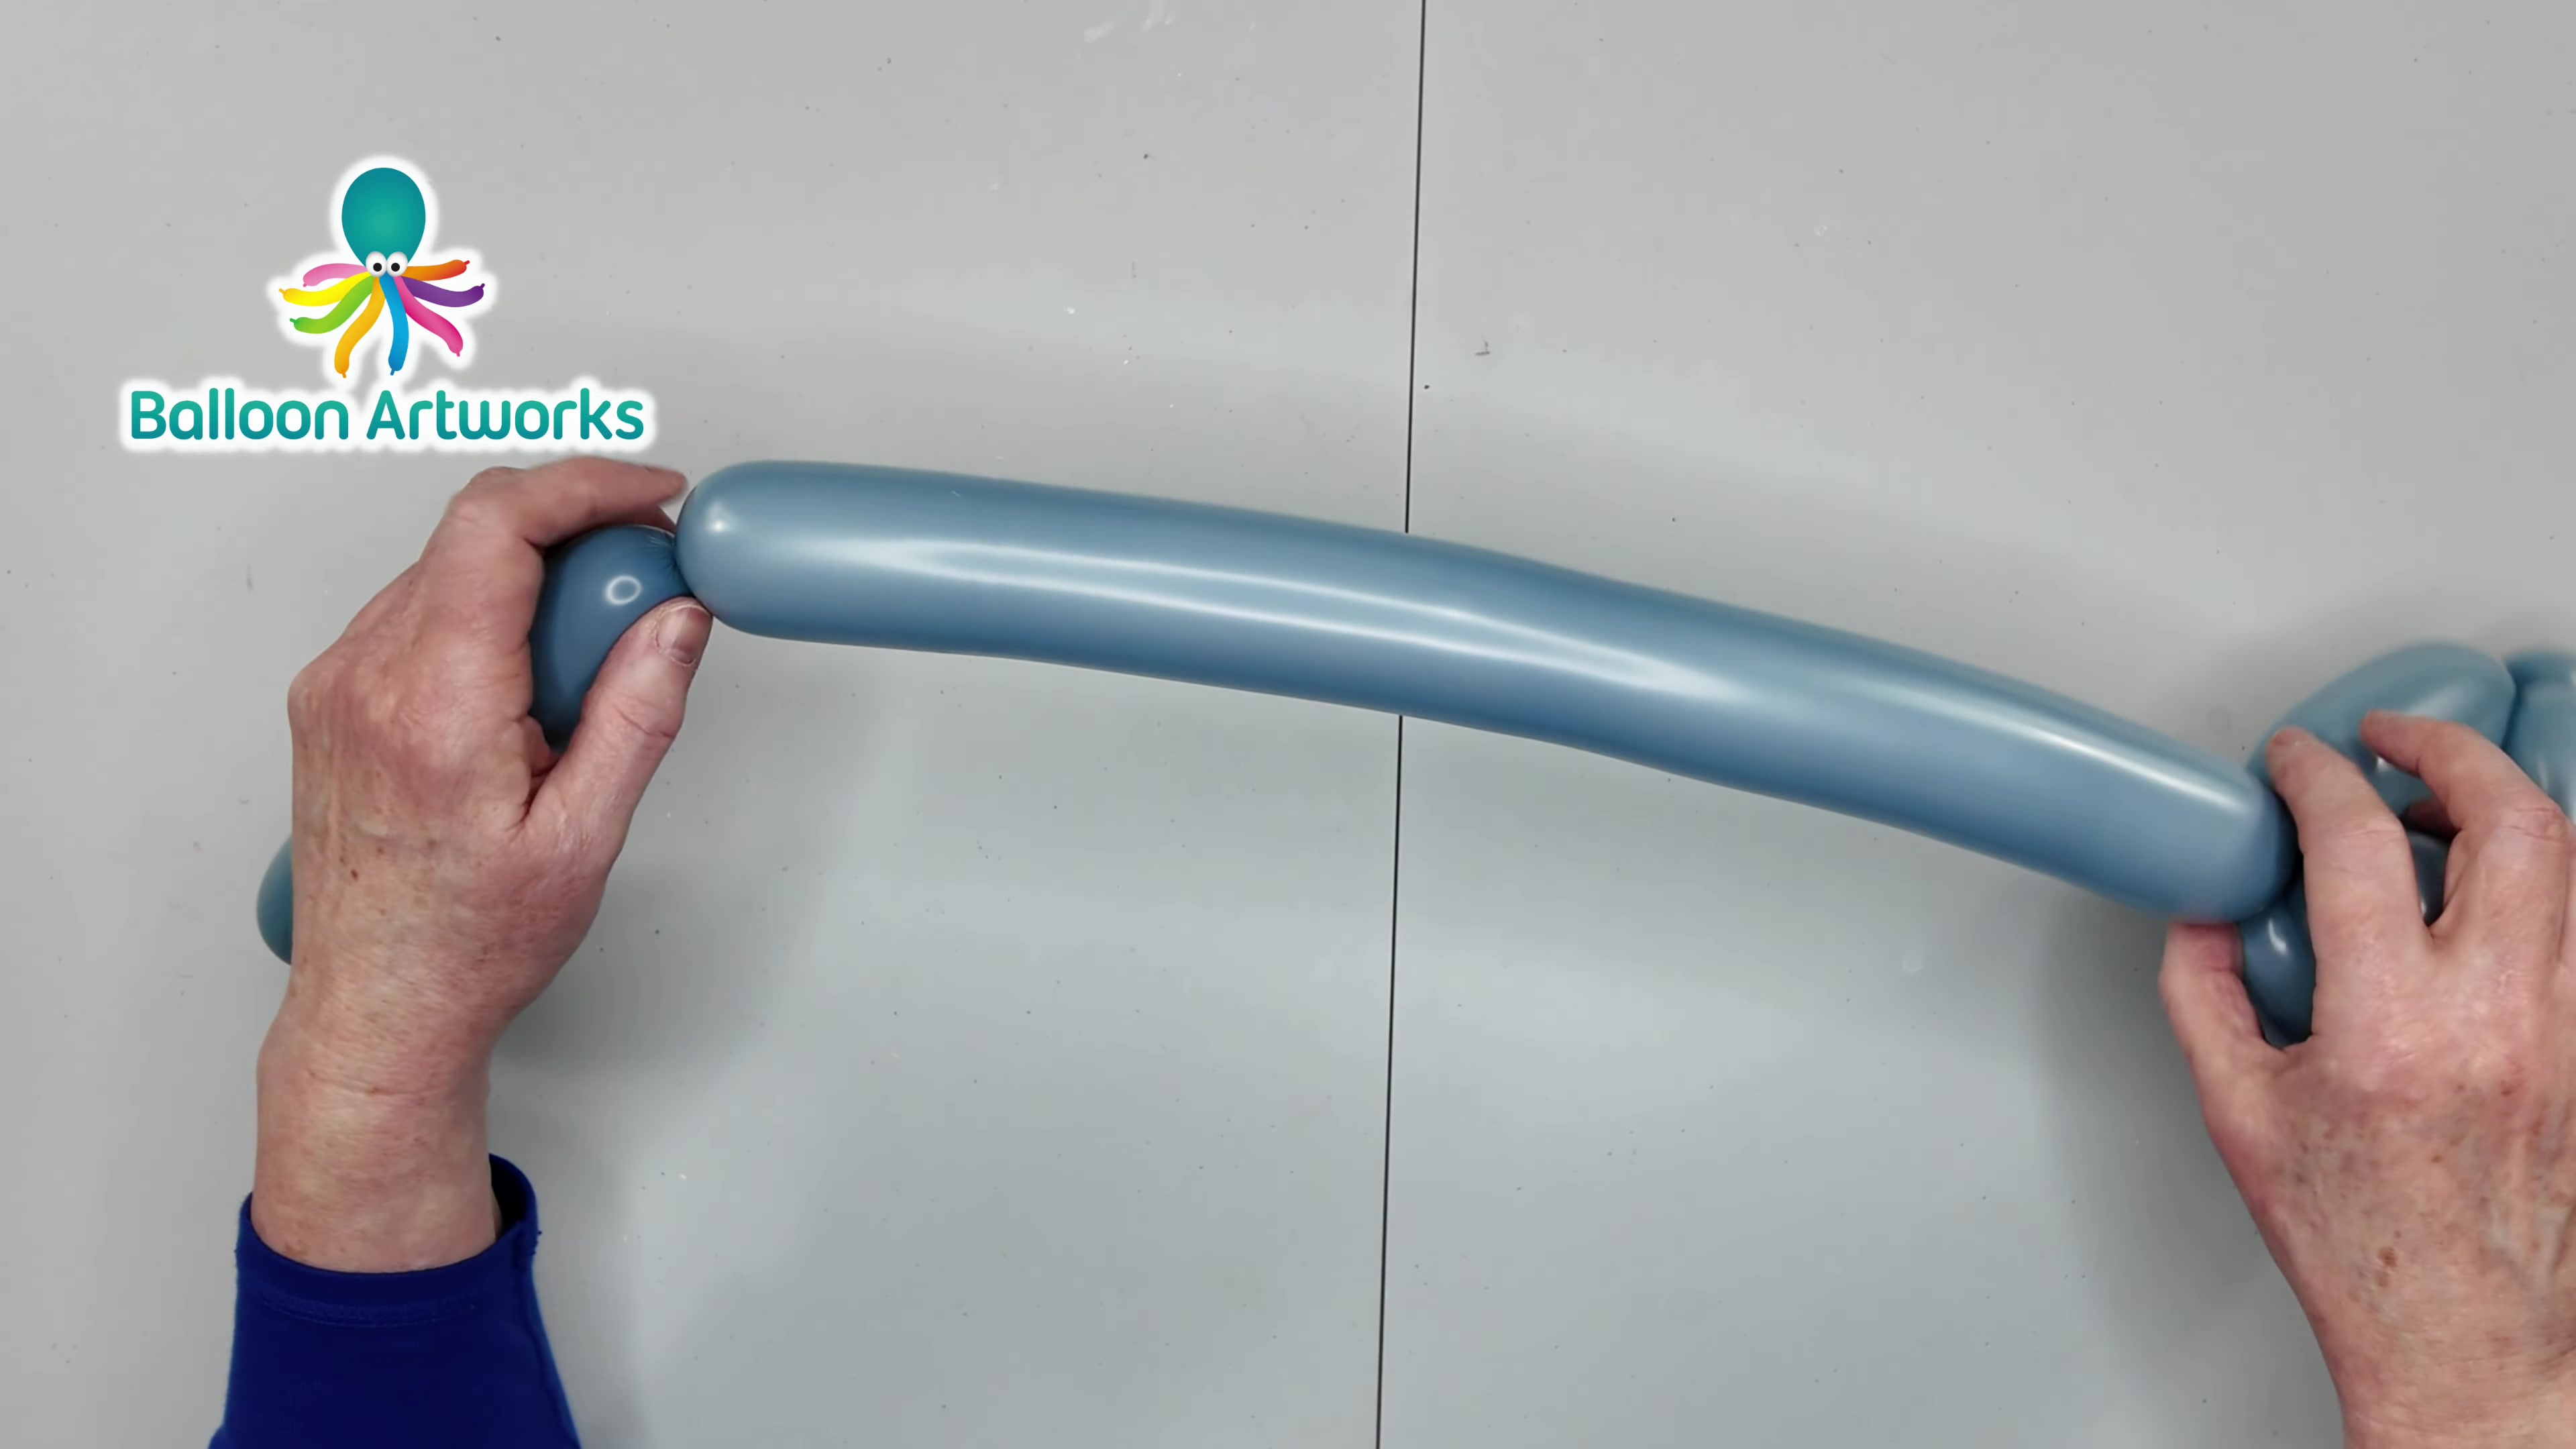
Soften the balloon gently and measure a long 7 to 8-inch un-twisted section. This will become the outer tail or wing-style loop, so leave it smooth and flexible.

Step 10: Fold the Tail Back Into an Arc

10 Fold the Tail Back Into an Arc

02:41 - 03:04

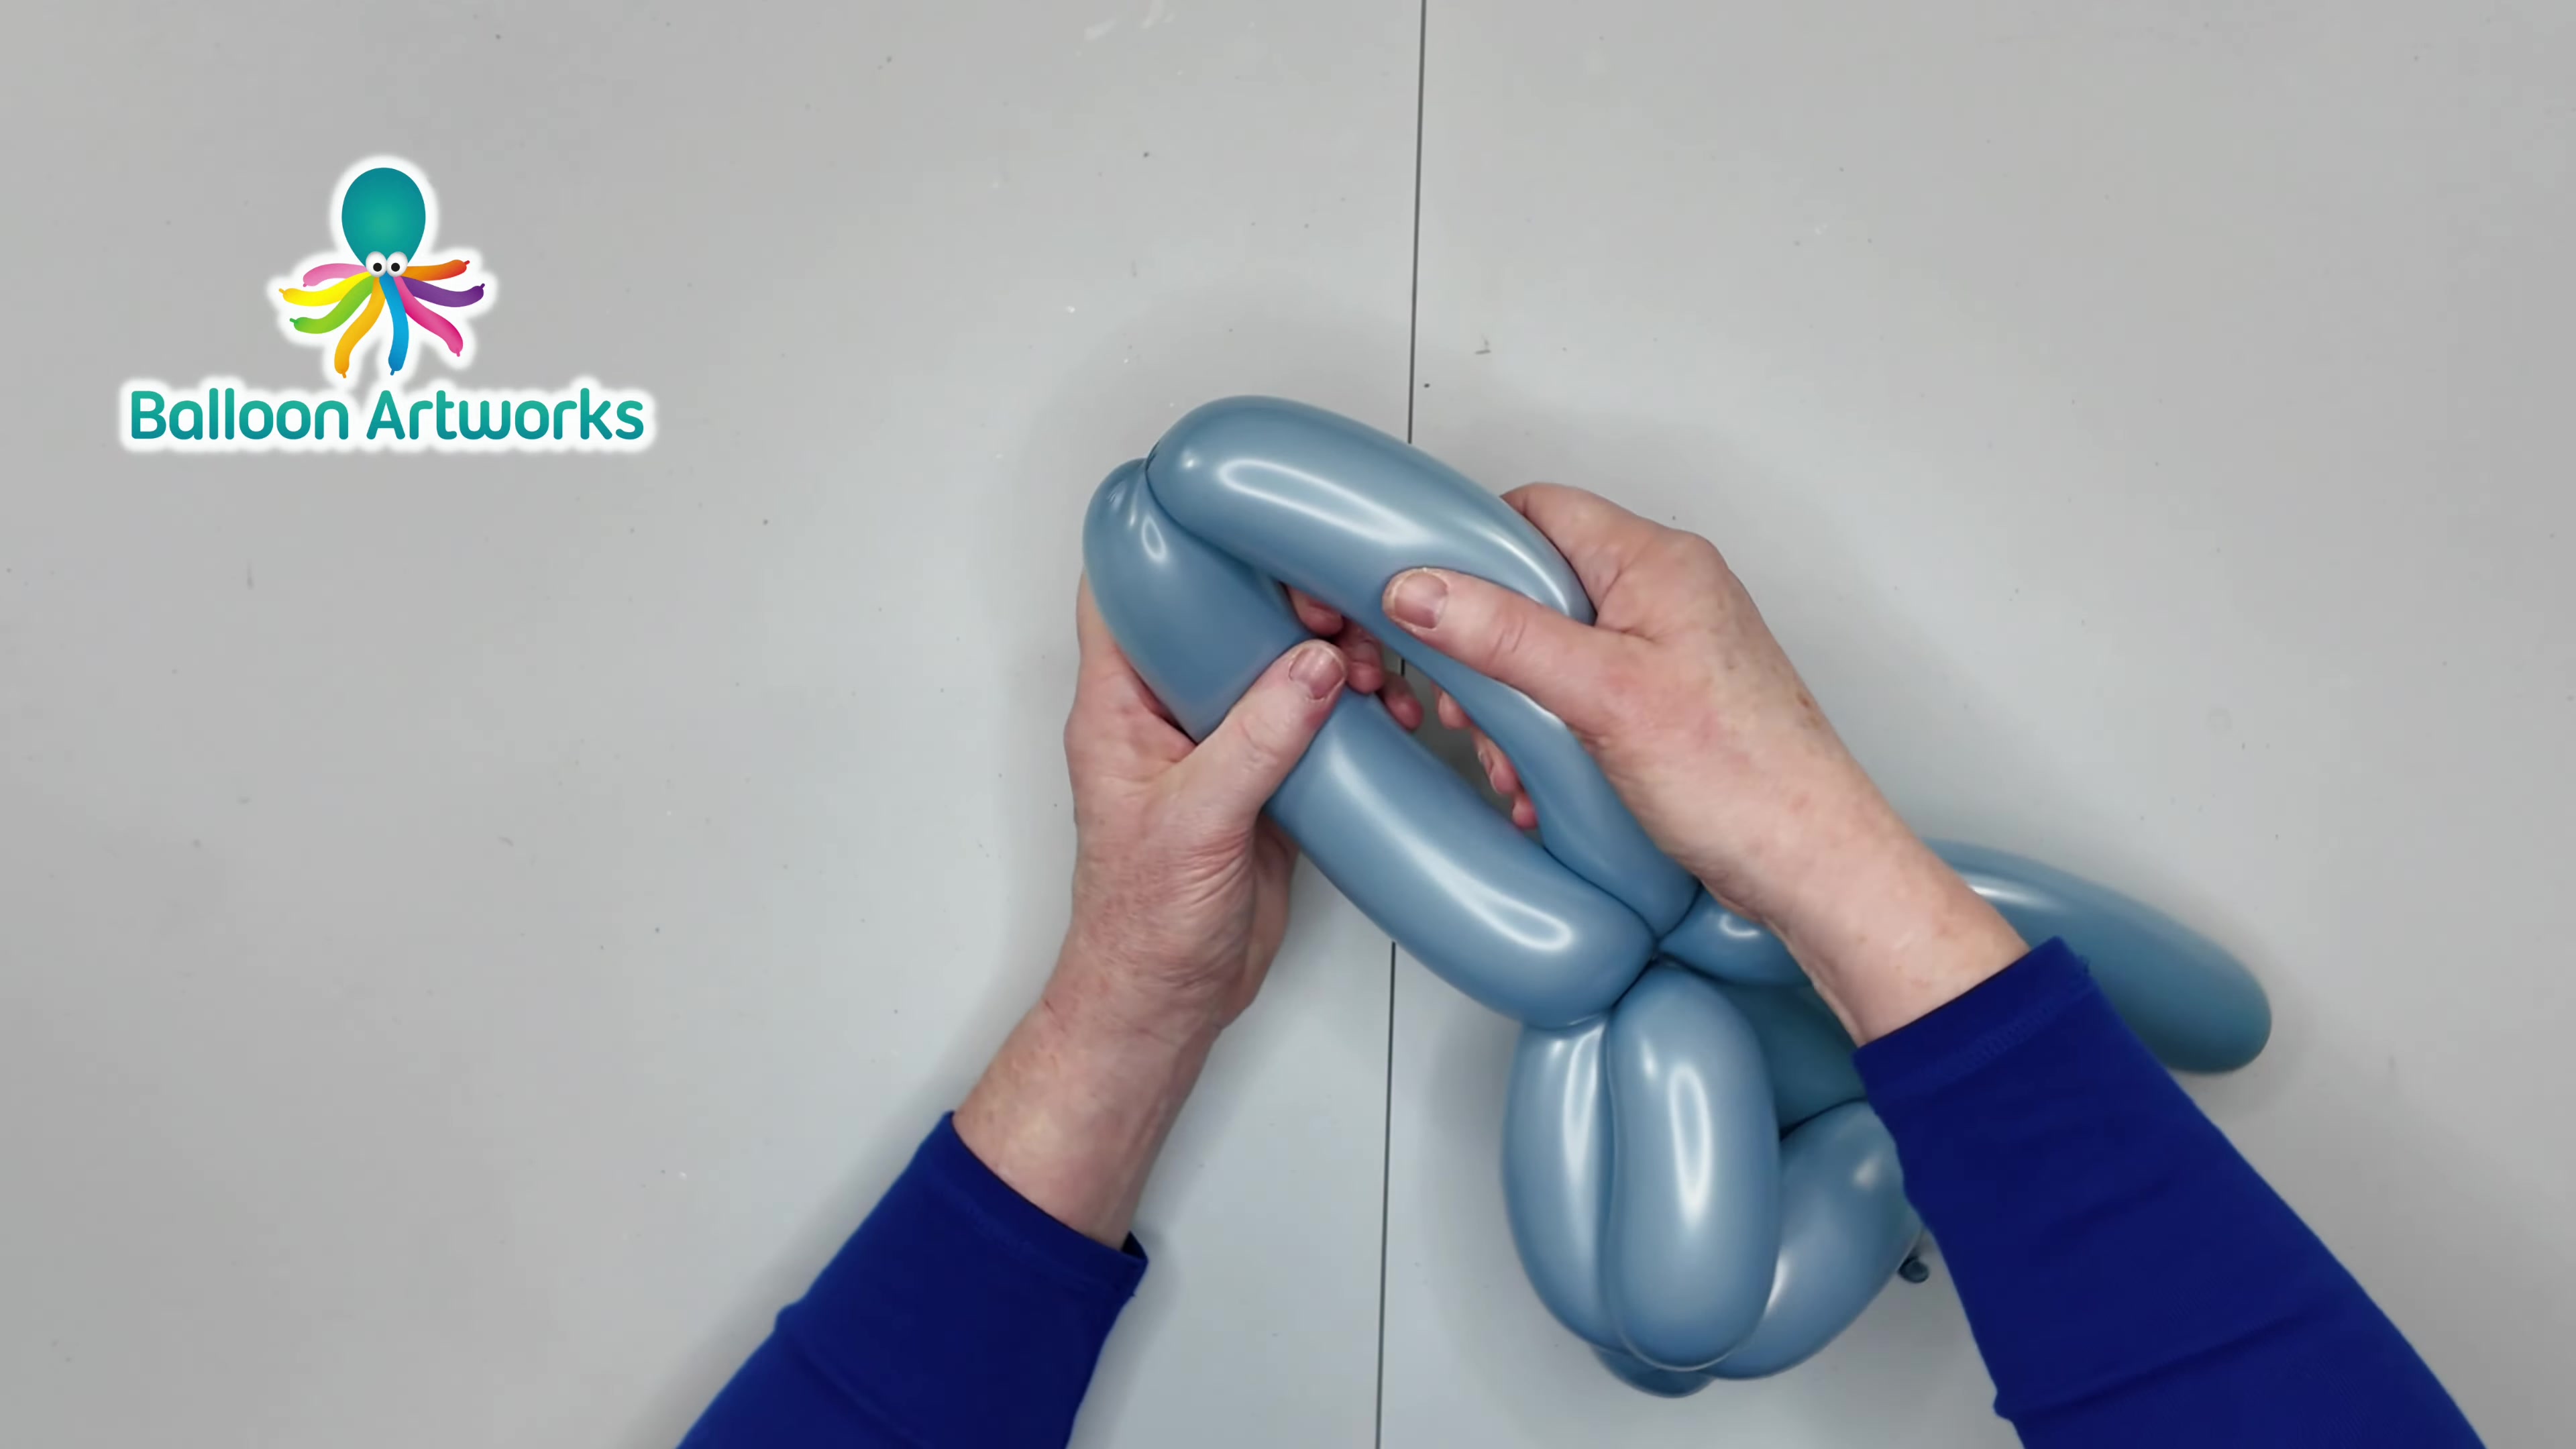
Bend the long tail section in a curved arc back toward the central torso junction. Match the curve to the rest of the body so the sculpture looks balanced.

Step 11: Lock the Tail Into the Main Joint

11 Lock the Tail Into the Main Joint

03:04 - 03:31

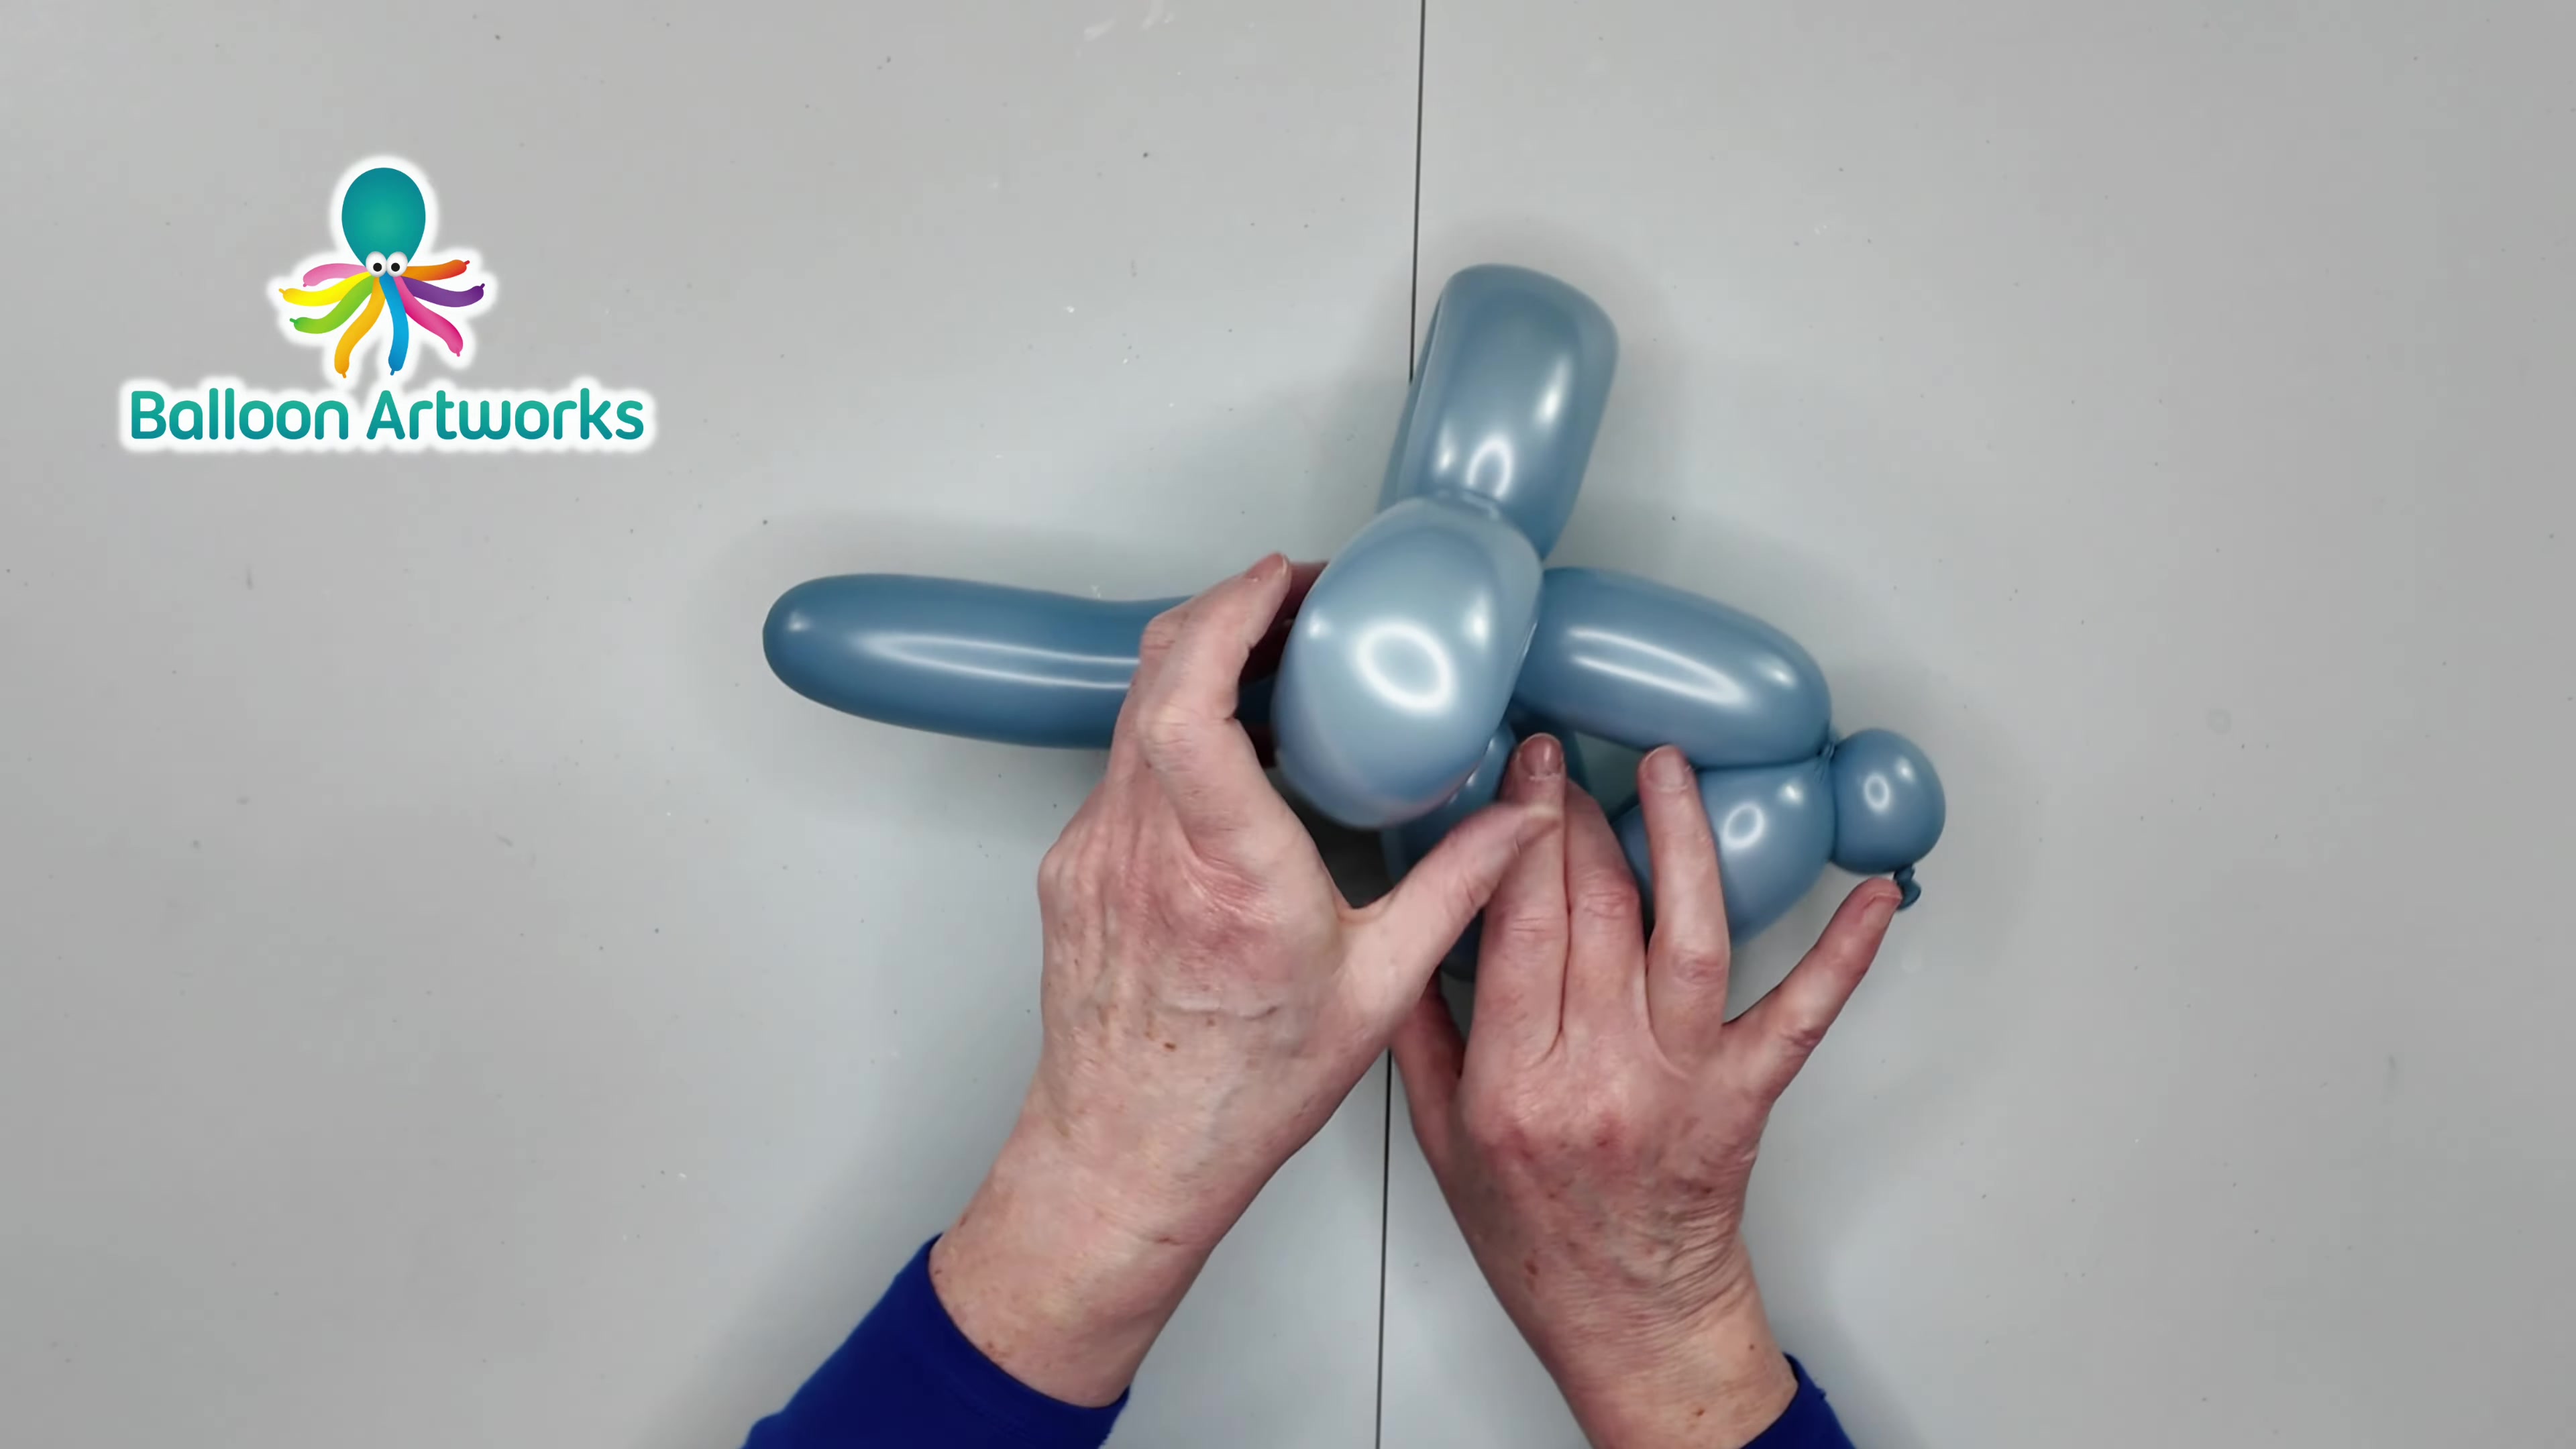
Push the base of the long tail loop into the central torso intersection and lock-twist it into place. This secures the full frame so the puppy keeps its shape.

Step 12: Shape and Show the Finished Puppy

12 Shape and Show the Finished Puppy

03:31 - 03:47

Gently bend the tail, adjust the head and body bubbles for symmetry, and give the sculpture a final check. Once everything looks even, show off the finished balloon puppy.

Dad's Quick FAQs & Troubleshooting

Real-world answers for busy mornings, active recess hold, and tear-free removal.

How long will this balloon puppy hold its shape?

Usually long enough for a party, playtime, or a full day of fun if you keep the twists snug and avoid overinflating the balloon.

What if the balloon feels too tight while I’m twisting?

Let out a little air, then keep going. A softer balloon is easier to twist and much less likely to pop.

Can I make this with a different balloon size?

A 260Q works best because it has the right length and flexibility. Smaller balloons are harder to shape and more likely to fail.

How do I fix a lopsided head or body?

Untwist gently if needed, then re-tighten the bubbles and make sure each twist is the same size. Small adjustments usually bring the whole sculpture back into balance.