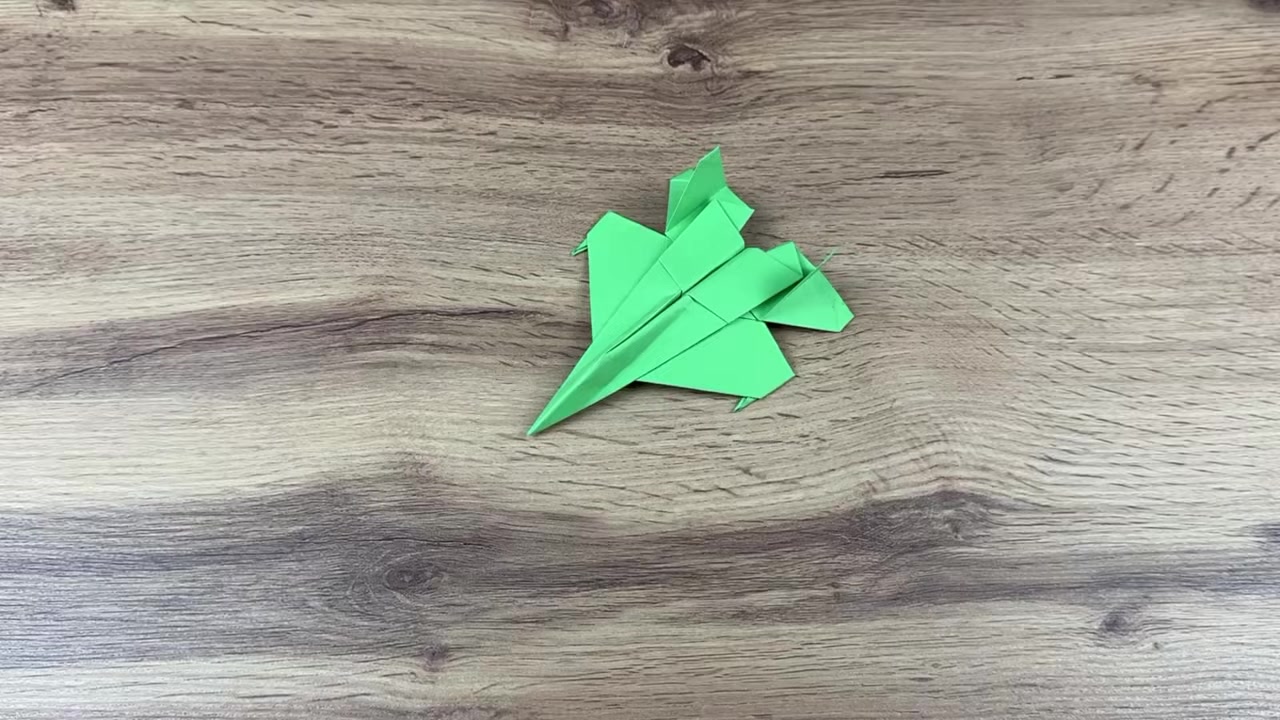
01 Show the Finished Jet
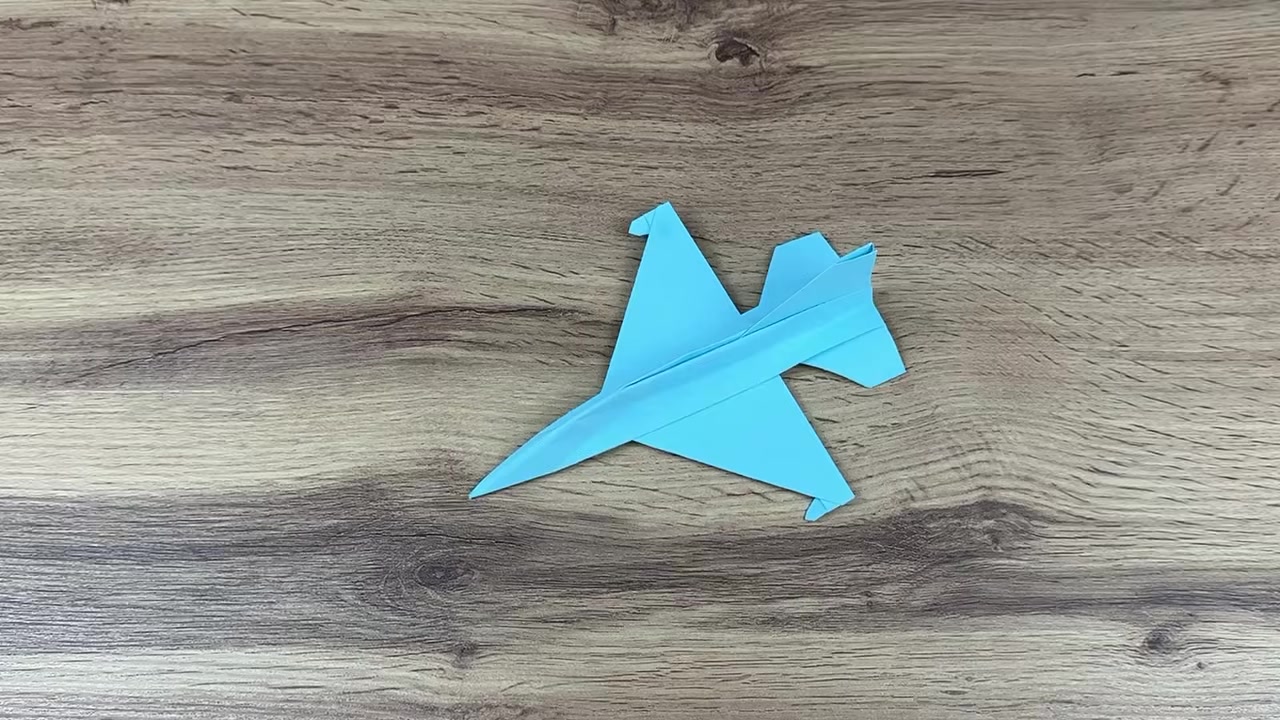
00:00 - 00:18Hold up the completed jet and let your kid see the shape first. Point out the wings, cockpit, and twin tail fins so they know what you’re building.
A sleek origami jet that folds from one sheet into a fast, stable flyer with crisp creases and easy wing tuning.
Hold up the completed jet and let your kid see the shape first. Point out the wings, cockpit, and twin tail fins so they know what you’re building.
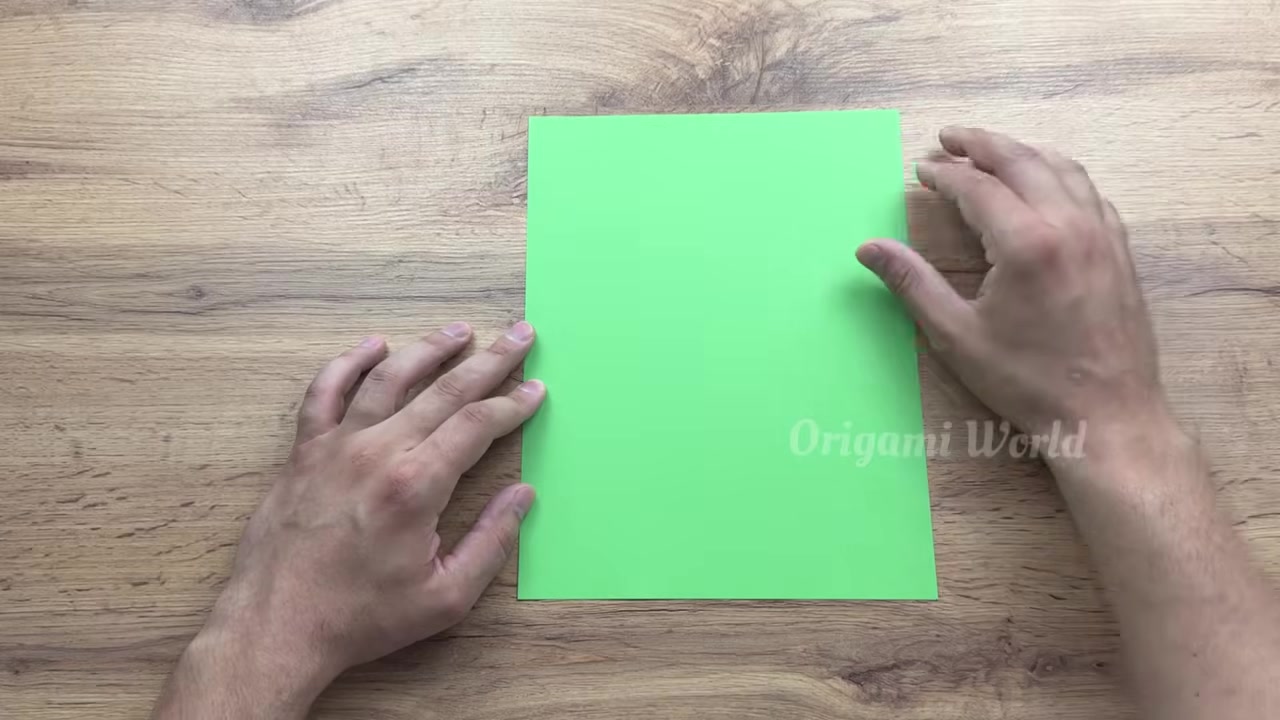
Use a green sheet of A4 paper and cut off a 2.5 cm strip from the short edge so the paper ratio matches the model. Keep the cut clean and straight.
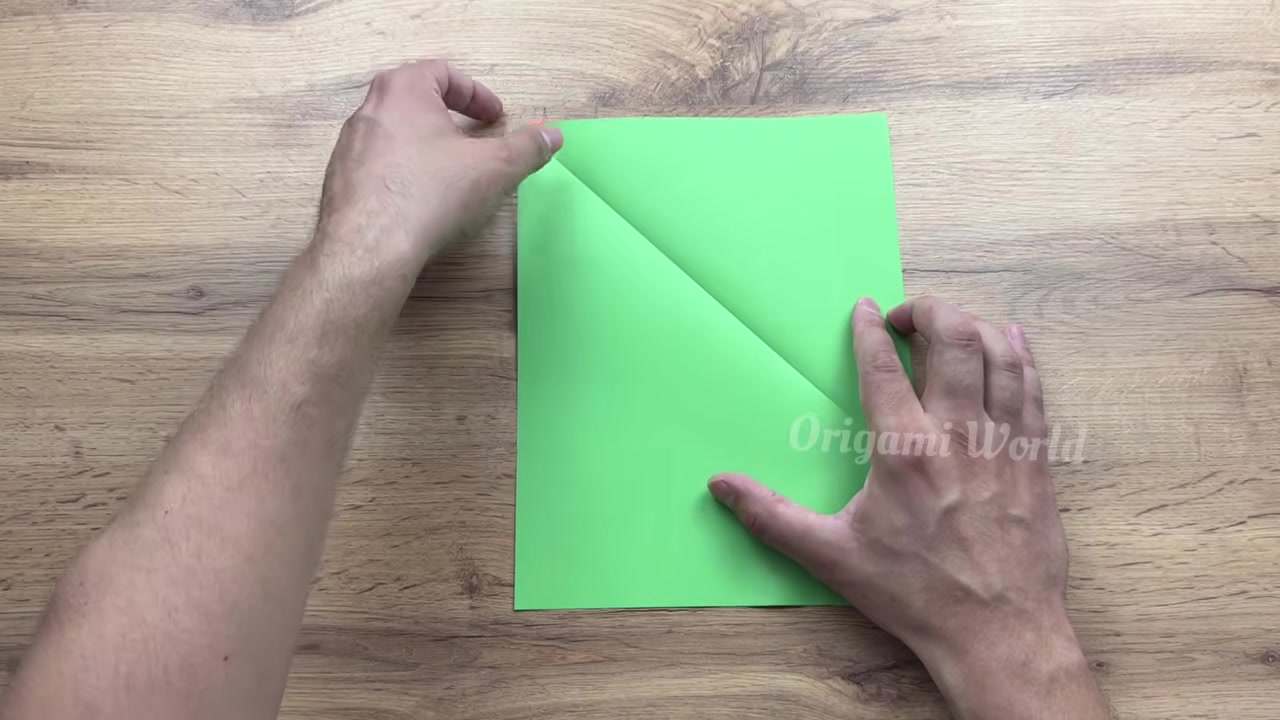
Fold the top right corner down diagonally to line up with the left edge. Press the crease hard, then unfold it to leave a sharp guide line.
Fold the top left corner diagonally across to the right edge. Crease firmly and unfold so the paper now has a clear X pattern.
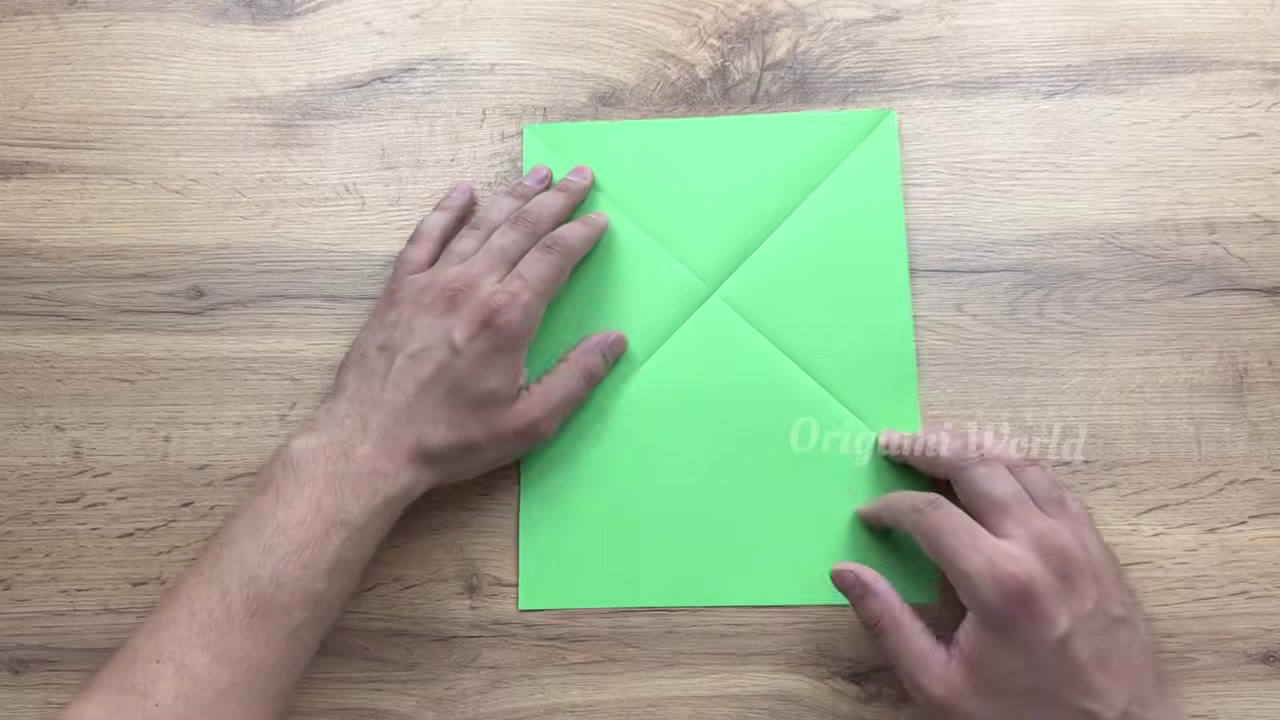
Fold the whole sheet in half lengthwise along the center axis. Run your thumbnail across the fold so the centerline stays crisp.
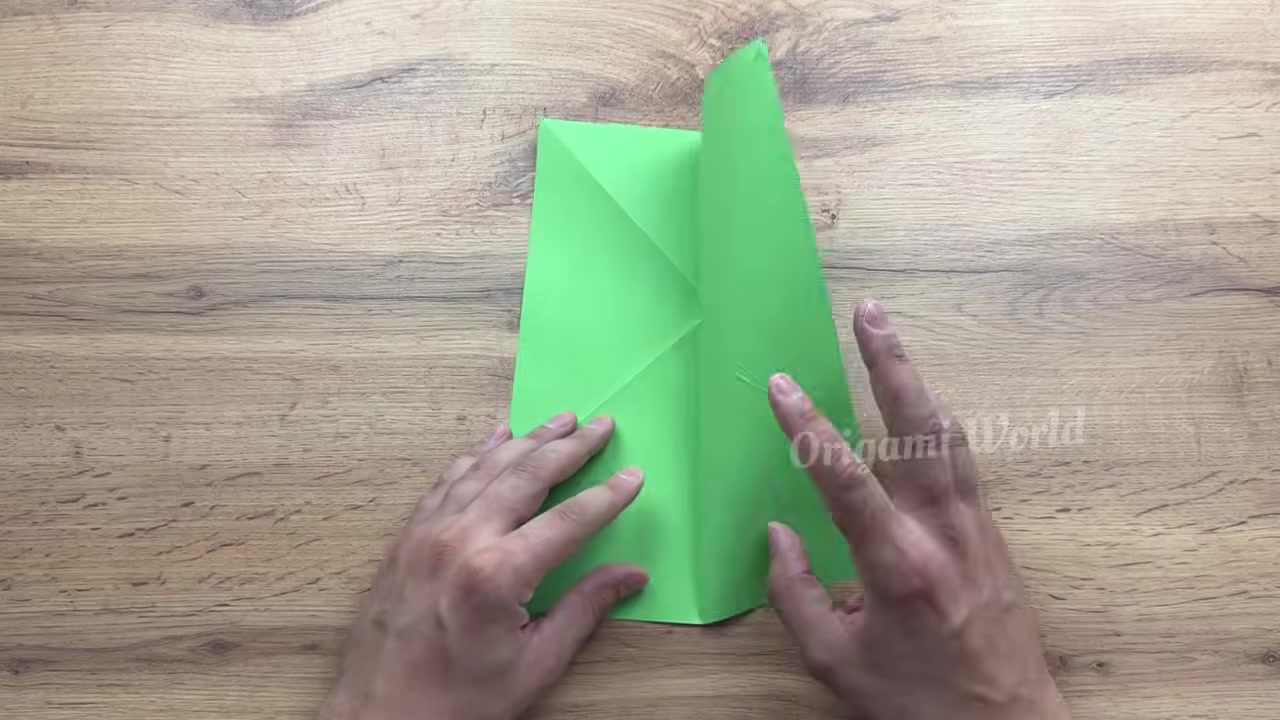
Fold the top edge down straight through the point where the X creases meet. This gives you the key intersection for the next collapse.
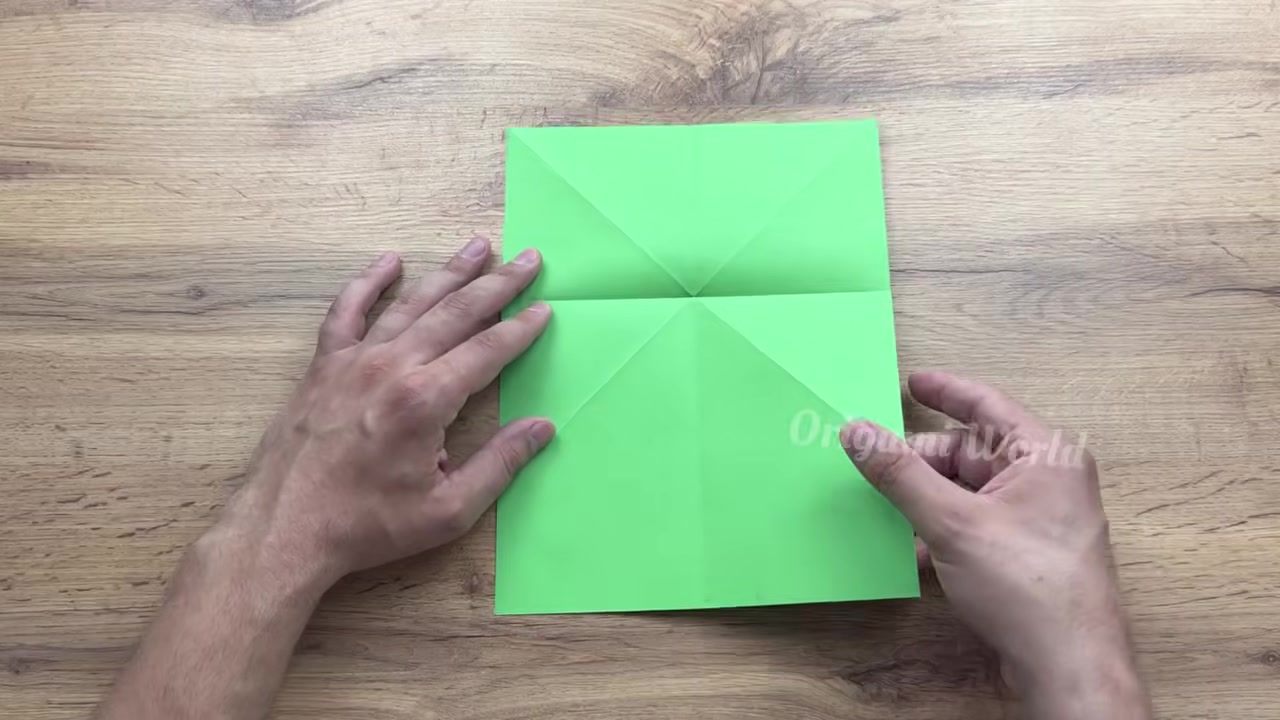
Push the pre-creased top section inward along the fold lines and flatten it into a triangular waterbomb base. Keep the layers aligned as you press it flat.
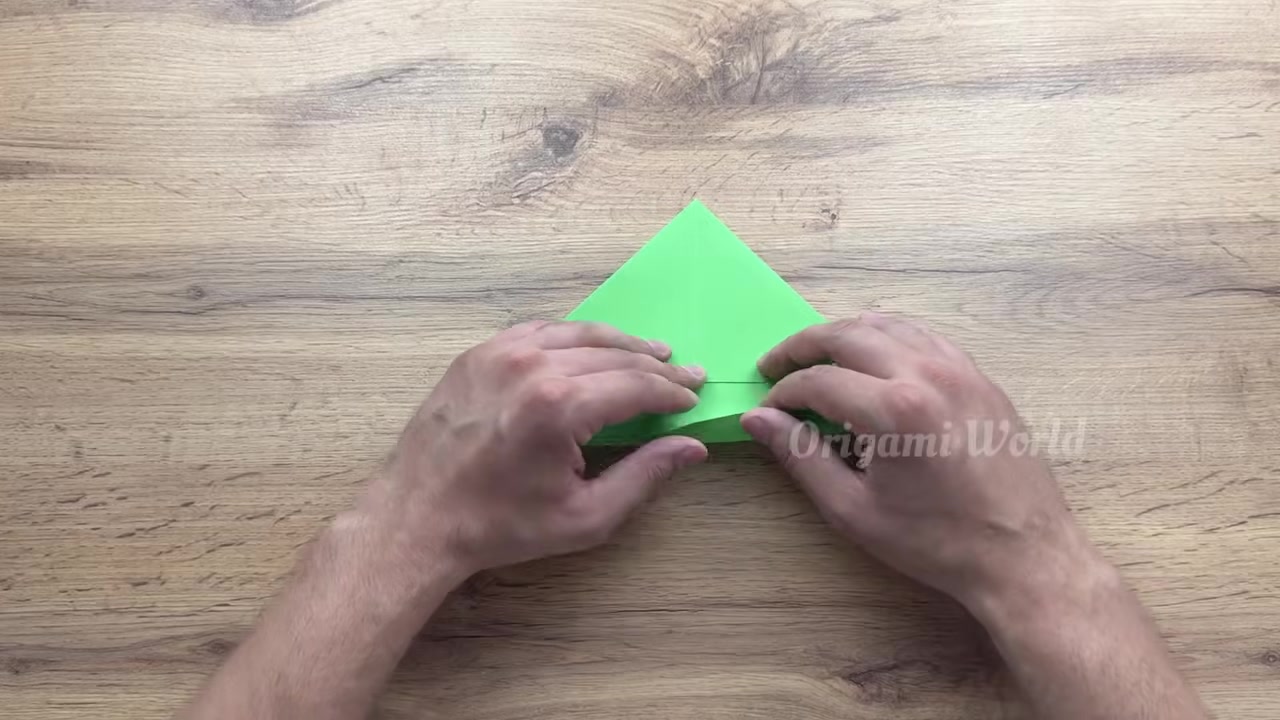
Bring the right outer vertical edge inward to meet the center line. Make the fold tight and straight so the nose stays symmetrical.
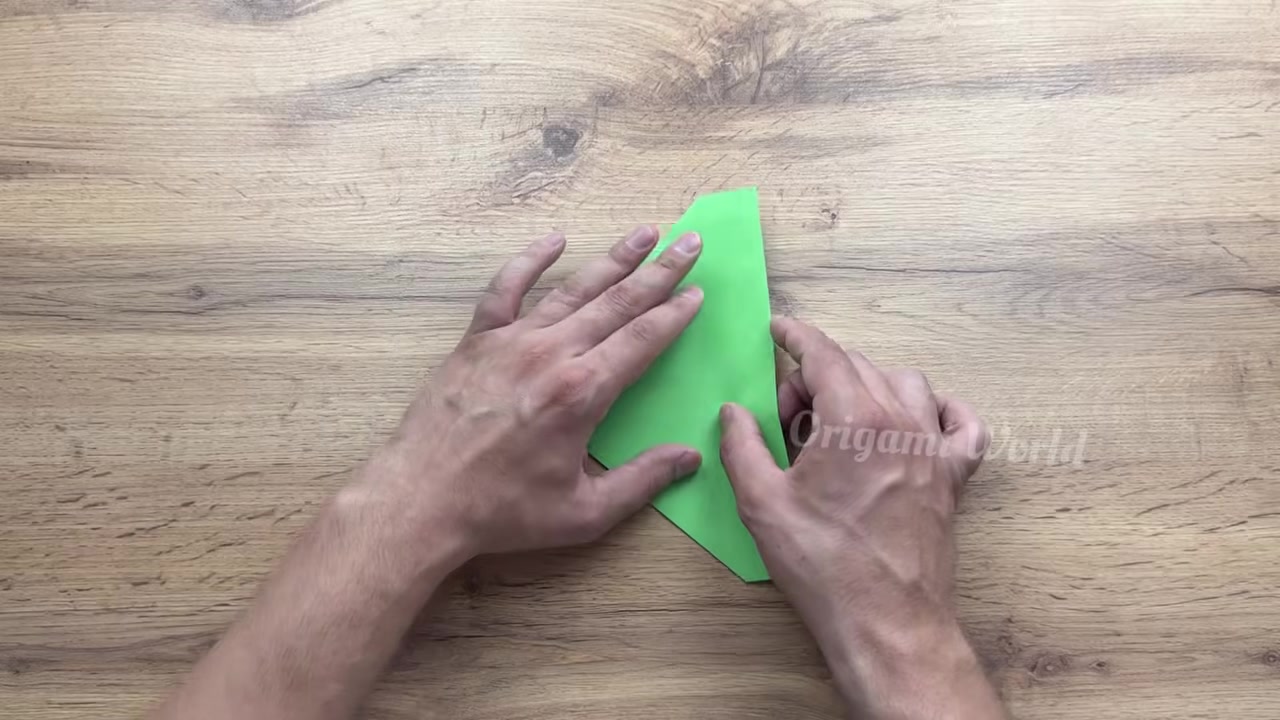
Fold the left outer vertical edge inward to the center line as well. Check that both sides mirror each other before moving on.
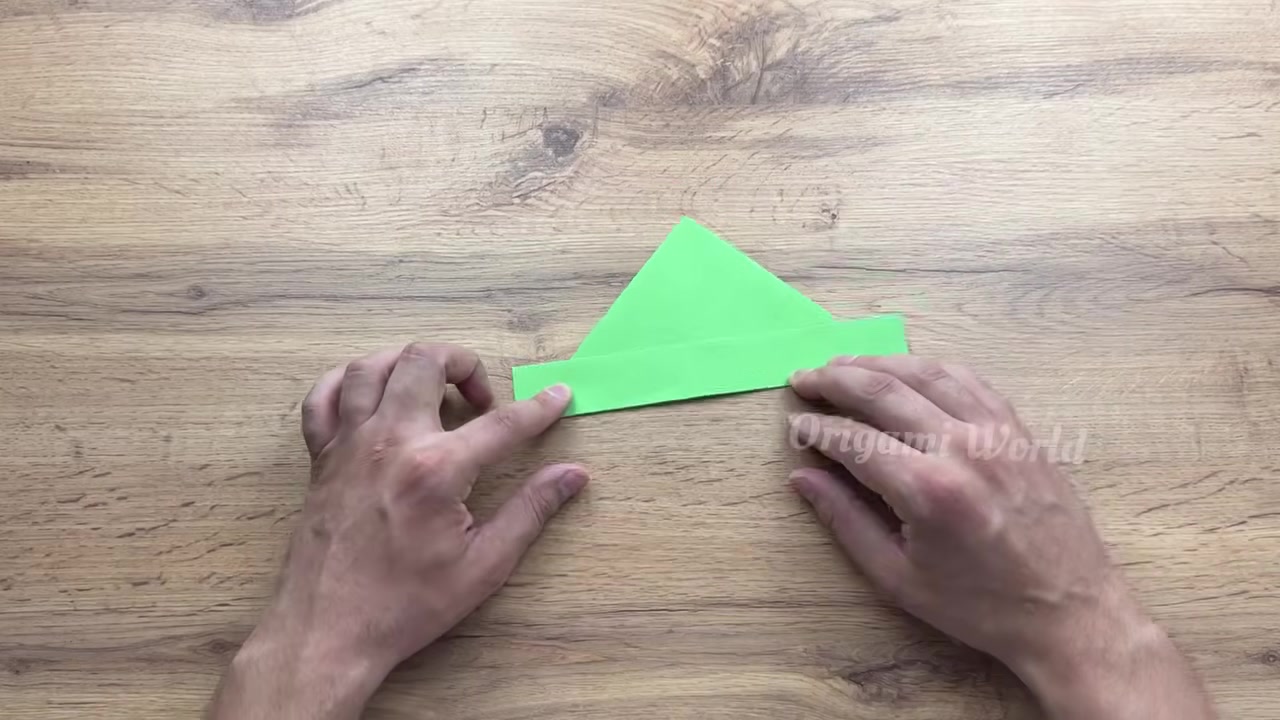
Fold the bottom rectangular strip upward over the lower edge of the base. Mark the side corner creases clearly so the next tuck lands cleanly.
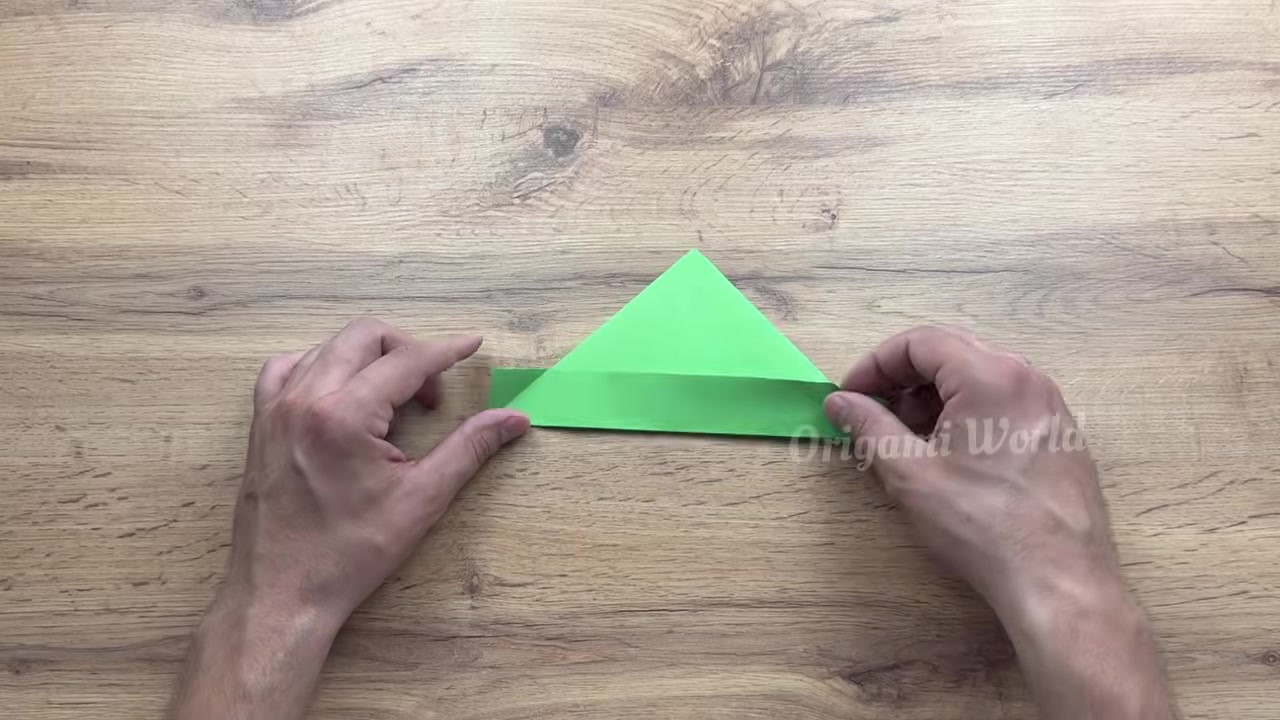
Open the bottom side flaps and reverse-tuck the extra corner folds into the paper pockets. Press the layers flat so the body locks together neatly.
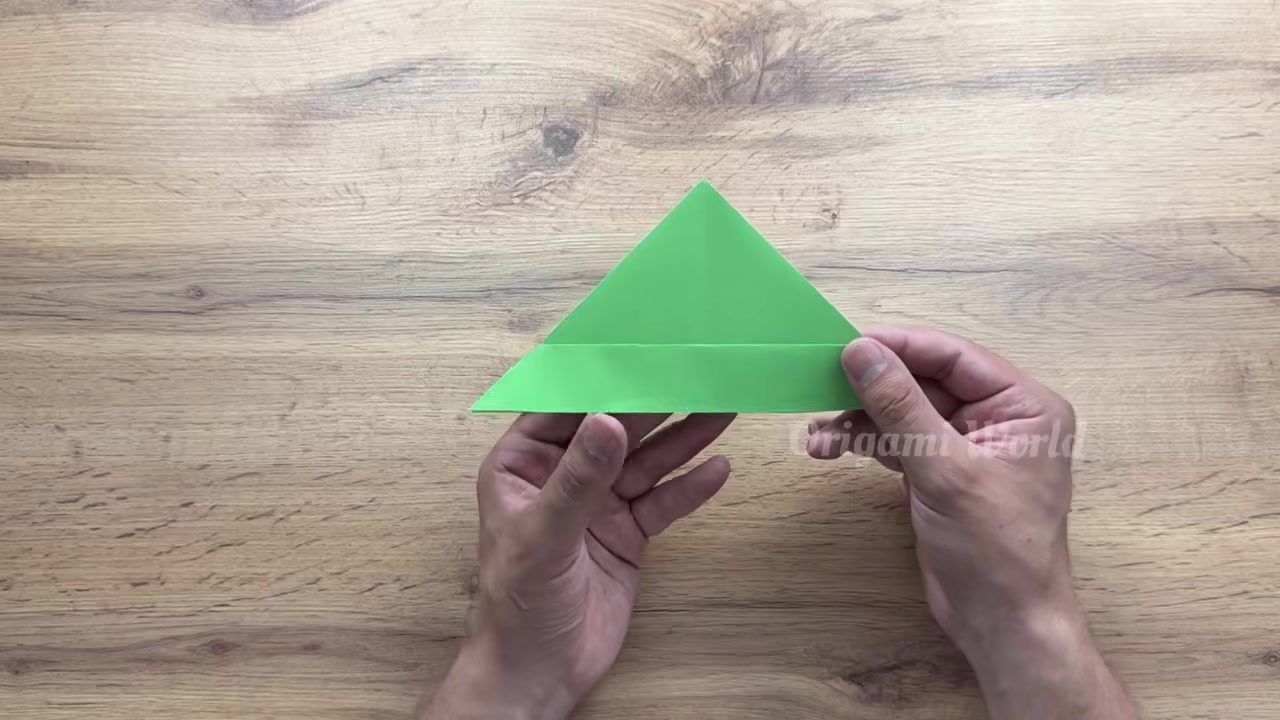
Fold the top triangular flaps diagonally outward to start the swept wing shape. Keep both angles even so the jet flies straight.
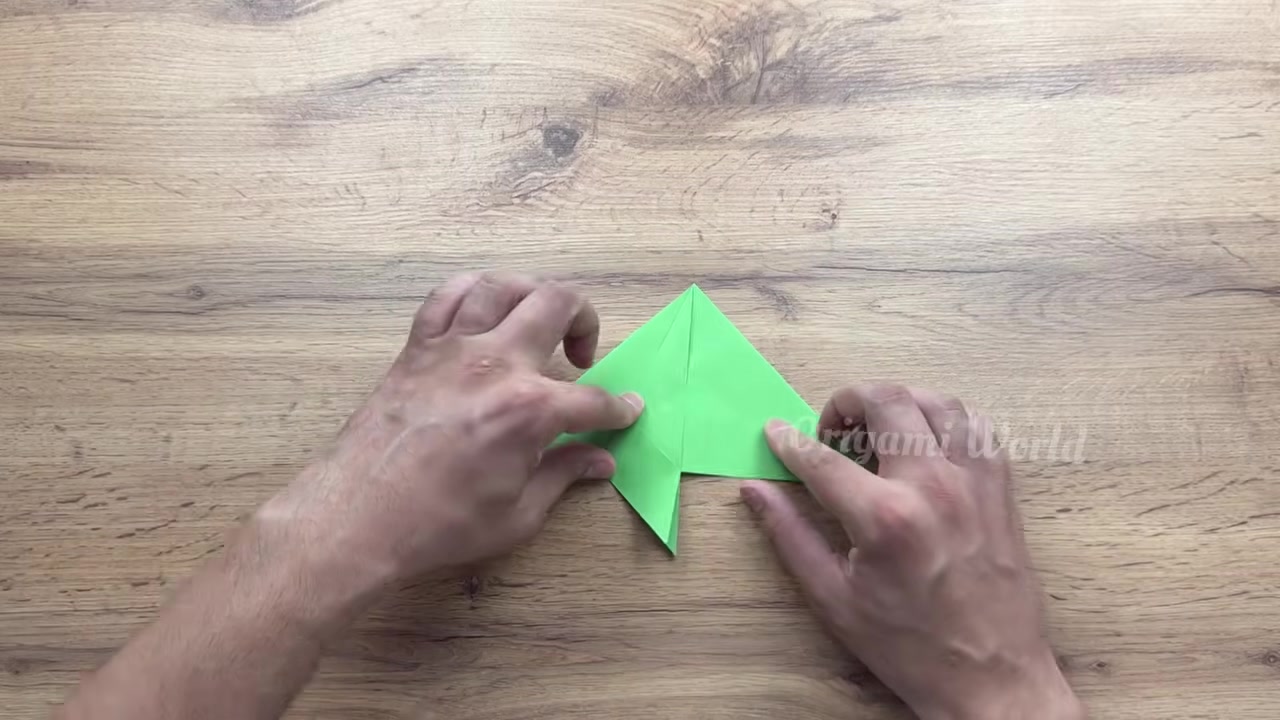
Fold the left wing layer outward to match the right side exactly. Use the center body as your reference and press the crease hard.
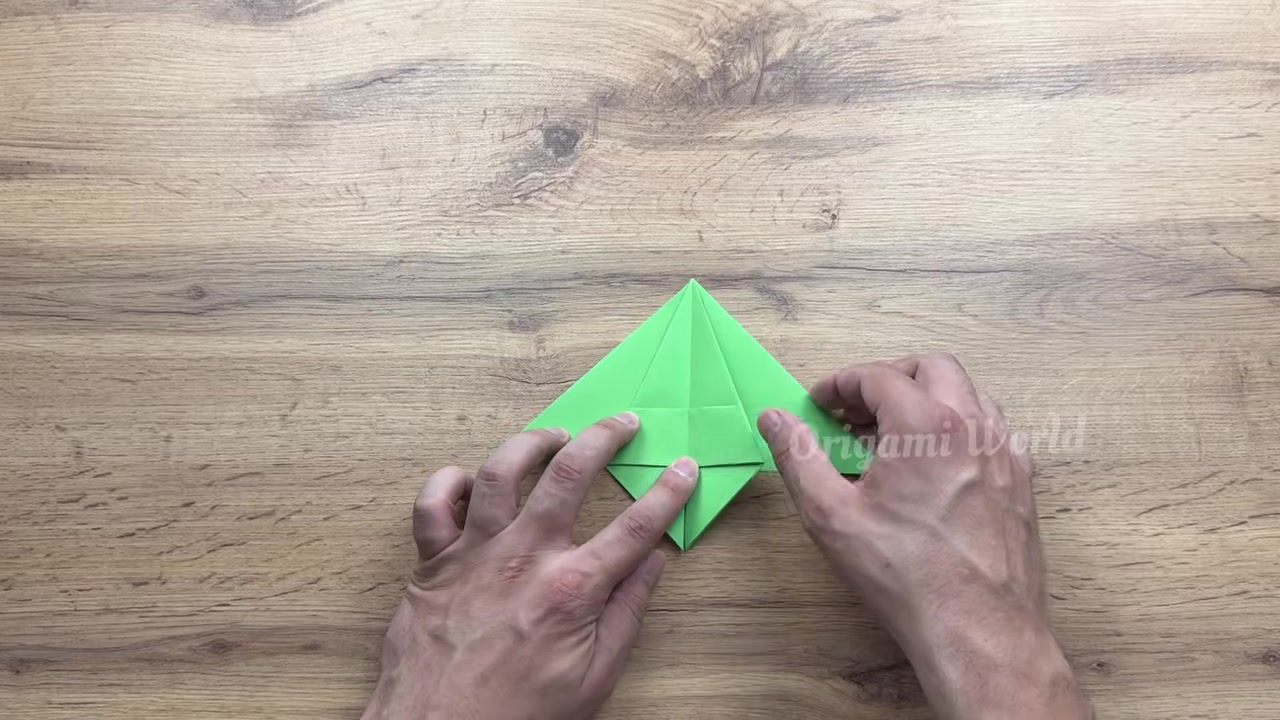
Flatten and squash-fold the lower inner flaps to build the wing roots and extension panels. Keep the folds tight so the rear section stays sturdy.
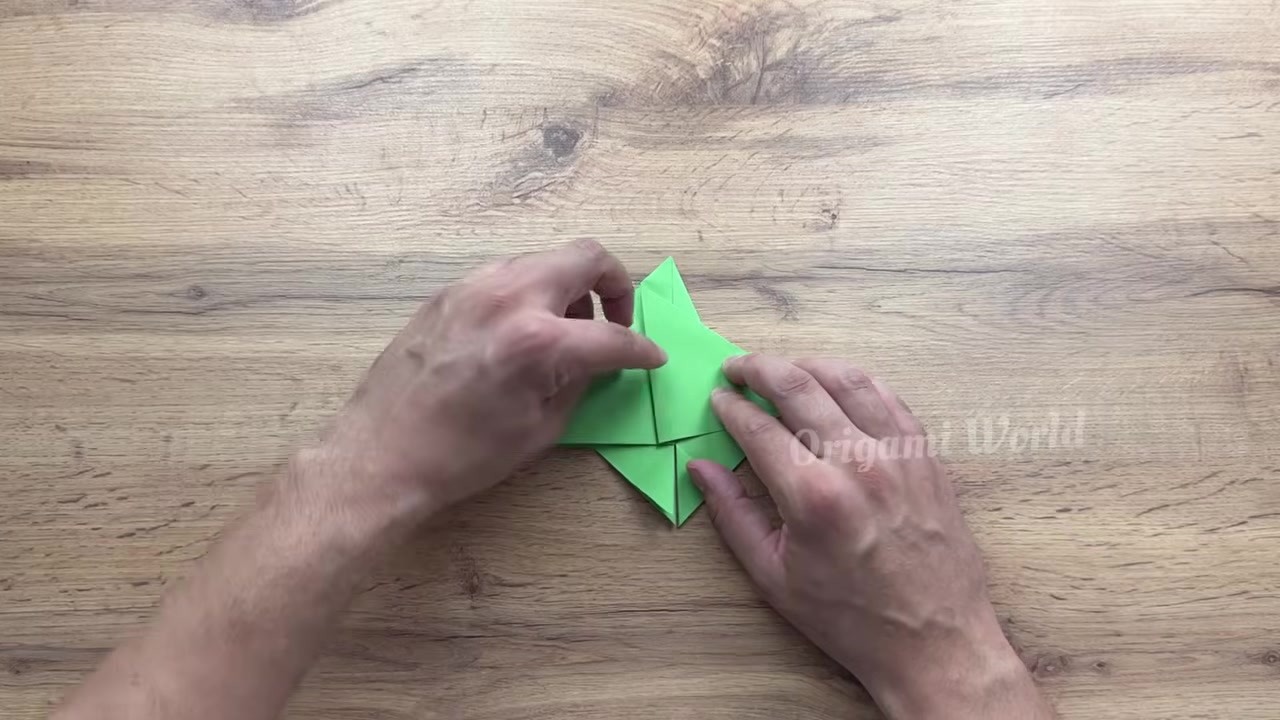
Make tight, narrow parallel folds along the center axis to shape the raised nose spine and cockpit ridge. This is where the jet starts to look fast.
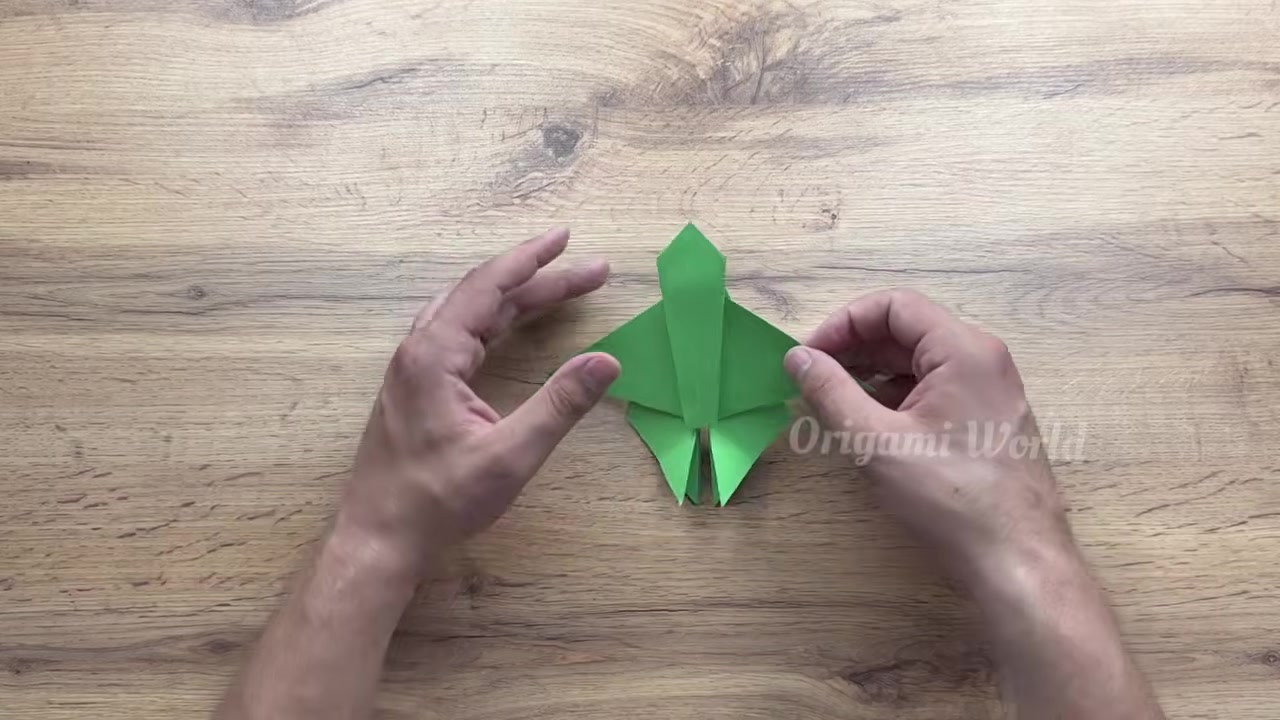
Add small vertical pre-folds near the rear wing assembly to prepare the vertical tail fin roots. Keep these folds small and precise.
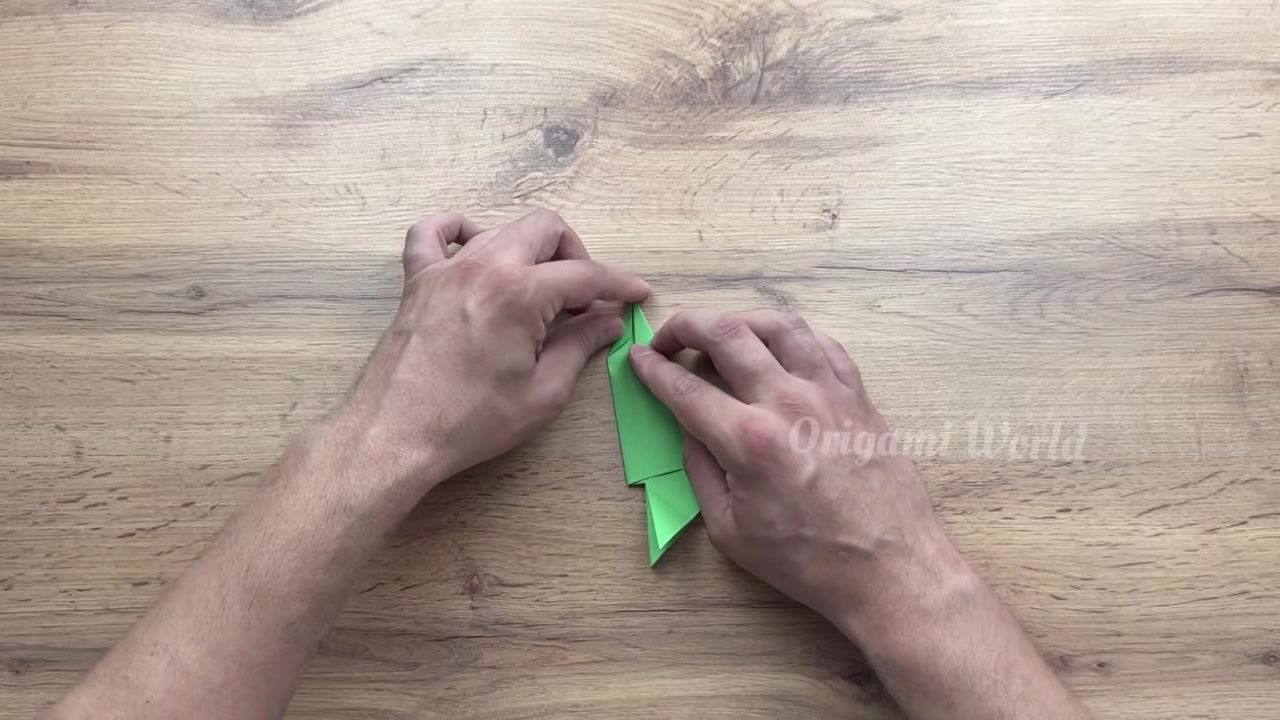
Crease the small triangular folds at the rear trailing edges to define the twin tail fins. Make both sides match so the jet stays balanced.
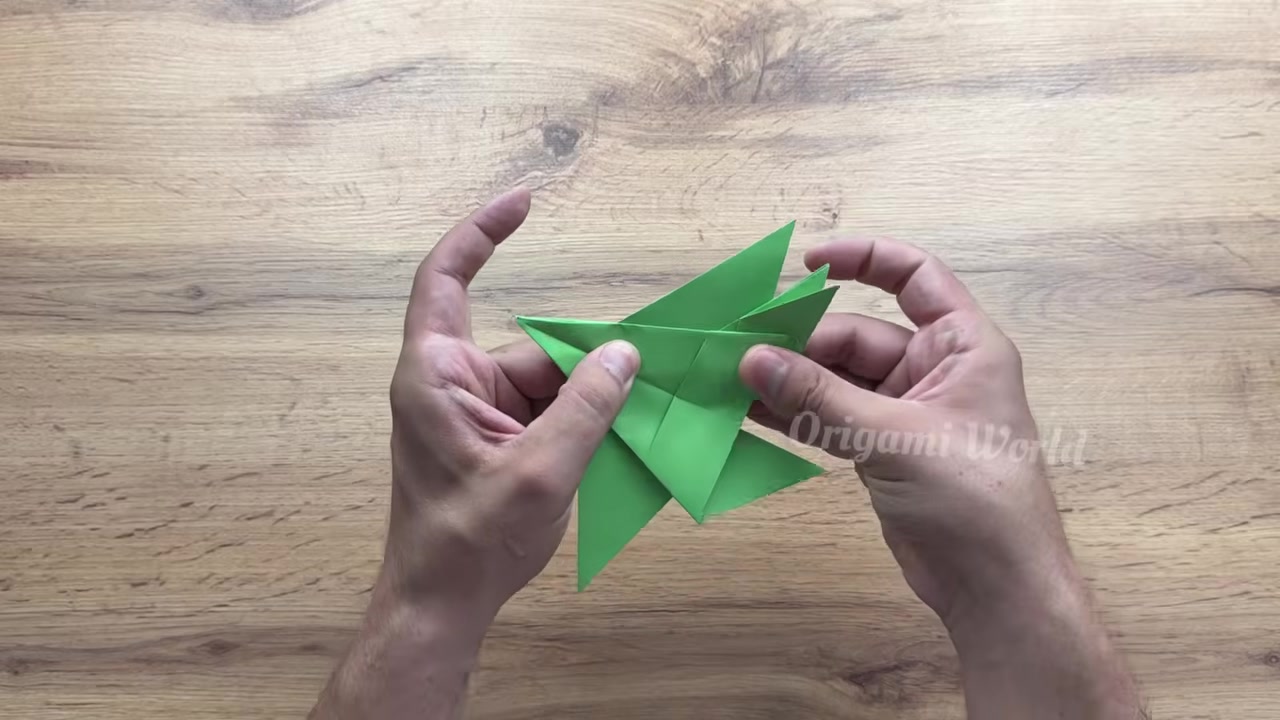
Tuck and fold the rear lower tabs inward to create the engine exhaust nozzles. Press the back end flat and neat.
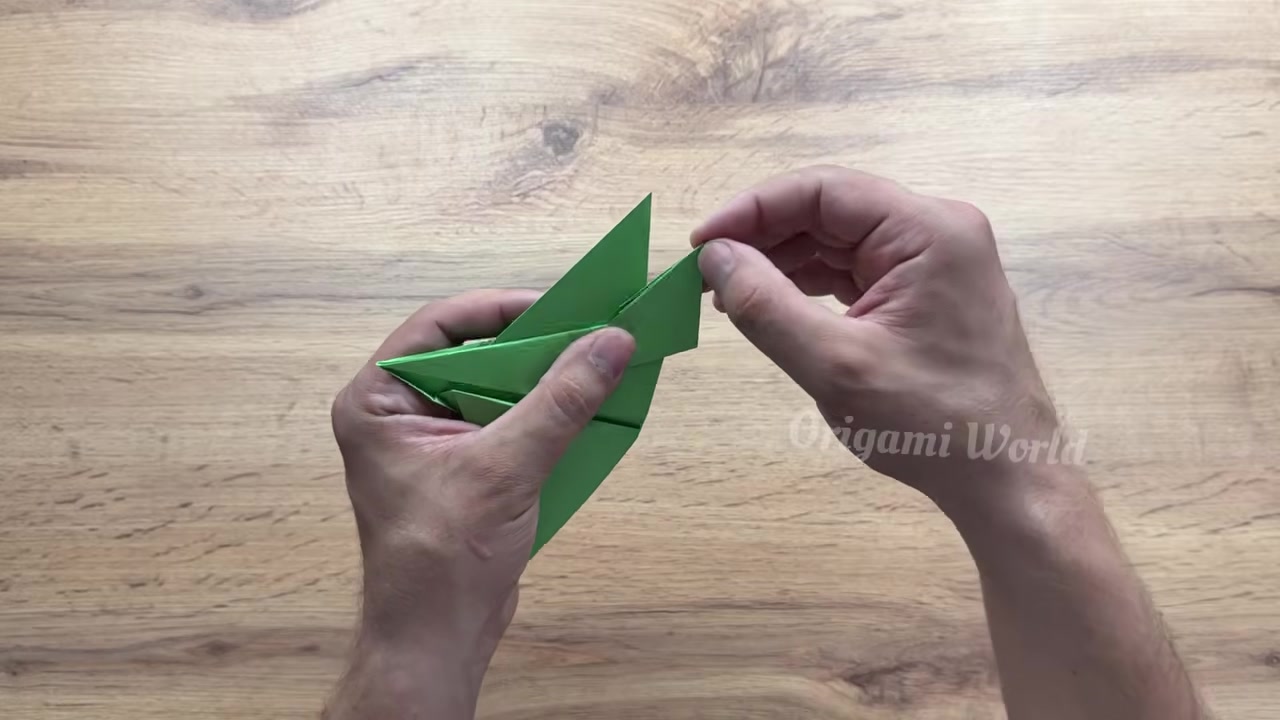
Tuck the small internal locking flaps along the central spine so the body holds together tightly. This step keeps the jet from loosening in flight.
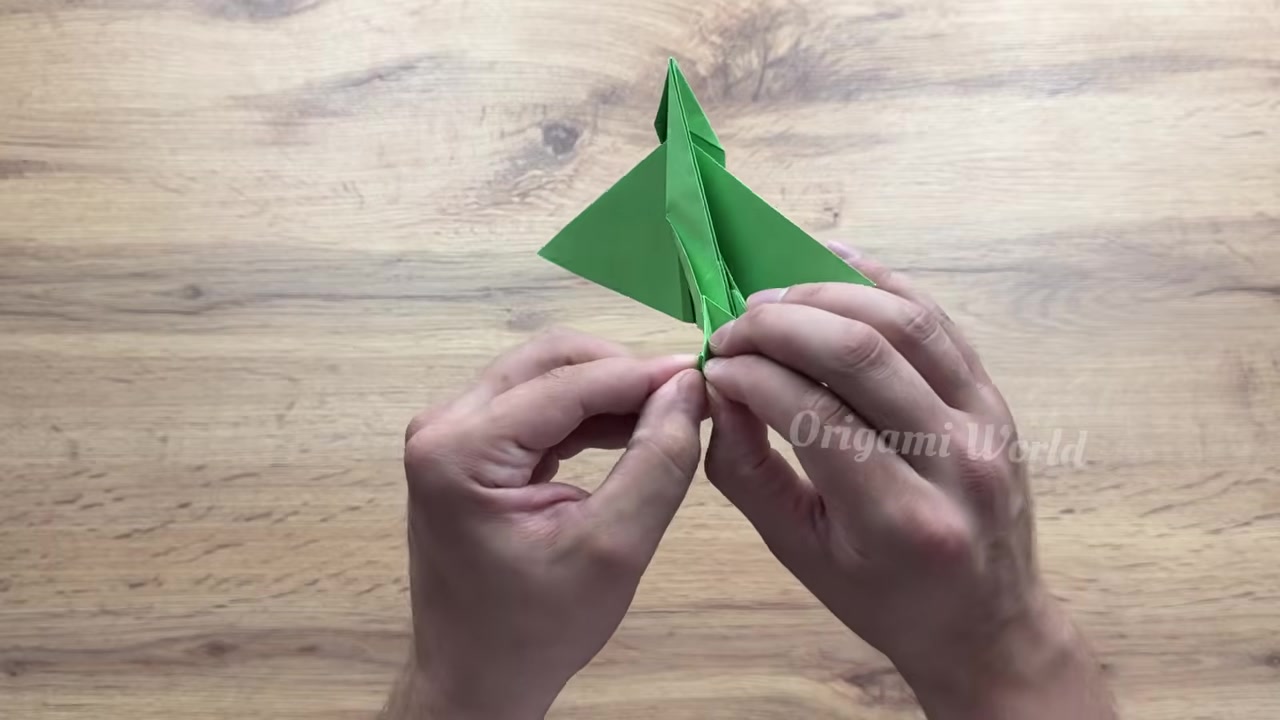
Mountain-fold the entire plane along the central ridge to form the main fuselage keel. Line up the nose and tail carefully before pressing.
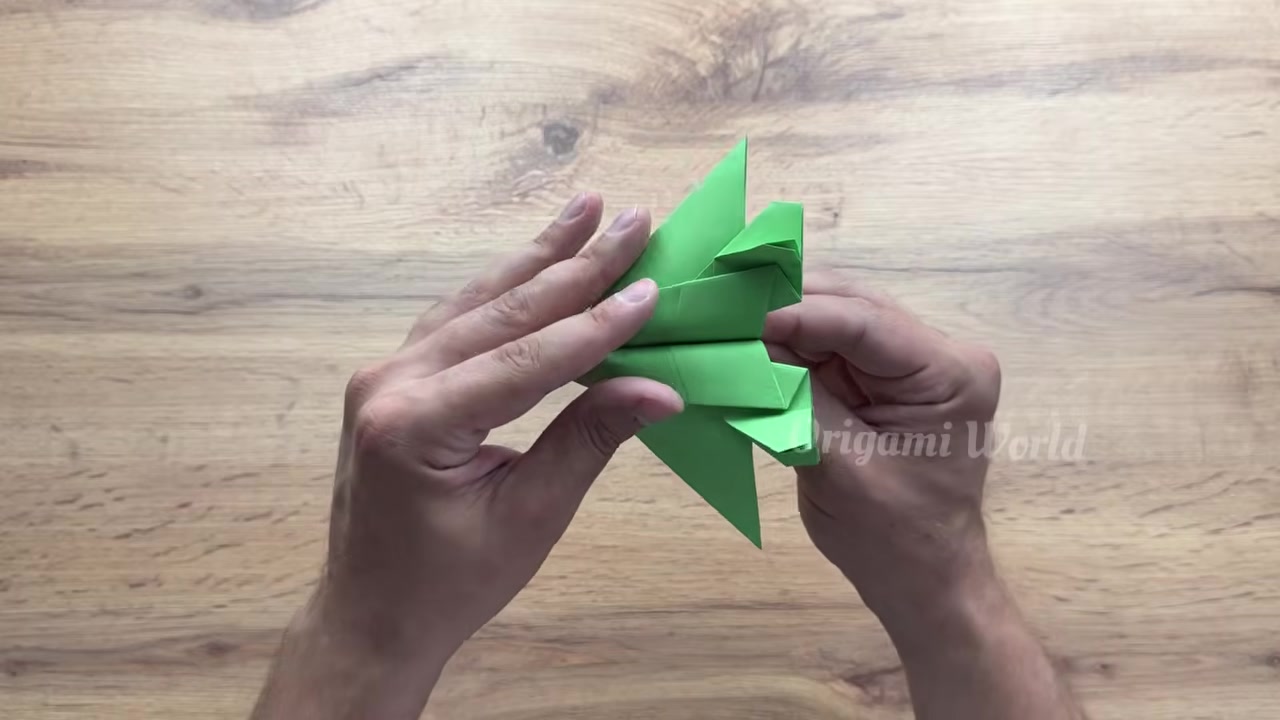
Fold both main wings downward from the central fuselage spine line. Keep the wing roots even so the plane glides smoothly.
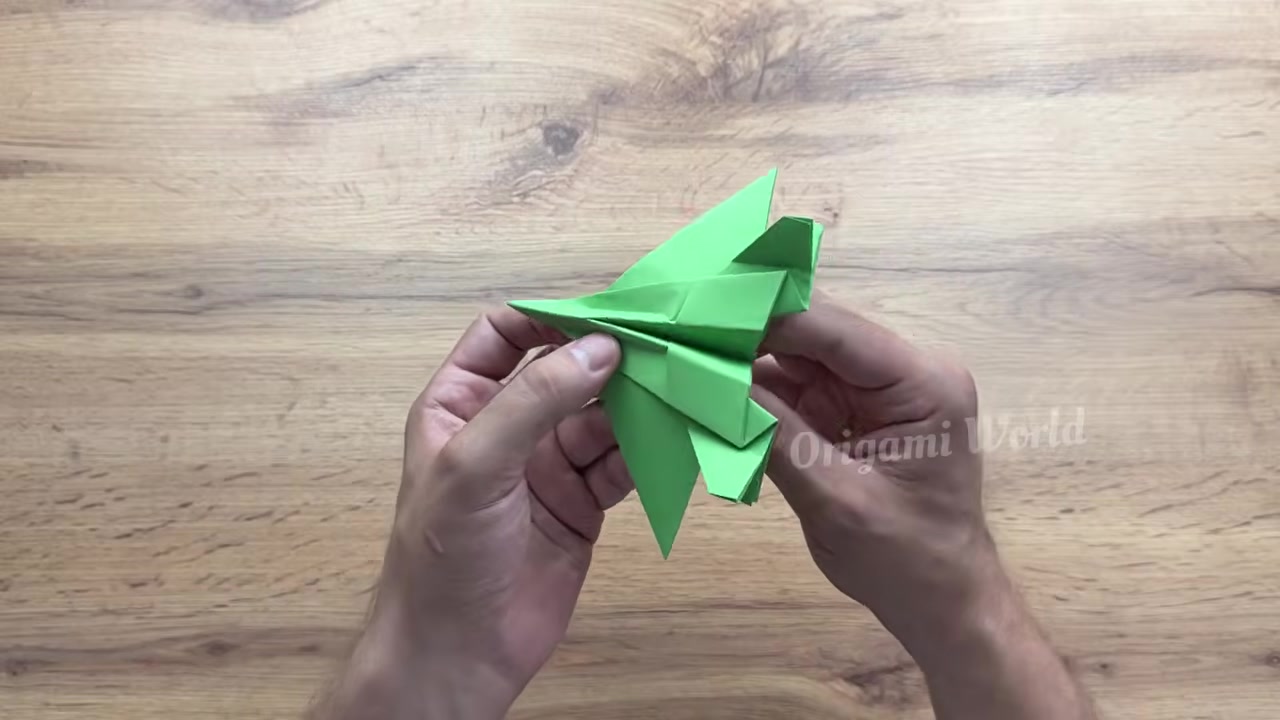
Raise both twin vertical tail fins upward so they sit perpendicular to the wings. Check that they are straight and equal in height.
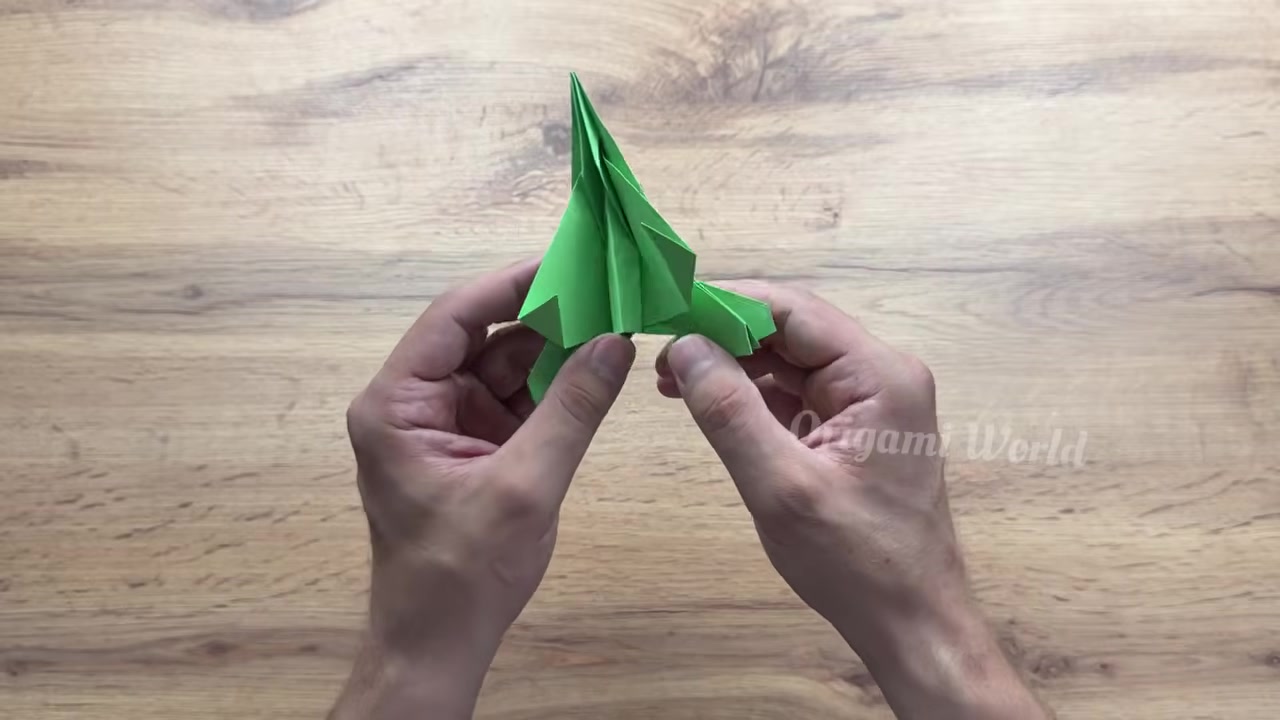
Fold the front canards and side intake flaps outward into their final aerodynamic angles. Make small adjustments only, so you don’t weaken the paper.
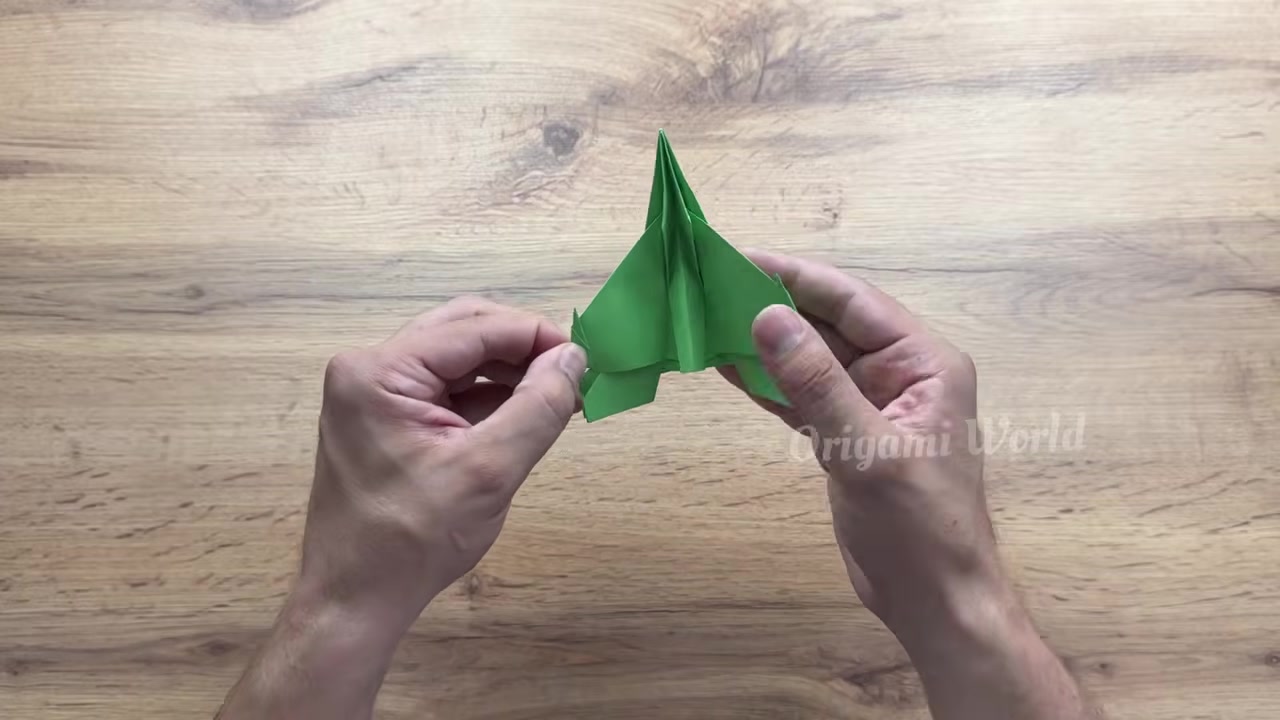
Pinch the ventral keel underneath the fuselage and smooth the wing joints for extra rigidity. This helps the jet hold its shape after launch.
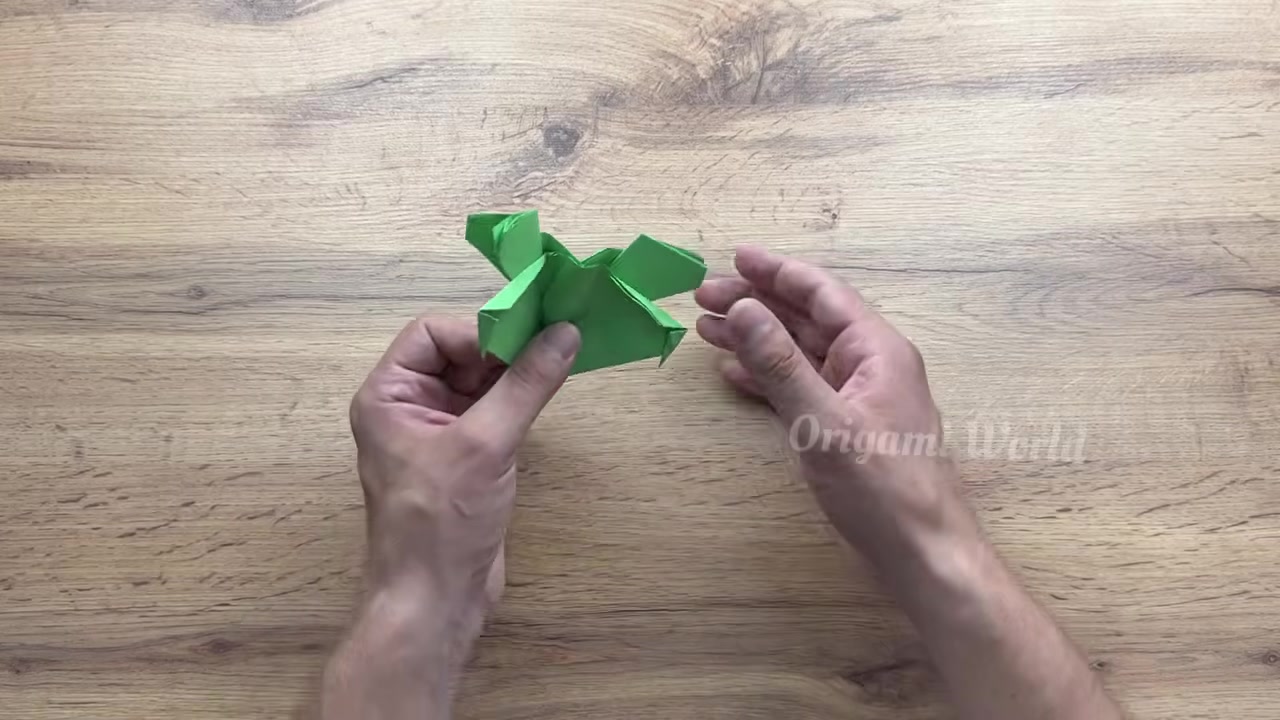
Set a slight upward angle on the wings and straighten the tail fins for better glide balance. If the nose dips, lift the rear wing tips a touch more.
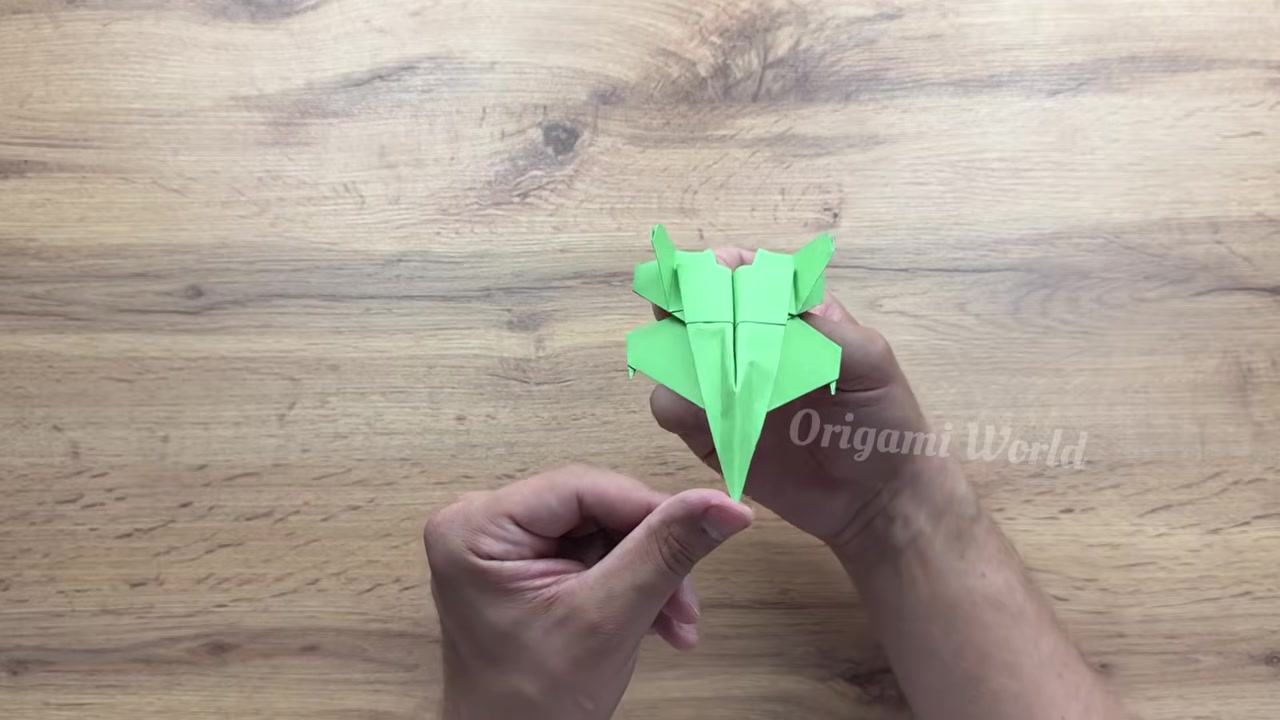
Place the completed jet on the table and show off the final shape. Give it one last look for symmetry before the first throw.
Real-world answers for busy mornings, active recess hold, and tear-free removal.
About 10 minutes from start to finish, depending on how carefully you trim, crease, and tune the wings.
Usually the wings are too flat or the rear tips are angled down. Add a little upward bend to the rear wing tips and make sure both wings match.
No. A single sheet of A4 printer paper works fine, and green paper just matches the look shown in the video.
Reopen that wing and re-crease it against the center body line. Small corrections make a big difference in flight.
 Level 2: Handy Dad
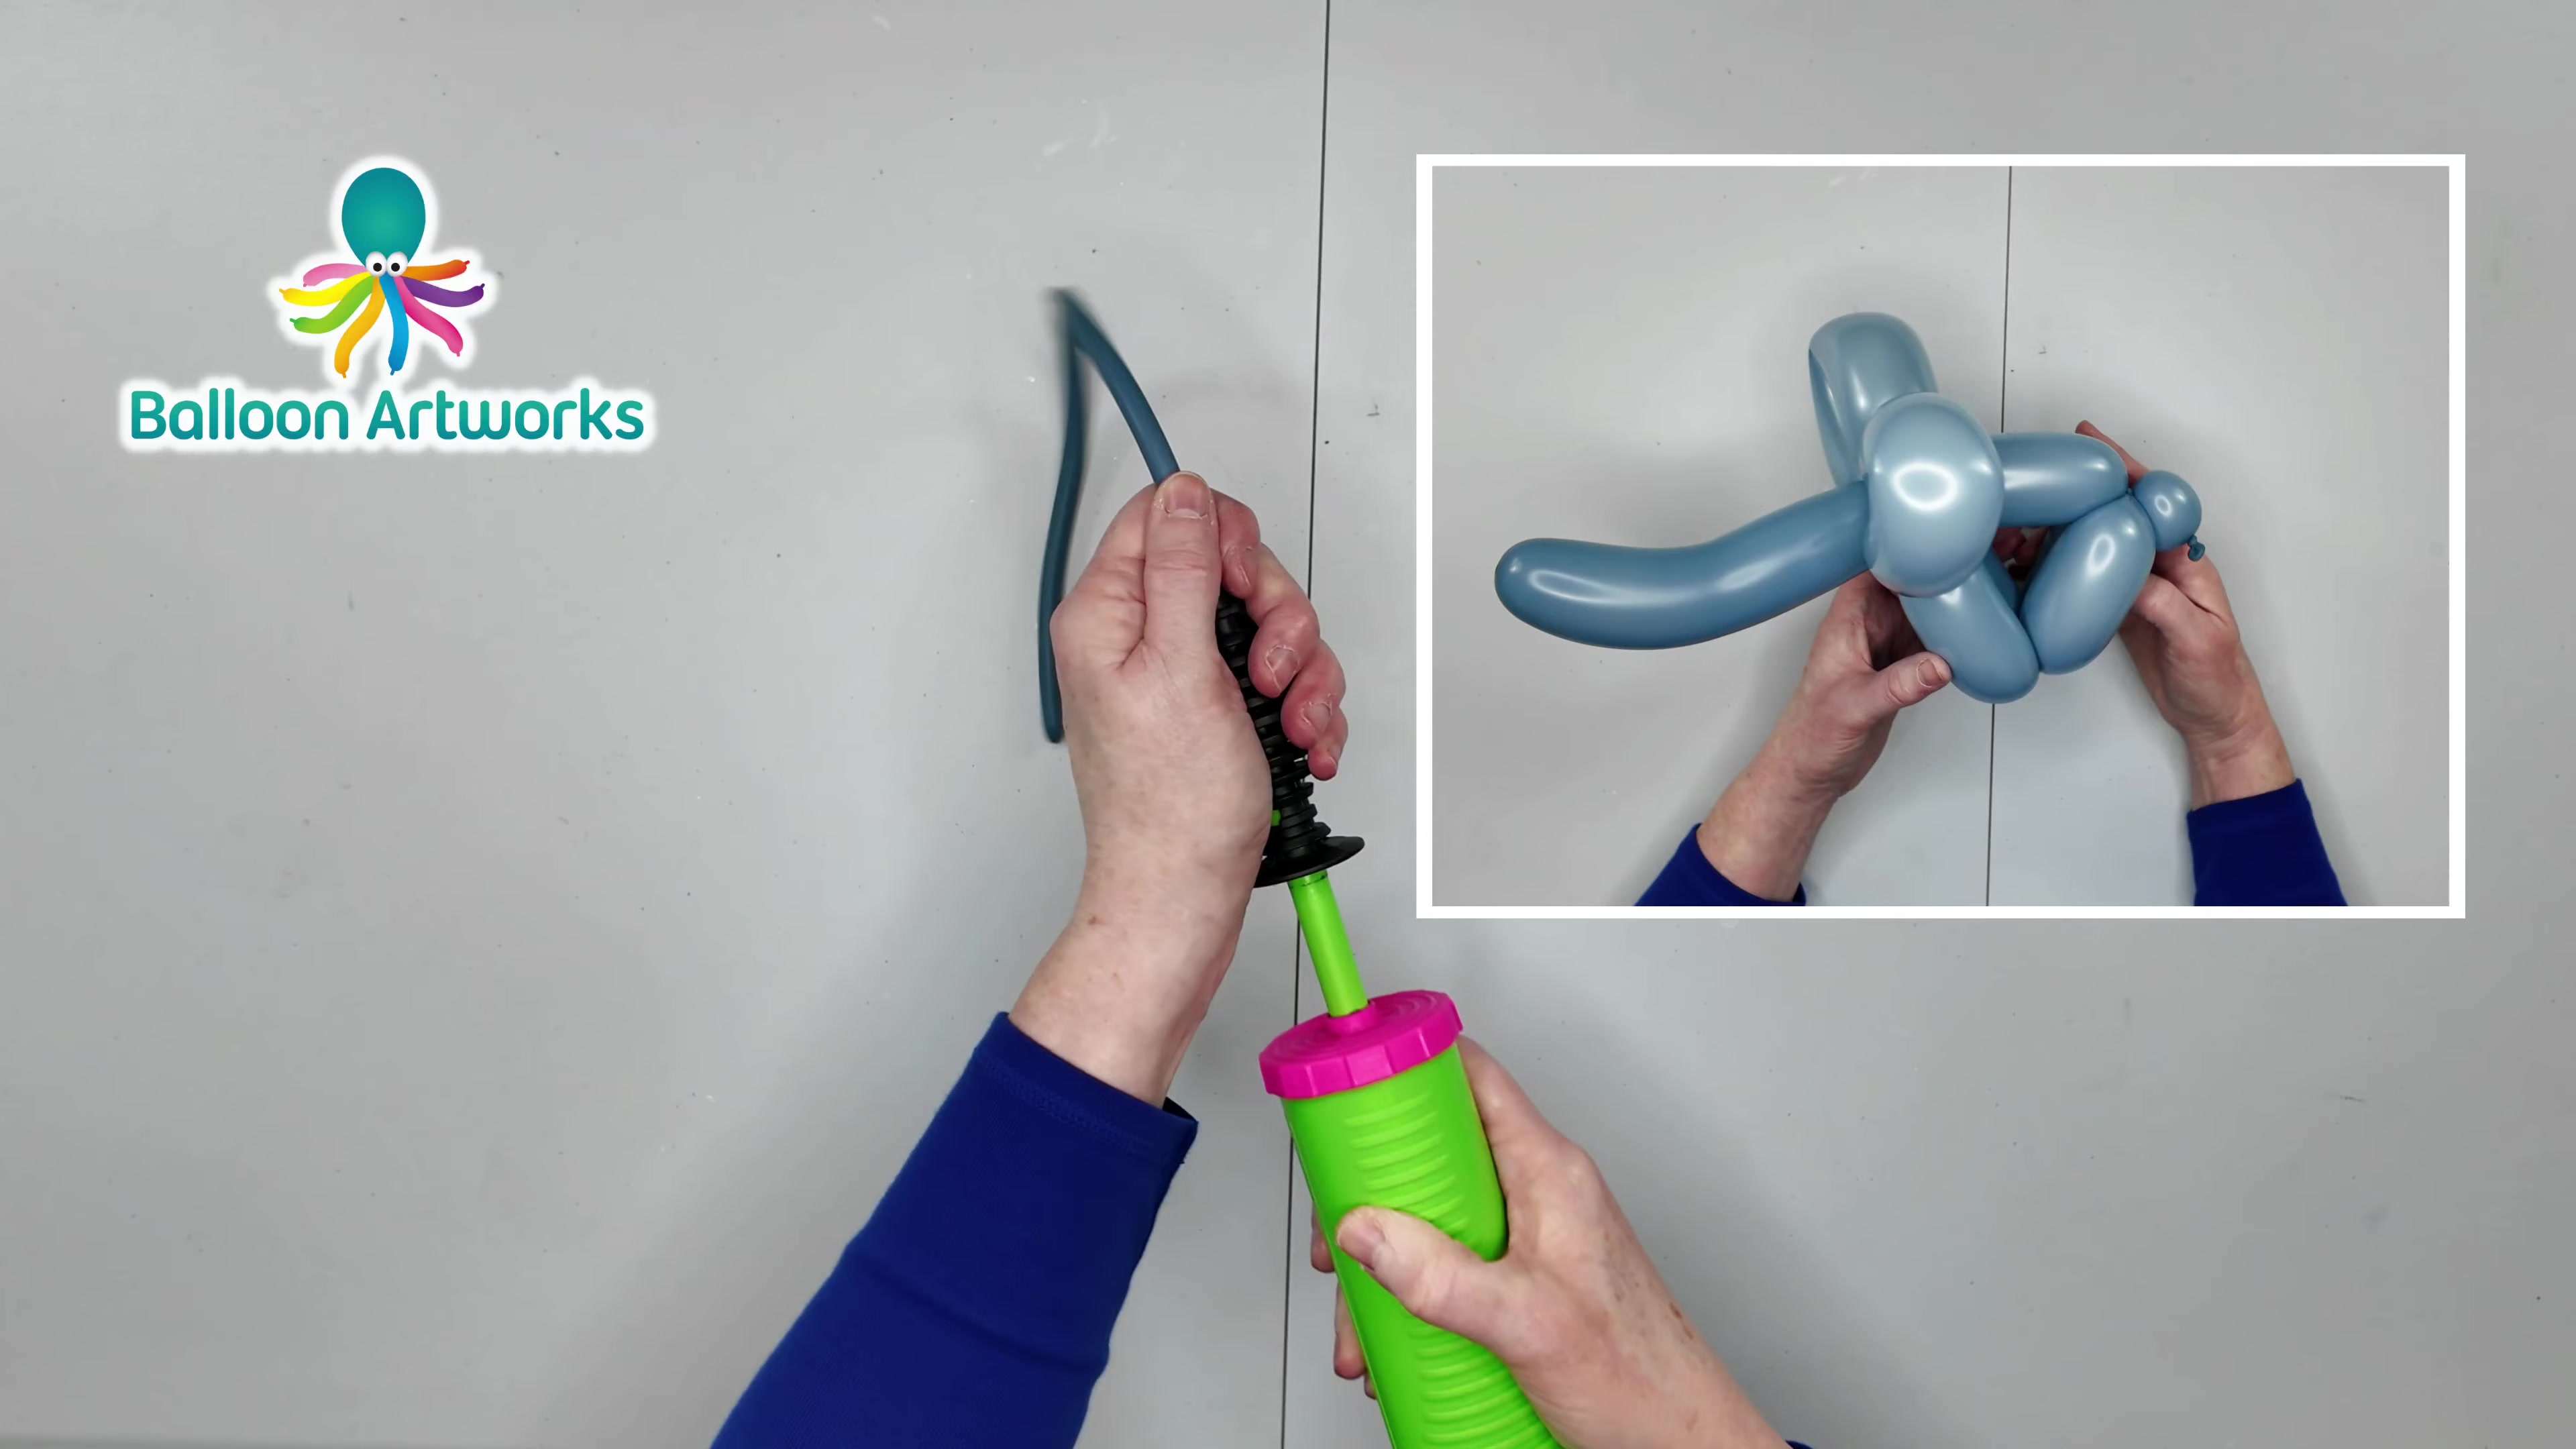
How to Twist a Balloon Puppy: Easy 1-Balloon Sculpt for Dads
A quick, kid-pleasing balloon puppy you can build in one smooth run with no guesswork and fewer pops.
1x 260Q modeling balloon (any bright color)
 Level 2: Handy Dad
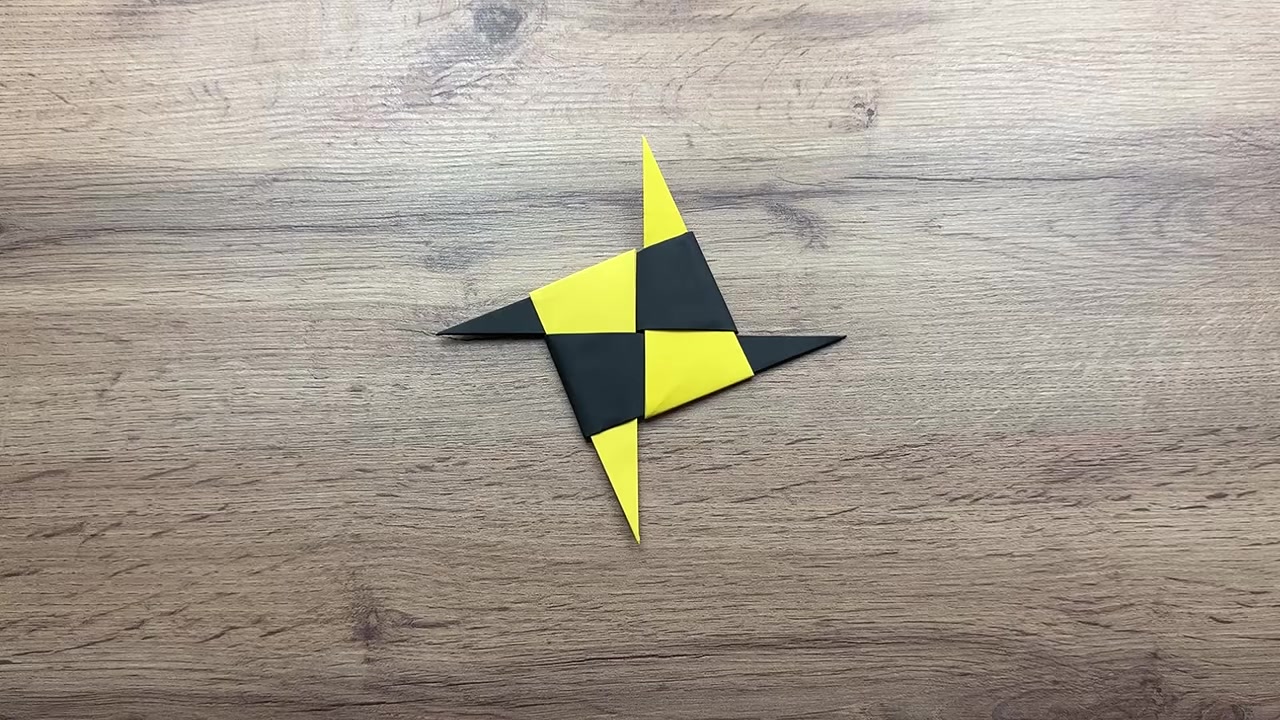
How to Make an Origami Ninja Star: Easy Step-by-Step for Kids
A classic 4-point paper ninja star folded from simple square sheets and locked together for a sharp, satisfying finish.
4 sheets of square origami paper (two colors recommended)
 Level 2: Handy Dad
How to Fold an Origami Jet Fighter That Flies Cleanly
A sharp, balanced jet fighter that looks clean and folds fast with one strong center line.
1 A4 sheet of paper
 Level 2: Handy Dad
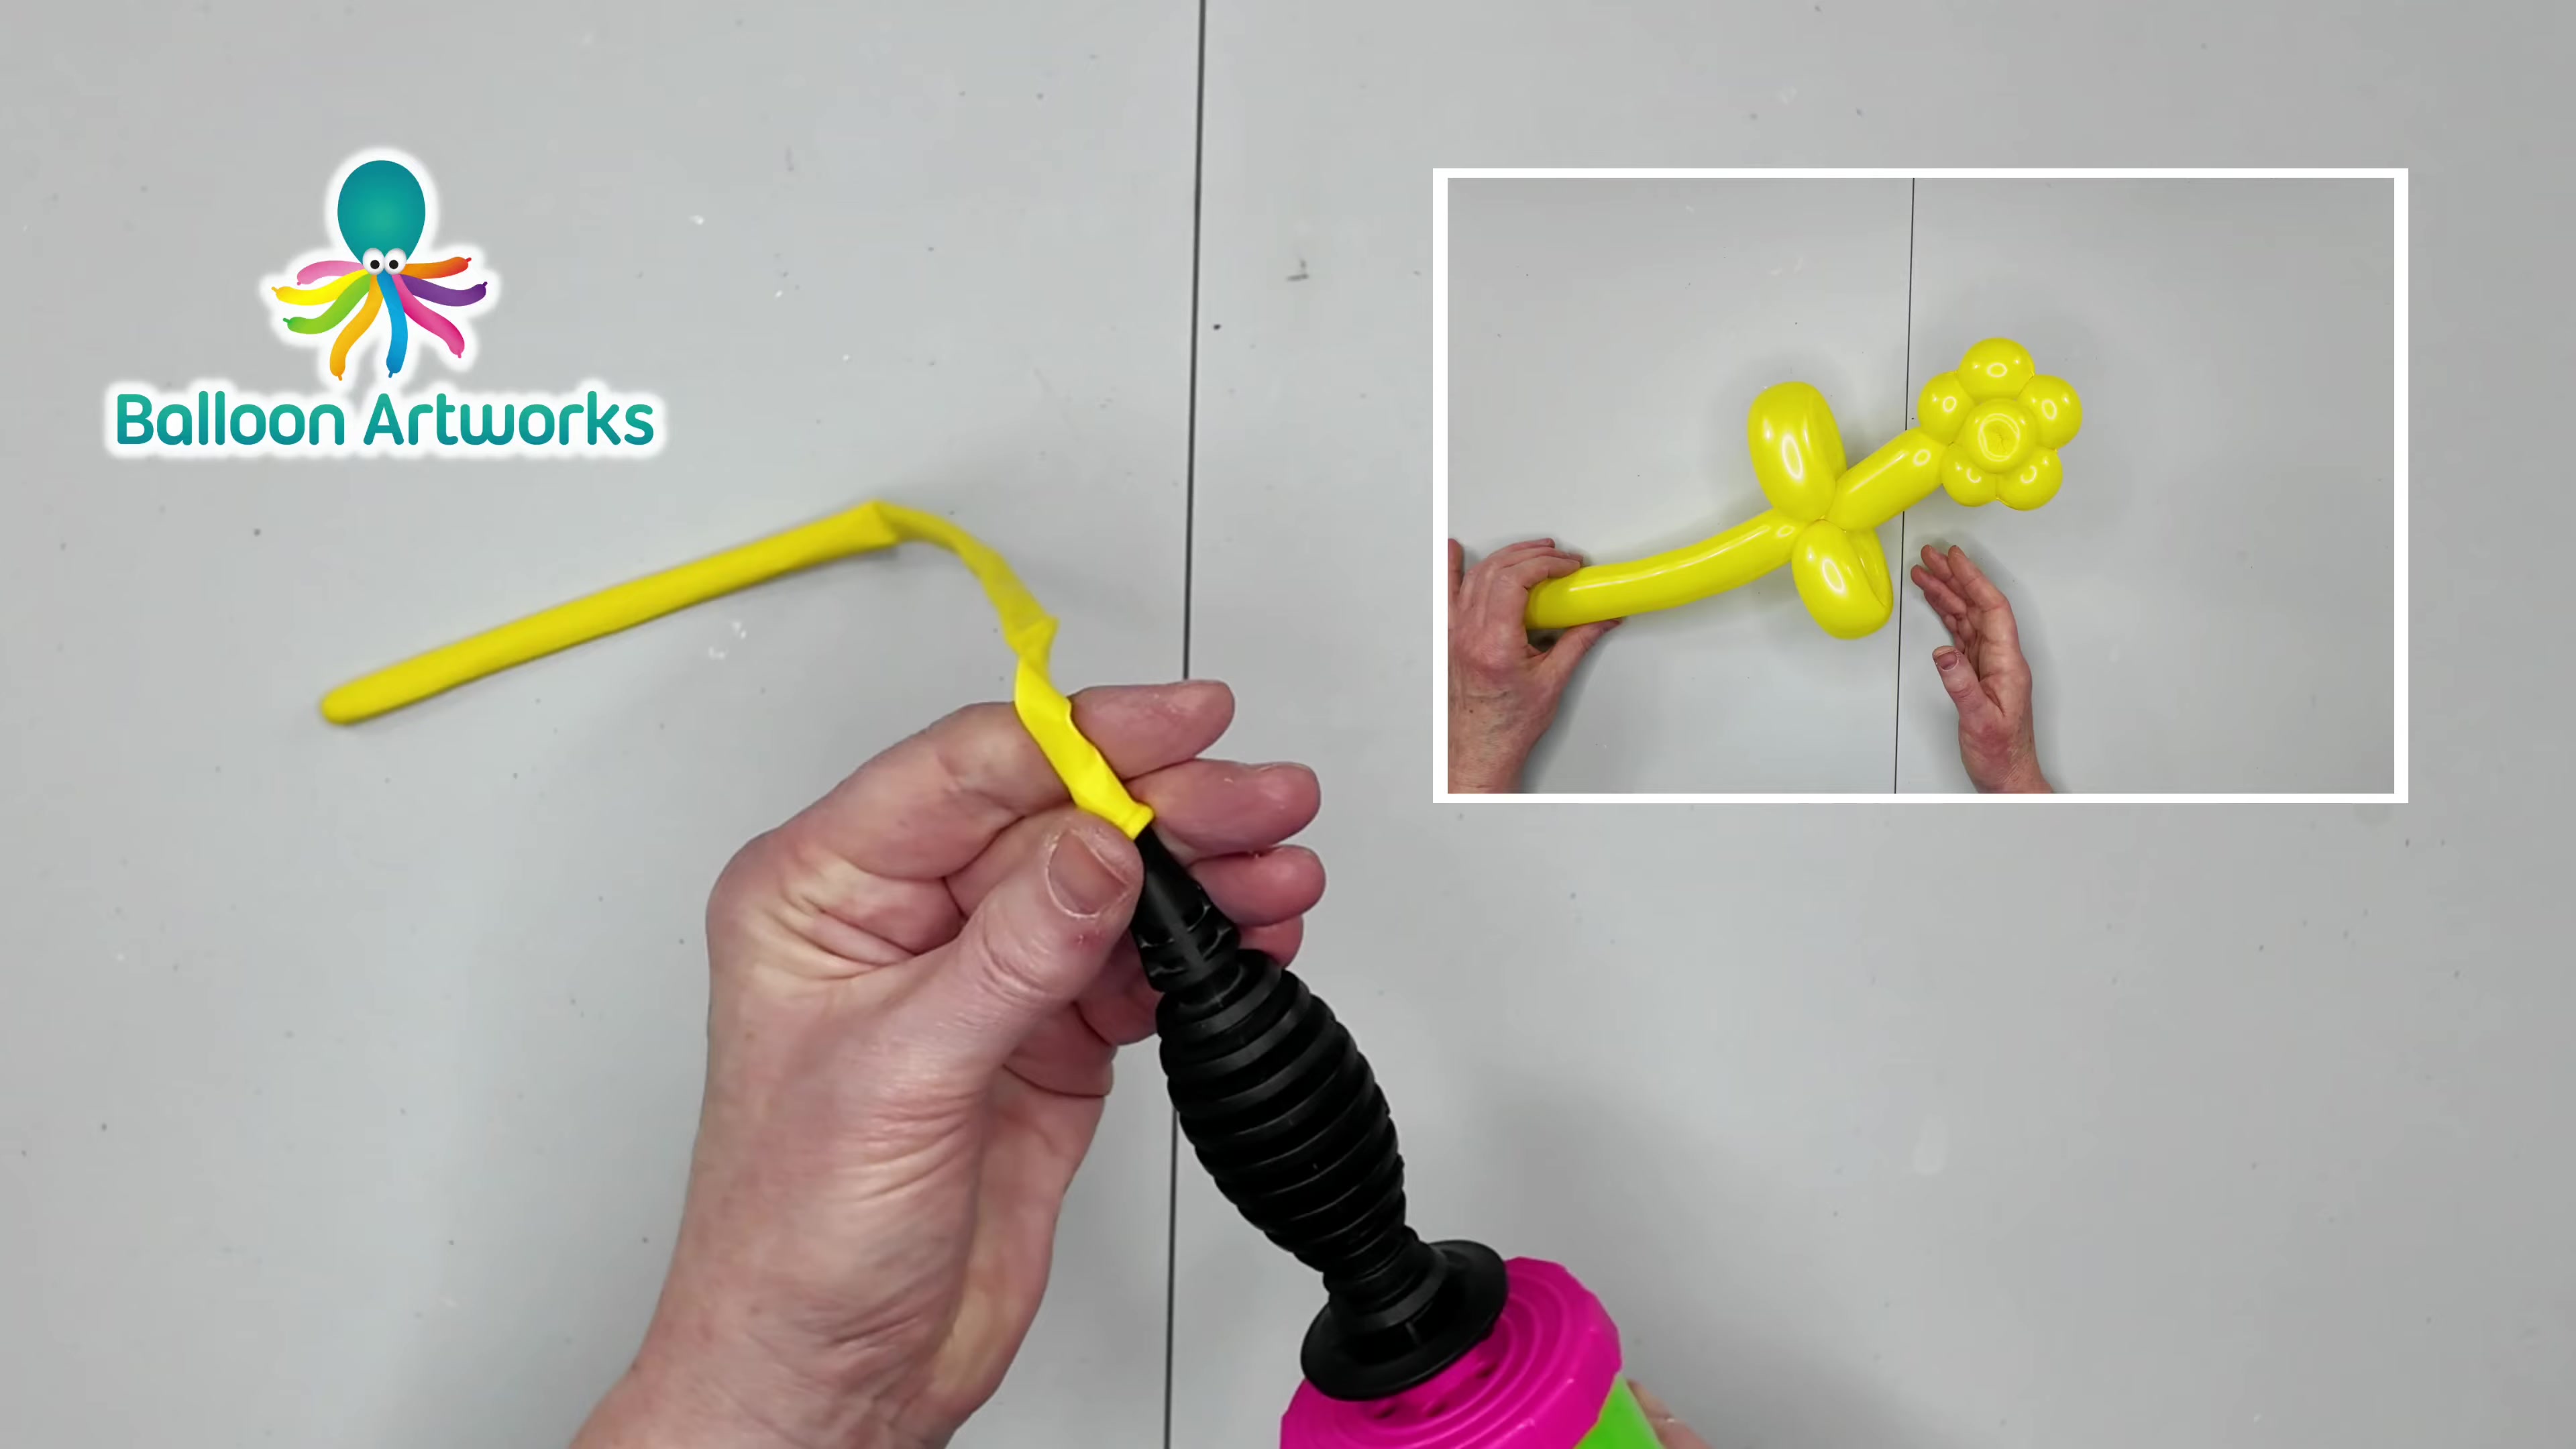
How to Twist a 1-Balloon Flower: Easy Step-by-Step Tutorial
A bright balloon flower you can build in one smooth run, with a soft balloon and same-direction twists that keep it from popping.
1x 260Q modeling balloon (yellow or any bright color)