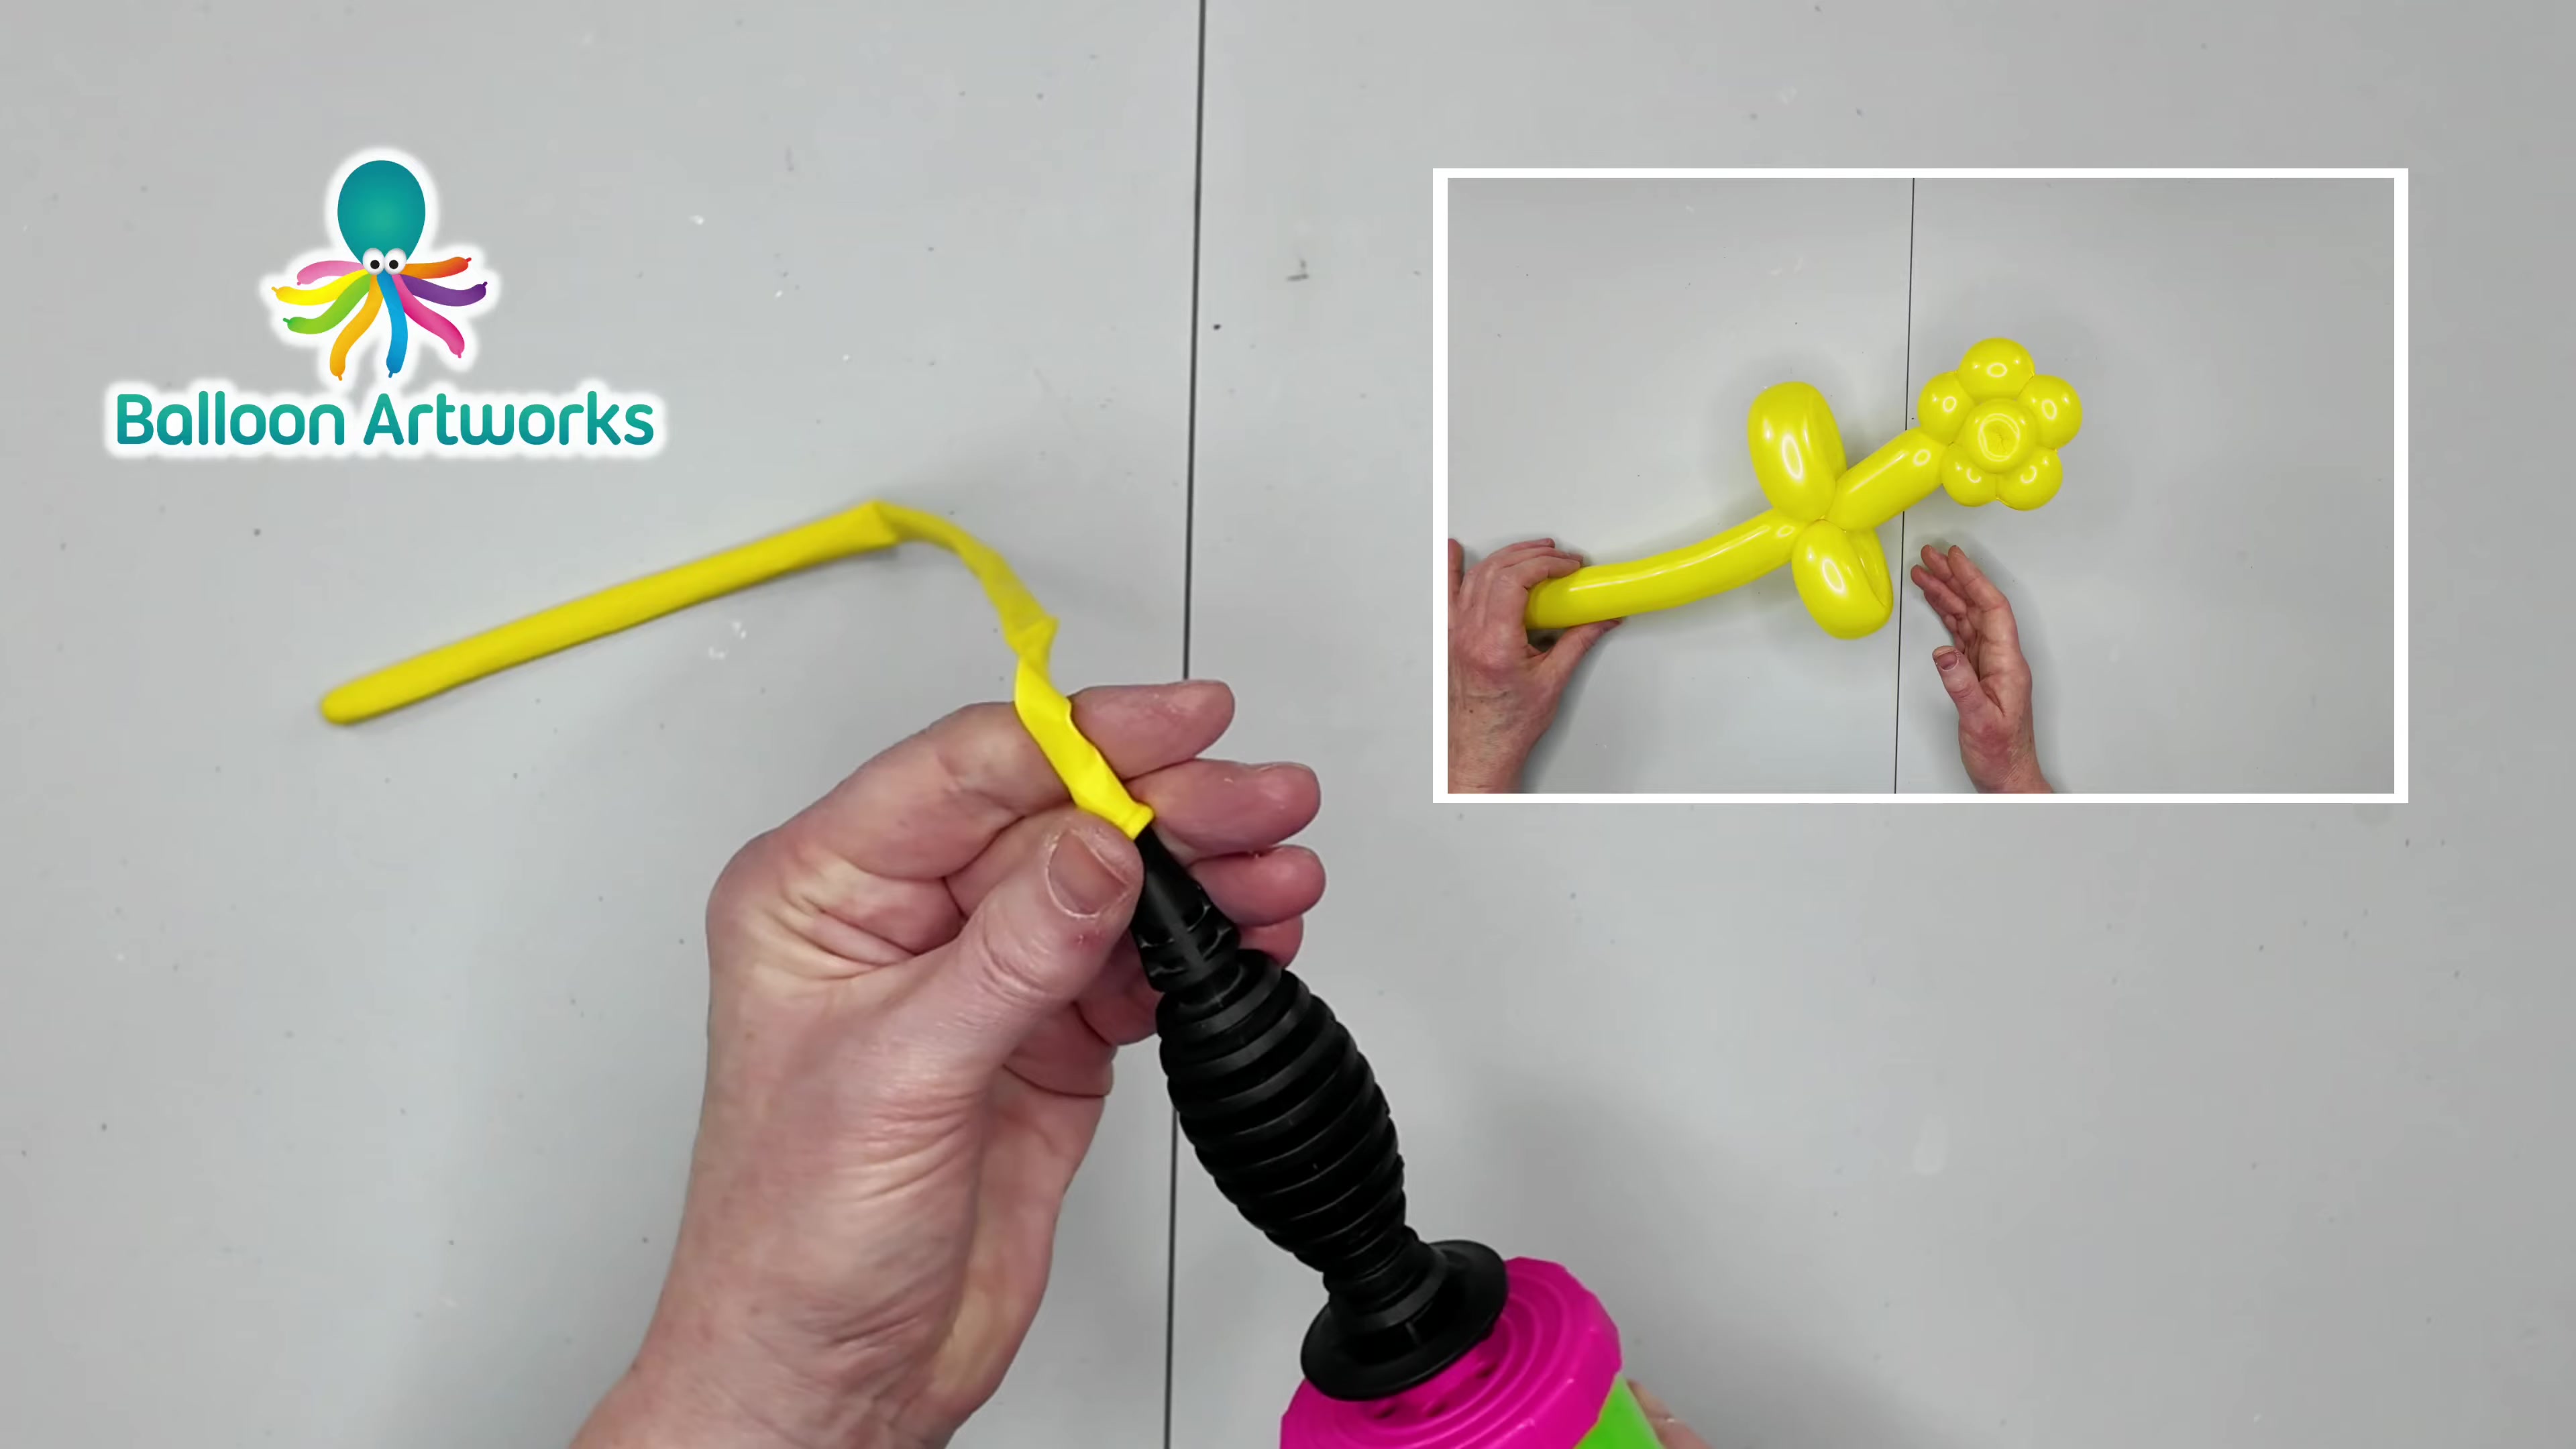
01 Inflate the Balloon with a Tail
00:00 - 00:10Use the hand pump to inflate one 260 balloon, but leave about a 4-inch tail uninflated at the end. That extra space gives you room to twist without stressing the balloon.
A bright balloon flower you can build in one smooth run, with a soft balloon and same-direction twists that keep it from popping.
Use the hand pump to inflate one 260 balloon, but leave about a 4-inch tail uninflated at the end. That extra space gives you room to twist without stressing the balloon.
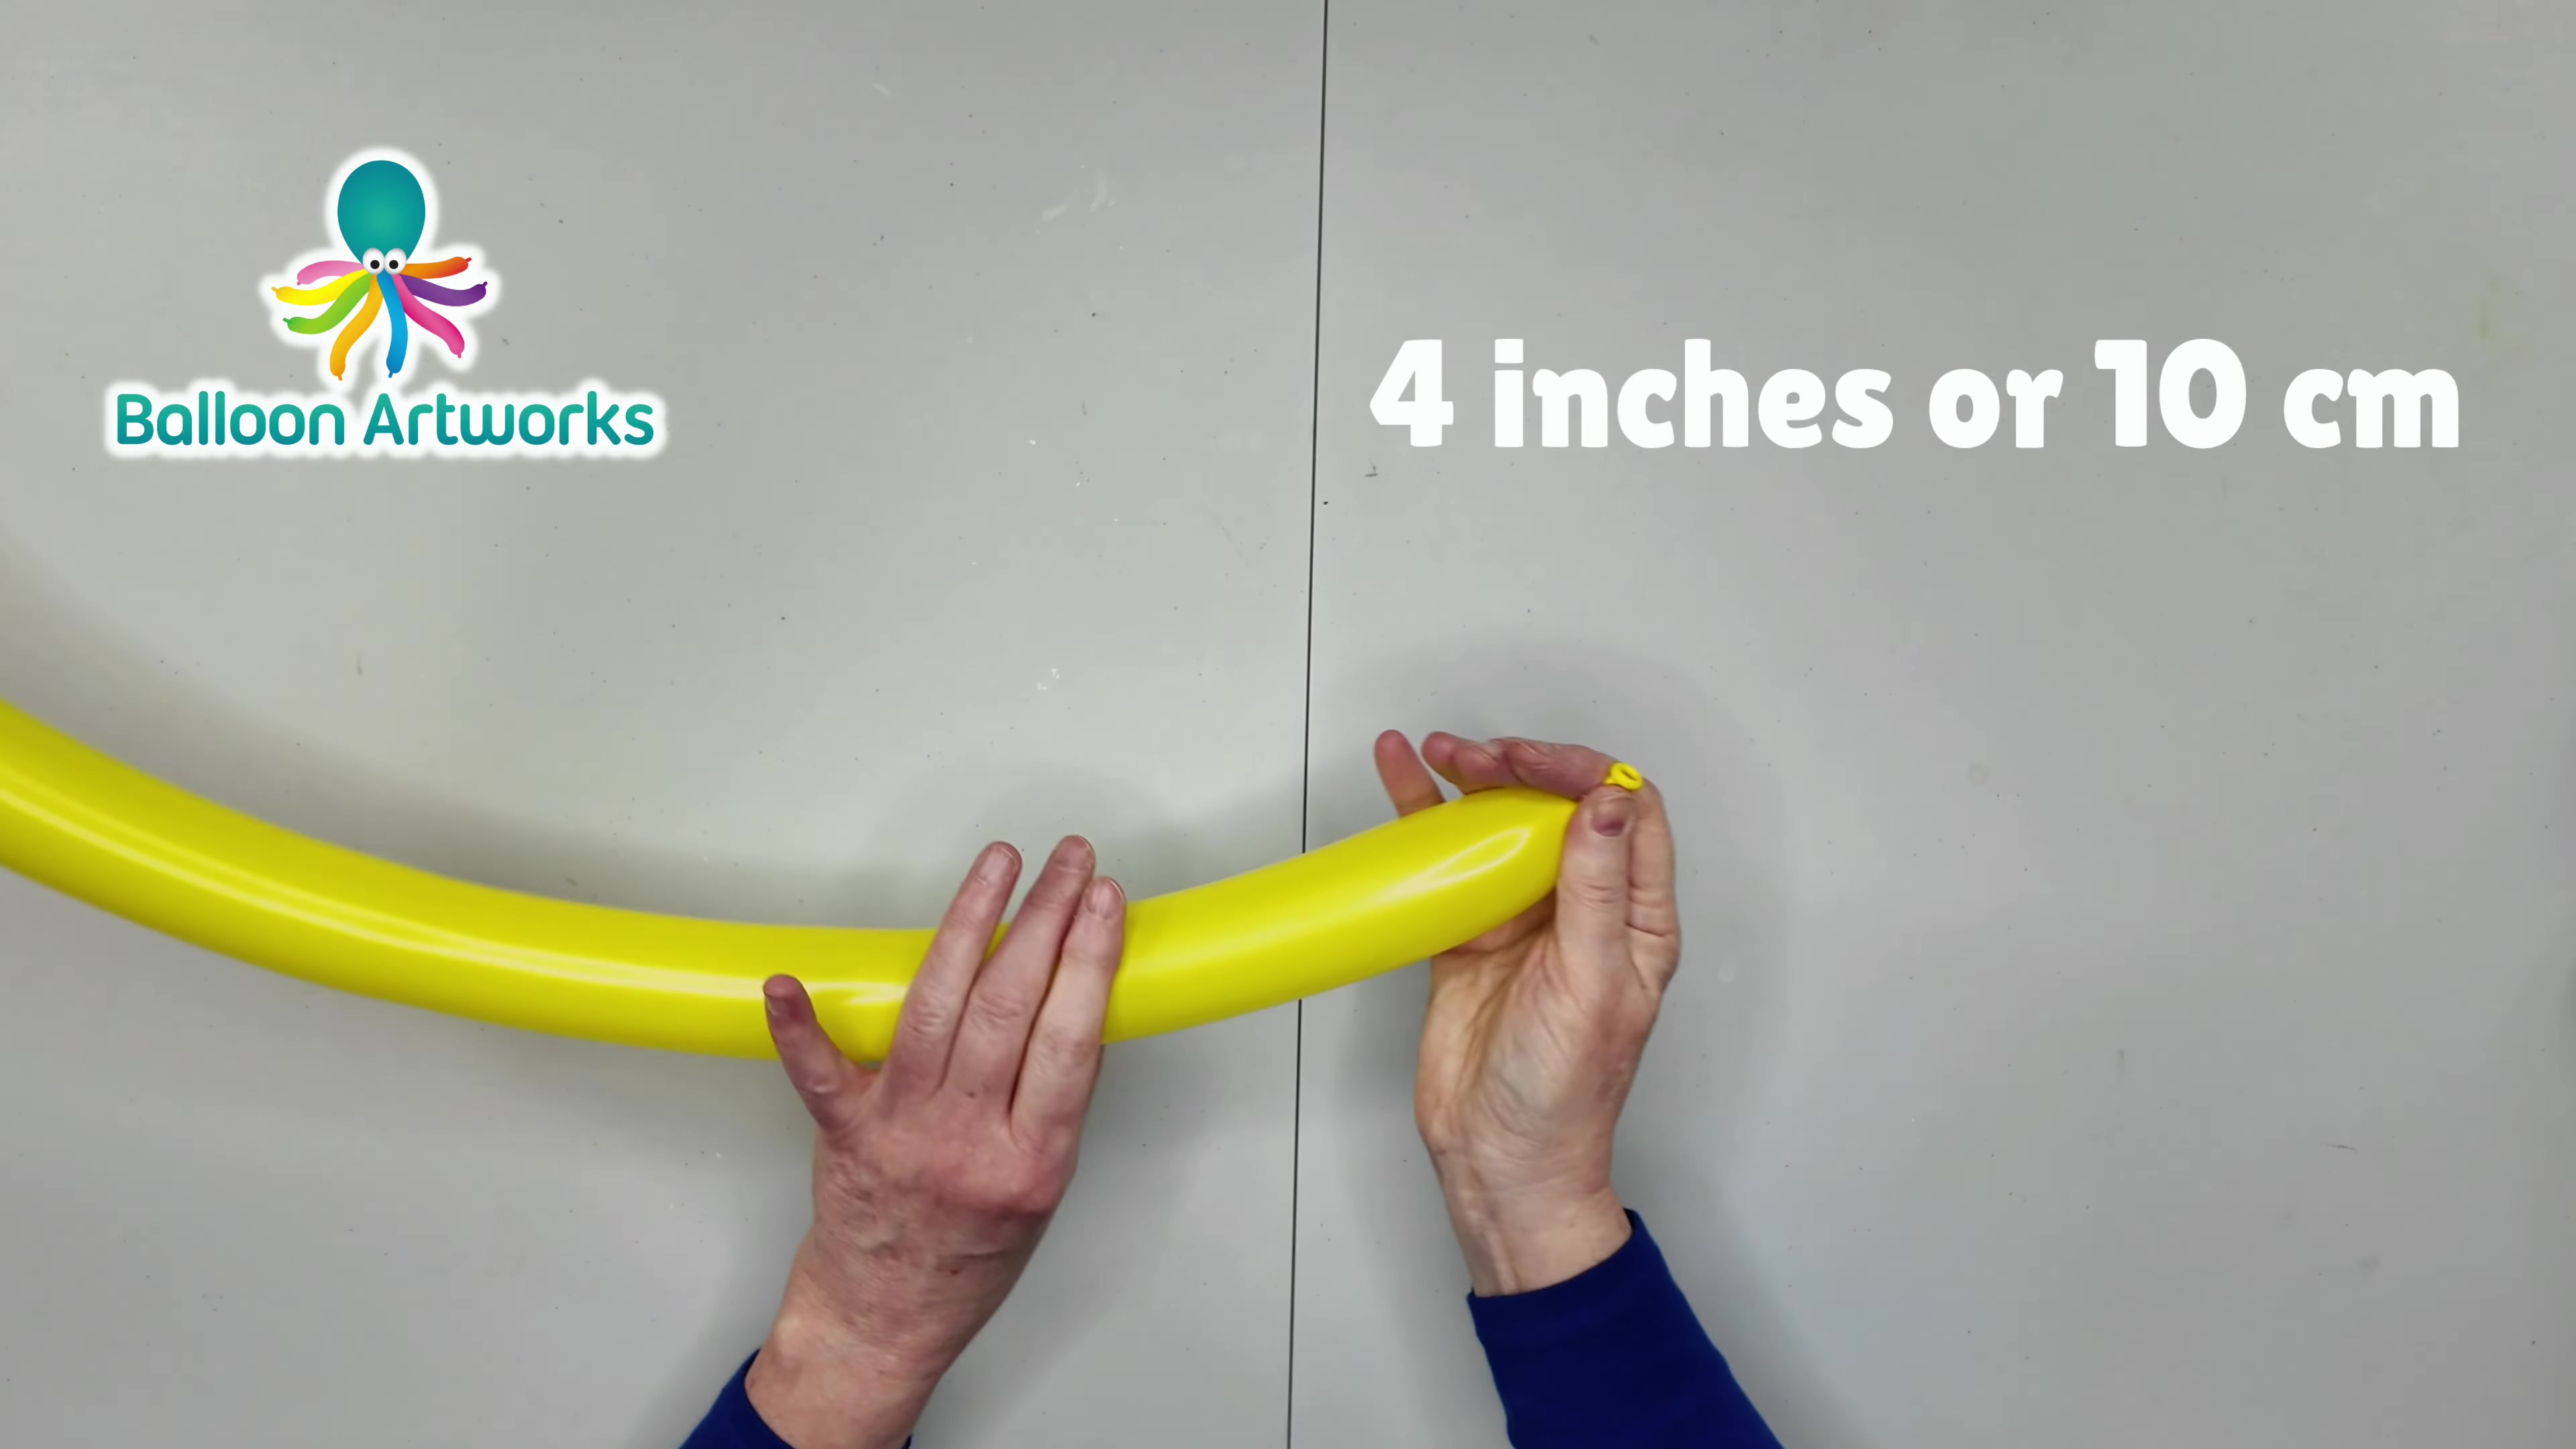
Tie the nozzle securely, then burp the balloon slightly by letting out a little air before you start twisting. This softens the balloon and helps prevent pops.
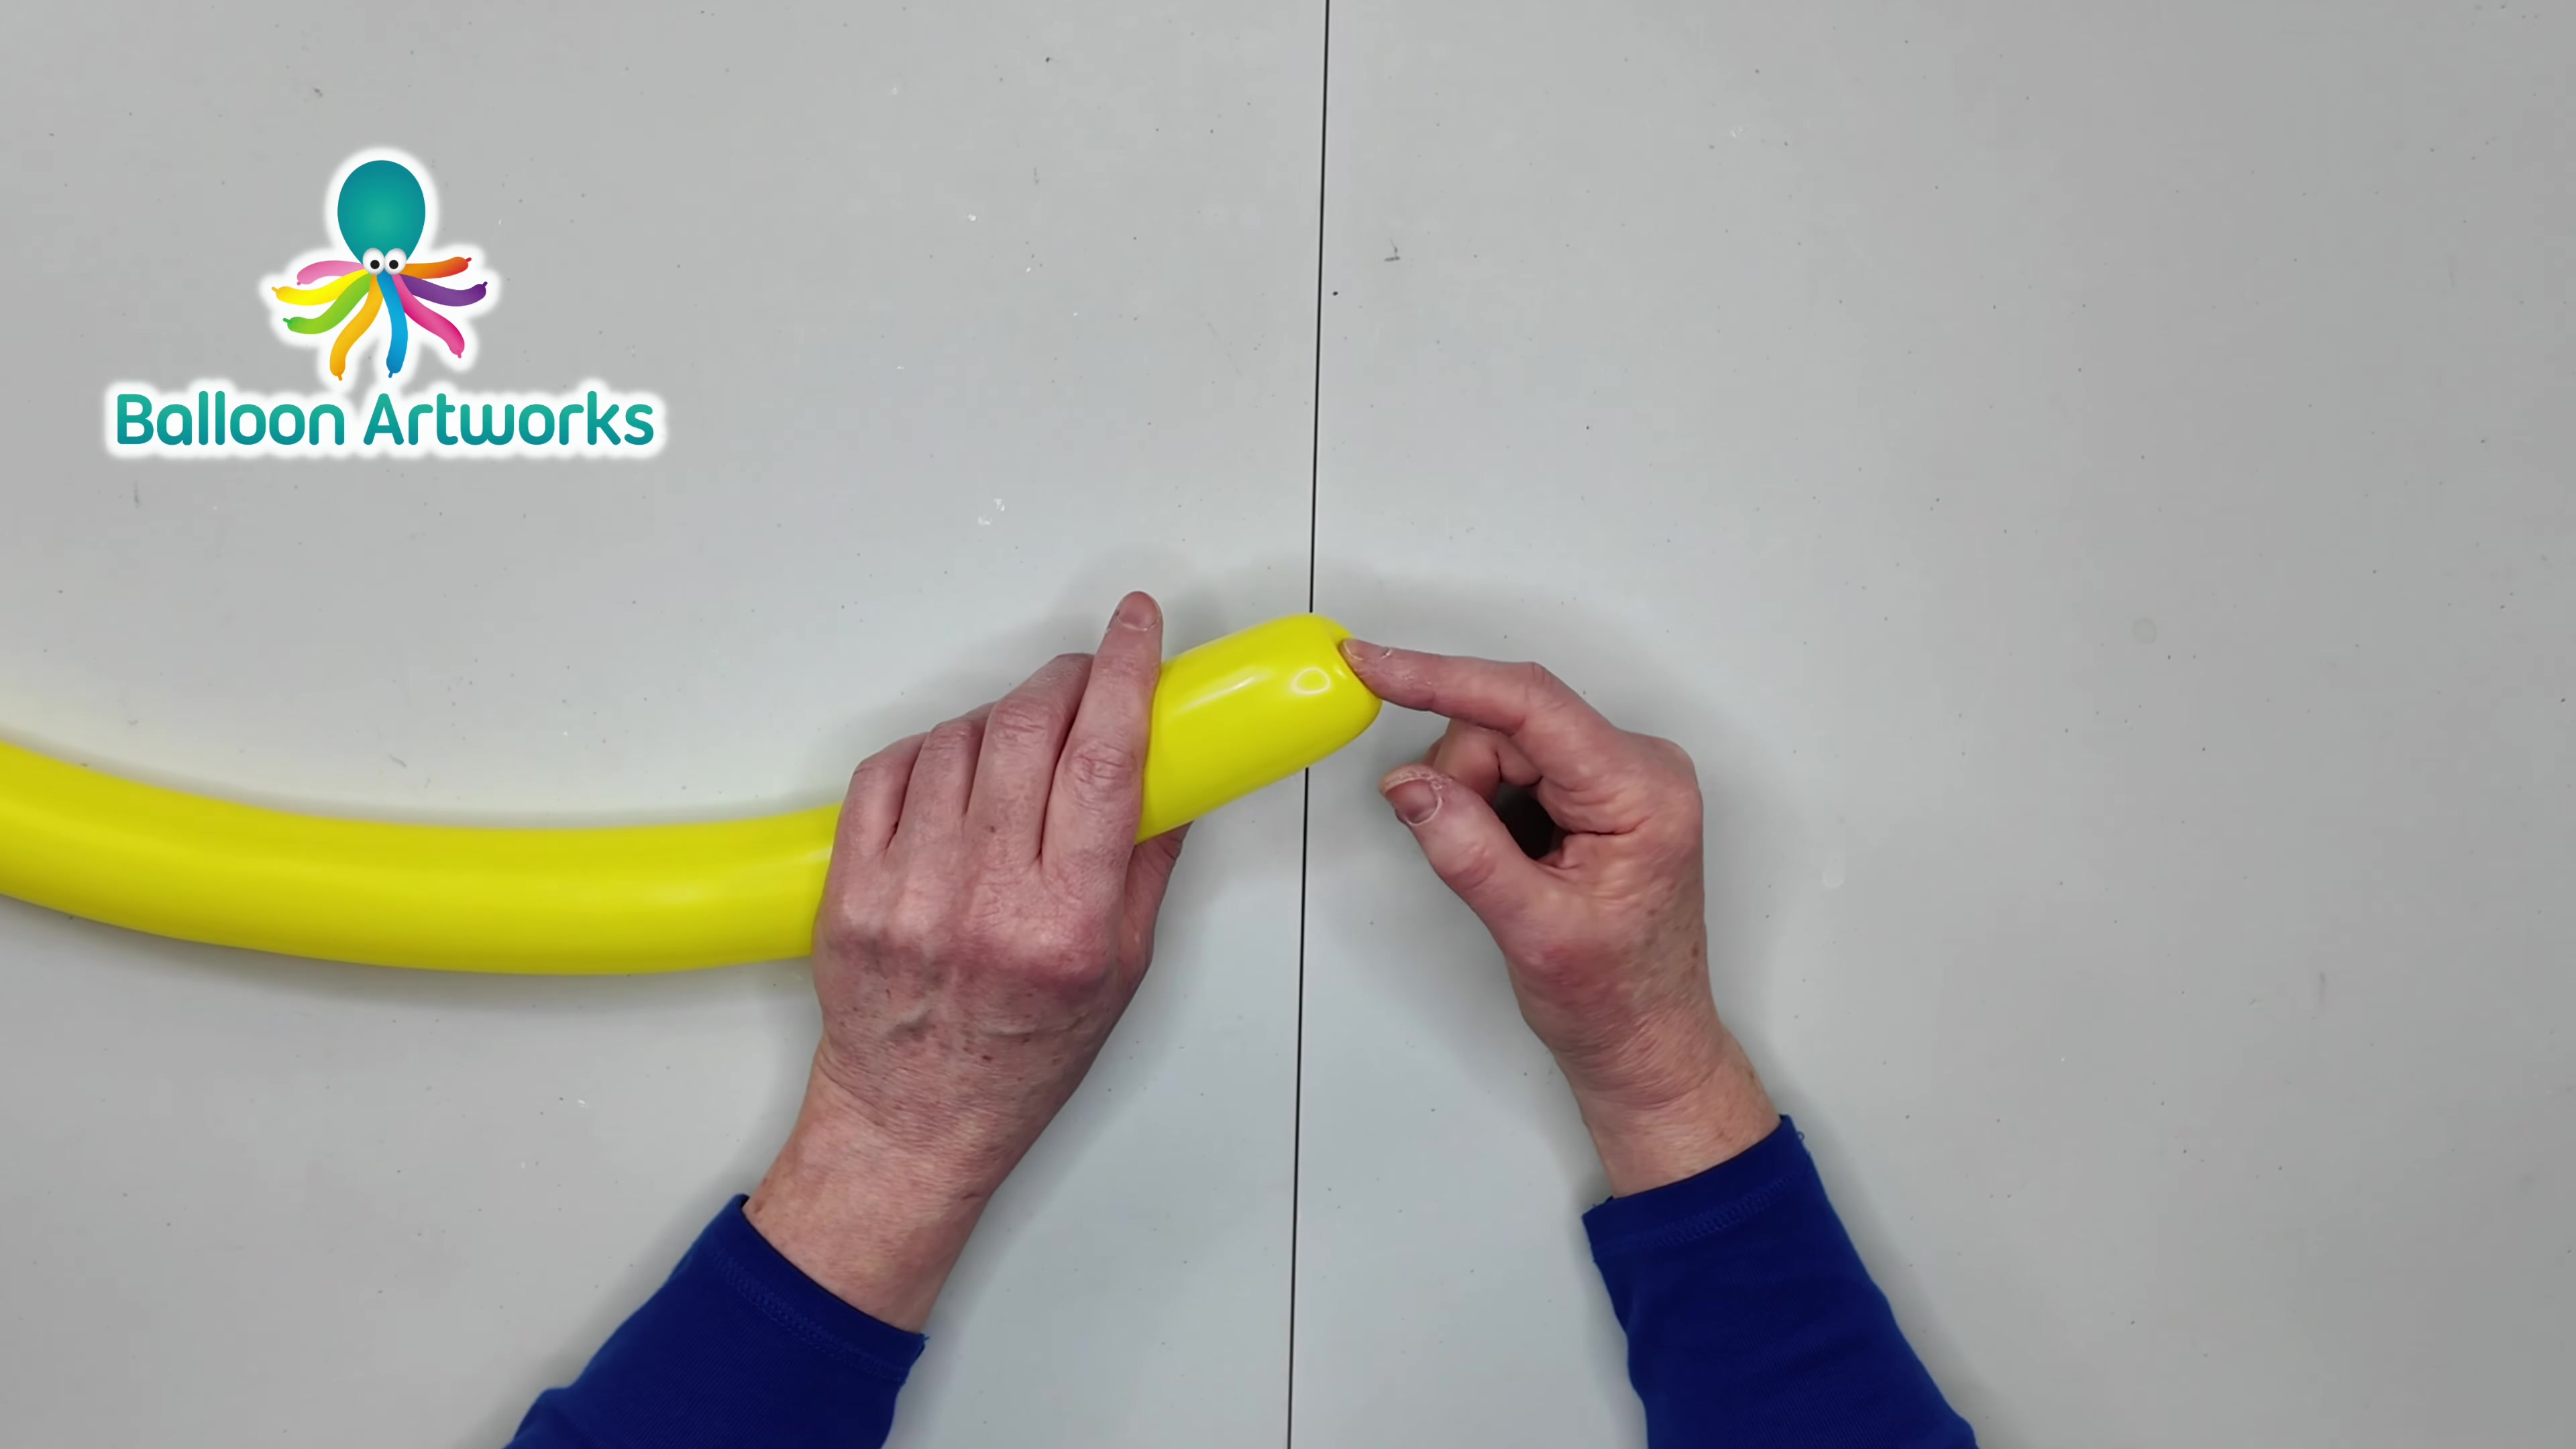
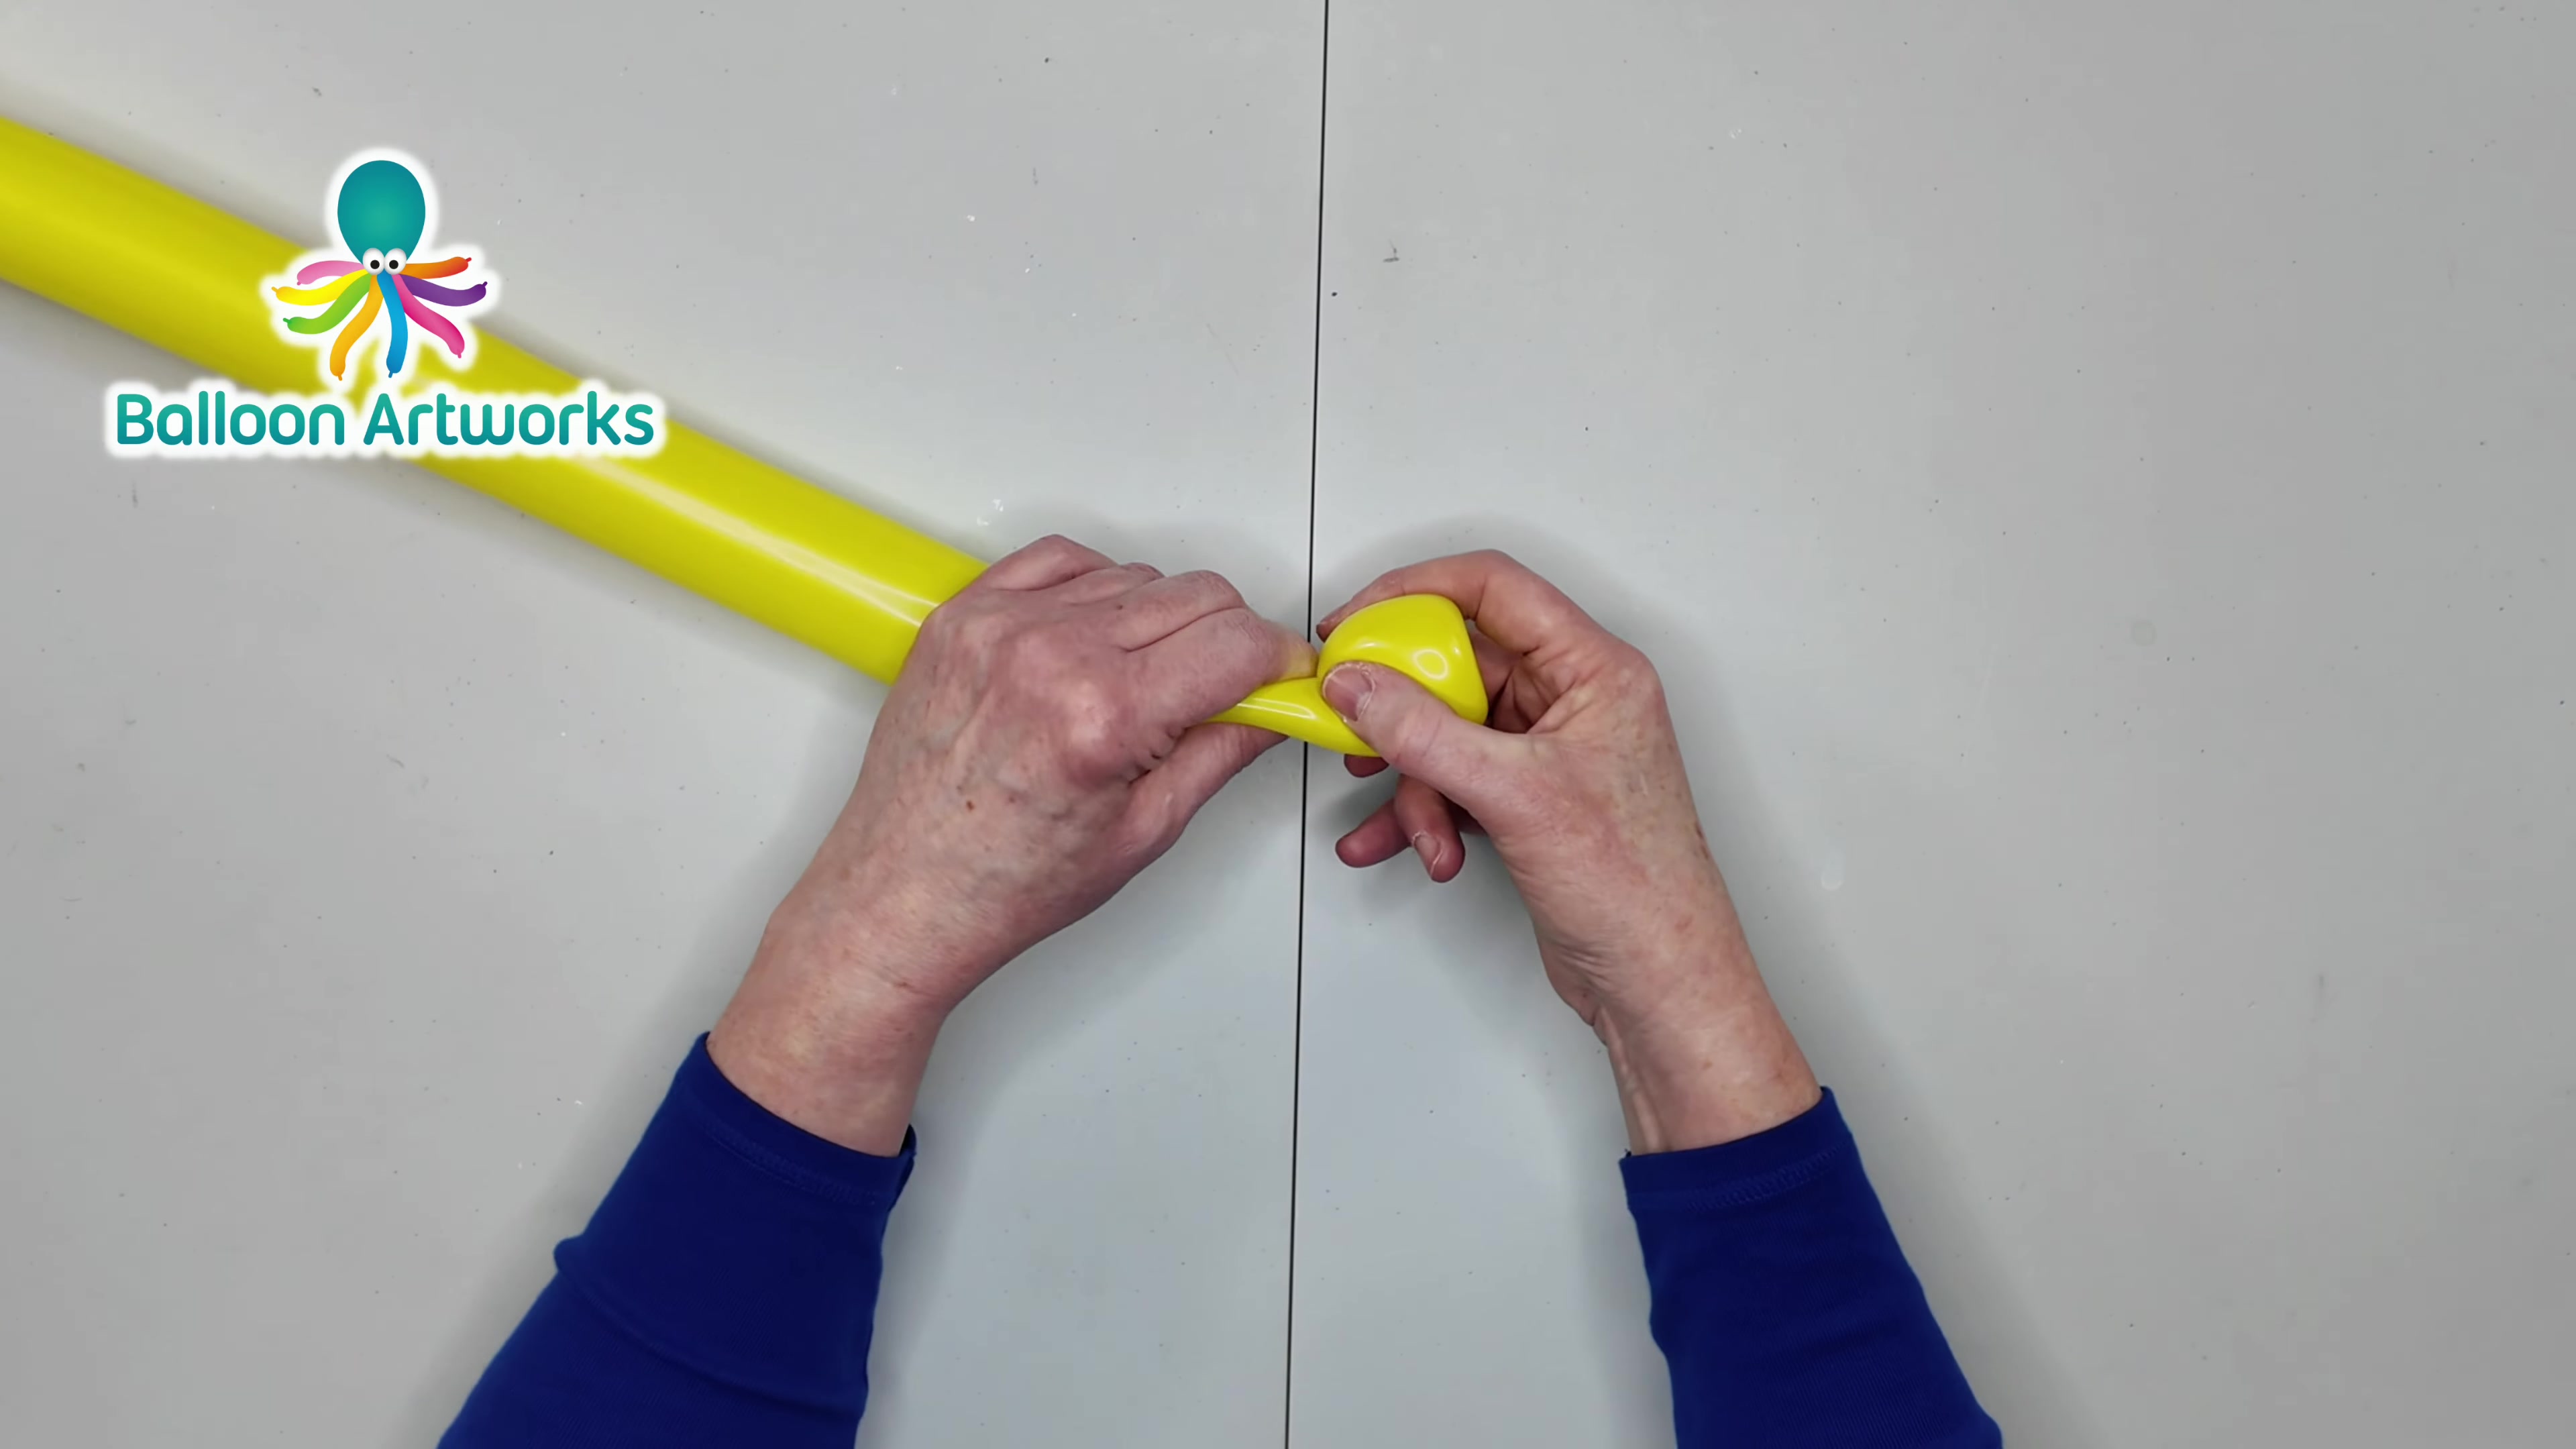
Push the tied nozzle deep into the top end of the balloon with your index finger. Grab the knot through the balloon wall from the outside, then twist to lock in the center button bubble.
Right next to the center twist, make one small round petal bubble about 1.5 inches long. Keep the twist firm and neat so the flower head starts evenly.
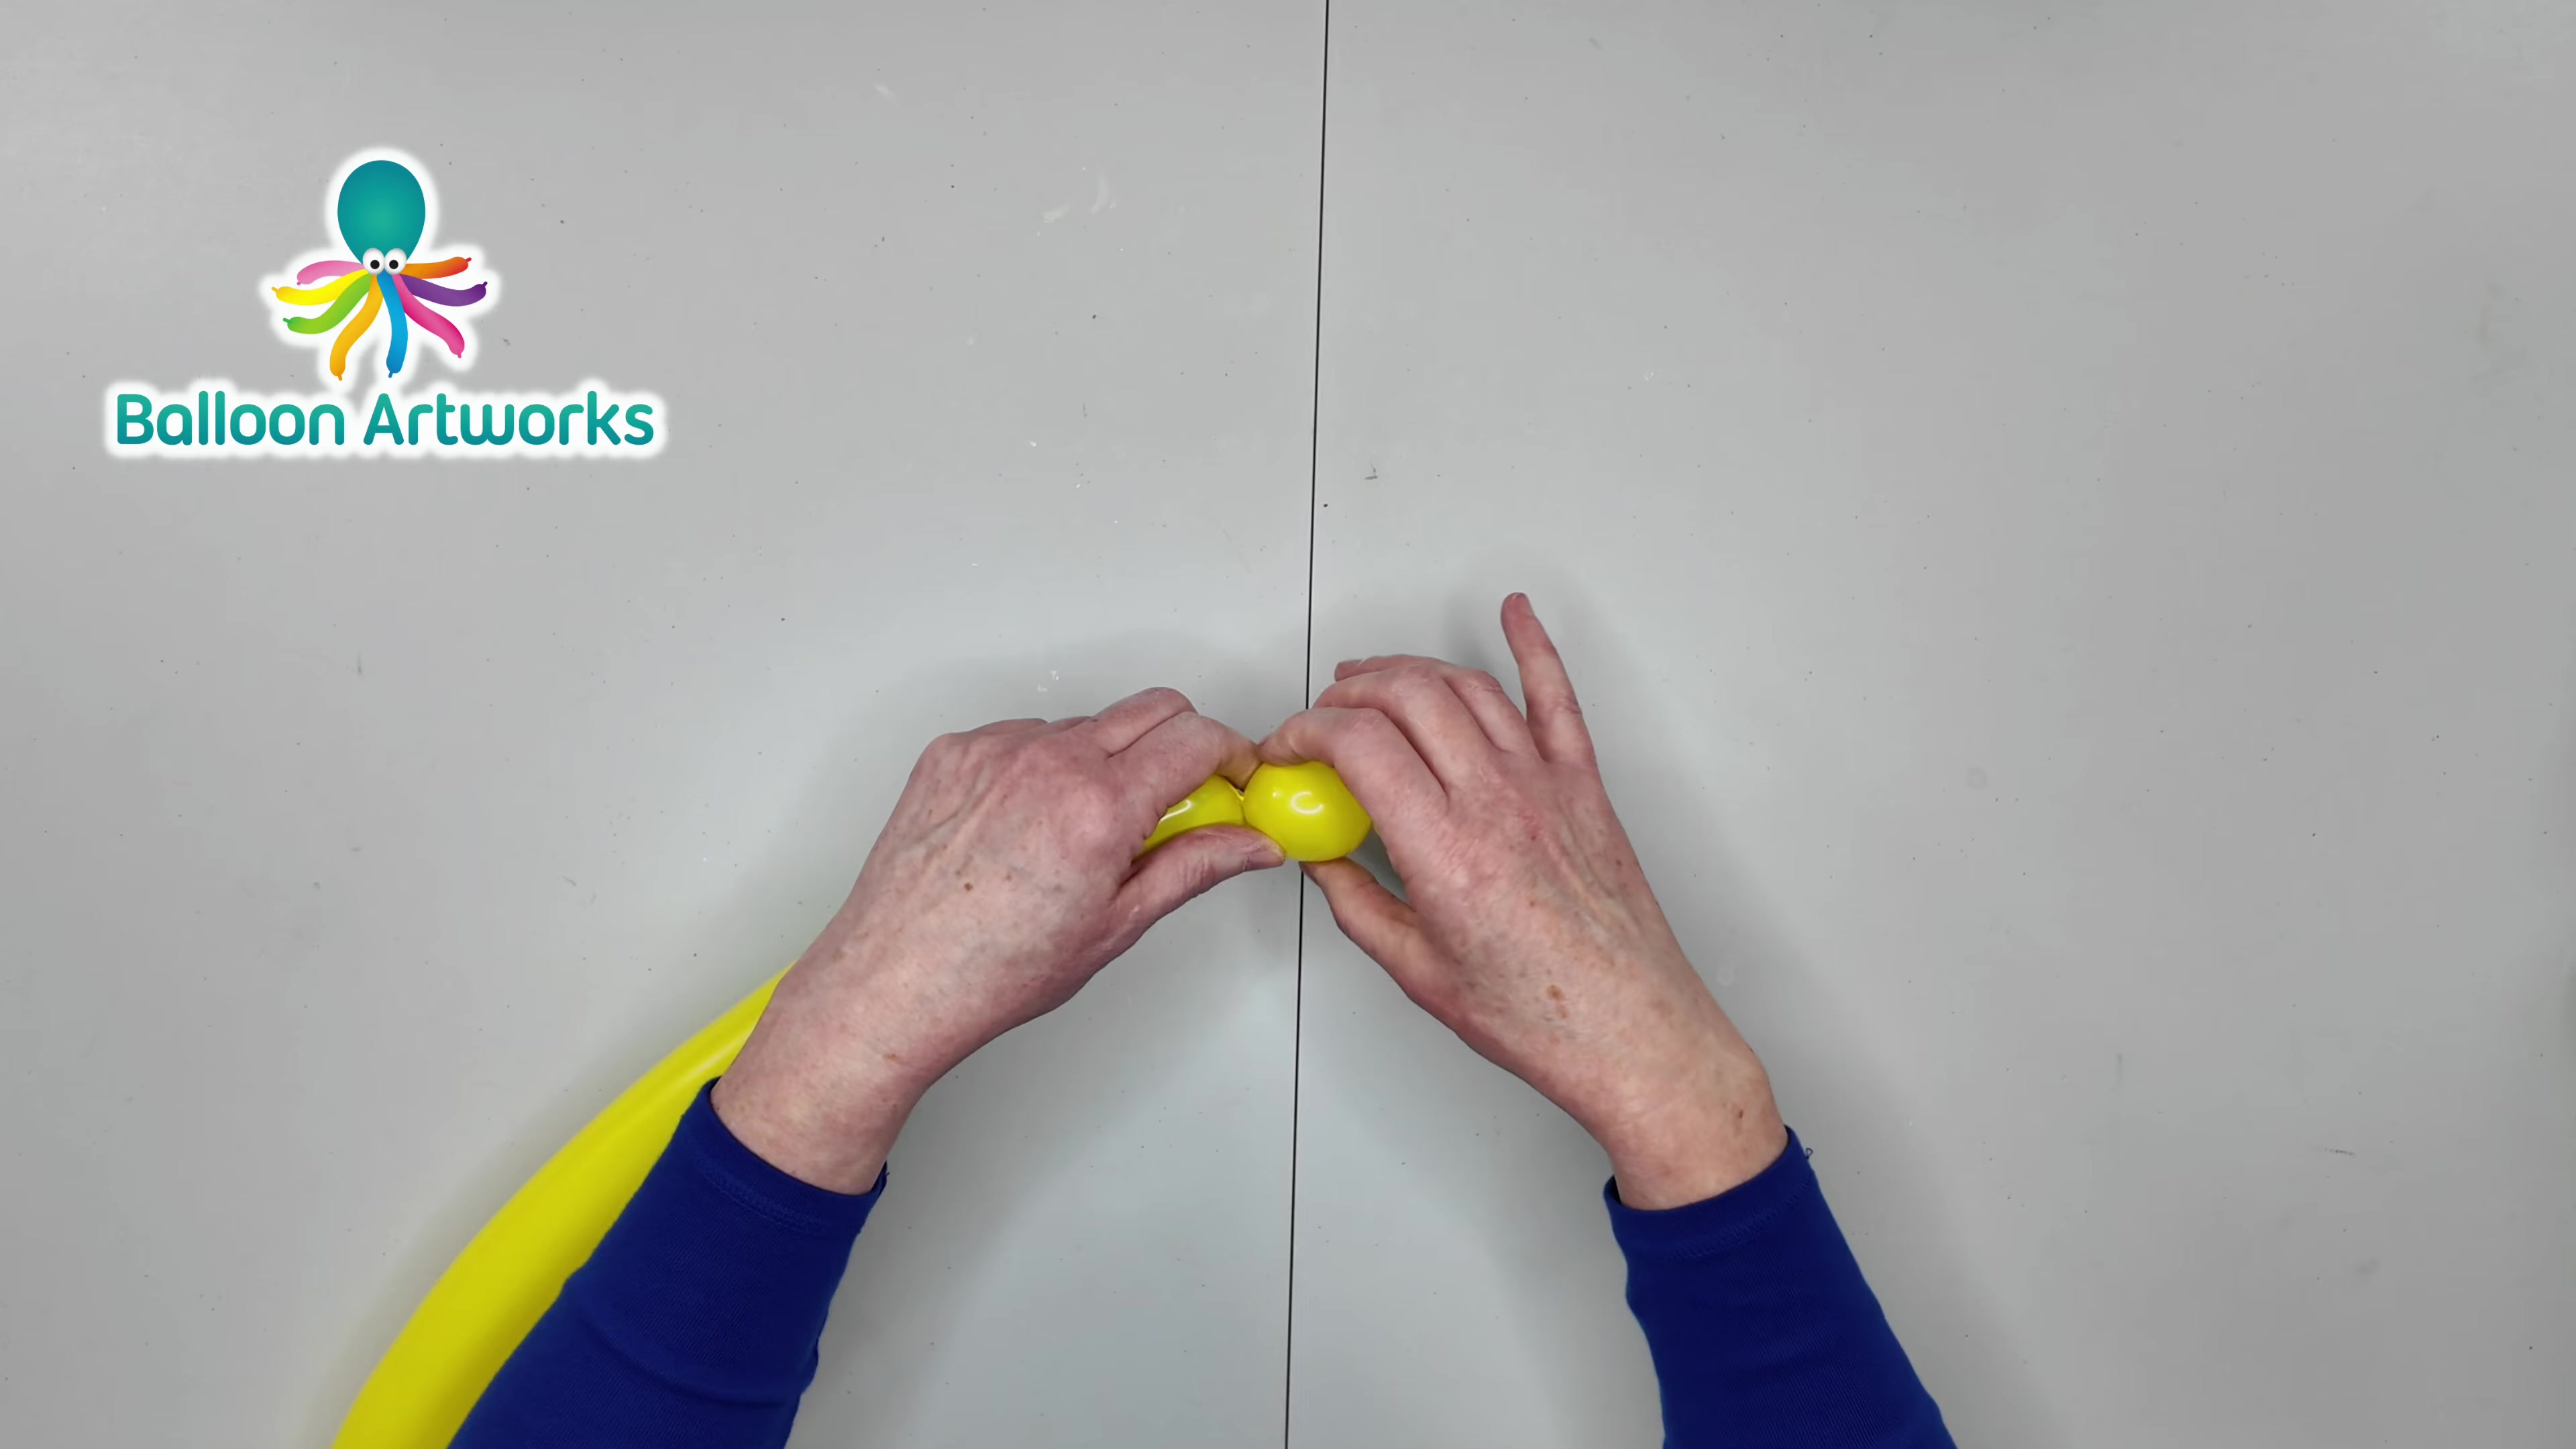
Continue twisting matching 1.5-inch bubbles along the balloon. Keep each bubble the same size so the flower petals look balanced.
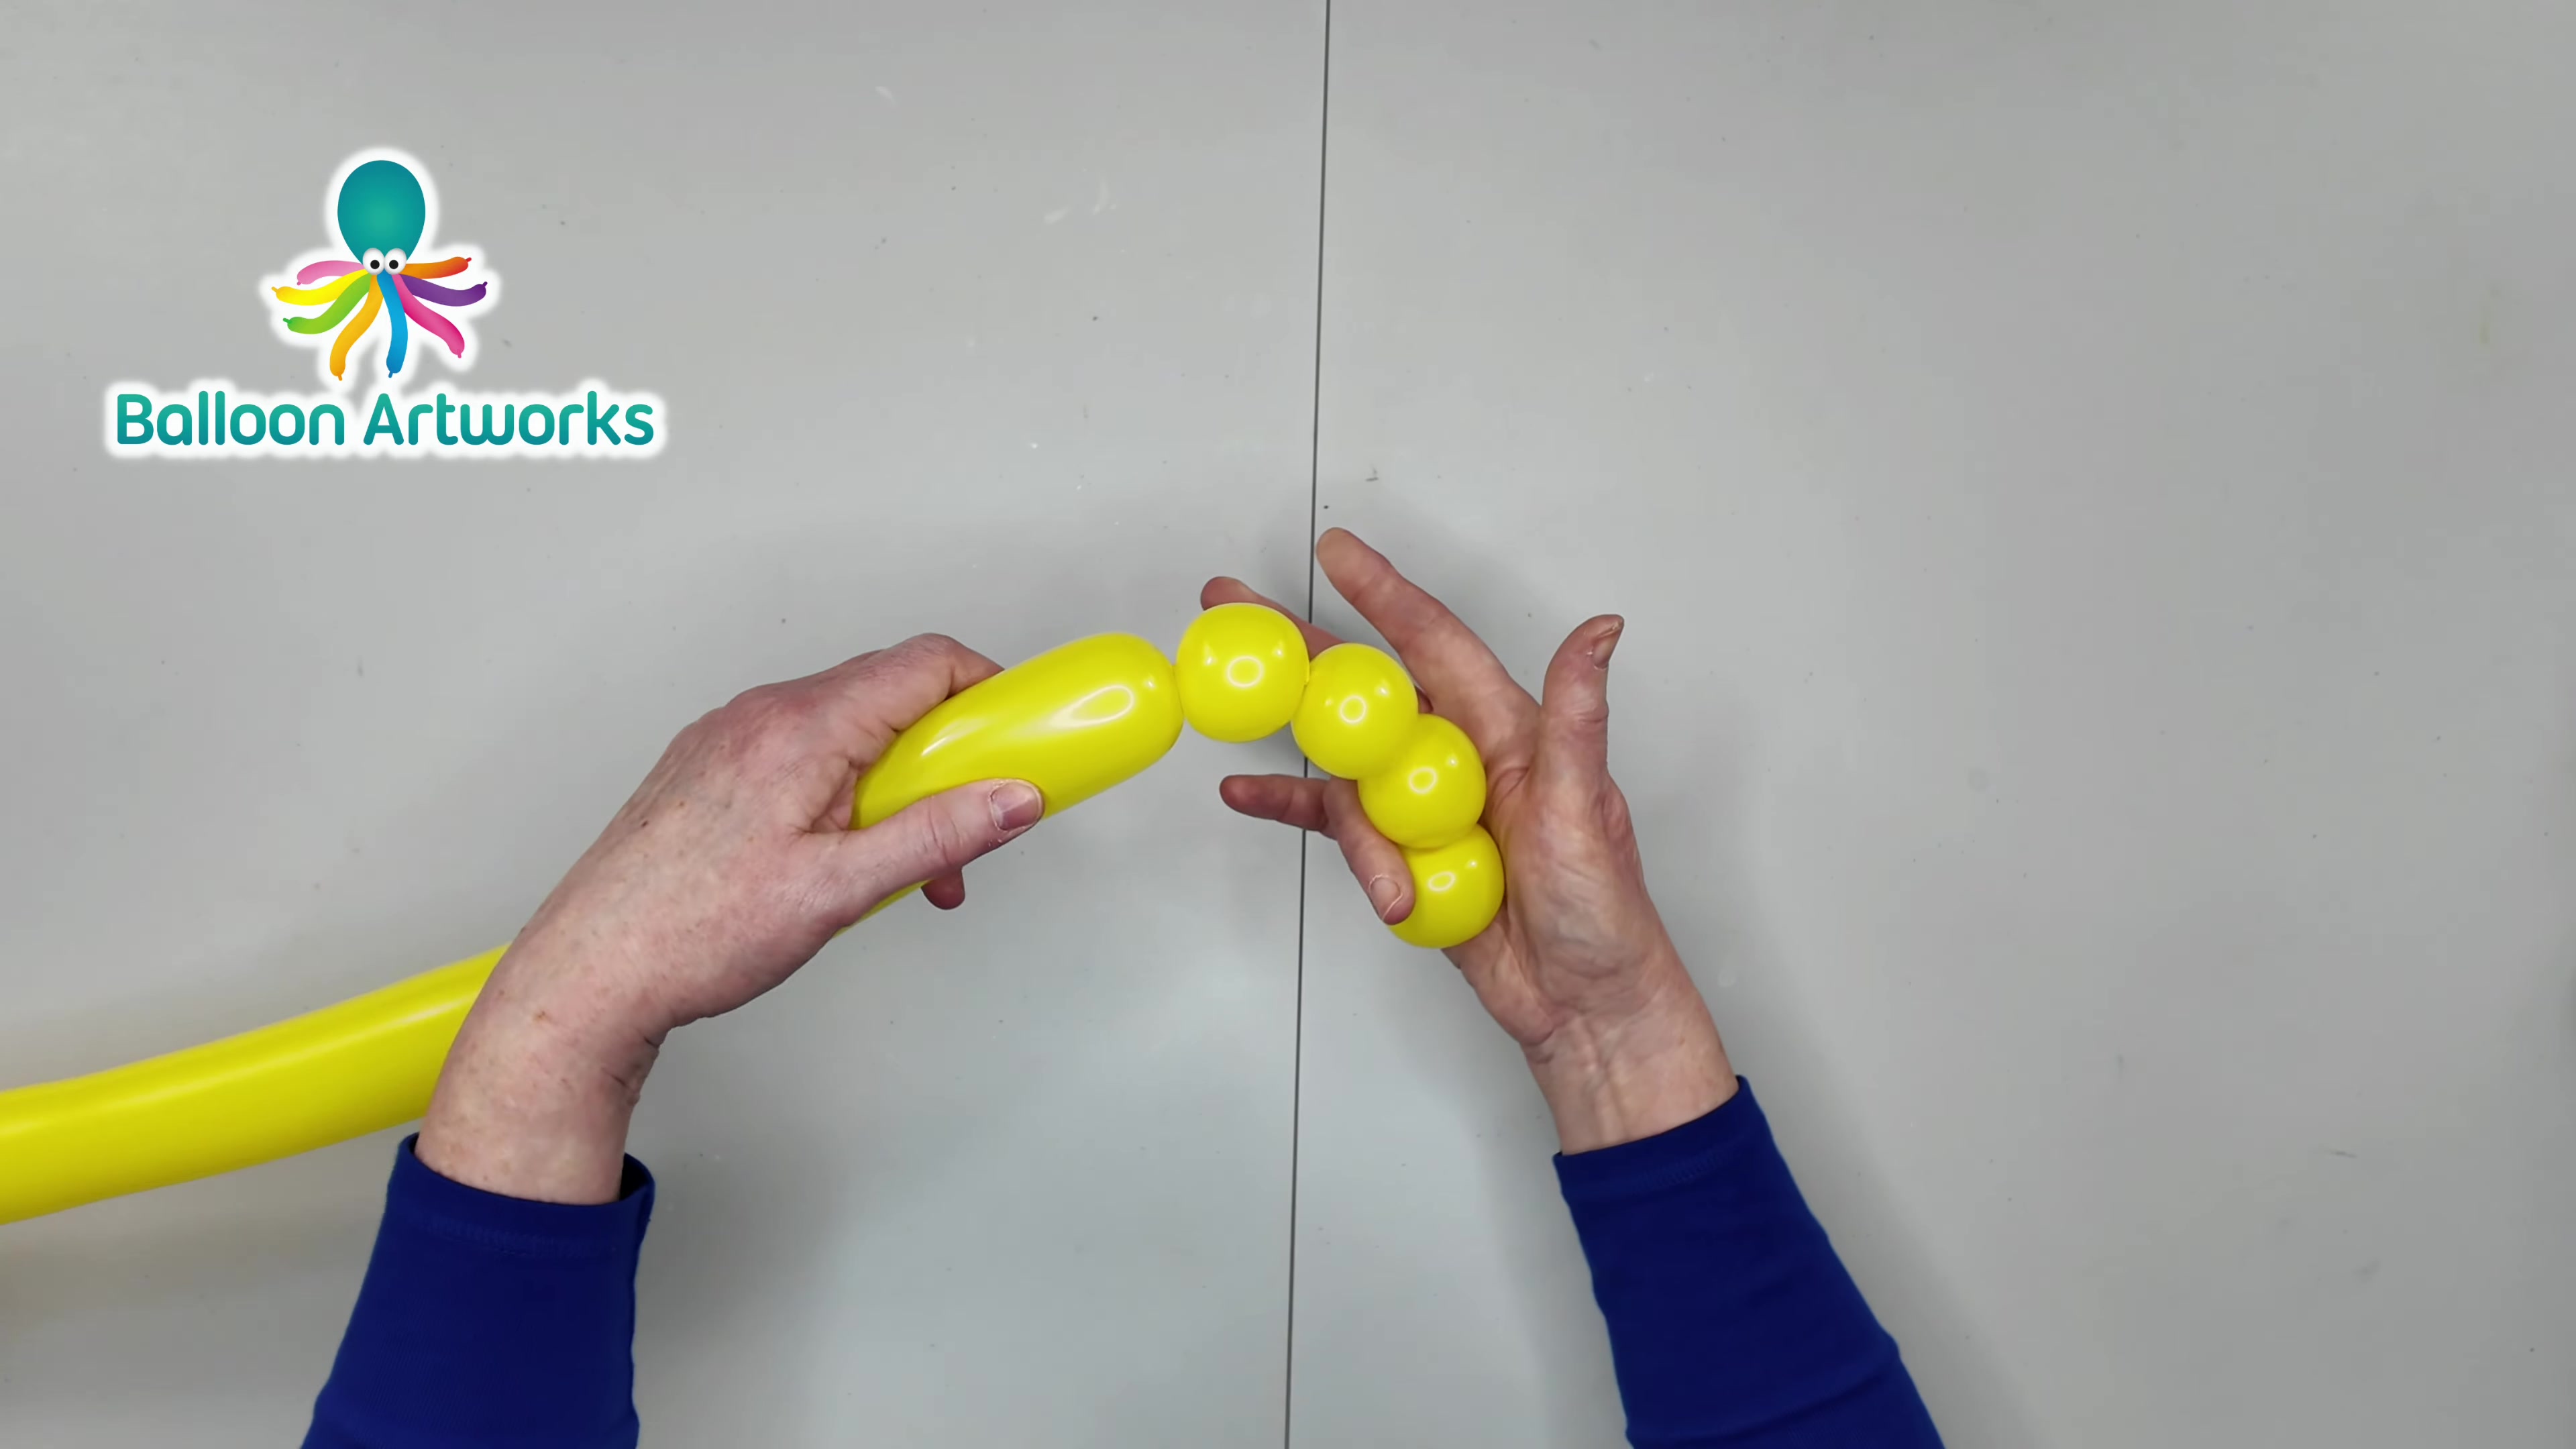
Keep going until you have a connected chain of exactly 6 small petal bubbles. Check the spacing as you go so the ring will close cleanly.
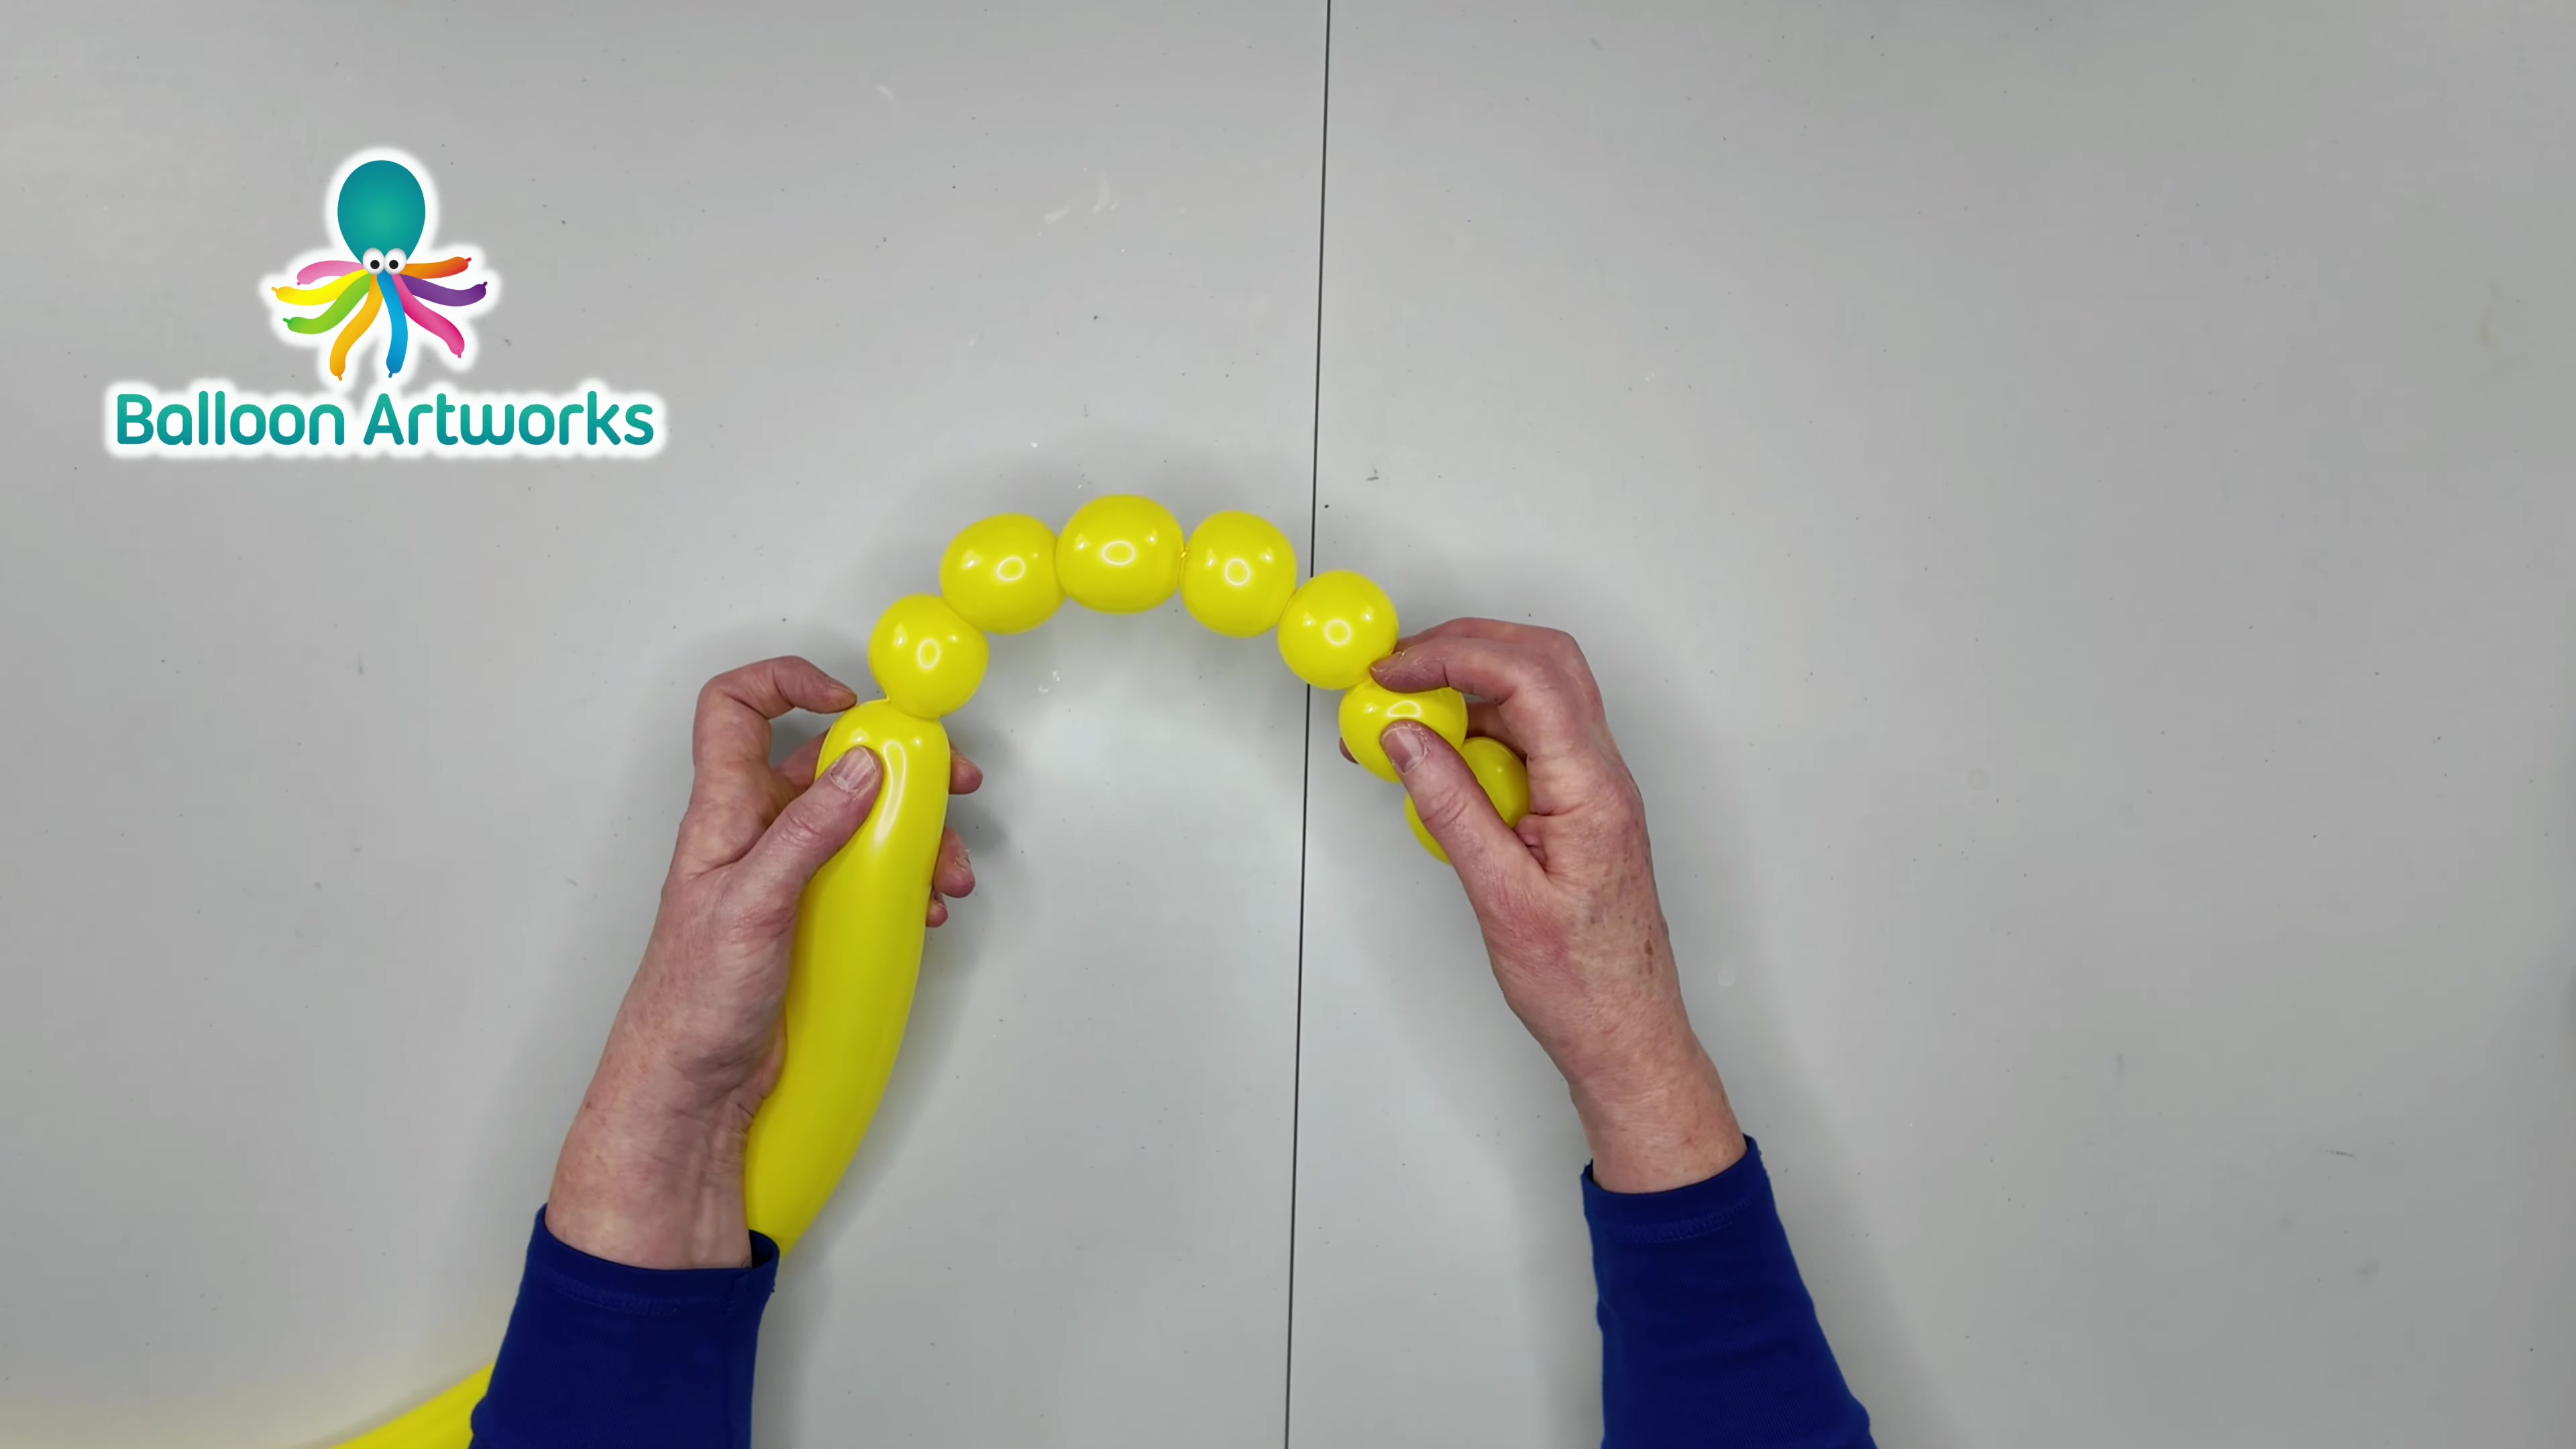
Wrap the 6-bubble chain into a circle around the center knot. Lock twist the ends together so the petals stay in a secure flower shape.
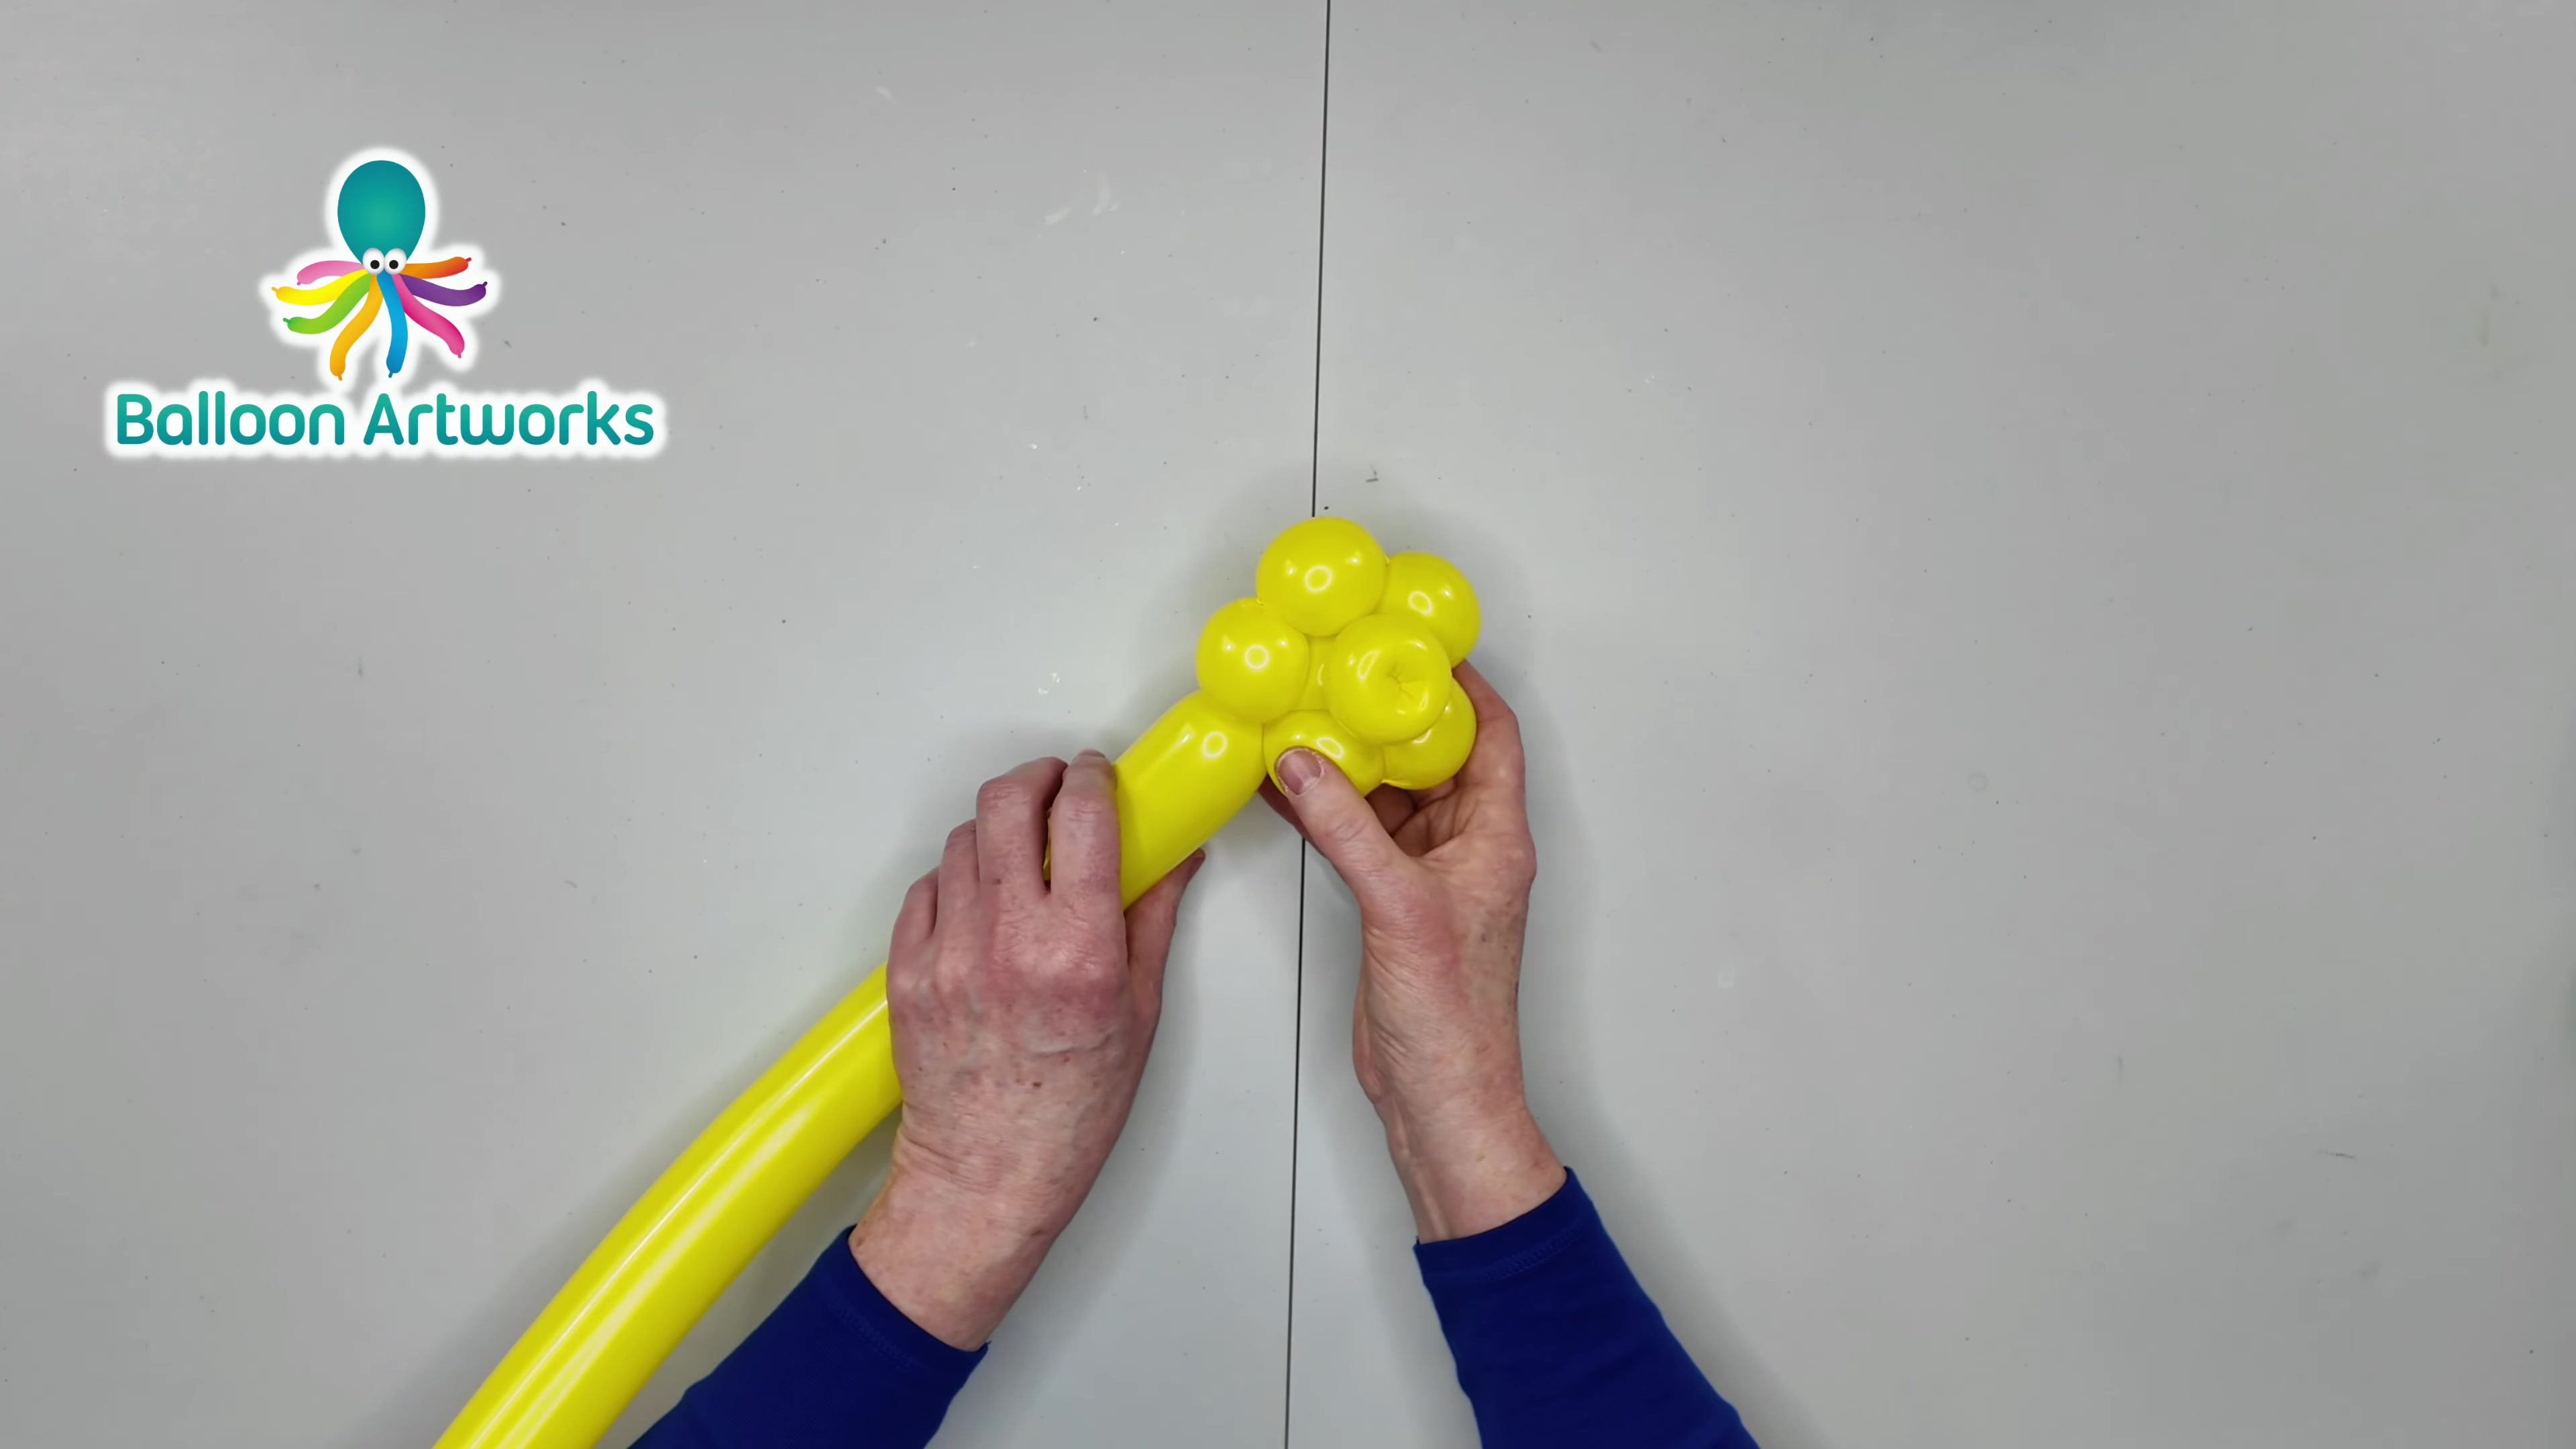
Measure about 4 inches below the flower head and twist that section to form the upper stem. Keep the twist straight so the flower sits neatly on top.
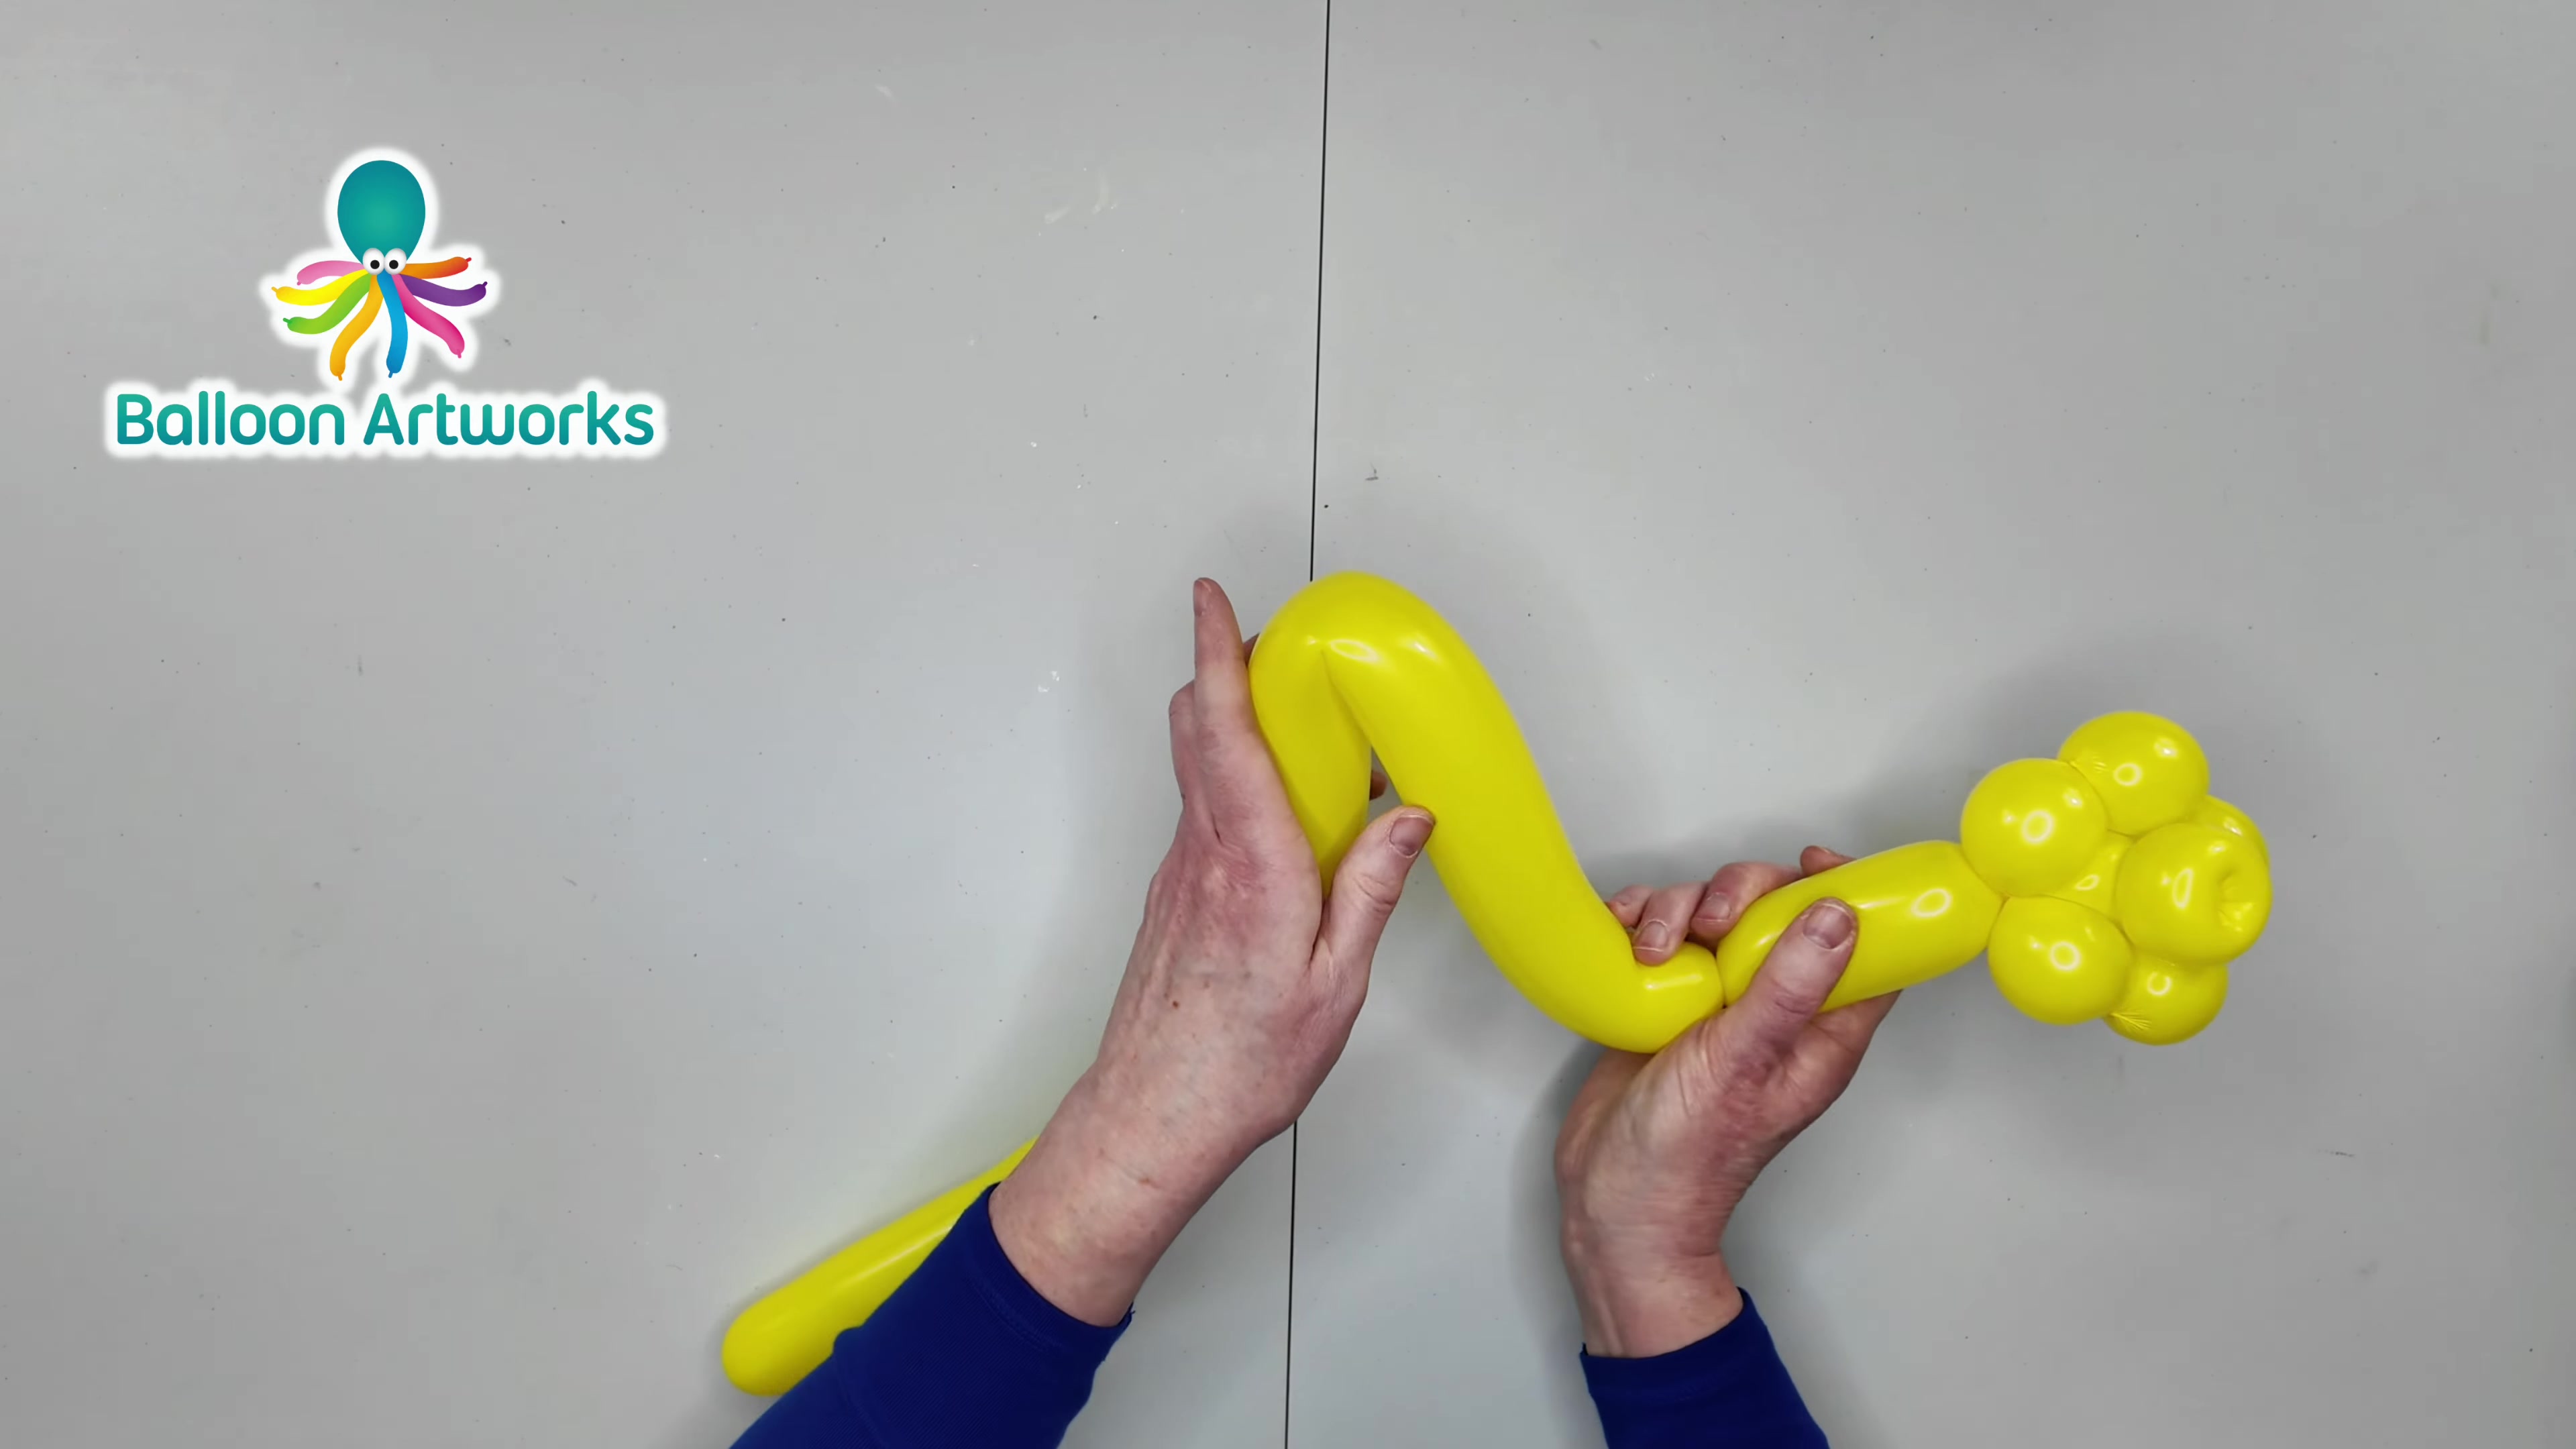
Measure a 6-inch section below the stem bubble, fold it back, and do a fold twist to create the first leaf loop. Make it snug so it holds its shape.
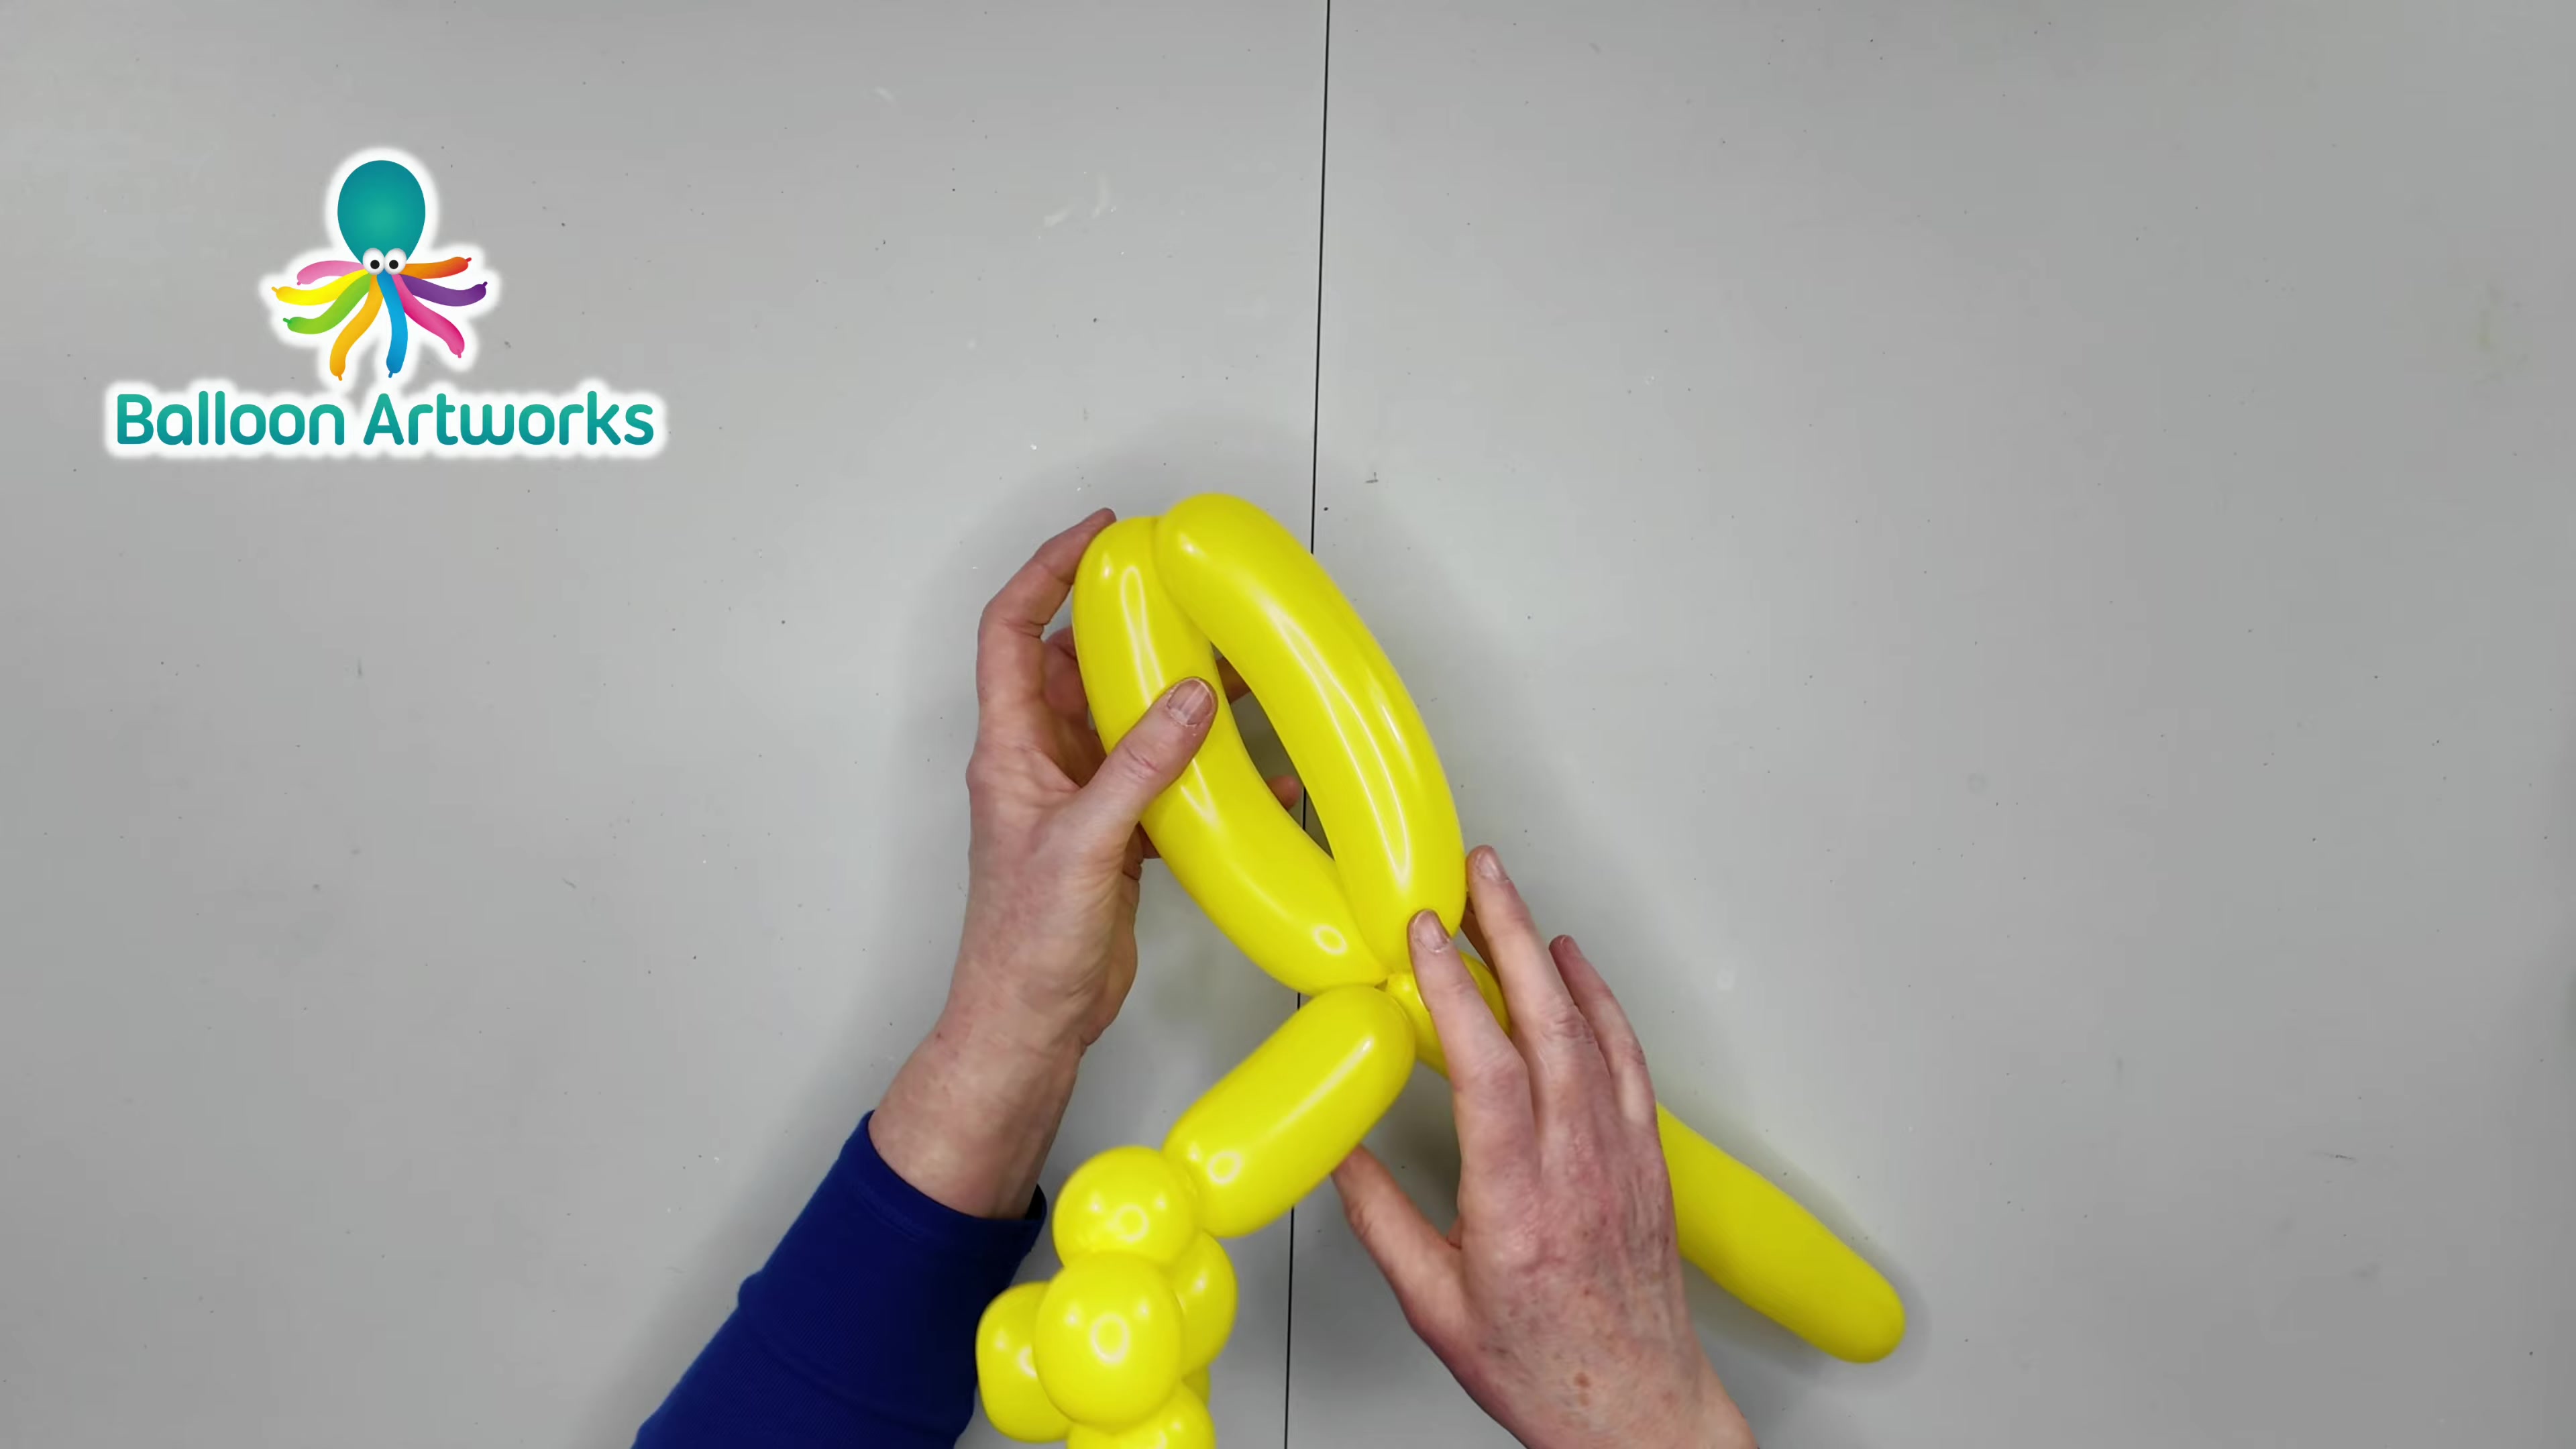
Create a matching second leaf loop at the stem junction, then line up the flower head and leaves so the sculpture sits flat and vertical.
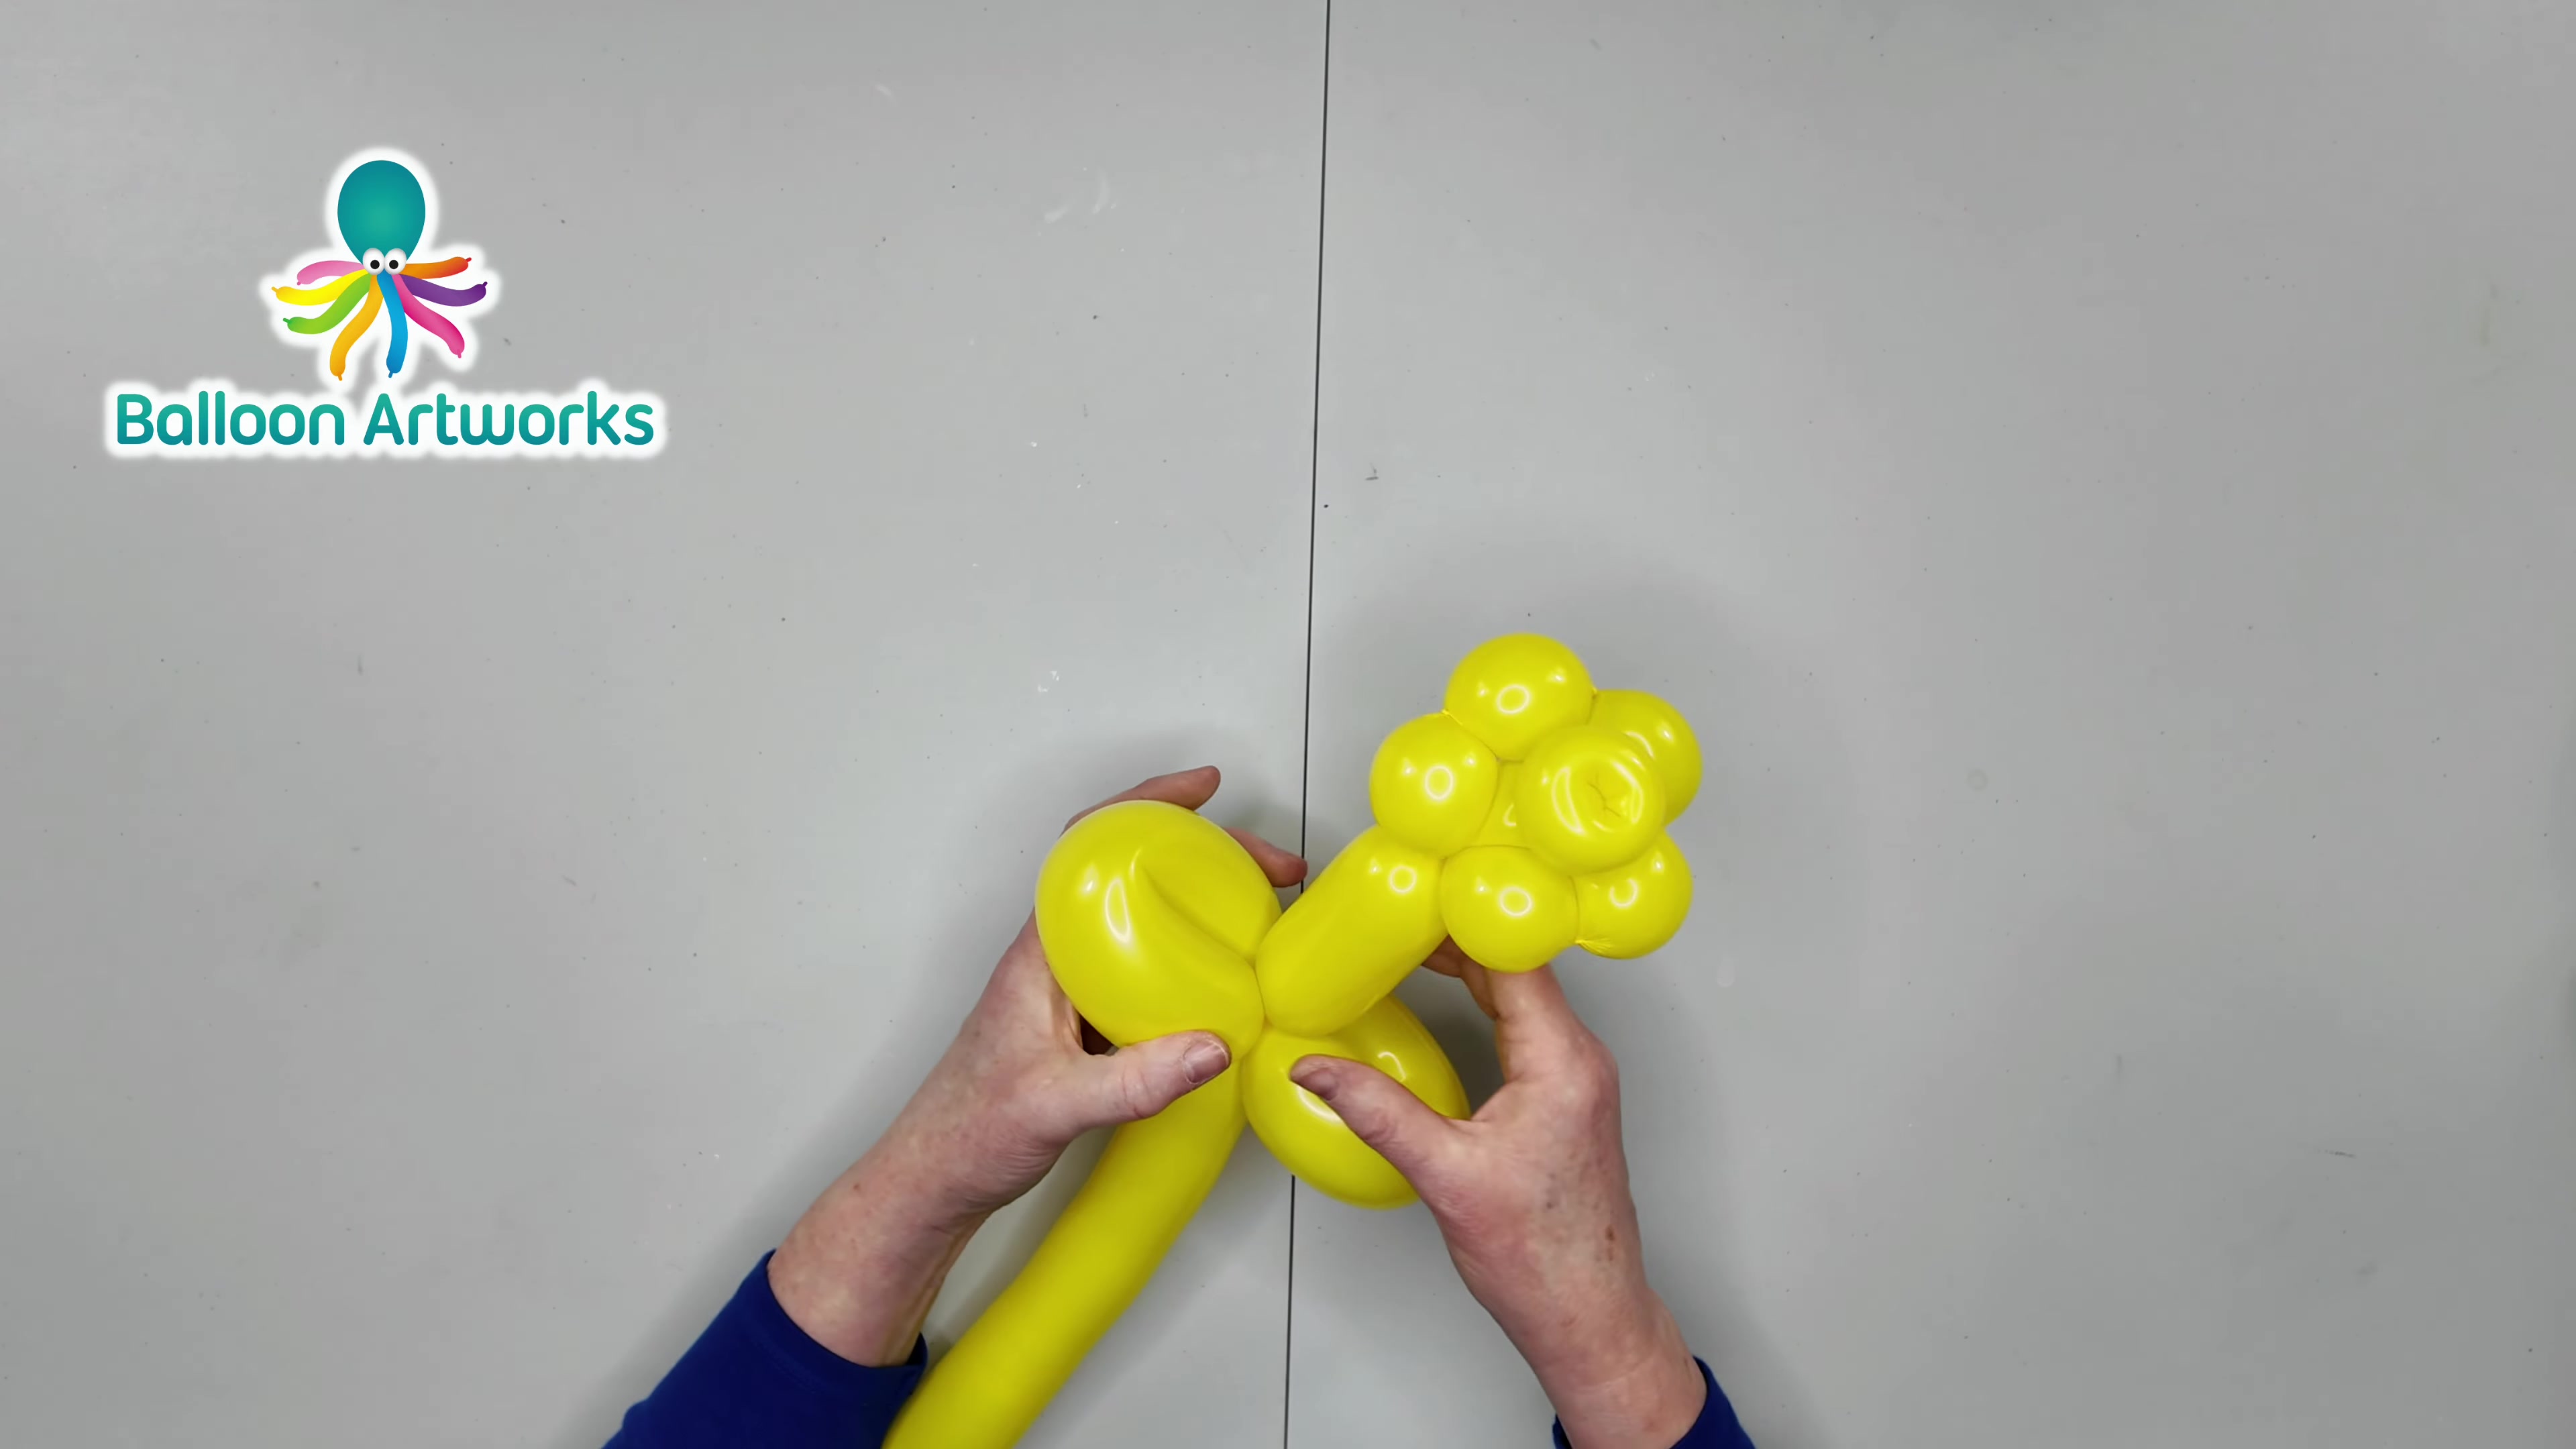
Give the balloon flower a quick check for even petals, secure twists, and a clean shape. Then hold it up and show off the finished craft.
Real-world answers for busy mornings, active recess hold, and tear-free removal.
About 4 minutes from pump to finish, once you know the twist order.
Keep each petal bubble the same length and twist in the same direction every time. If one bubble is too big, gently rebalance the next one instead of forcing the ring.
Leave a tail, don’t overinflate, and burp a little air out before knotting. A softer balloon twists more easily and is much less likely to pop.
Yes. Any bright 260 balloon works well, and the flower still holds the same shape.
 Level 1: Butterfingers
Quick Double Twist Chignon Bun: Easy Morning School Hairstyle
A neat, picture-perfect morning updo that stays locked through playtime with zero braiding required.
Wide-tooth detangling brush
 Level 3: Superhero Dad
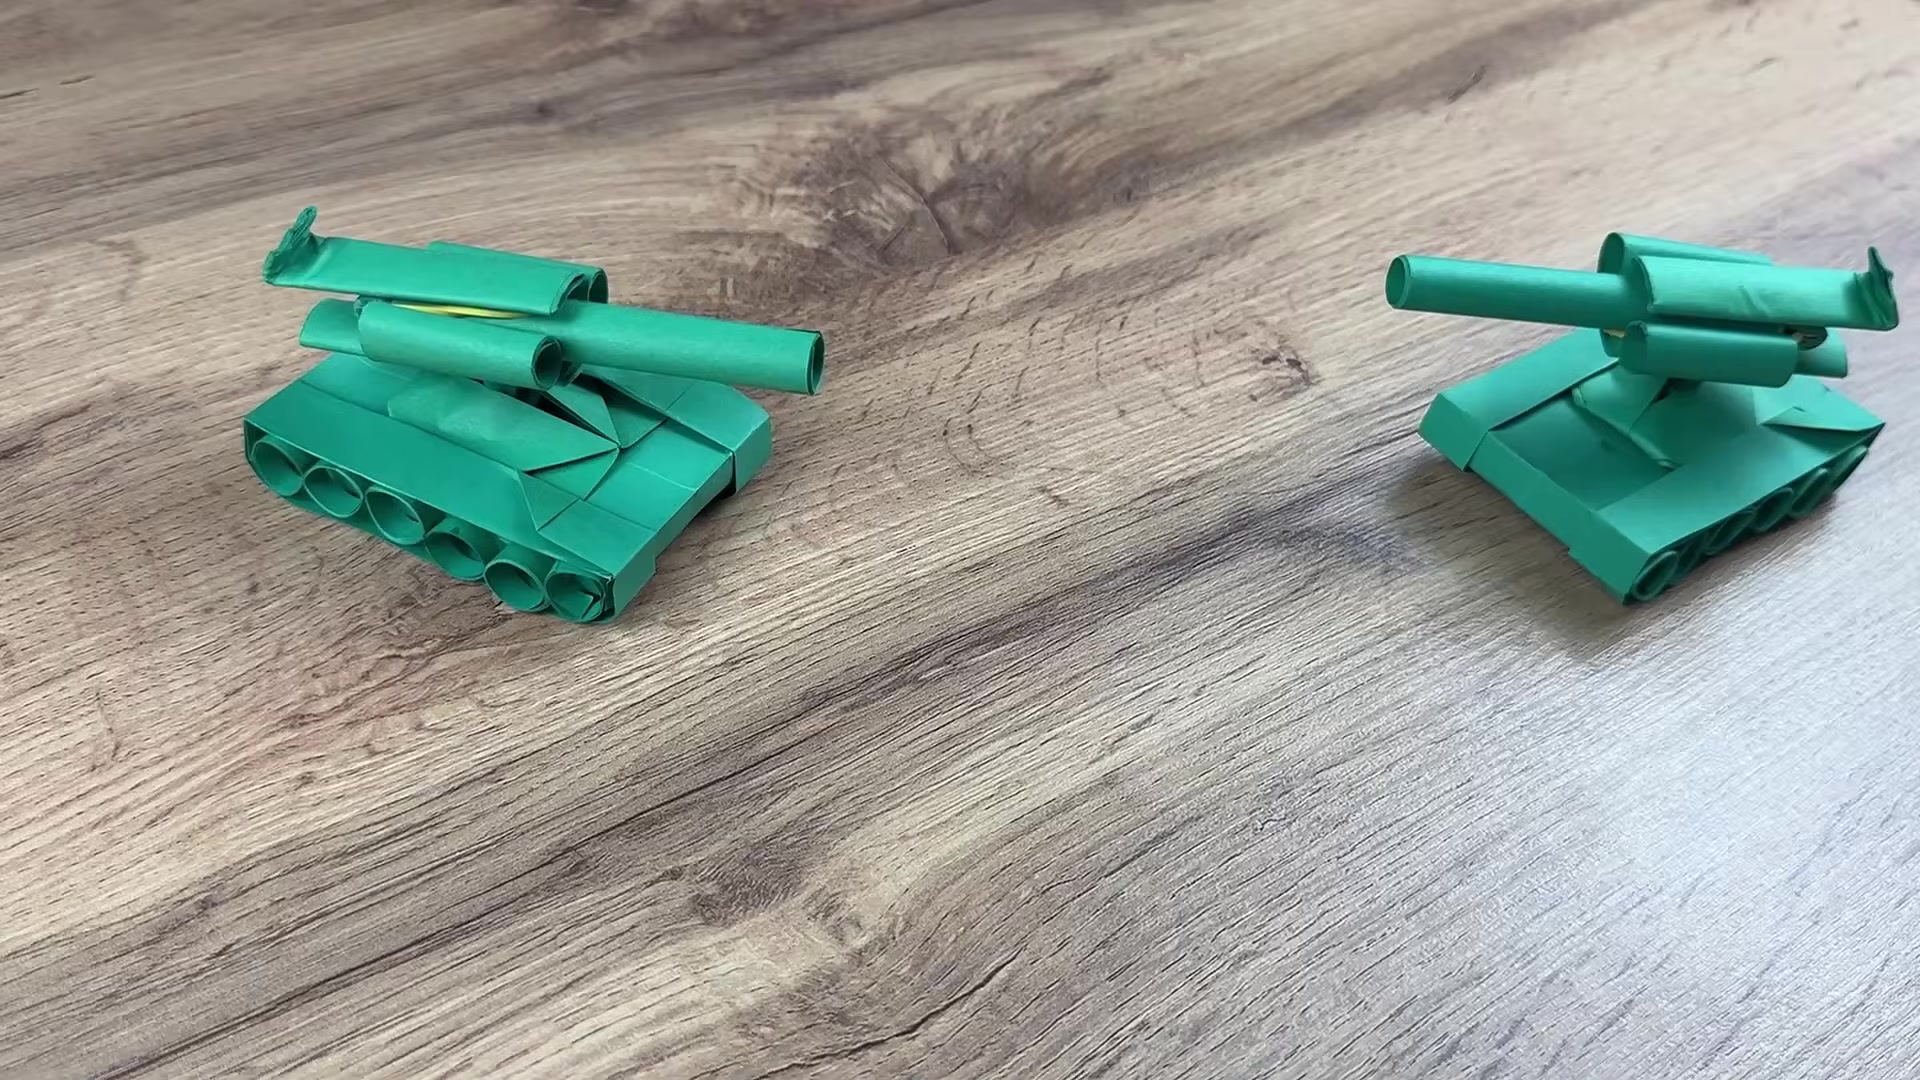
How to Make a Paper Tank That Shoots (Easy Step-by-Step Toy)
A fold-and-build paper tank that rolls, swivels, and fires a paper bullet using simple paper parts.
1 green A4 paper sheet cut in half lengthwise
 Level 2: Handy Dad
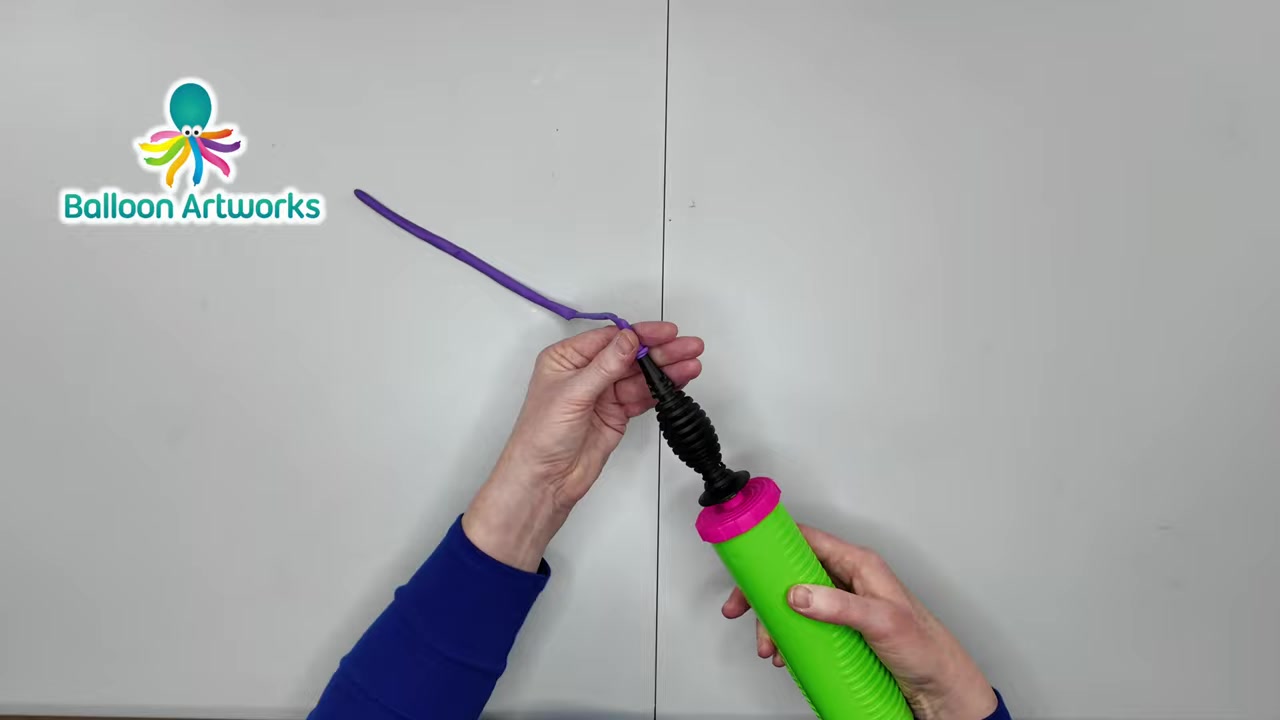
How to Twist a Classic Balloon Dog in 3 Minutes (Beginner Guide)
A party-ready balloon dog you can finish in about 3 and a half minutes with simple twists and zero guesswork.
1x 260Q modeling balloon (purple or any bright color)
 Level 2: Handy Dad
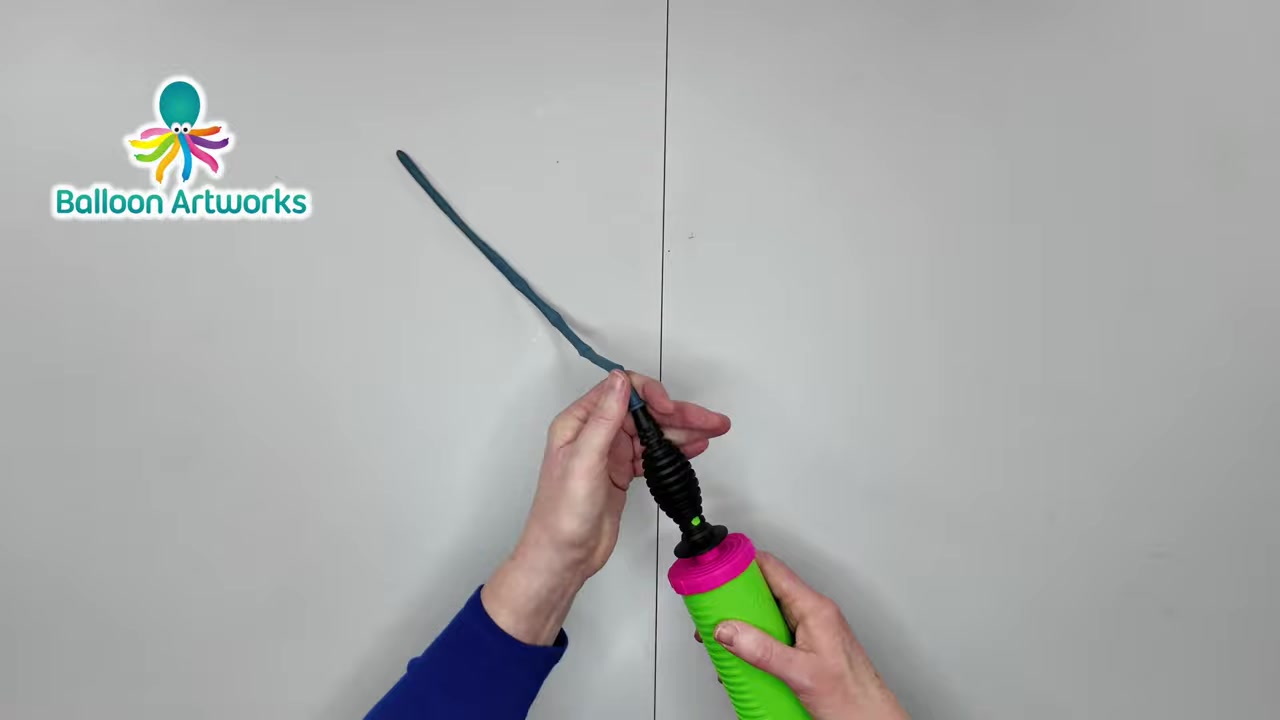
Quick 1-Balloon Pirate Sword: Easy 2-Minute Party Favorite
A quick party favorite that turns one balloon into a sturdy sword in just over a minute, with a simple burp-and-lock method that helps prevent pops.
1x 260Q modeling balloon (any bright color)