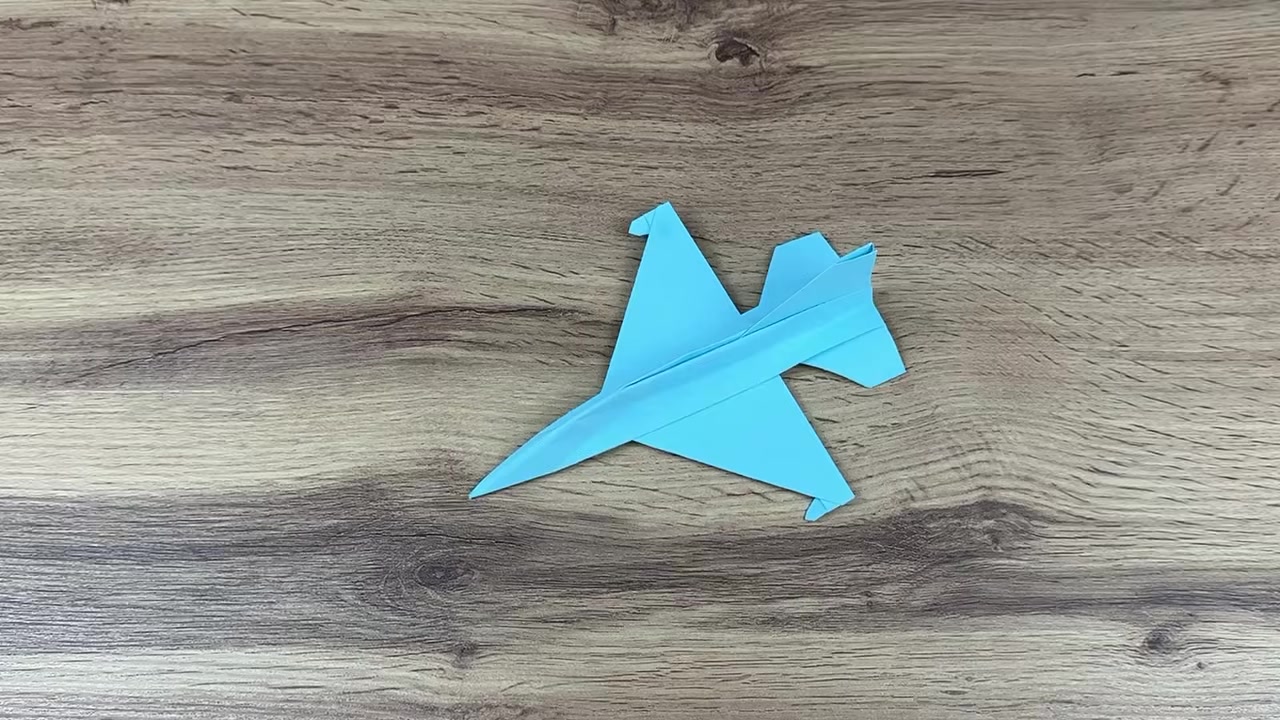
01 Study the Jet Shape
00:00 - 00:11Hold up the finished blue jet fighter and look at the long nose, wide wings, and back fins. This gives you the target shape before you start folding.
A sharp, balanced jet fighter that looks clean and folds fast with one strong center line.
Hold up the finished blue jet fighter and look at the long nose, wide wings, and back fins. This gives you the target shape before you start folding.
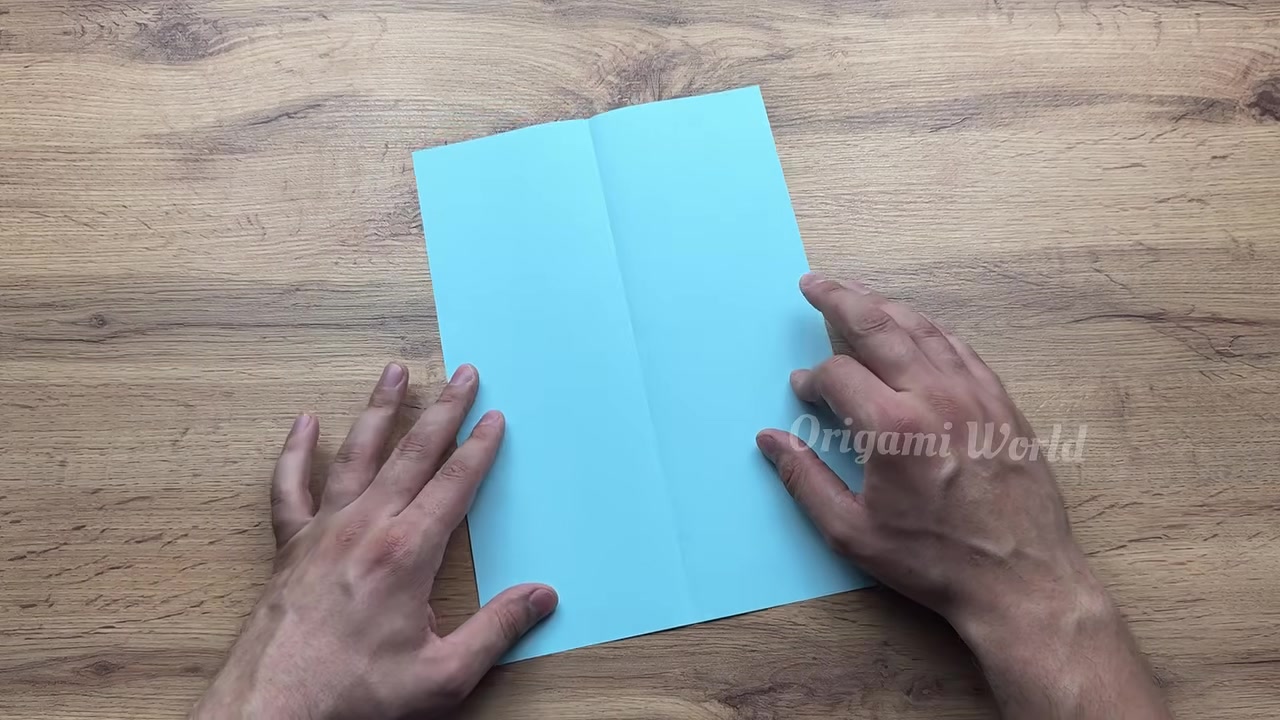
Place the A4 sheet flat, then fold it in half lengthwise from right to left. Run your thumbnail firmly along the spine, then unfold to leave a sharp center guideline.
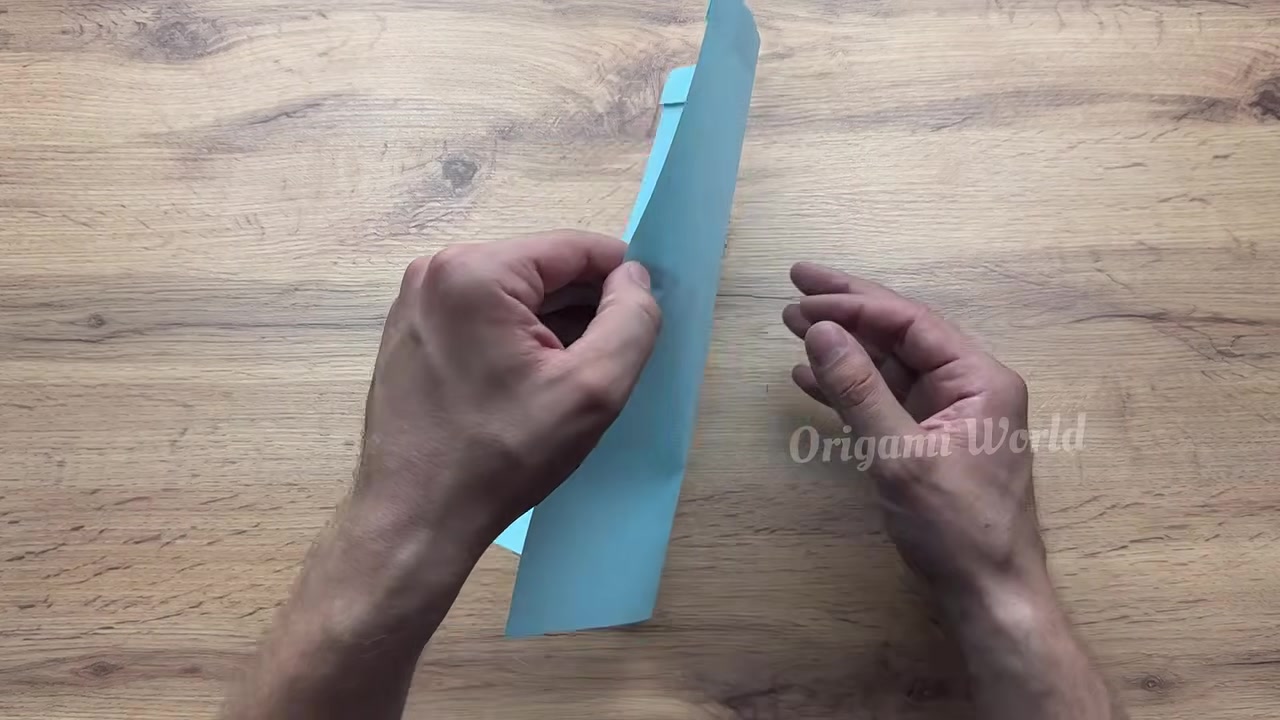
Take the top edge and fold a thin strip, about 1 cm, straight down across the full width. Press the crease hard from one side to the other so it stays even.
Fold the top right corner diagonally until it lines up neatly with the left outer edge. Sharpen the crease, then open it back out.
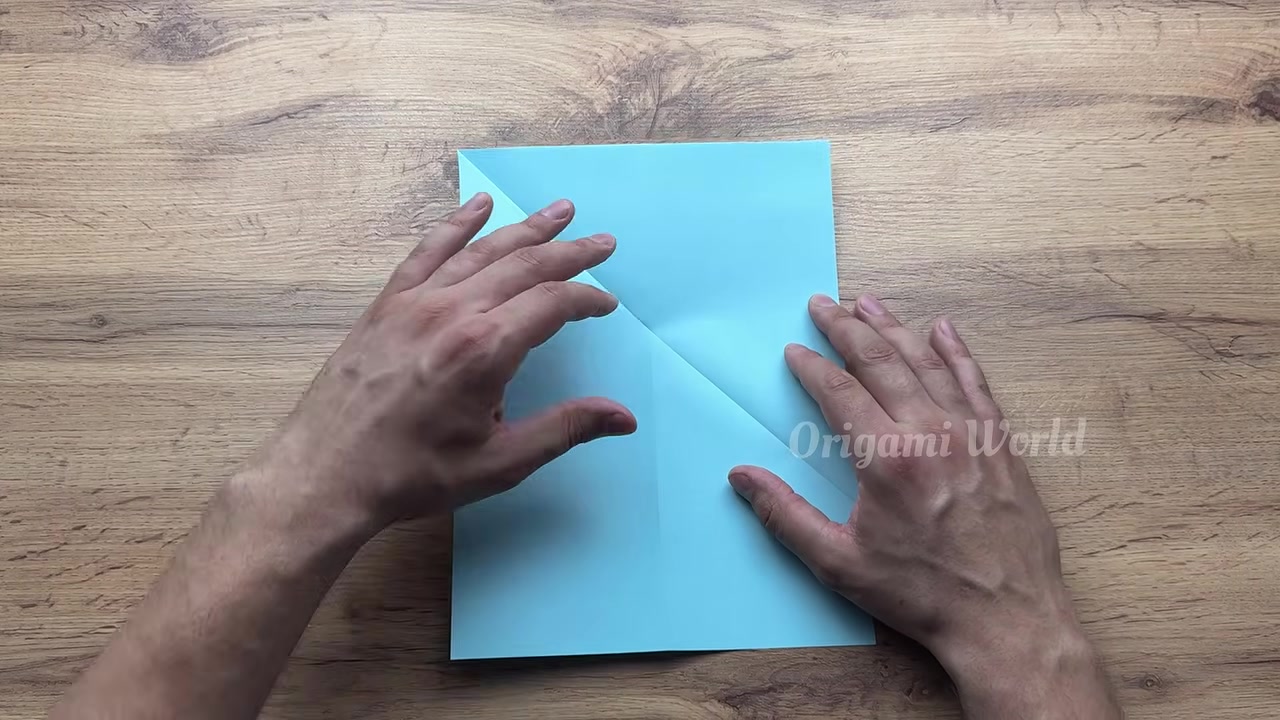
Now fold the top left corner diagonally to meet the right outer edge. Match the angle carefully so the two diagonal creases form a clean X when unfolded.
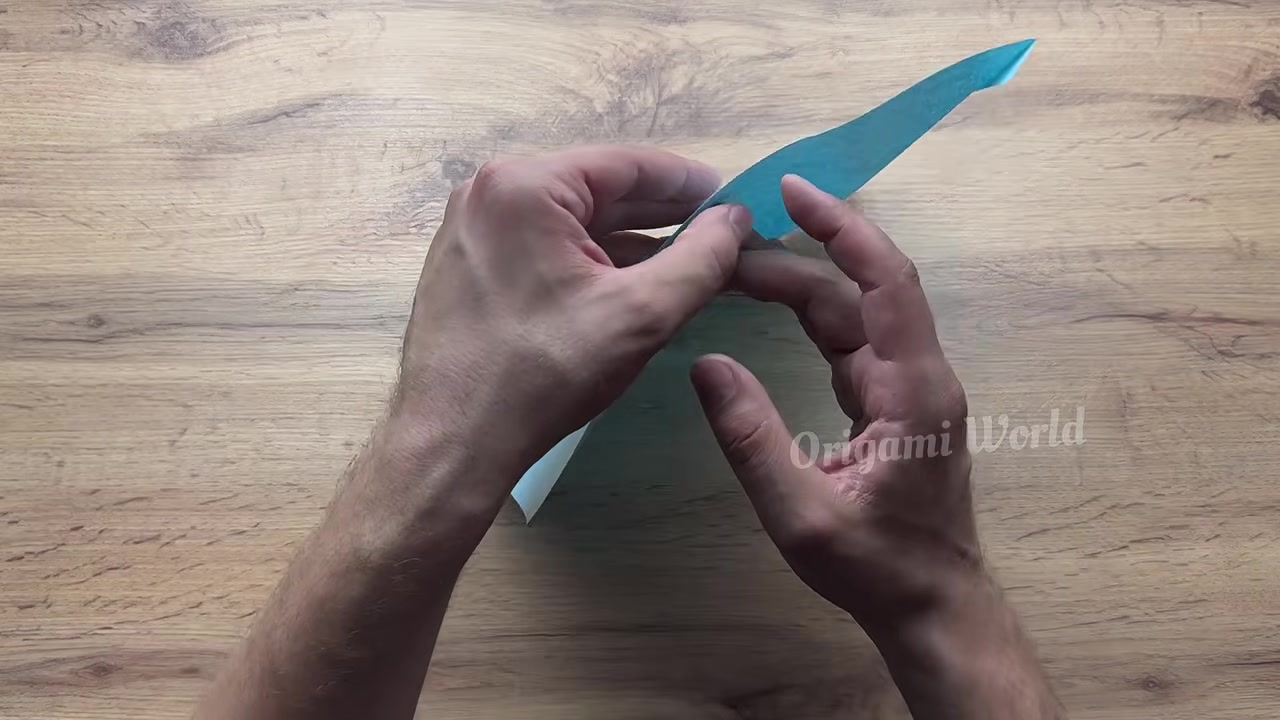
Fold the top section down horizontally through the center point where the X creases meet. Press the fold firmly, then unfold to keep the guide line visible.
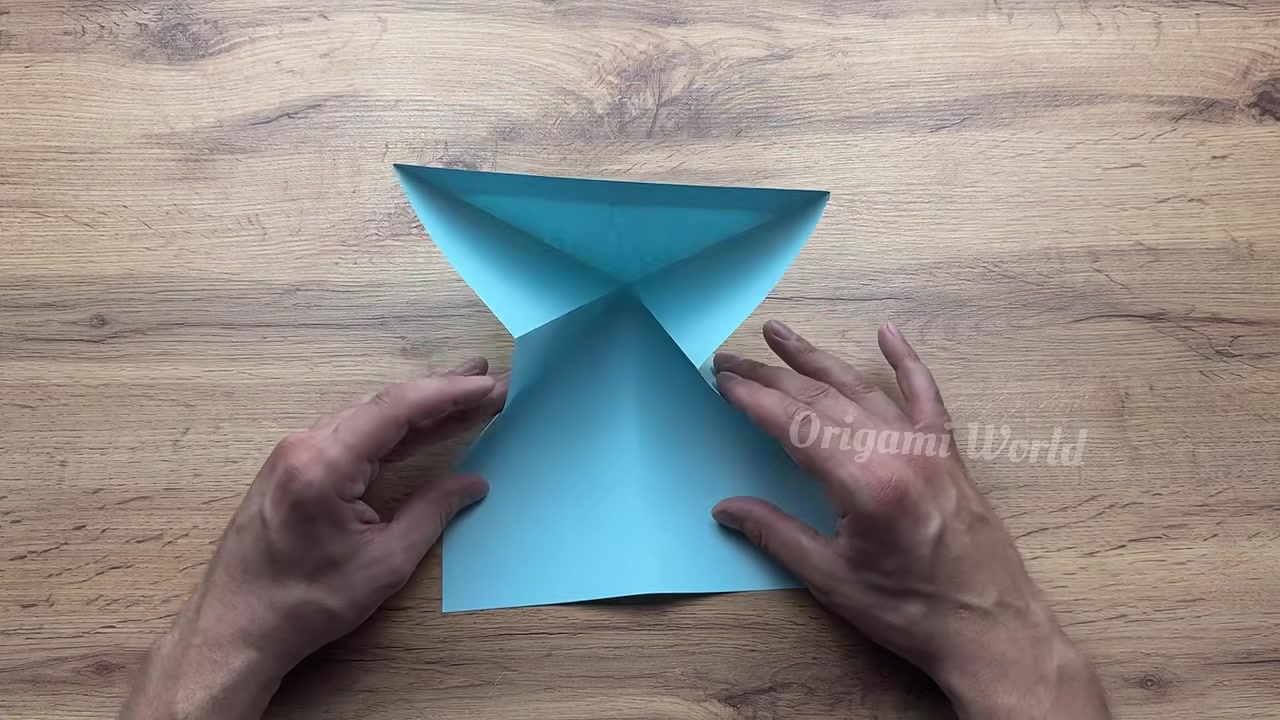
Push the left and right outer edges inward along the fold lines so the top section collapses flat into a triangular waterbomb base. Keep the layers aligned as it closes.
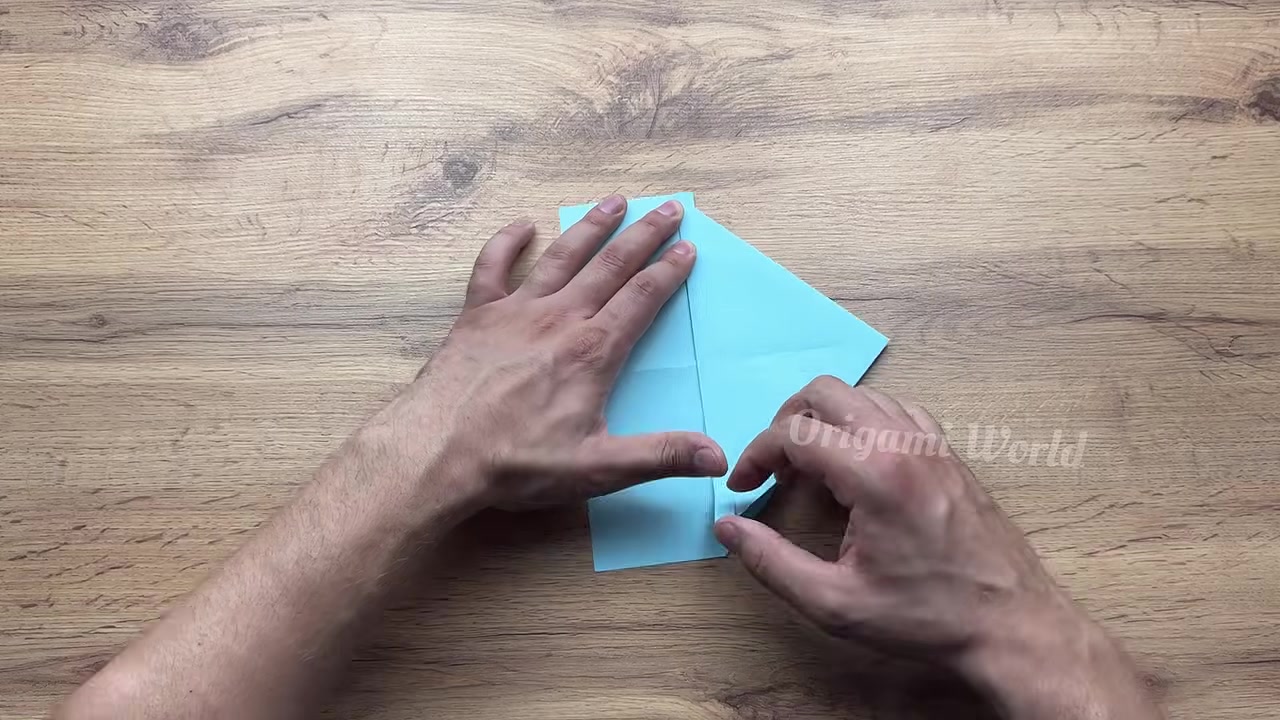
Fold the lower horizontal edge of the triangular base upward along its crease. Smooth it down evenly so the layers stay locked in place.
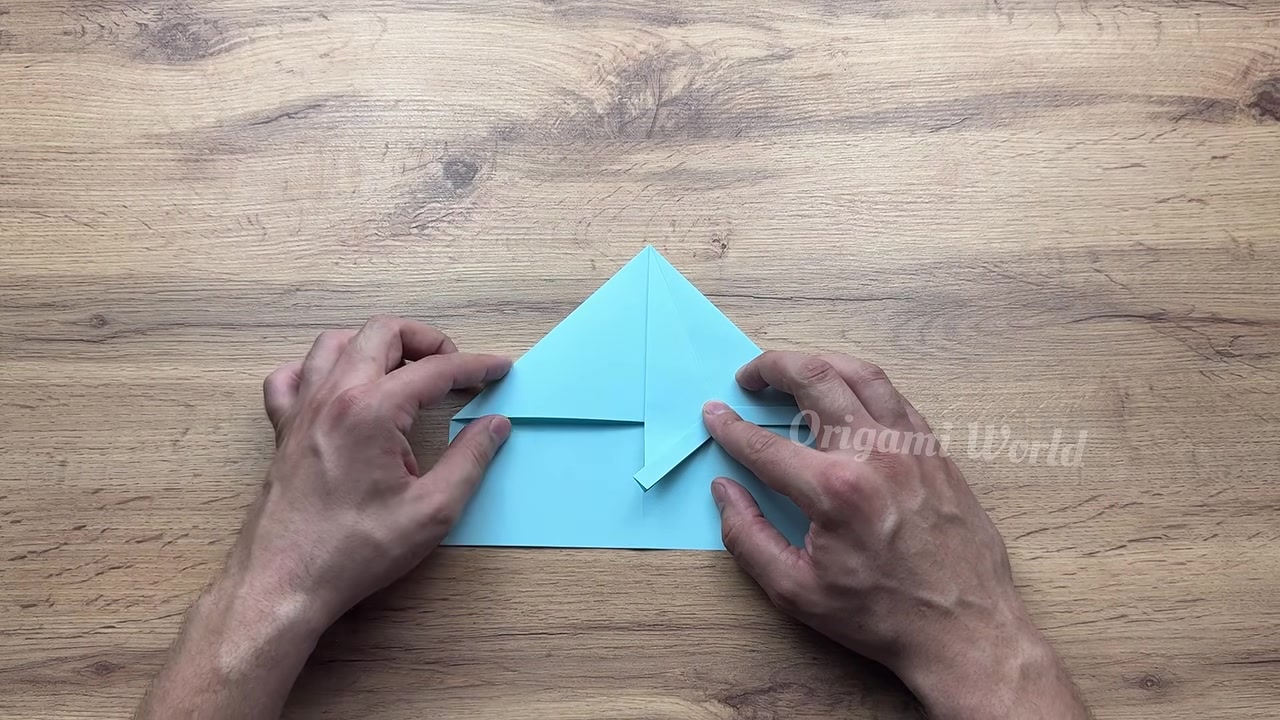
Take the right top-layer flap and fold it inward until its edge meets the center vertical crease. Keep the point straight and the fold tight.
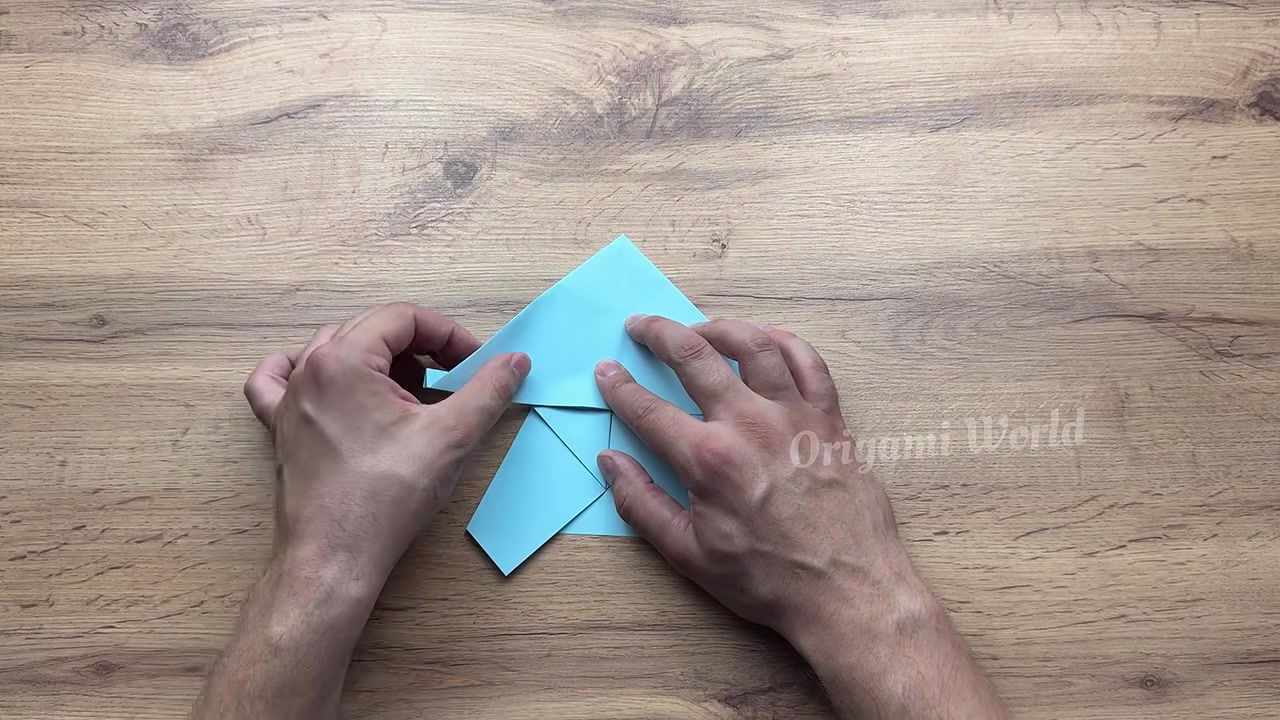
Fold the left top-layer flap inward the same way so it mirrors the right side exactly. Check that both sides meet the center line evenly.
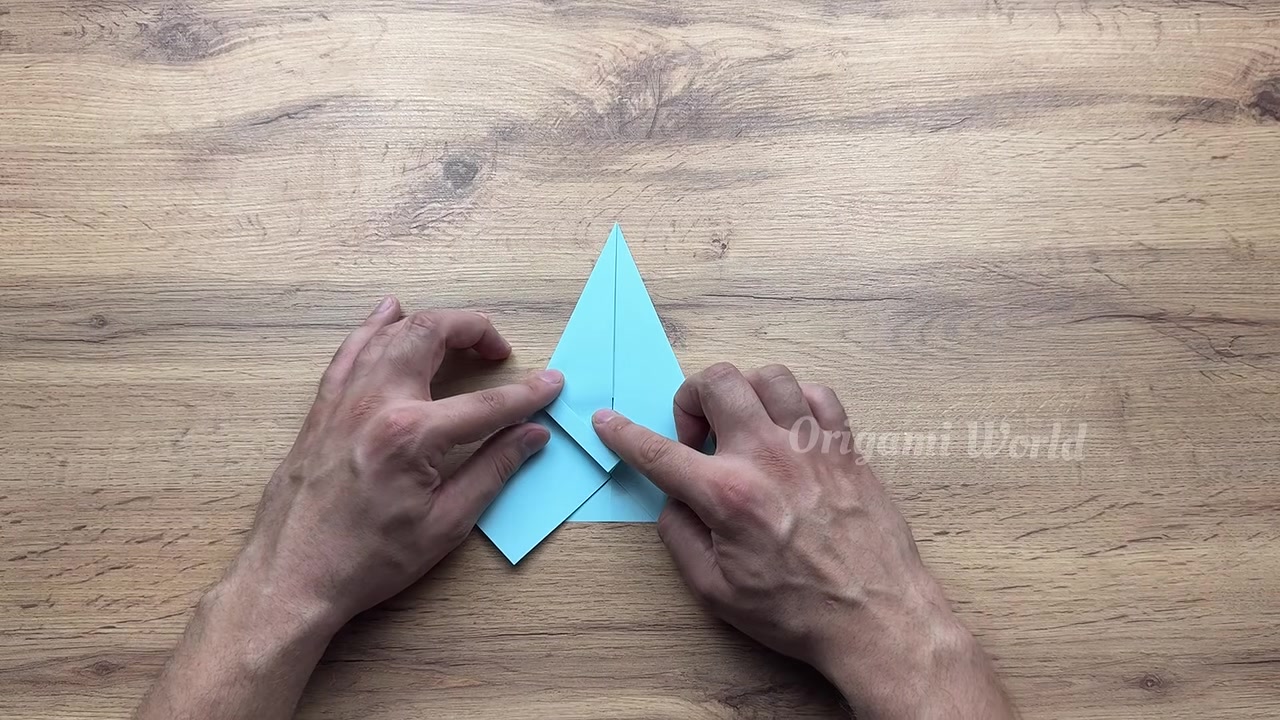
Fold the narrow center triangular tips upward diagonally to start shaping the nose. Press the small folds sharply so the front stays neat and pointed.
Real-world answers for busy mornings, active recess hold, and tear-free removal.
Standard A4 paper is the safest choice here. If the paper is too thick, the folds get bulky; if it is too thin, the nose and wings can lose shape.
Use firm pressure, not a hard pinch. Line up the edges first, then run your thumbnail slowly along the crease once it is positioned correctly.
Uneven wings usually mean one flap was folded a little wider than the other. Recheck the center crease and make both side folds meet that line exactly.
Flatten every layer again after each major fold and keep both sides mirrored. A sharp center crease and matched wing folds make the final jet look much cleaner.
 Level 2: Handy Dad
How to Make a Balloon Giraffe: Fun and Easy Animal for Kids
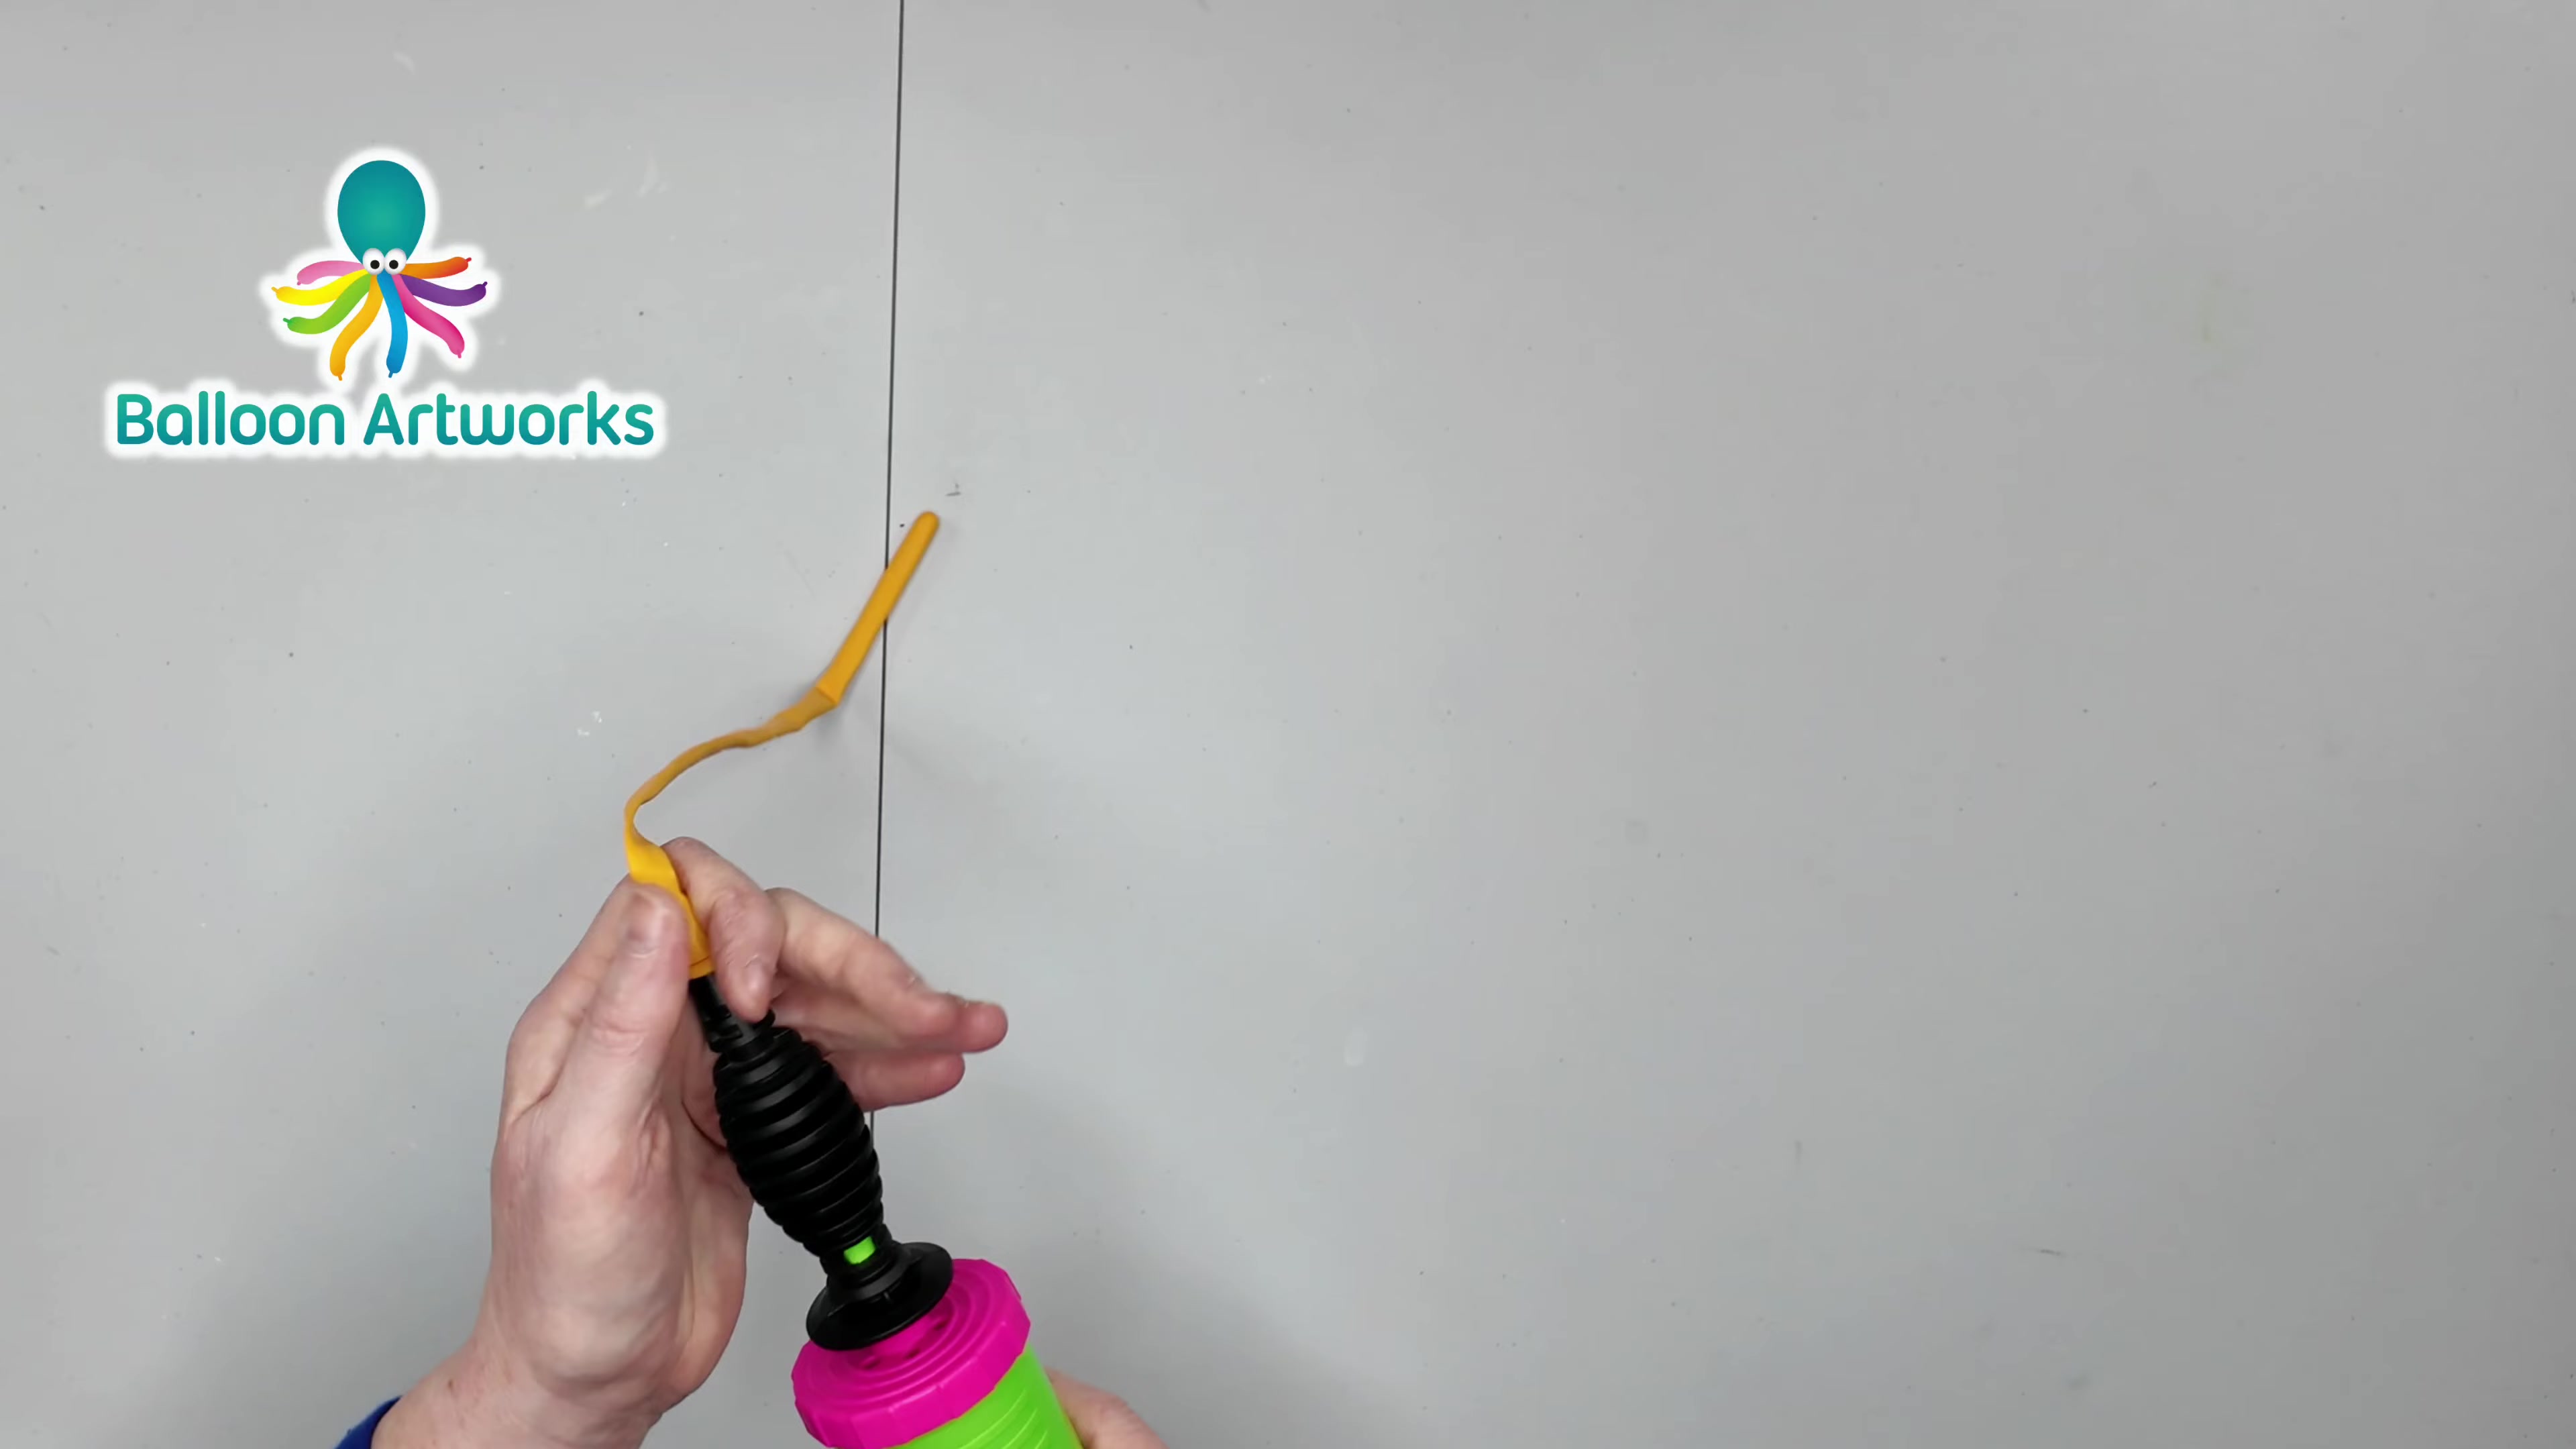
A classic balloon win that turns one 260Q into a cute giraffe in under 3 minutes.
1x yellow 260Q modeling balloon
 Level 1: Butterfingers
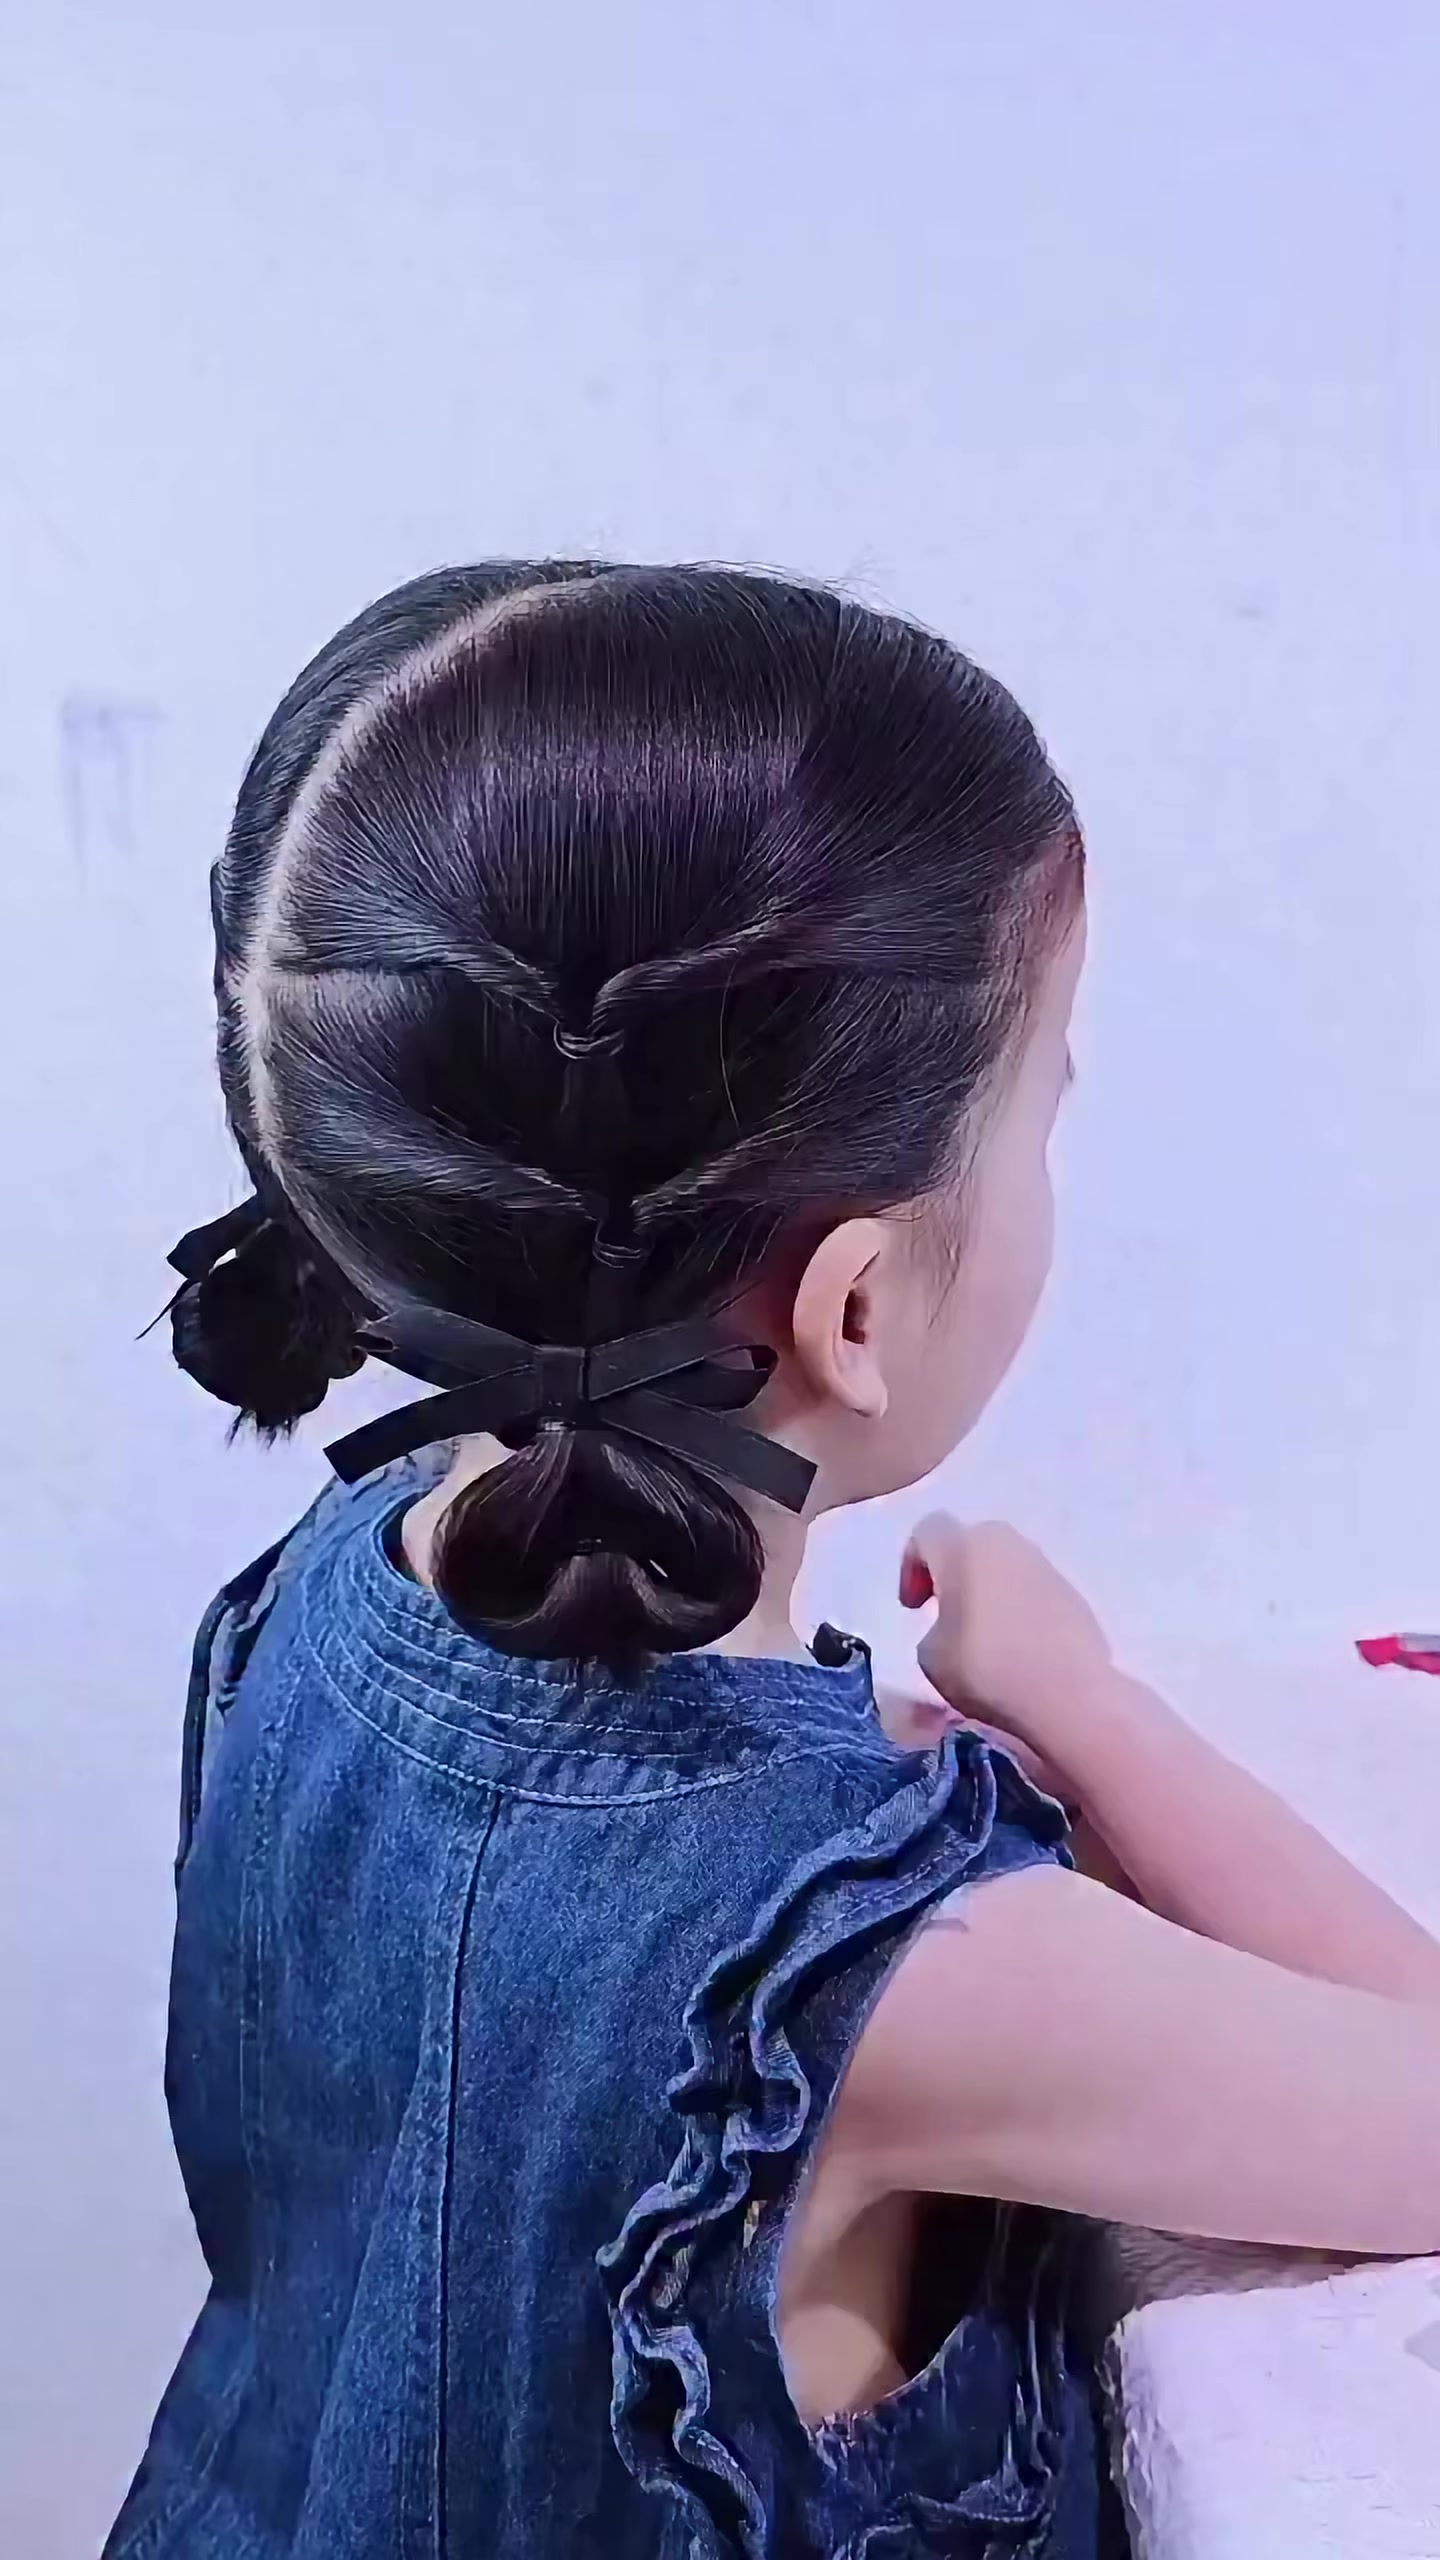
Quick Double Twist Chignon Bun: Easy Morning School Hairstyle
A neat, picture-perfect morning updo that stays locked through playtime with zero braiding required.
Wide-tooth detangling brush
 Level 2: Handy Dad
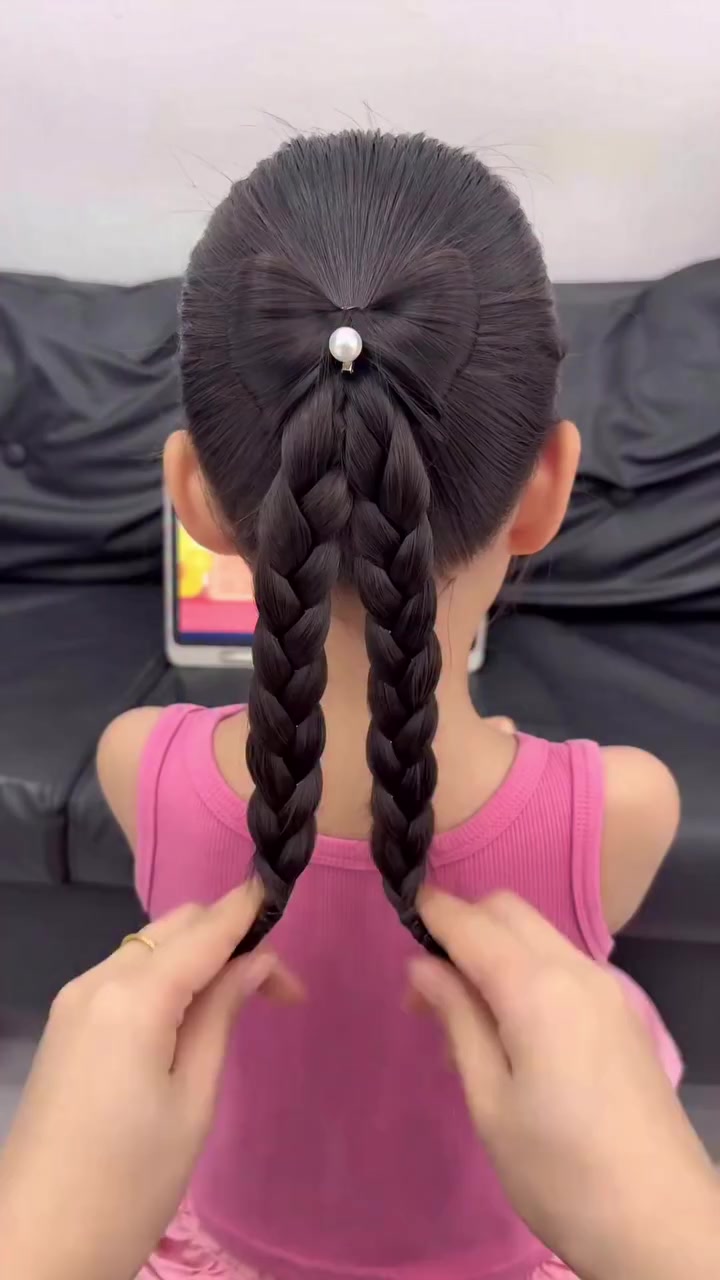
How to Make a Bow Ponytail Hairstyle for Girls
A polished bow ponytail that stays neat and photo-ready in minutes.
1 snag-free elastic band for the high ponytail
 Level 2: Handy Dad
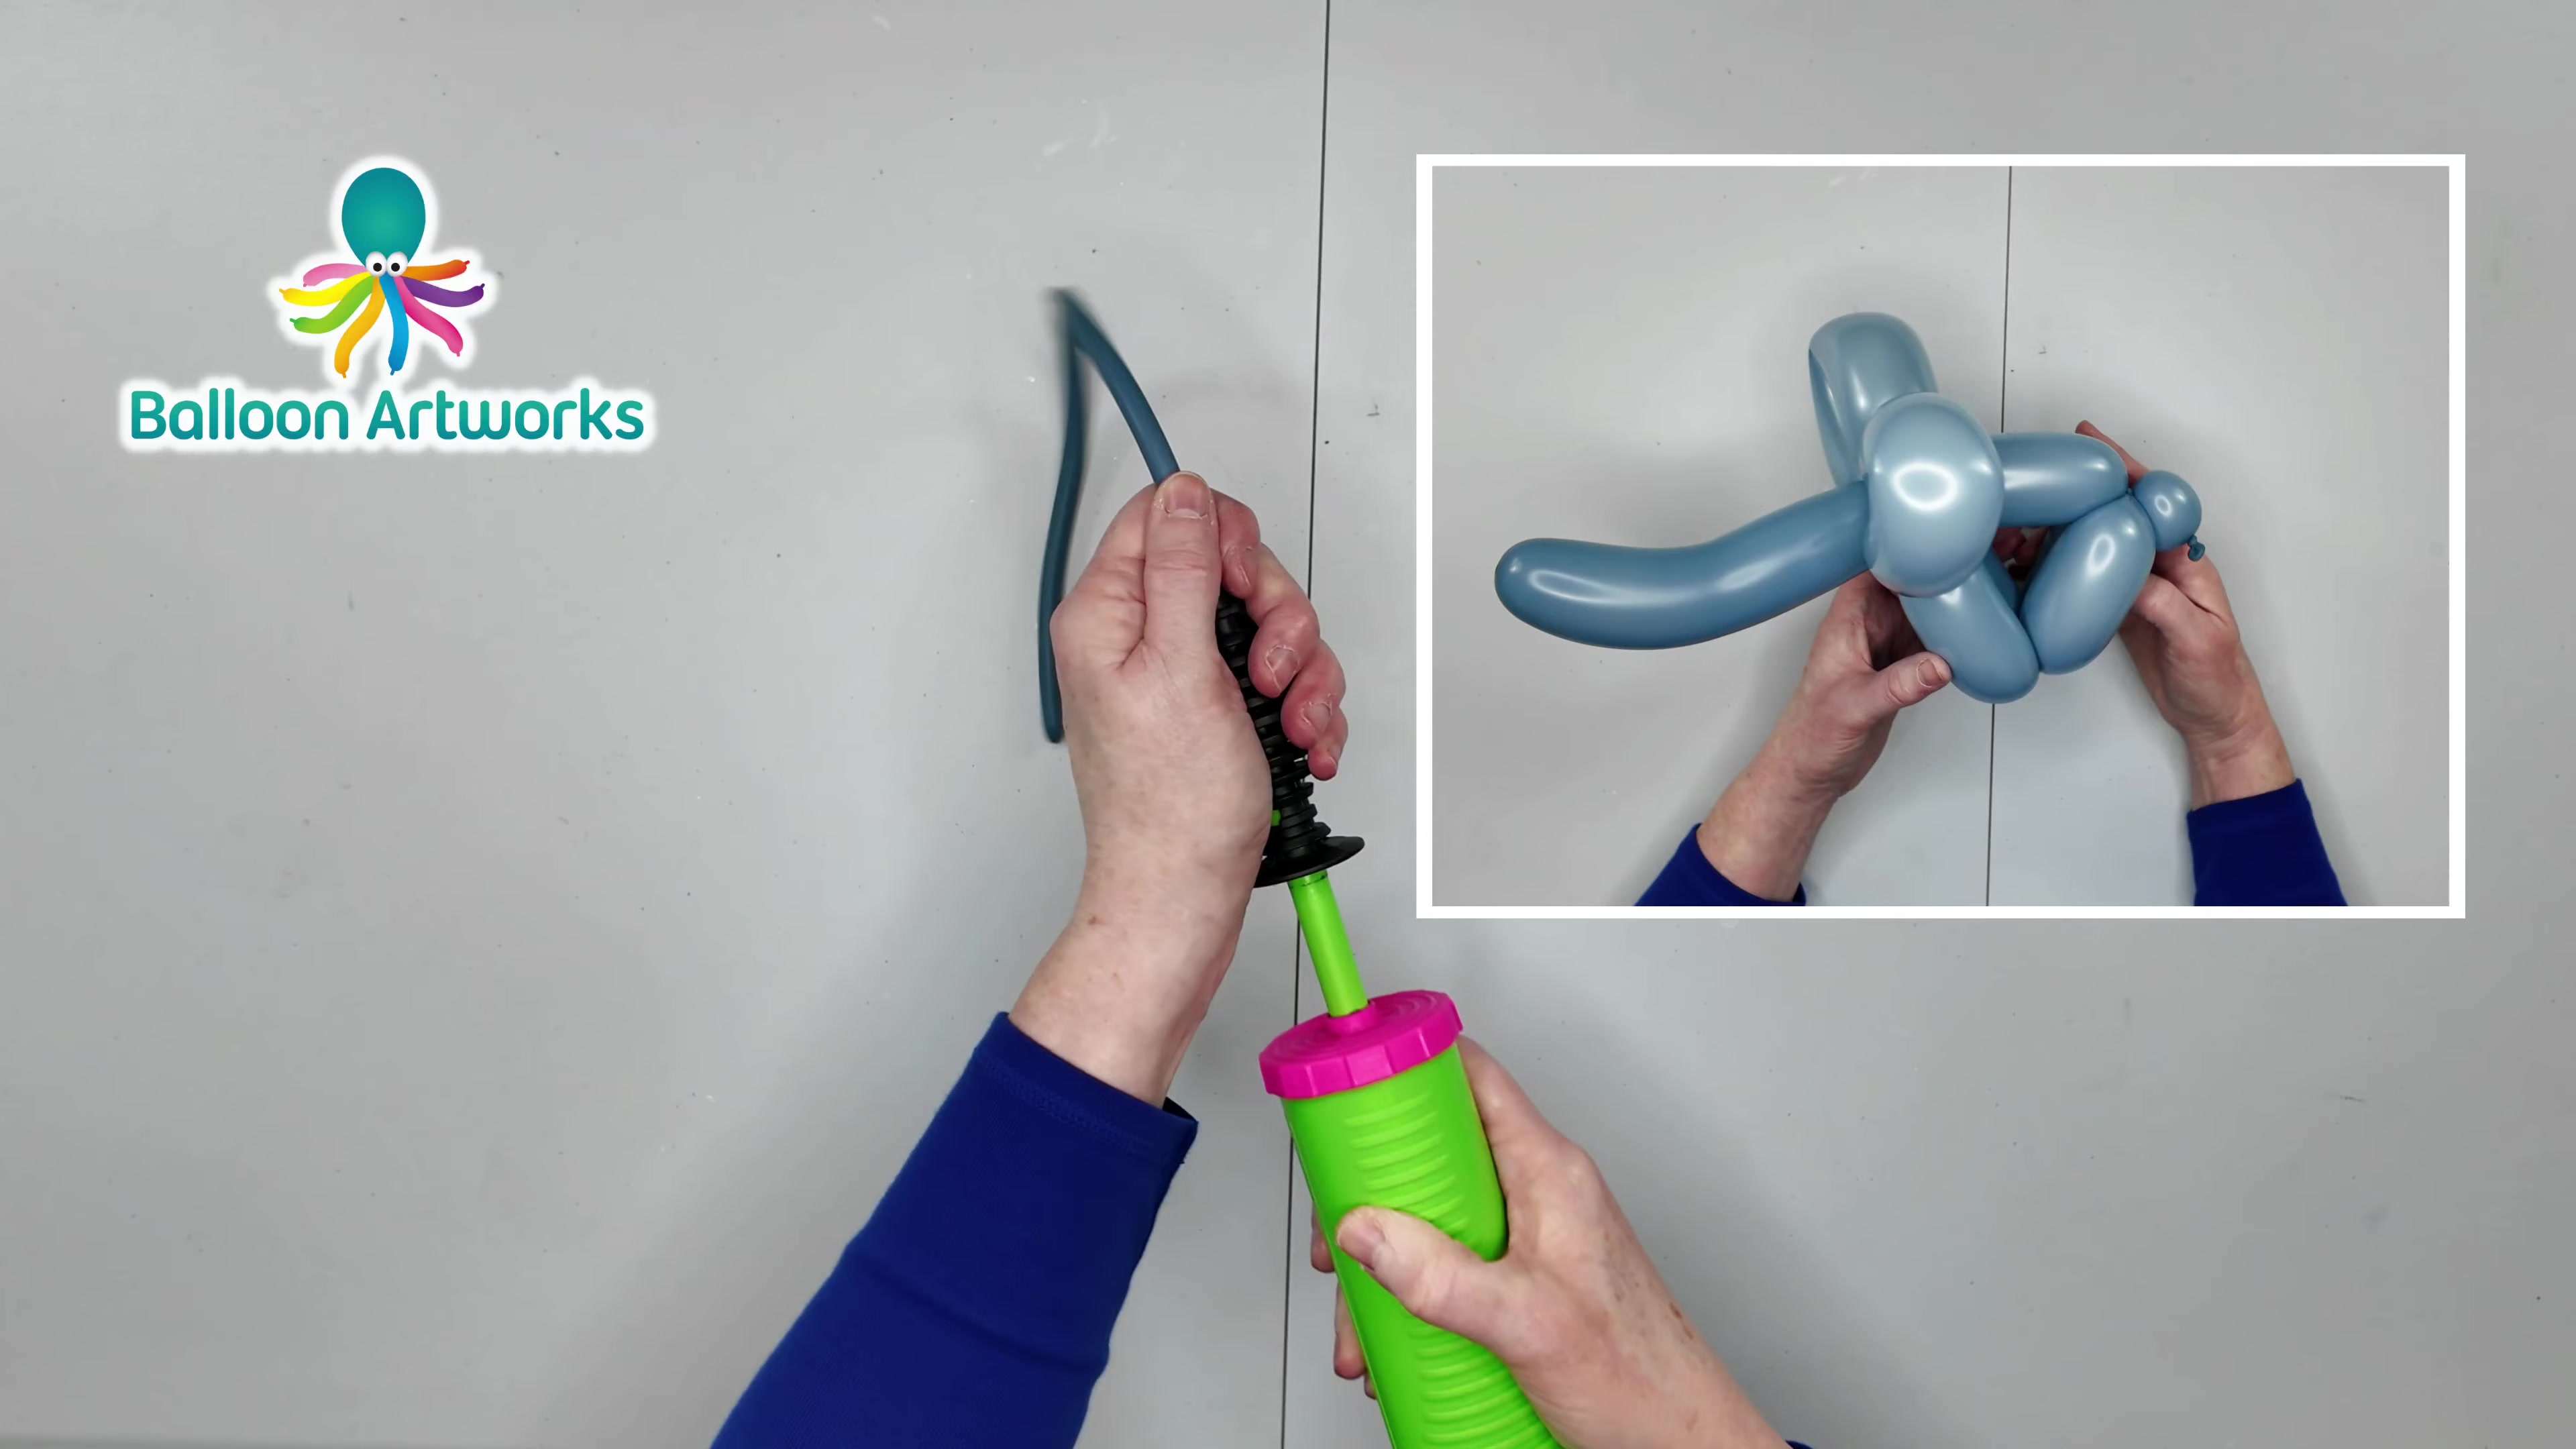
How to Twist a Balloon Puppy: Easy 1-Balloon Sculpt for Dads
A quick, kid-pleasing balloon puppy you can build in one smooth run with no guesswork and fewer pops.
1x 260Q modeling balloon (any bright color)