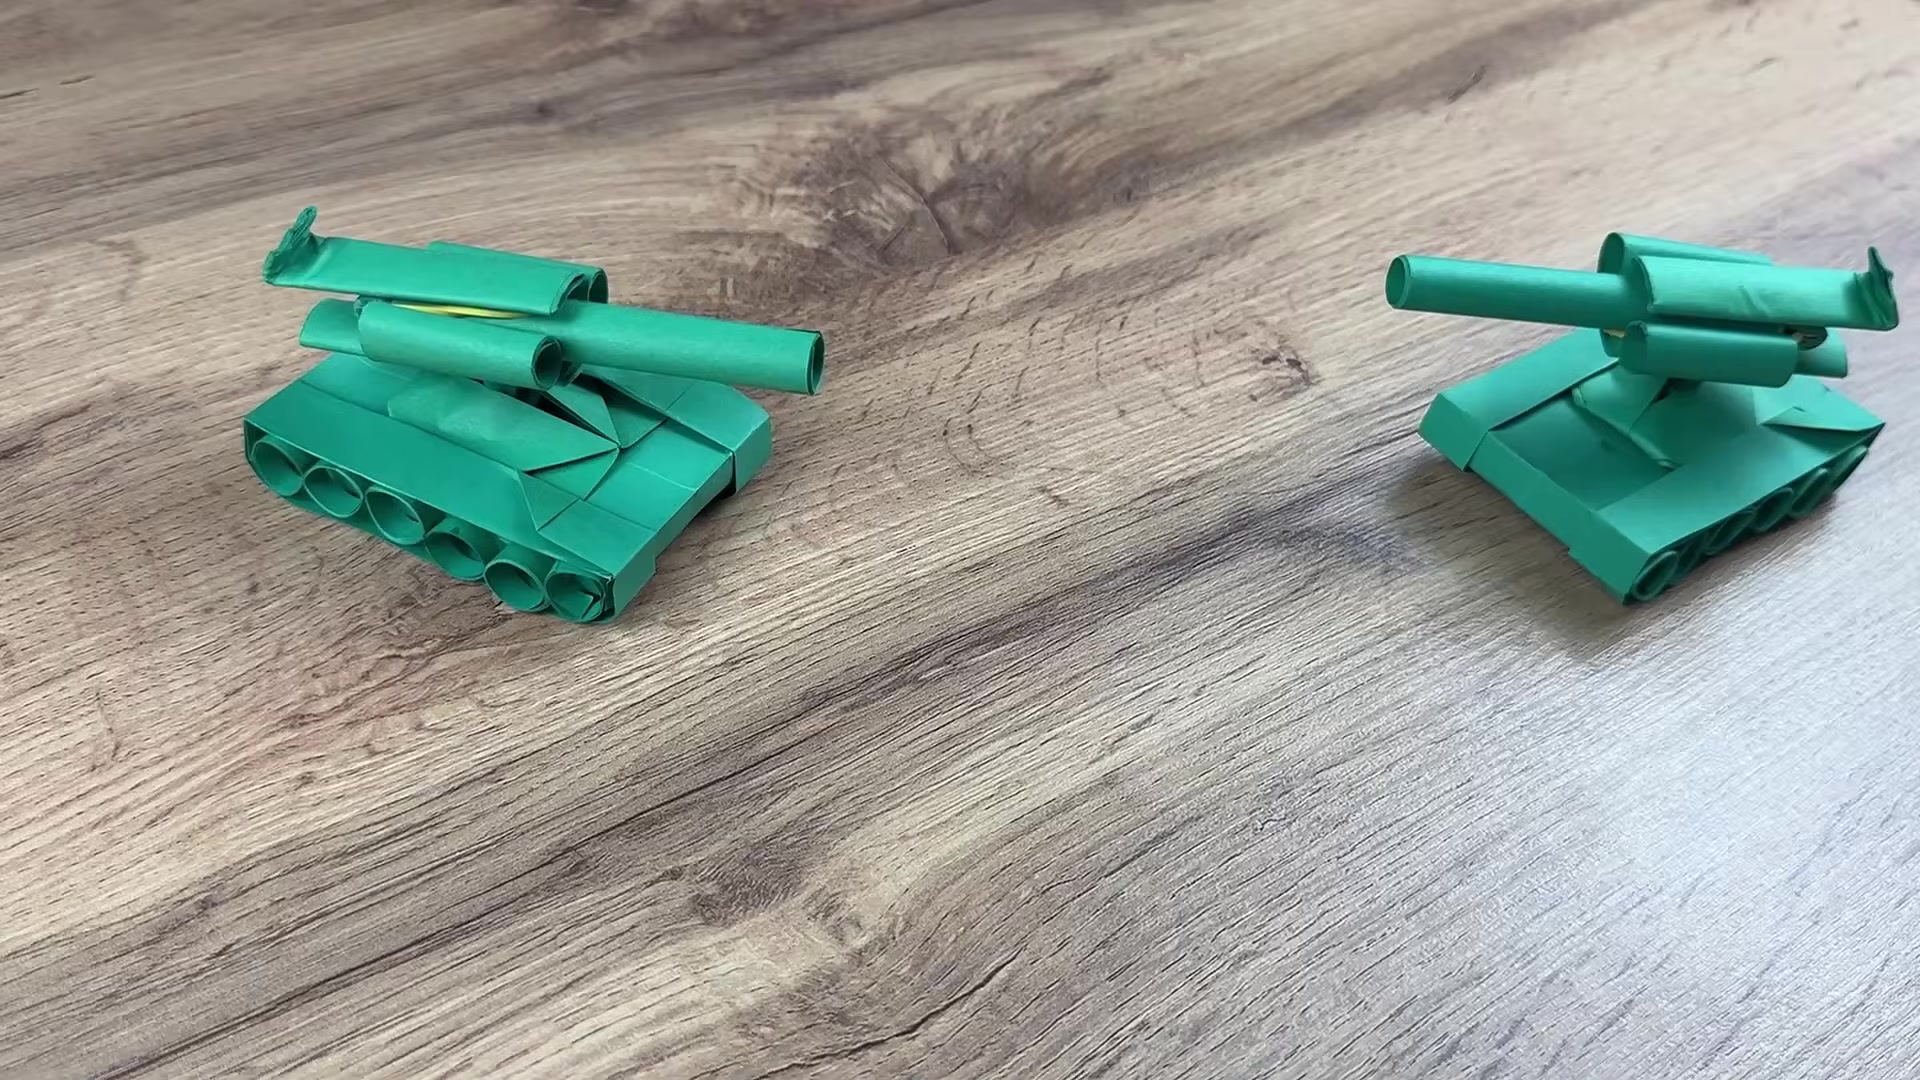
01 Show the Finished Tank
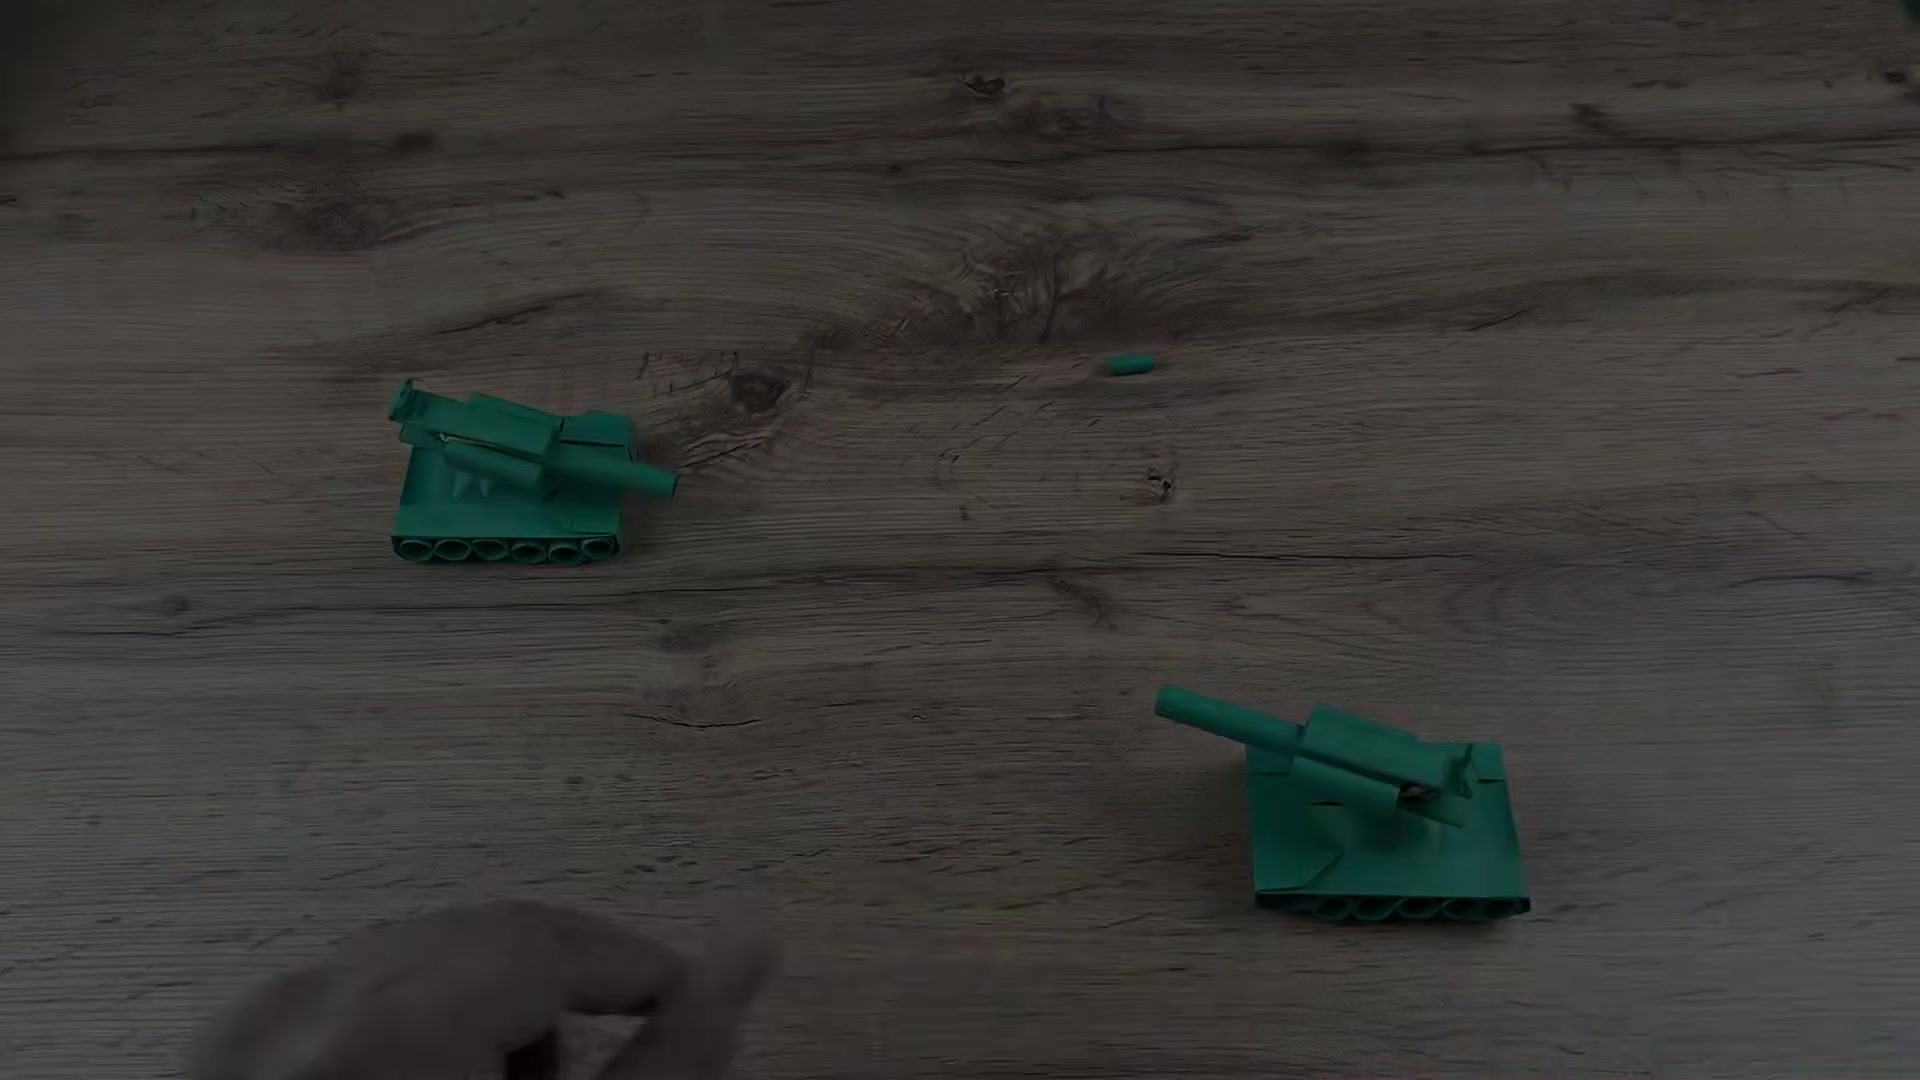
00:00 - 00:38Start by showing the completed paper tank and how the paper bullet loads into the barrel. Let your child see the goal first so the build feels exciting and easy to follow.
A fold-and-build paper tank that rolls, swivels, and fires a paper bullet using simple paper parts.
Start by showing the completed paper tank and how the paper bullet loads into the barrel. Let your child see the goal first so the build feels exciting and easy to follow.
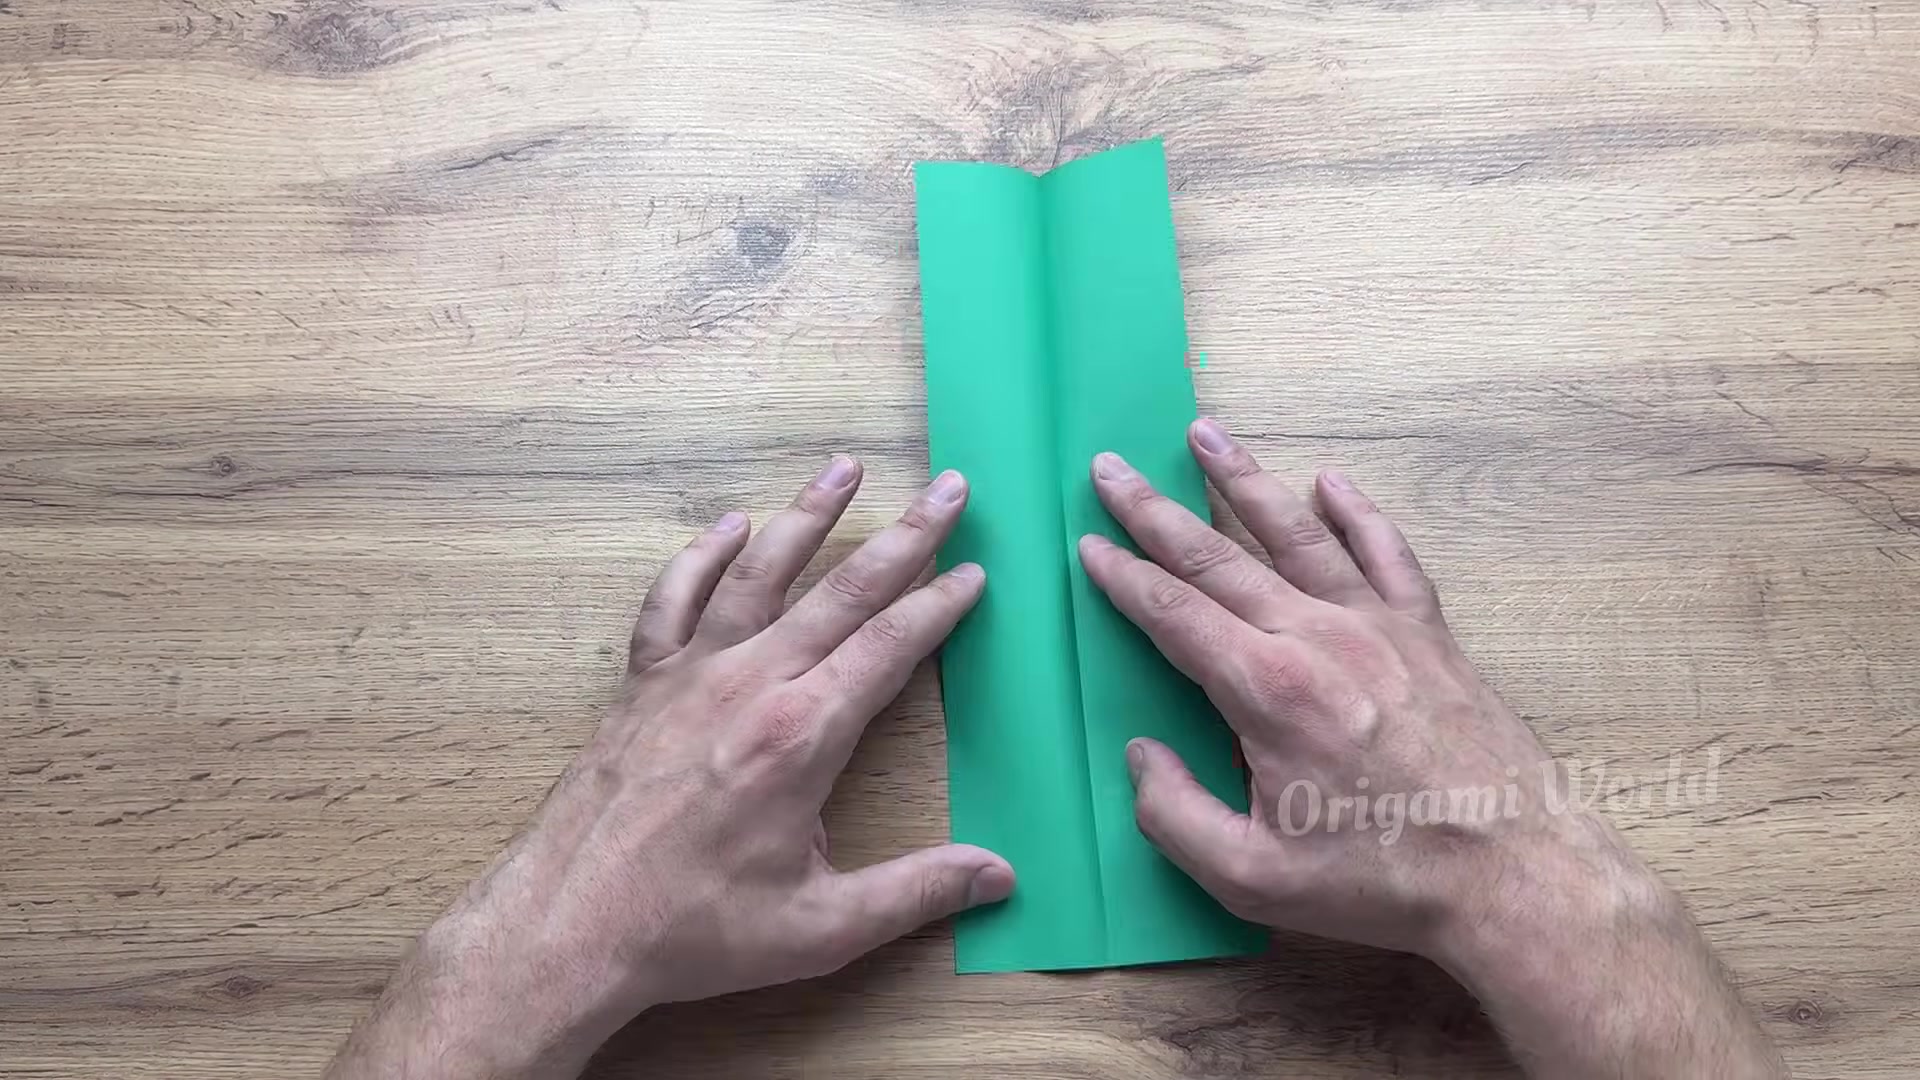
Take the green A4 paper half and fold it lengthwise in half. Run your thumbnail firmly along the fold, then flatten it completely into a sharp center crease.
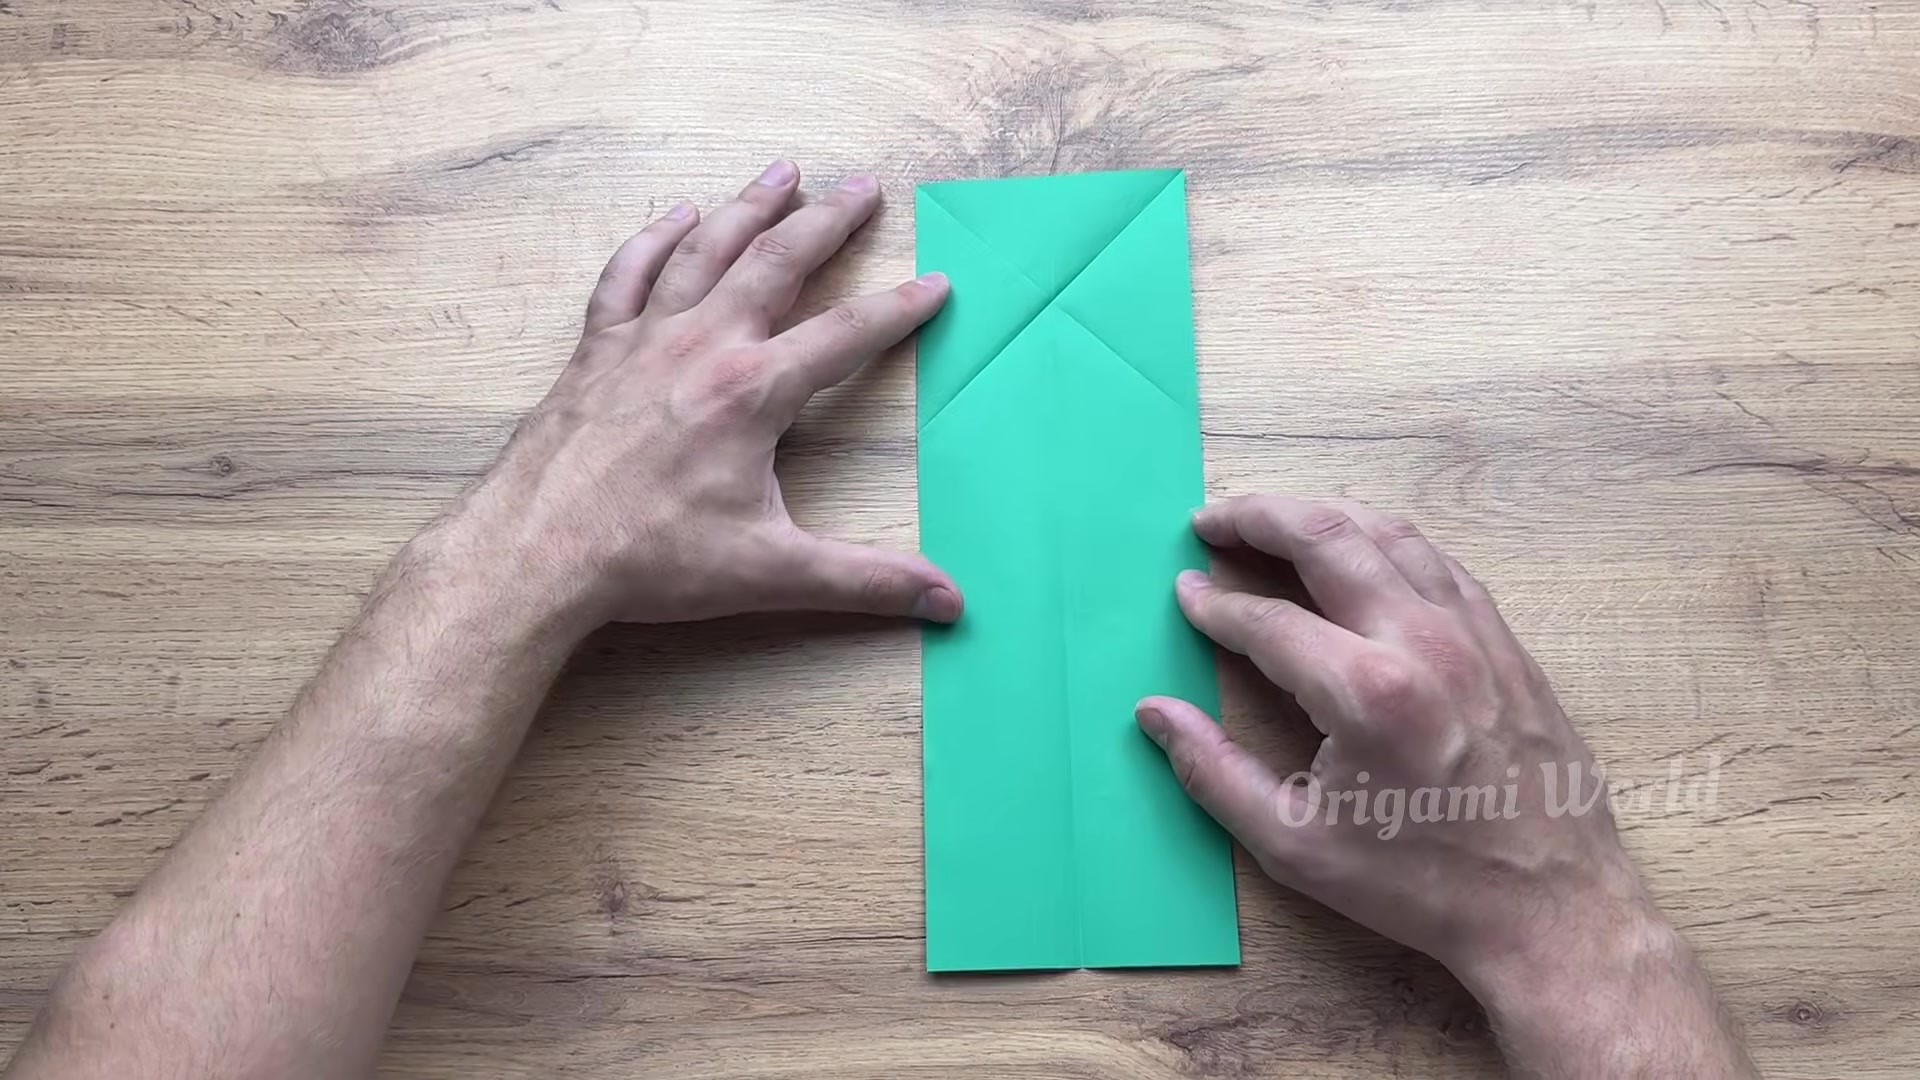
At the top end, fold the left and right corners diagonally inward to create the X-shaped crease pattern. Press each diagonal fold hard so the top section opens and collapses cleanly later.
Push the side edges of the X crease inward and bring the top down into a flat waterbomb triangle. Keep the point centered and smooth out both layers so the shape lies flat.
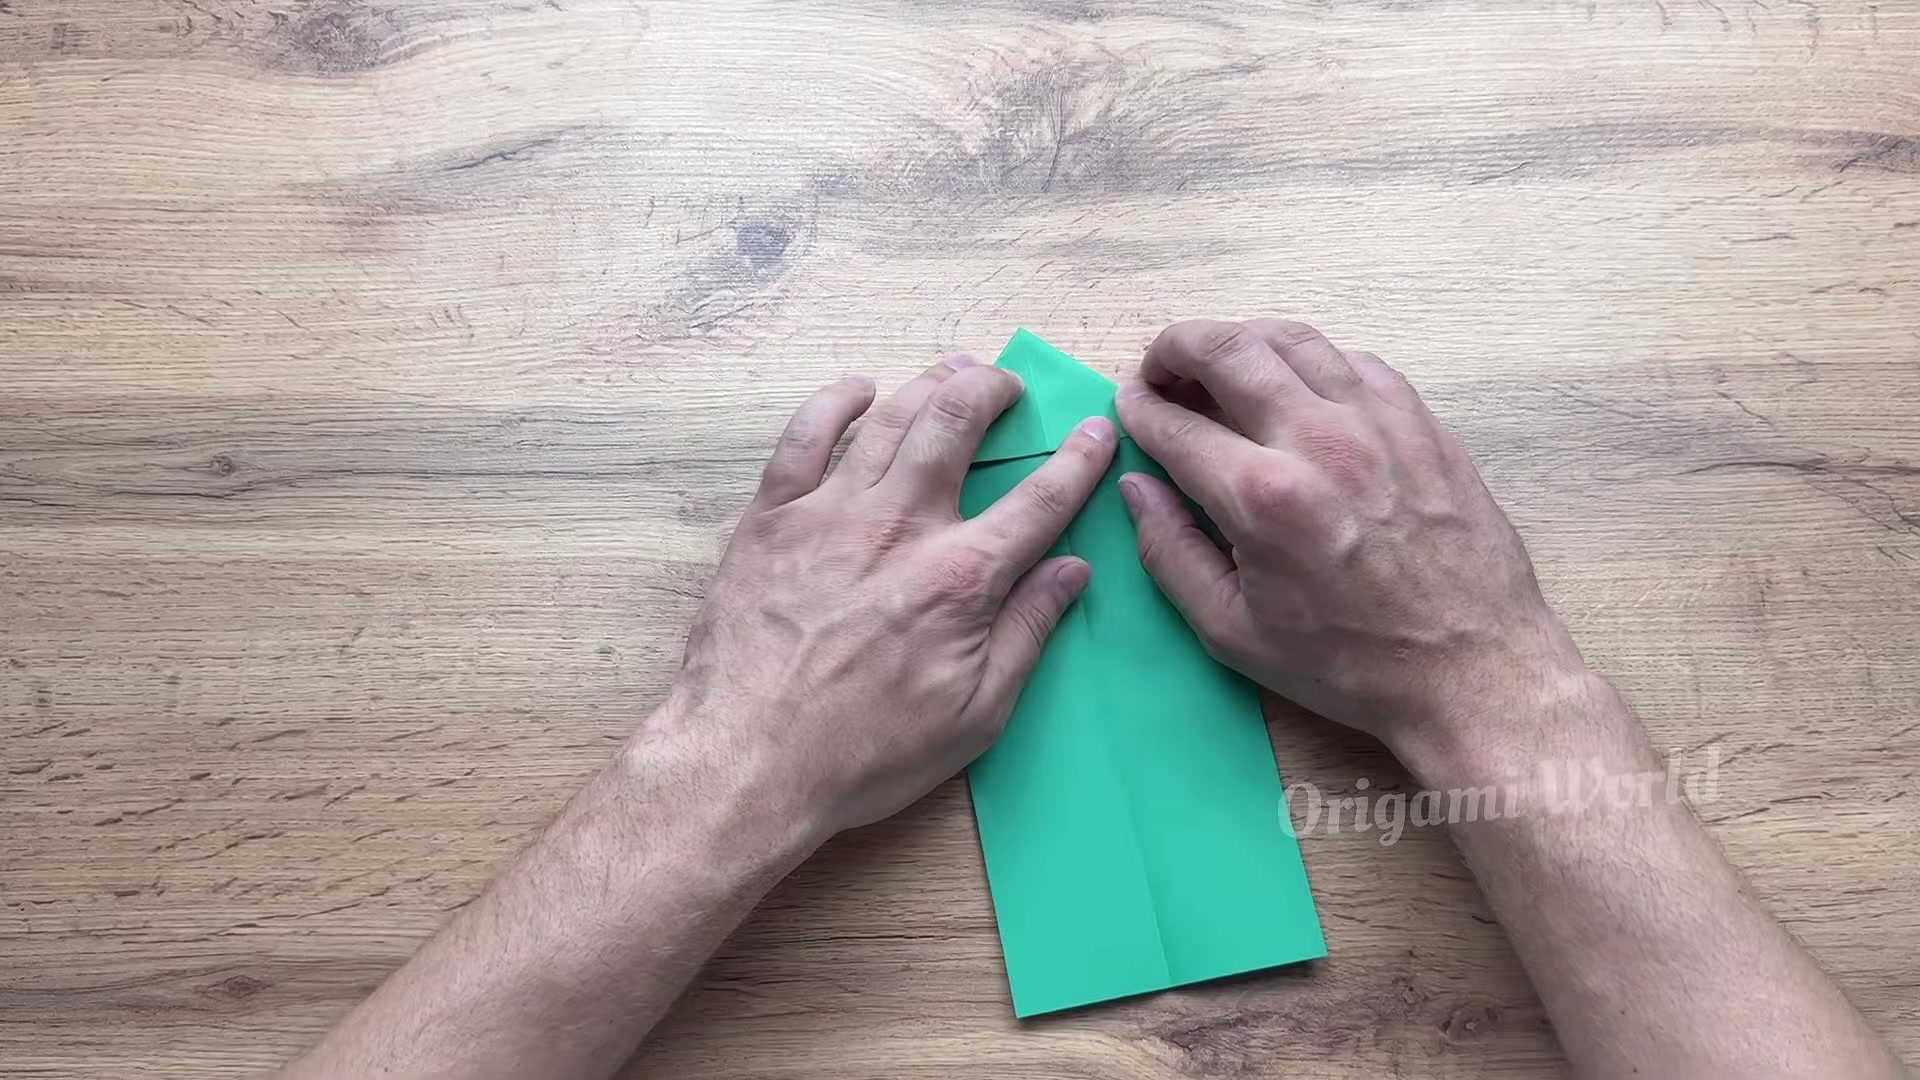
Fold both bottom corners of the triangle upward to meet the apex. This turns the top into a neat diamond shape and gives the tank its front armor section.
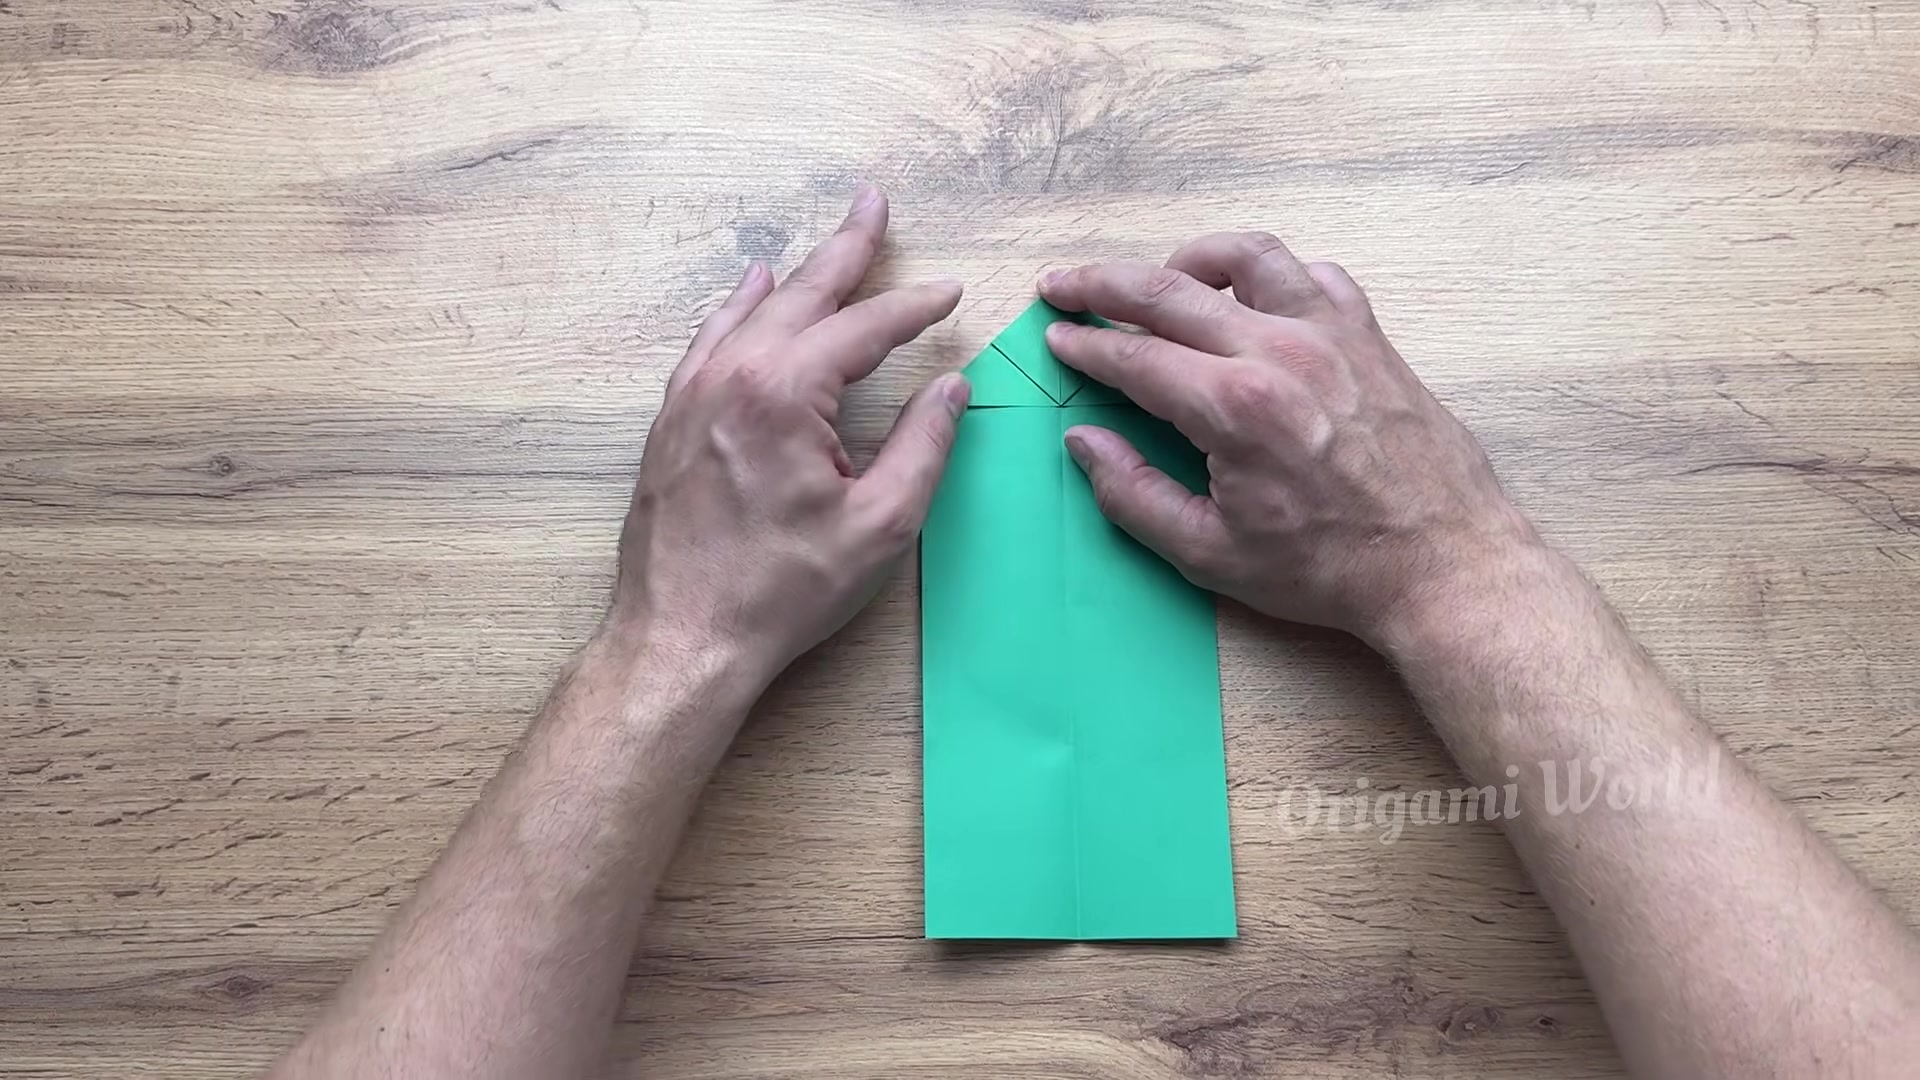
Valley-fold the long right edge strip inward until it lines up with the centerline. Keep the edge straight and crisp, because this fold sets the tank body width.
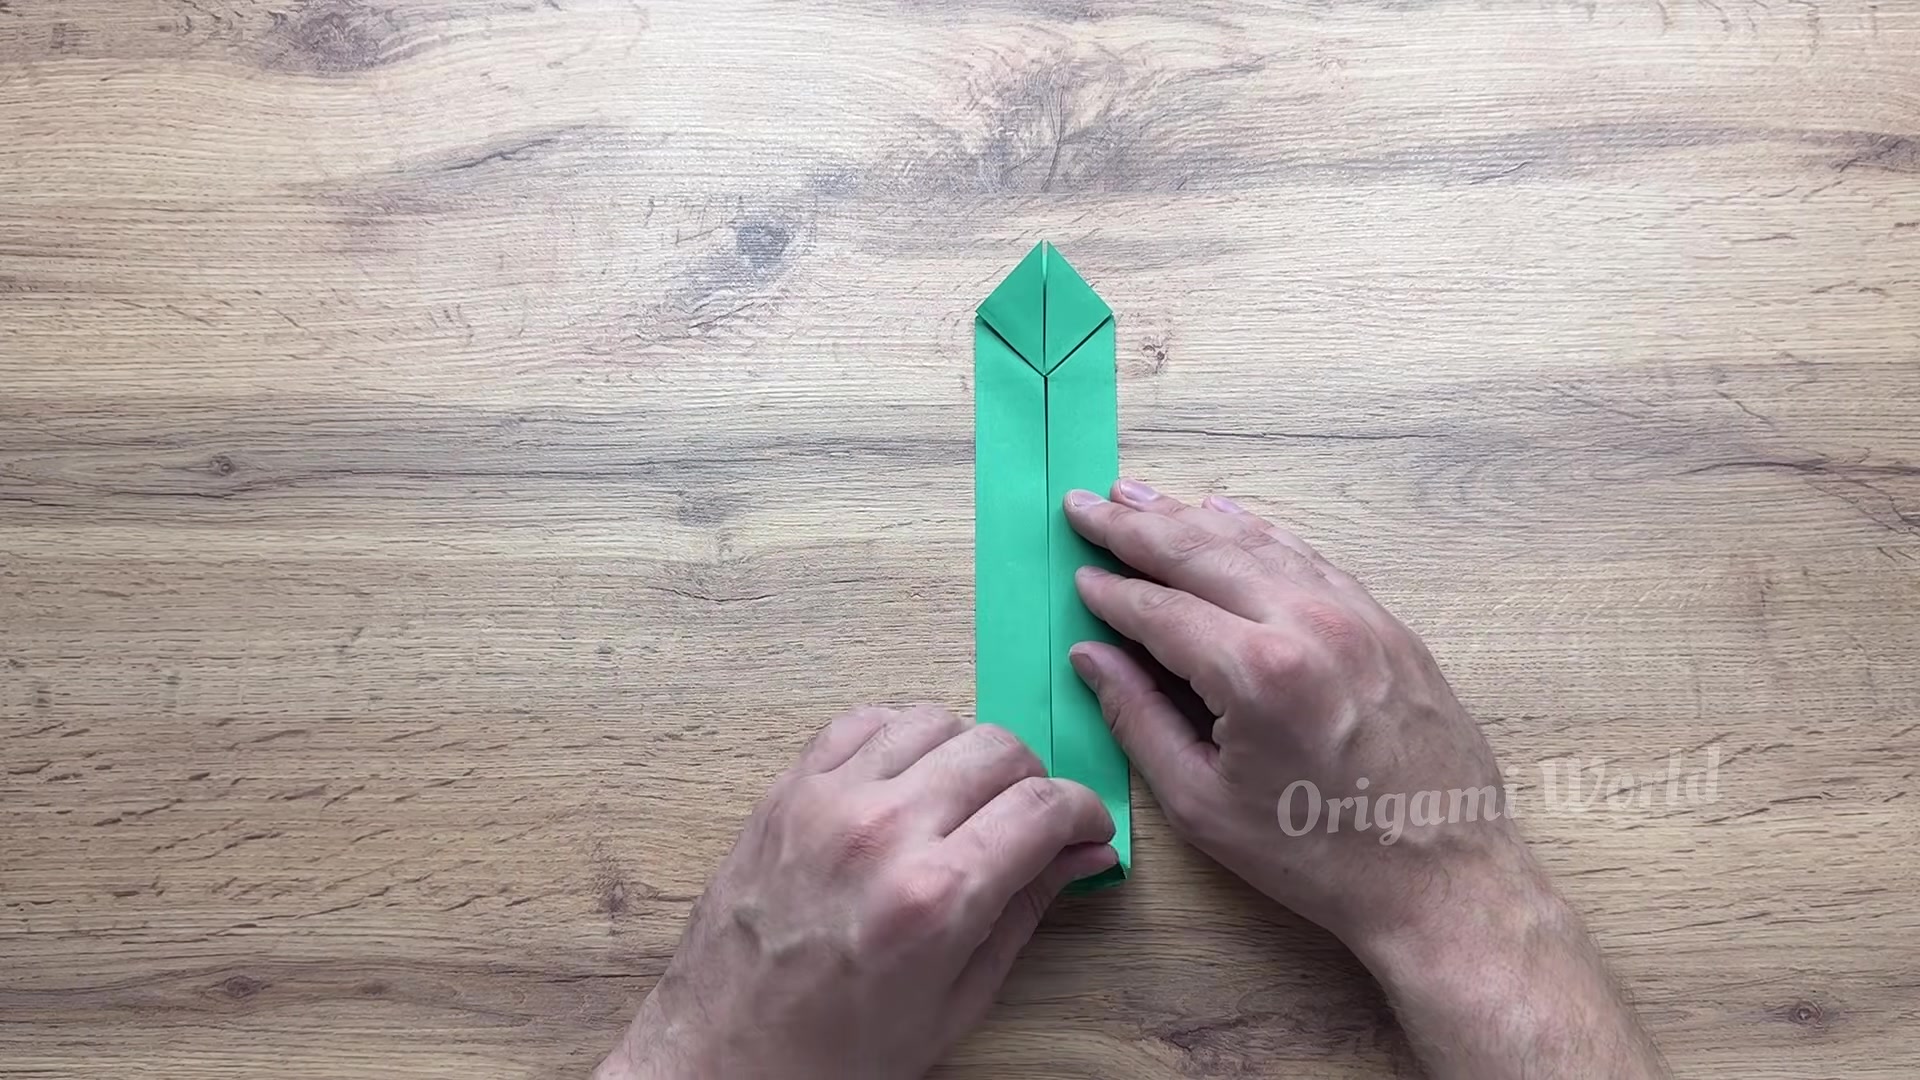
Now fold the long left edge strip inward to meet the centerline. Tuck it neatly under the top flaps so both sides match and the body stays symmetrical.
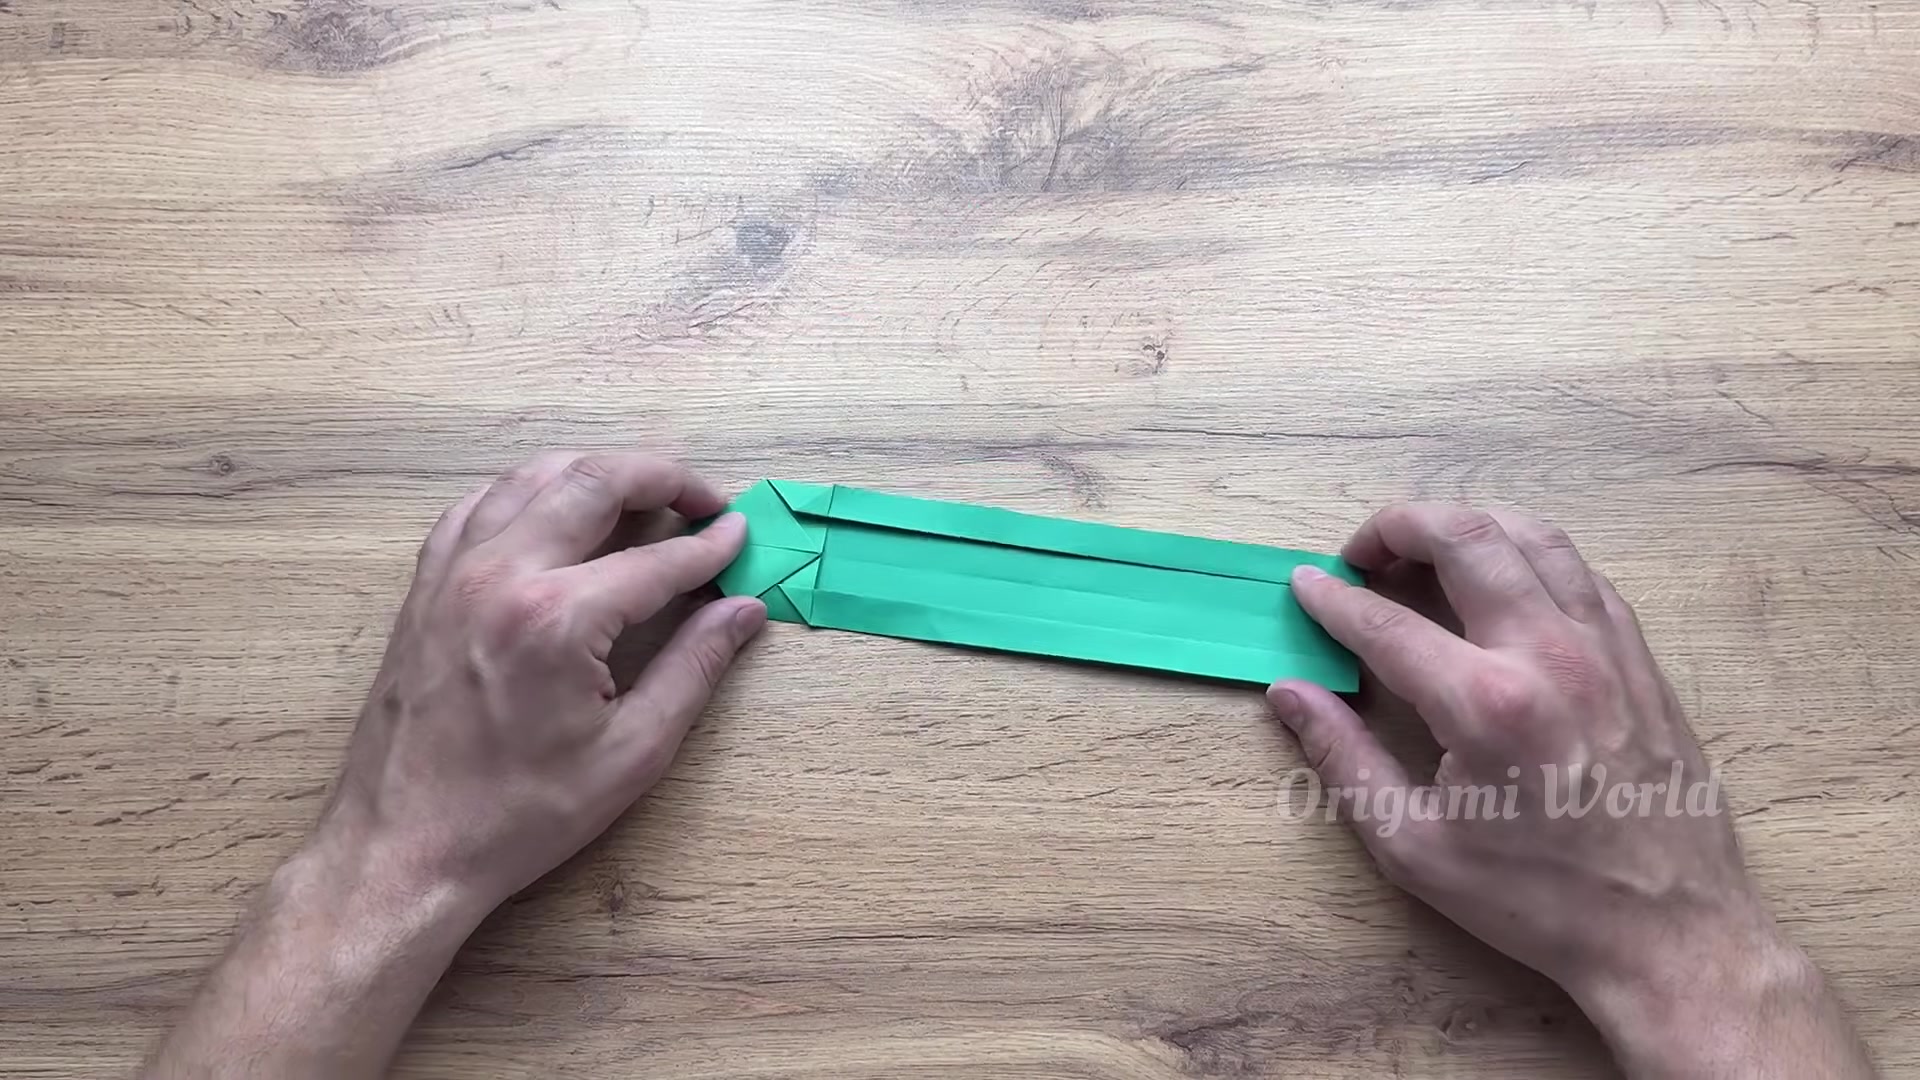
Use the ruler and pencil to mark the key fold points along the strip. These guide marks help the next folds land in the right place without guessing.
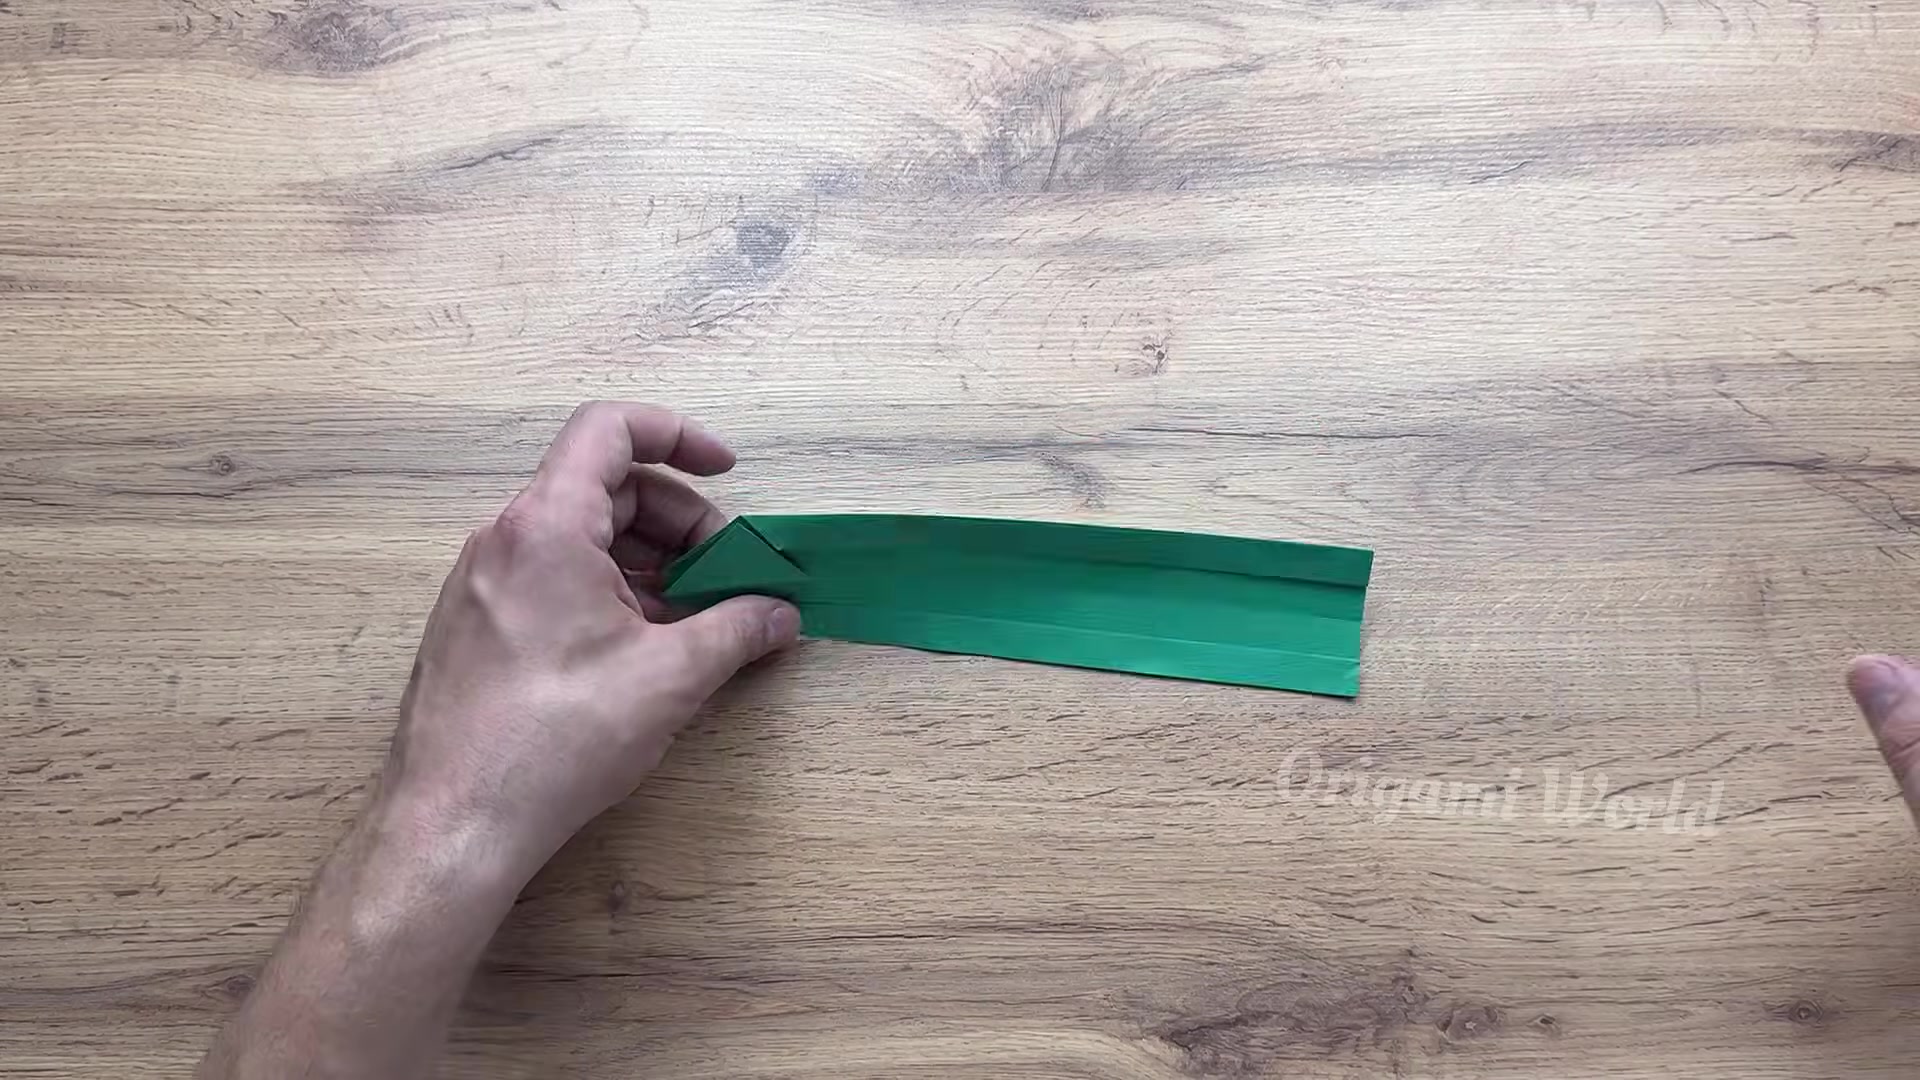
Make perpendicular valley folds across the body at the 1.5 cm and 1 cm marks behind the top triangle. Press each line firmly so the tank can bend and lock correctly.
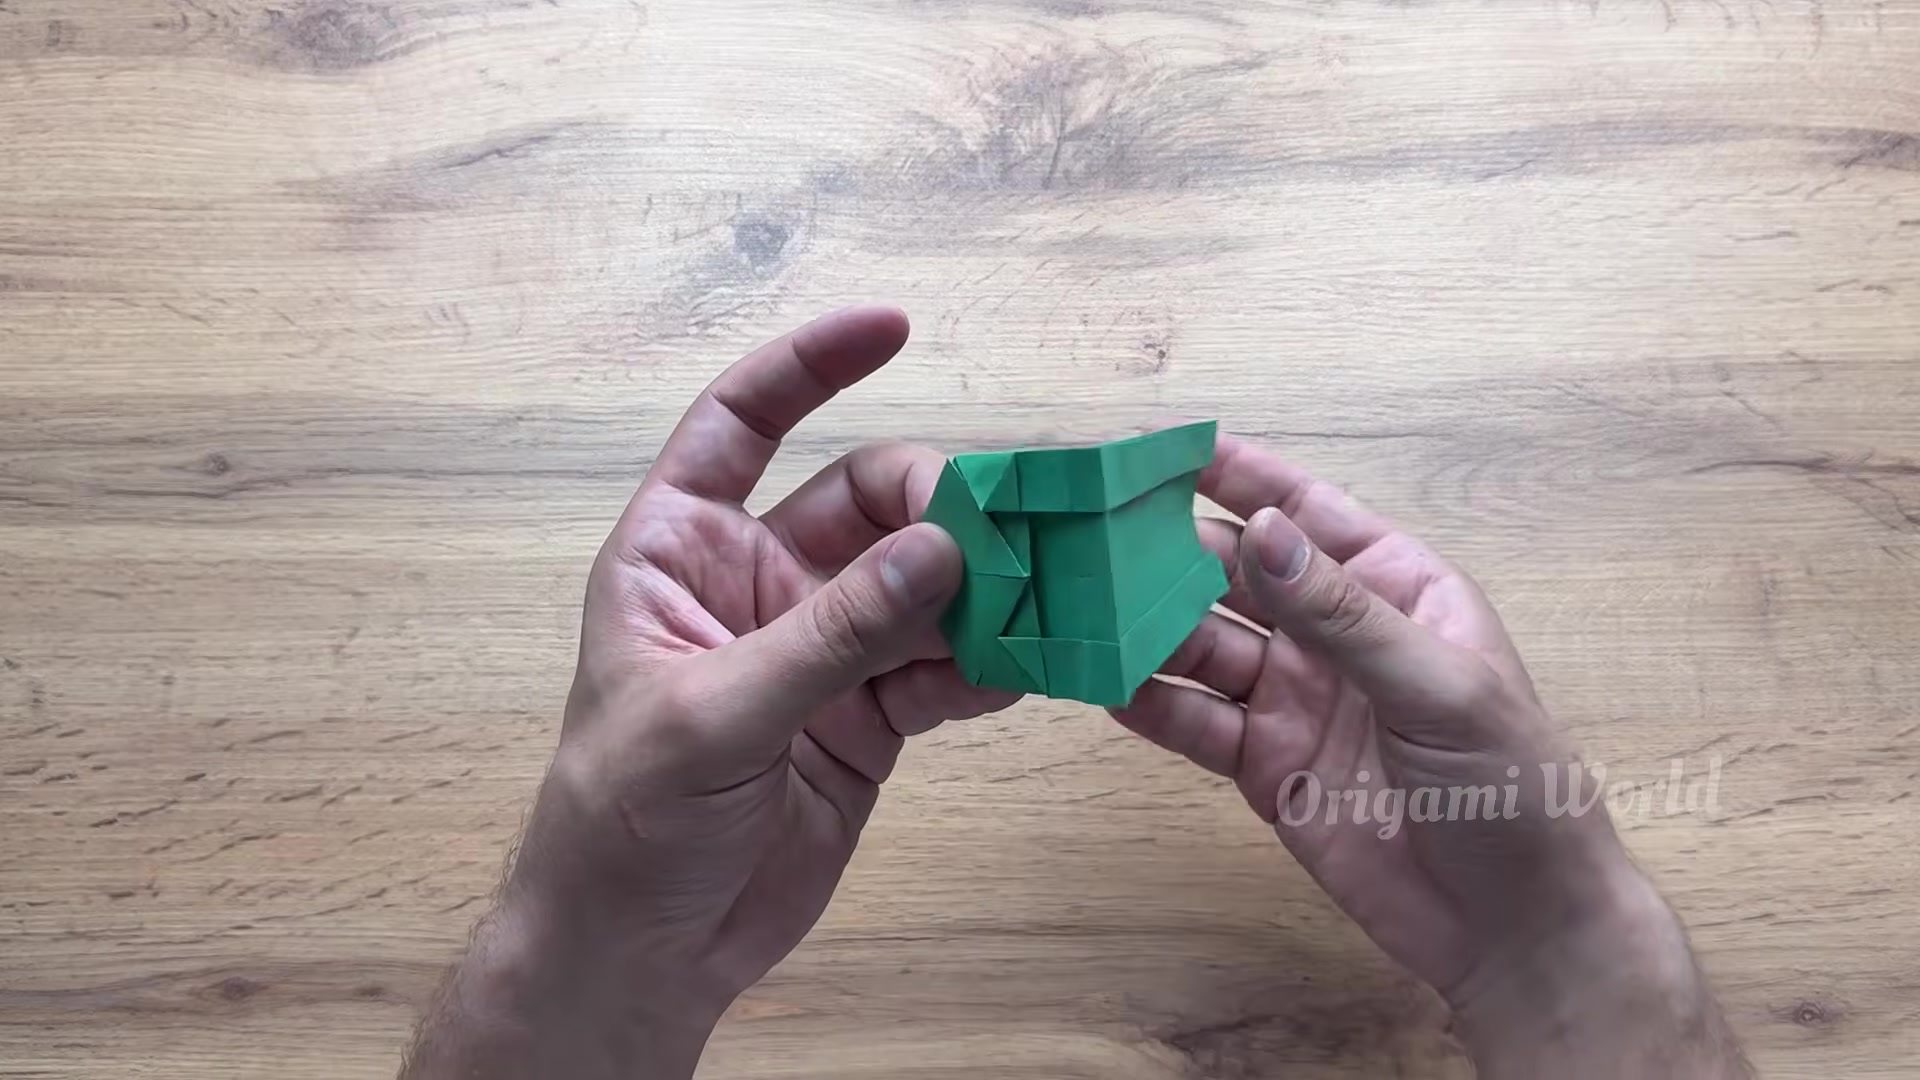
Fold the straight bottom section upward toward the top triangular head. This starts forming the 3D hull and prepares the paper to wrap into a tank body.
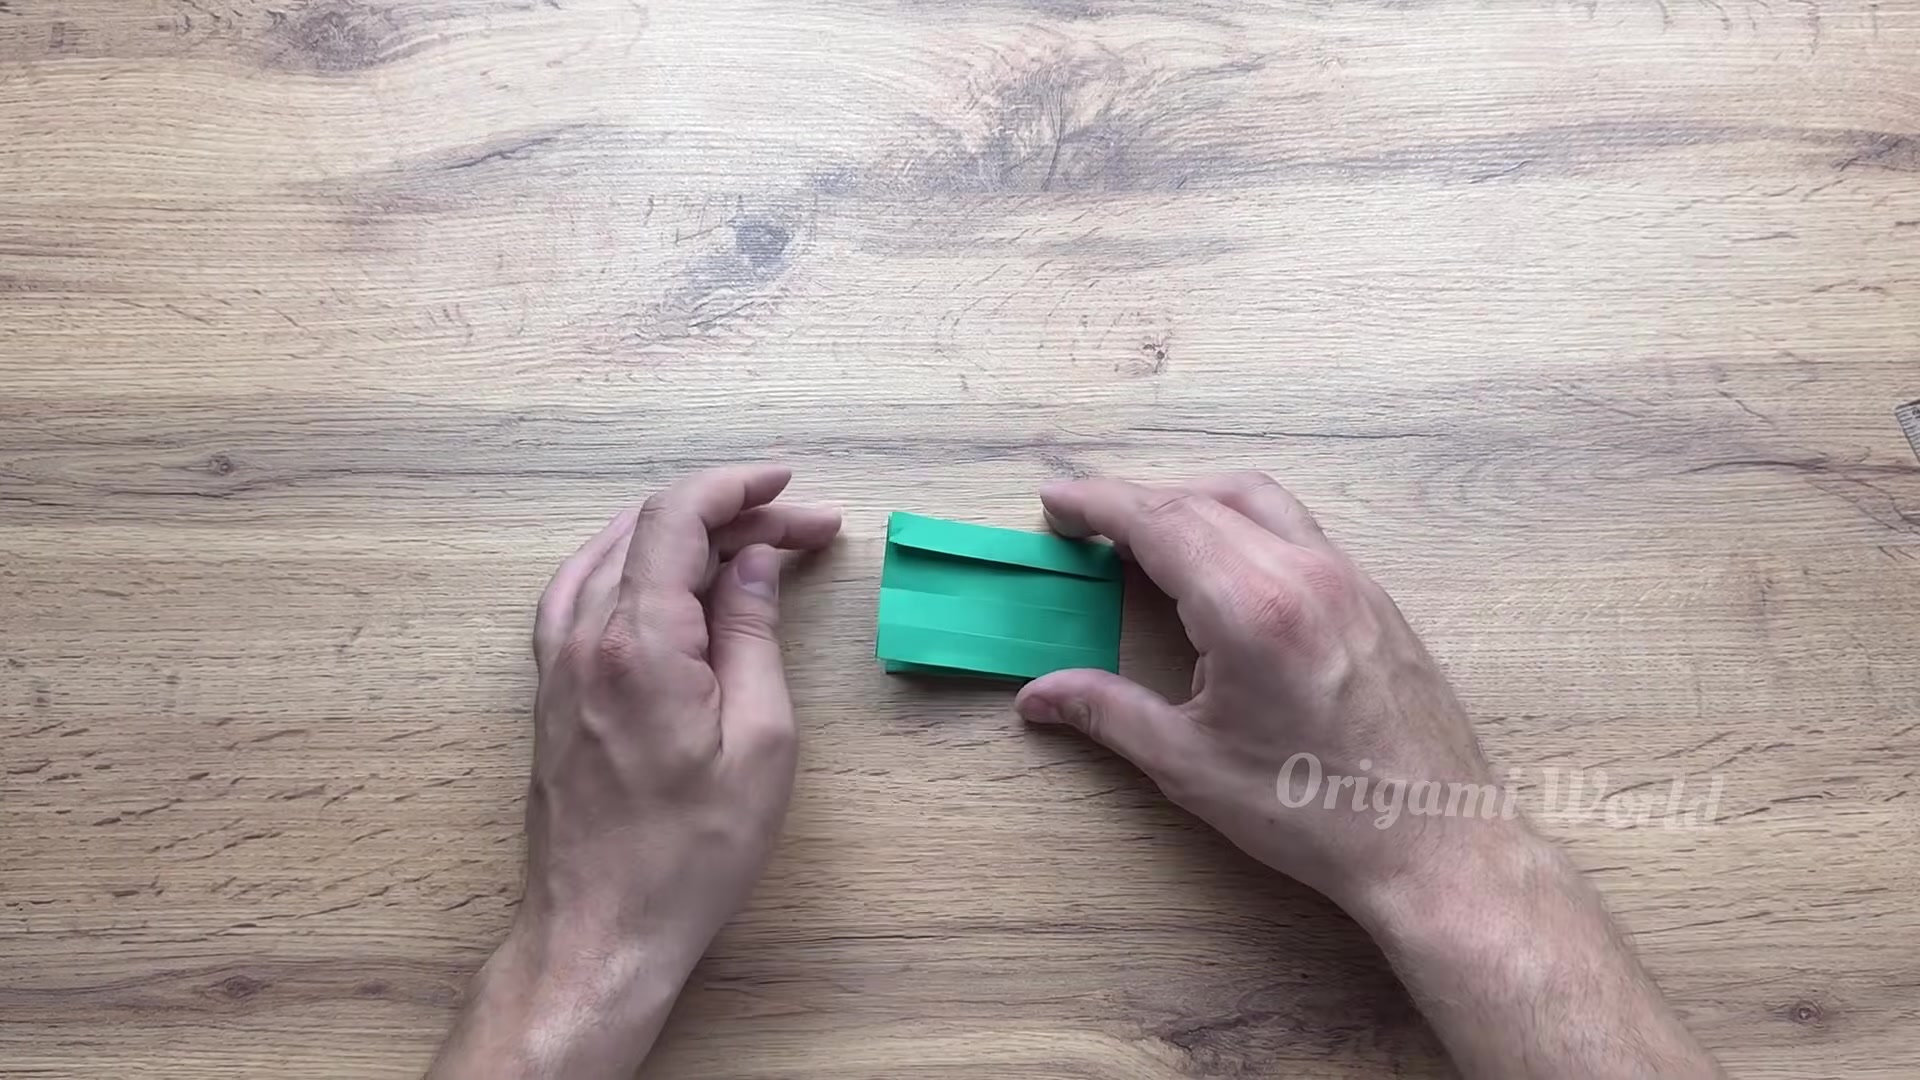
Loop the paper into a ring and tuck the top triangular point into the pockets of the folded bottom end. This interlock is what holds the tank body together.
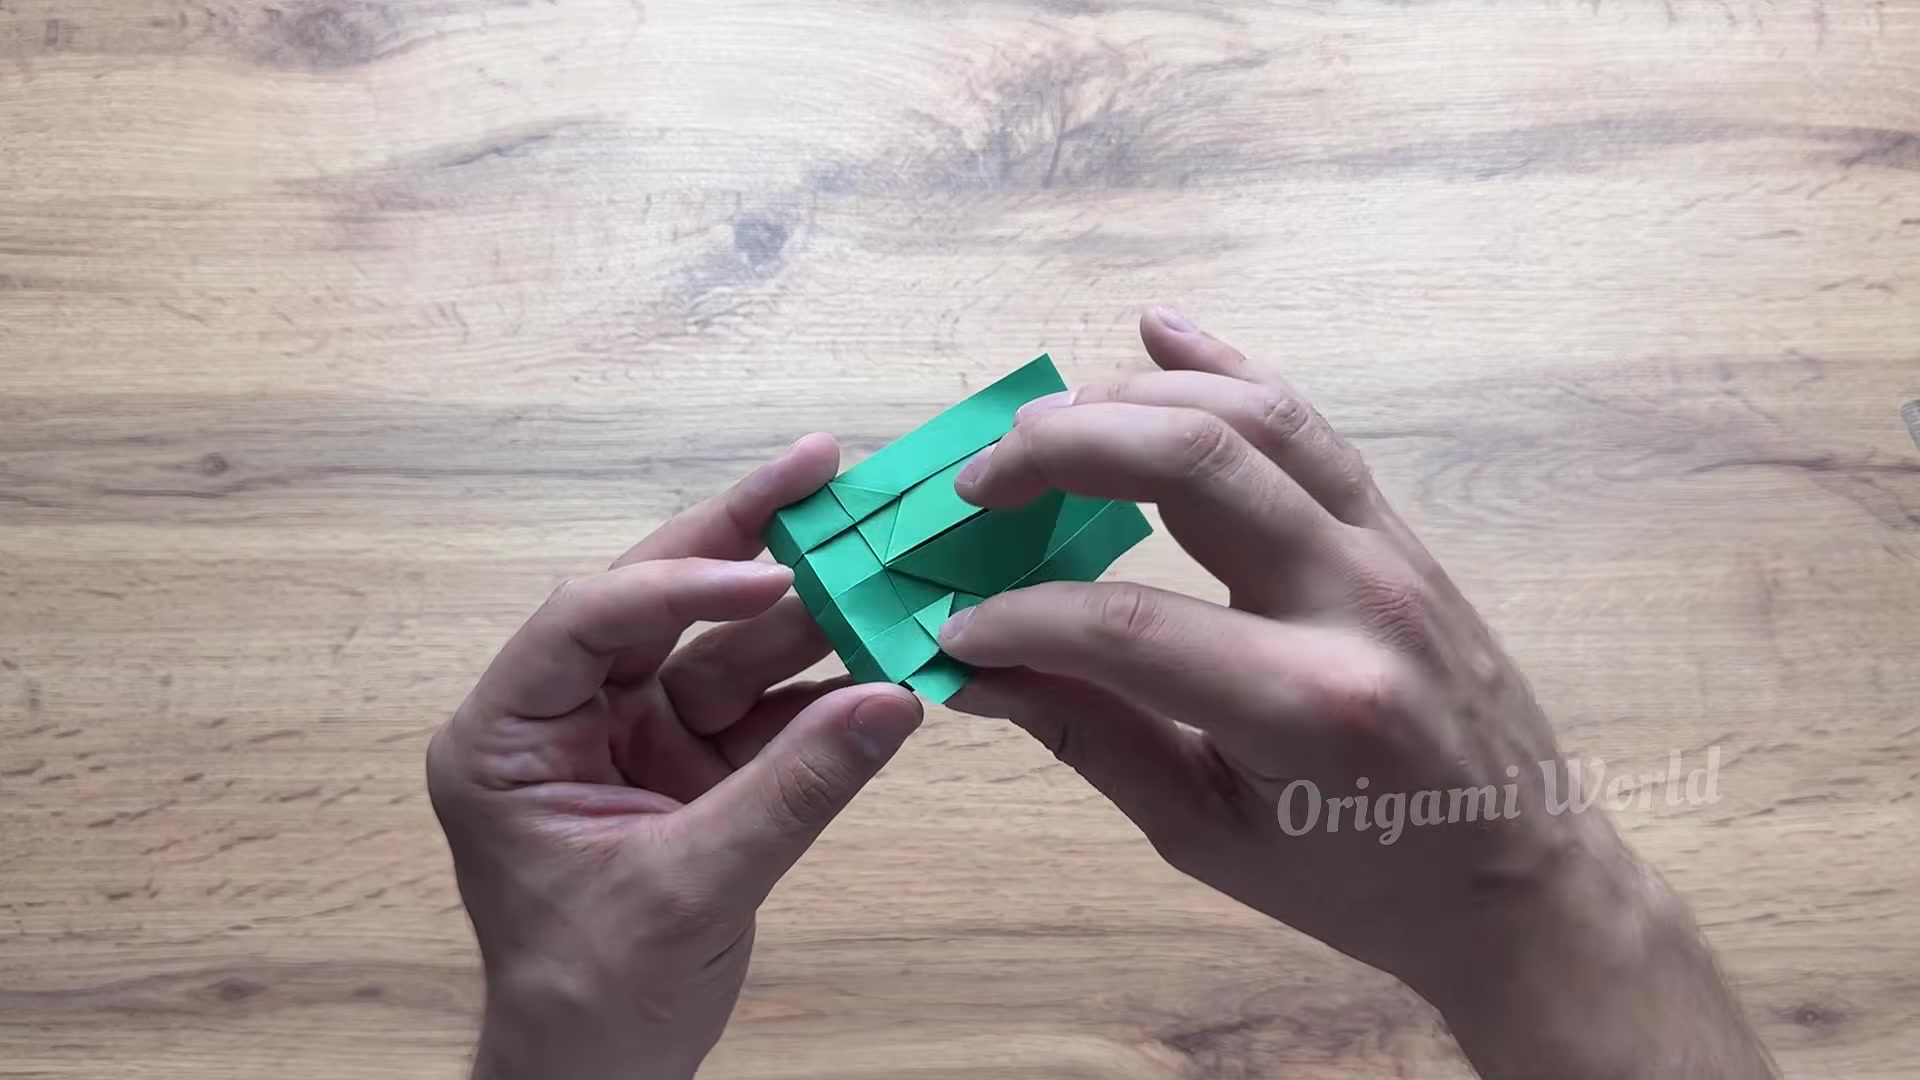
Press the sides and corners into a boxy rectangular shape. Make the hull look even from front to back so the tank sits flat and stable.
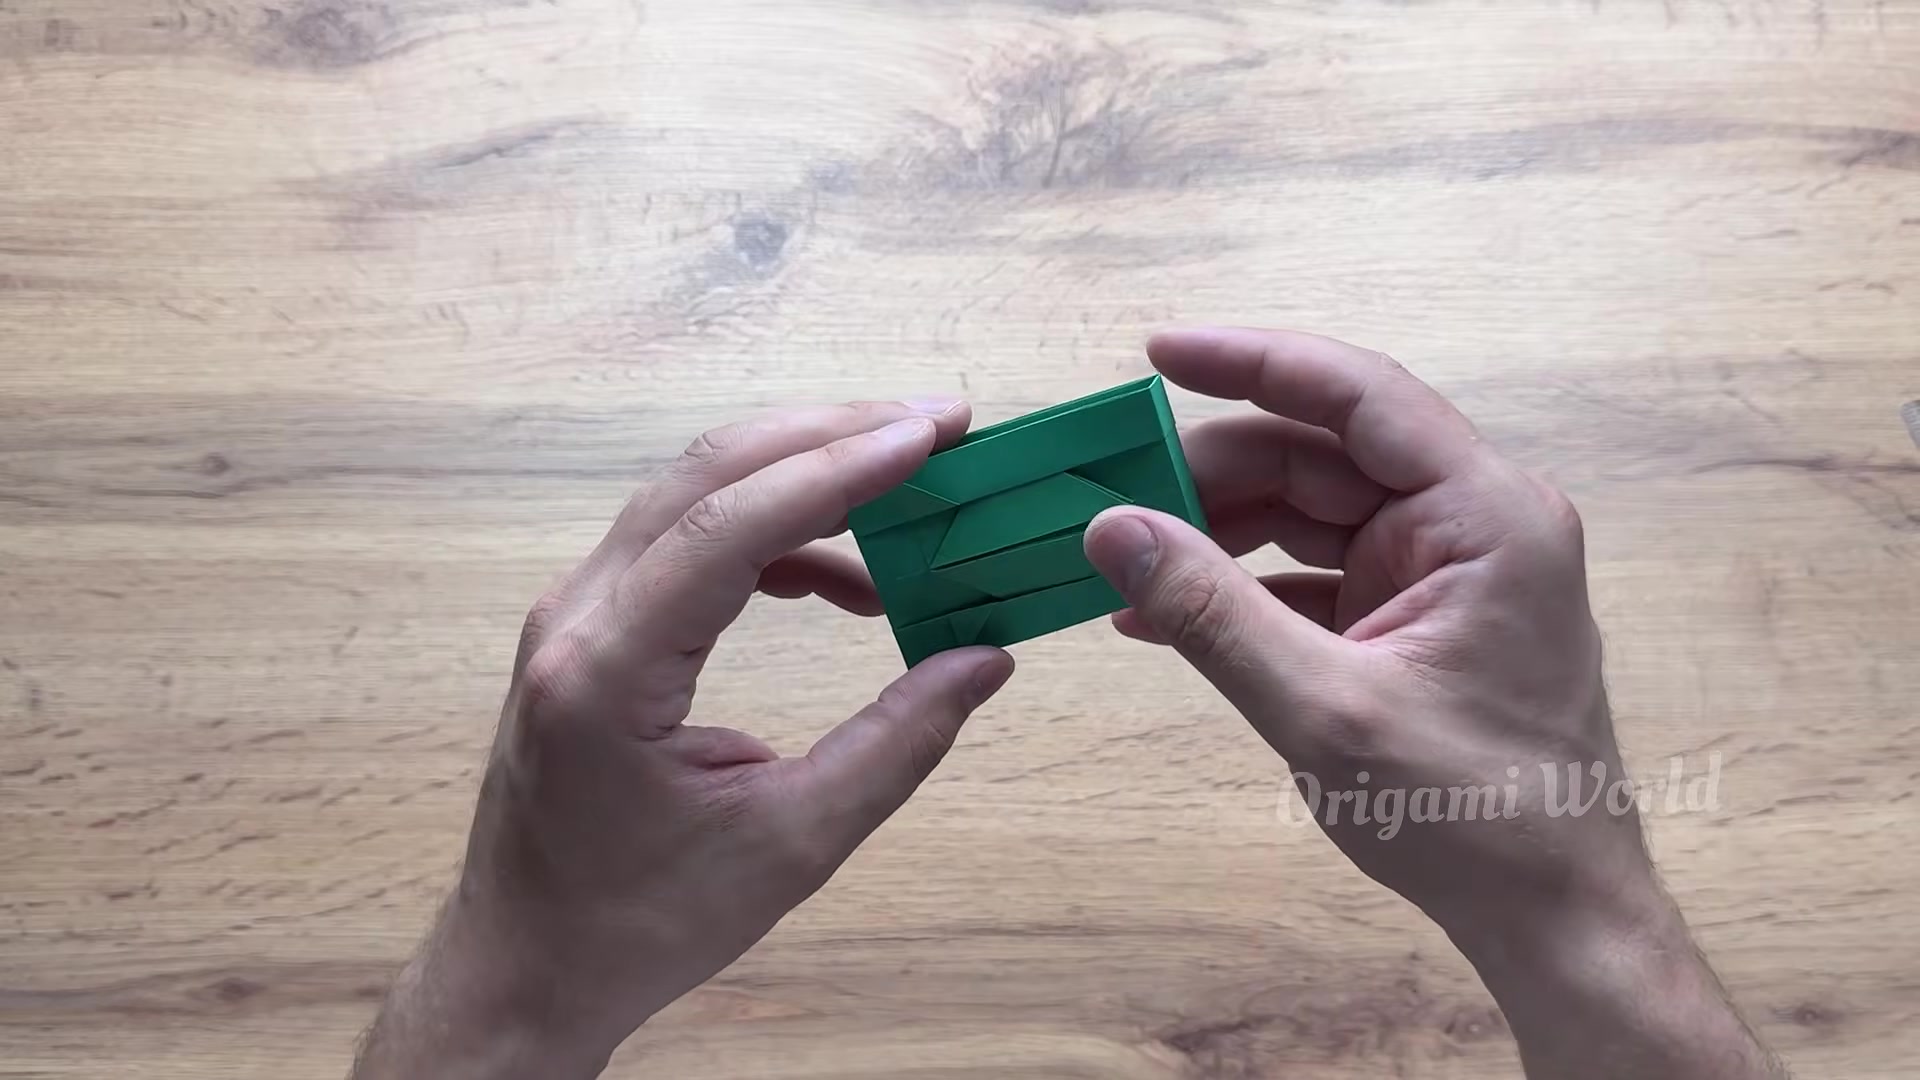
Push the side fold extensions into the interior slots to reinforce the frame. Work slowly here so the paper does not buckle or pop back out.
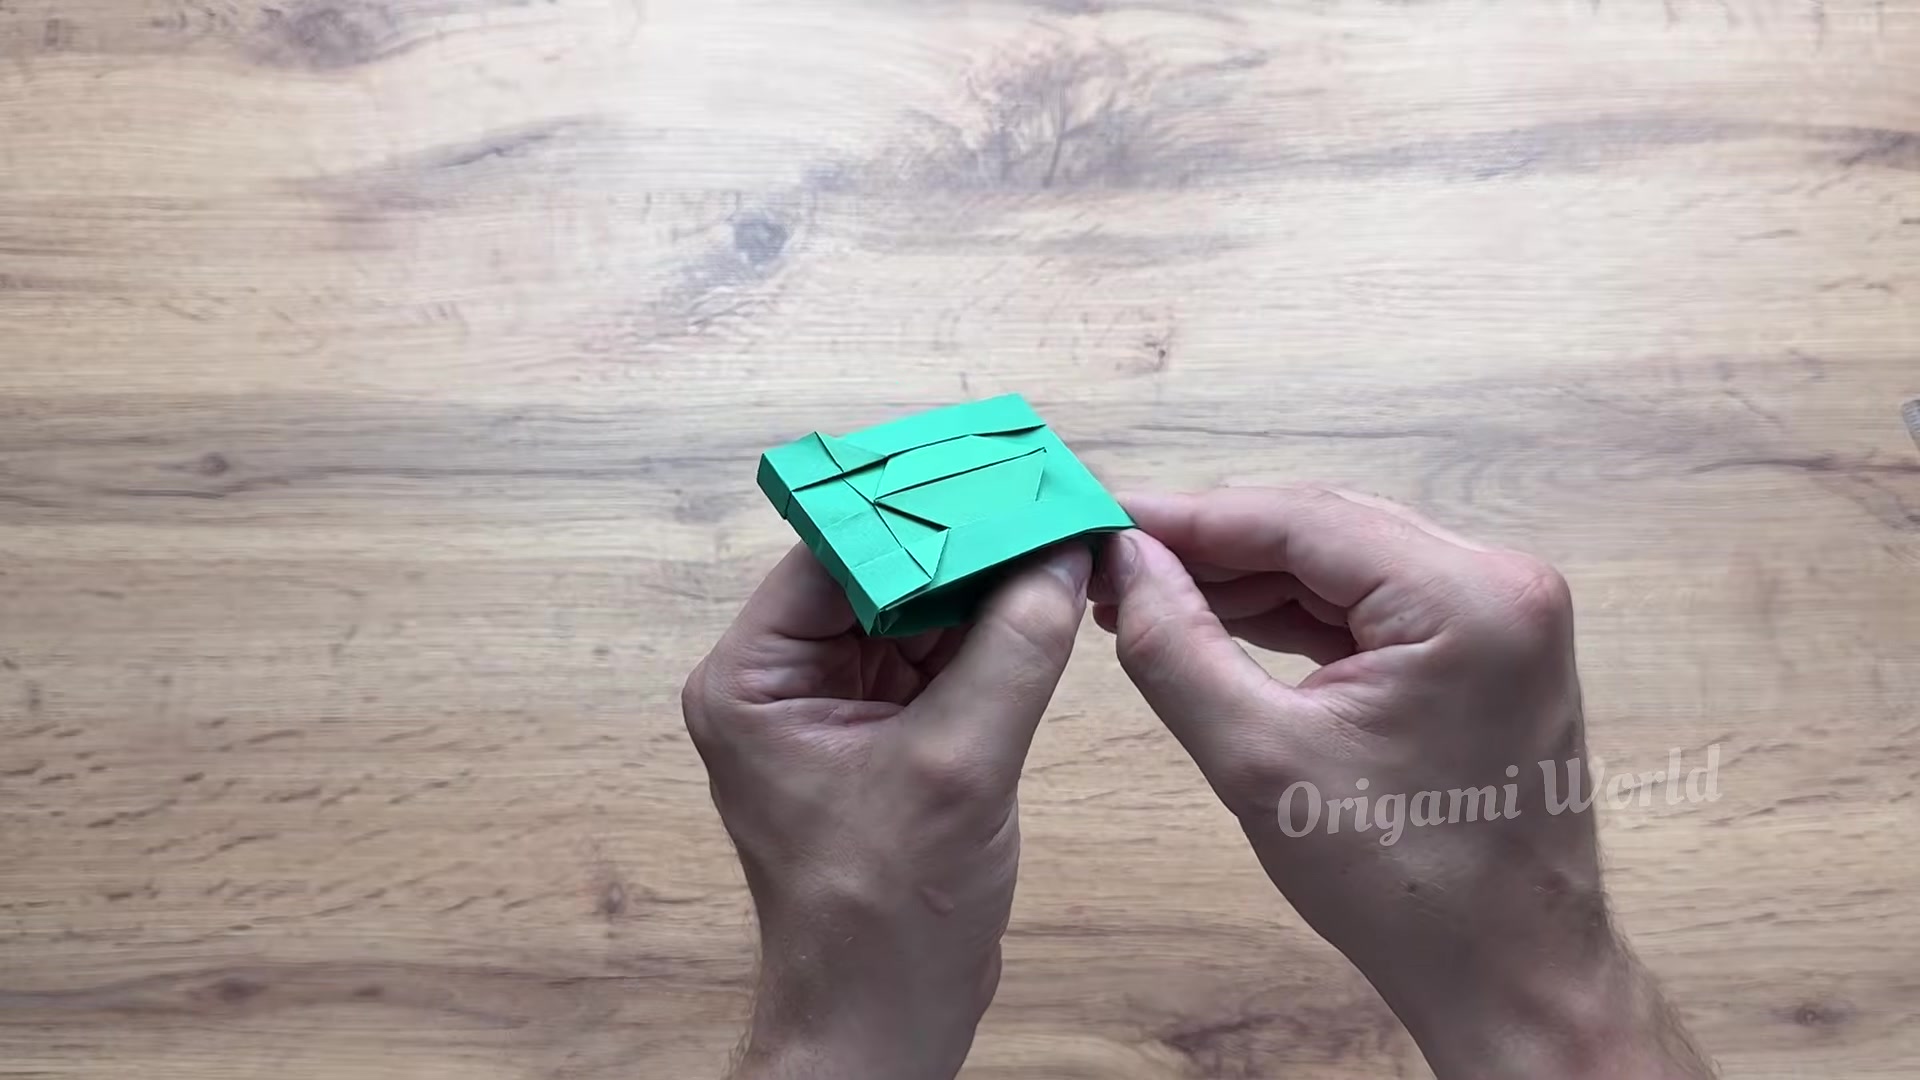
Open up the hollow side loops on both sides and round them out to form the track chambers. These spaces will hold the wheel tubes later, so keep them even.
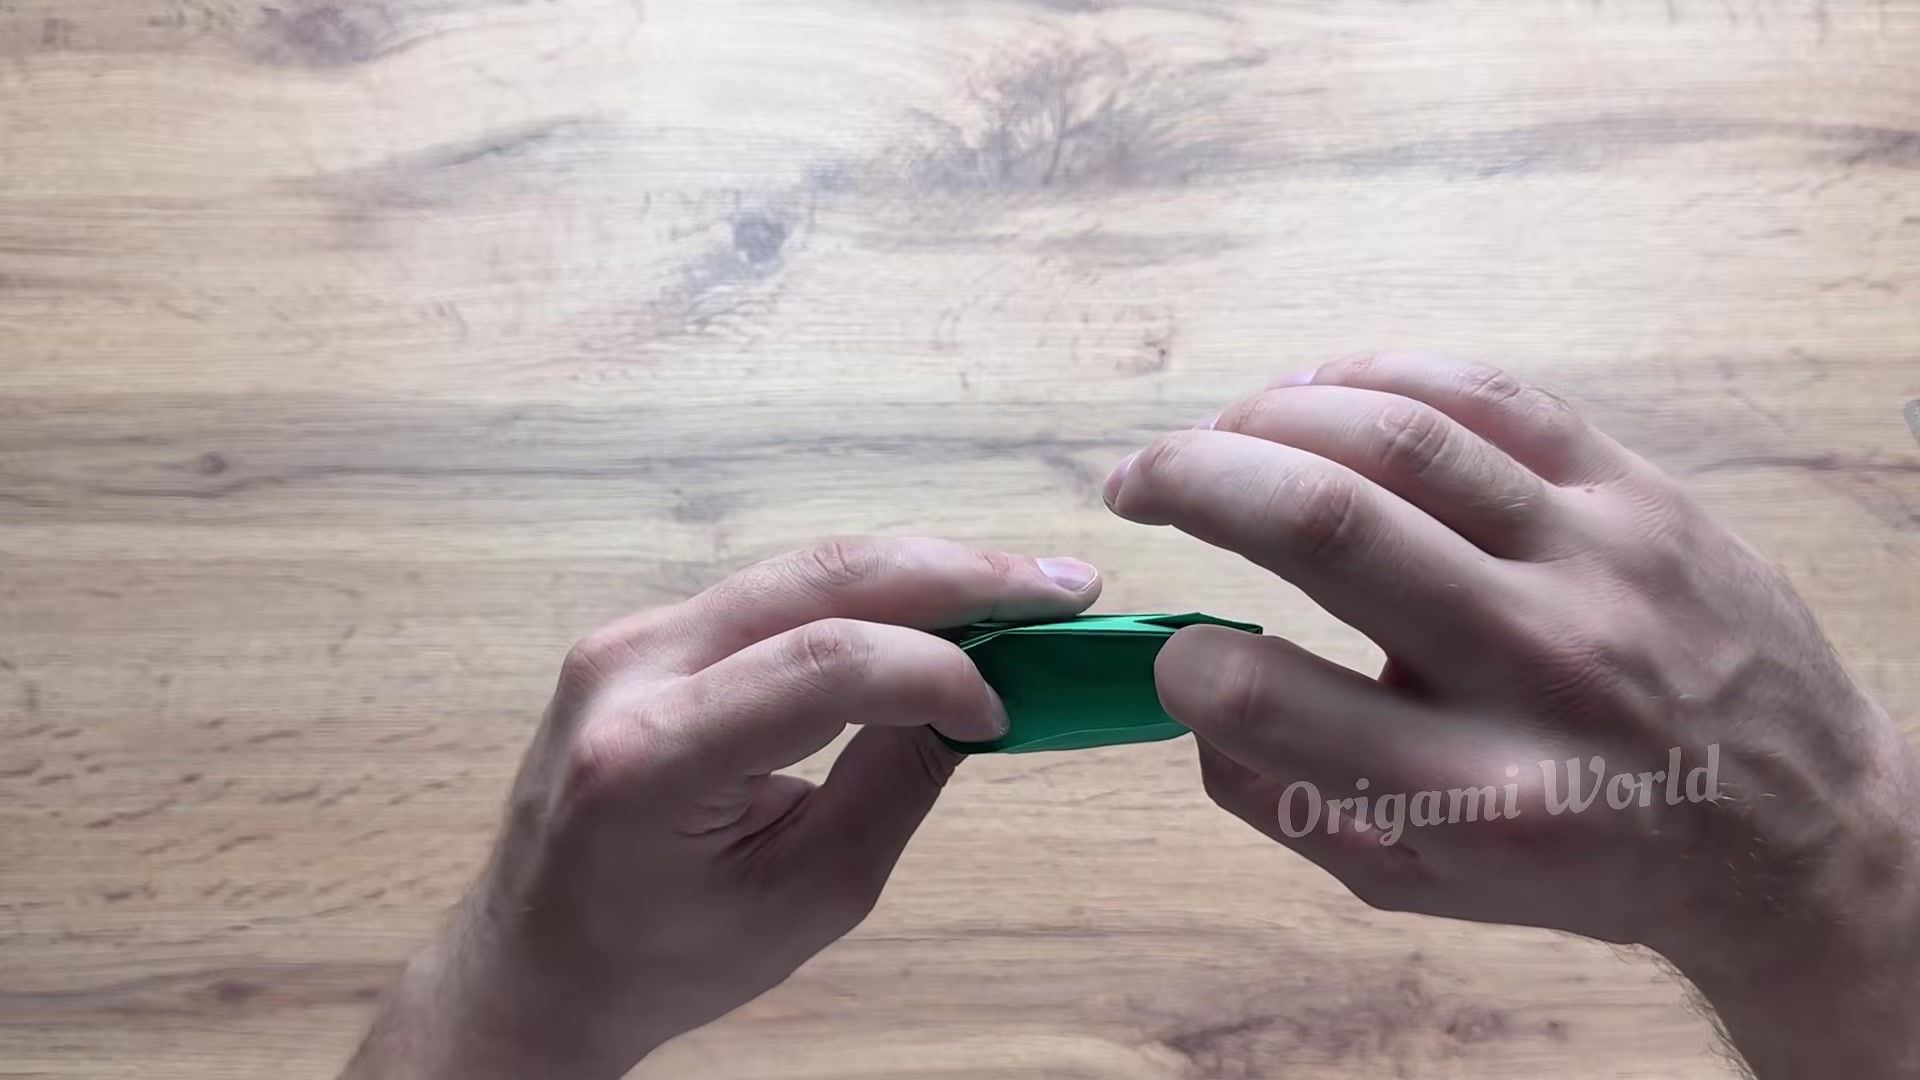
Flatten the top mount area where the turret will sit and square the track openings. This finishes the base structure and makes the tank ready for the moving parts.
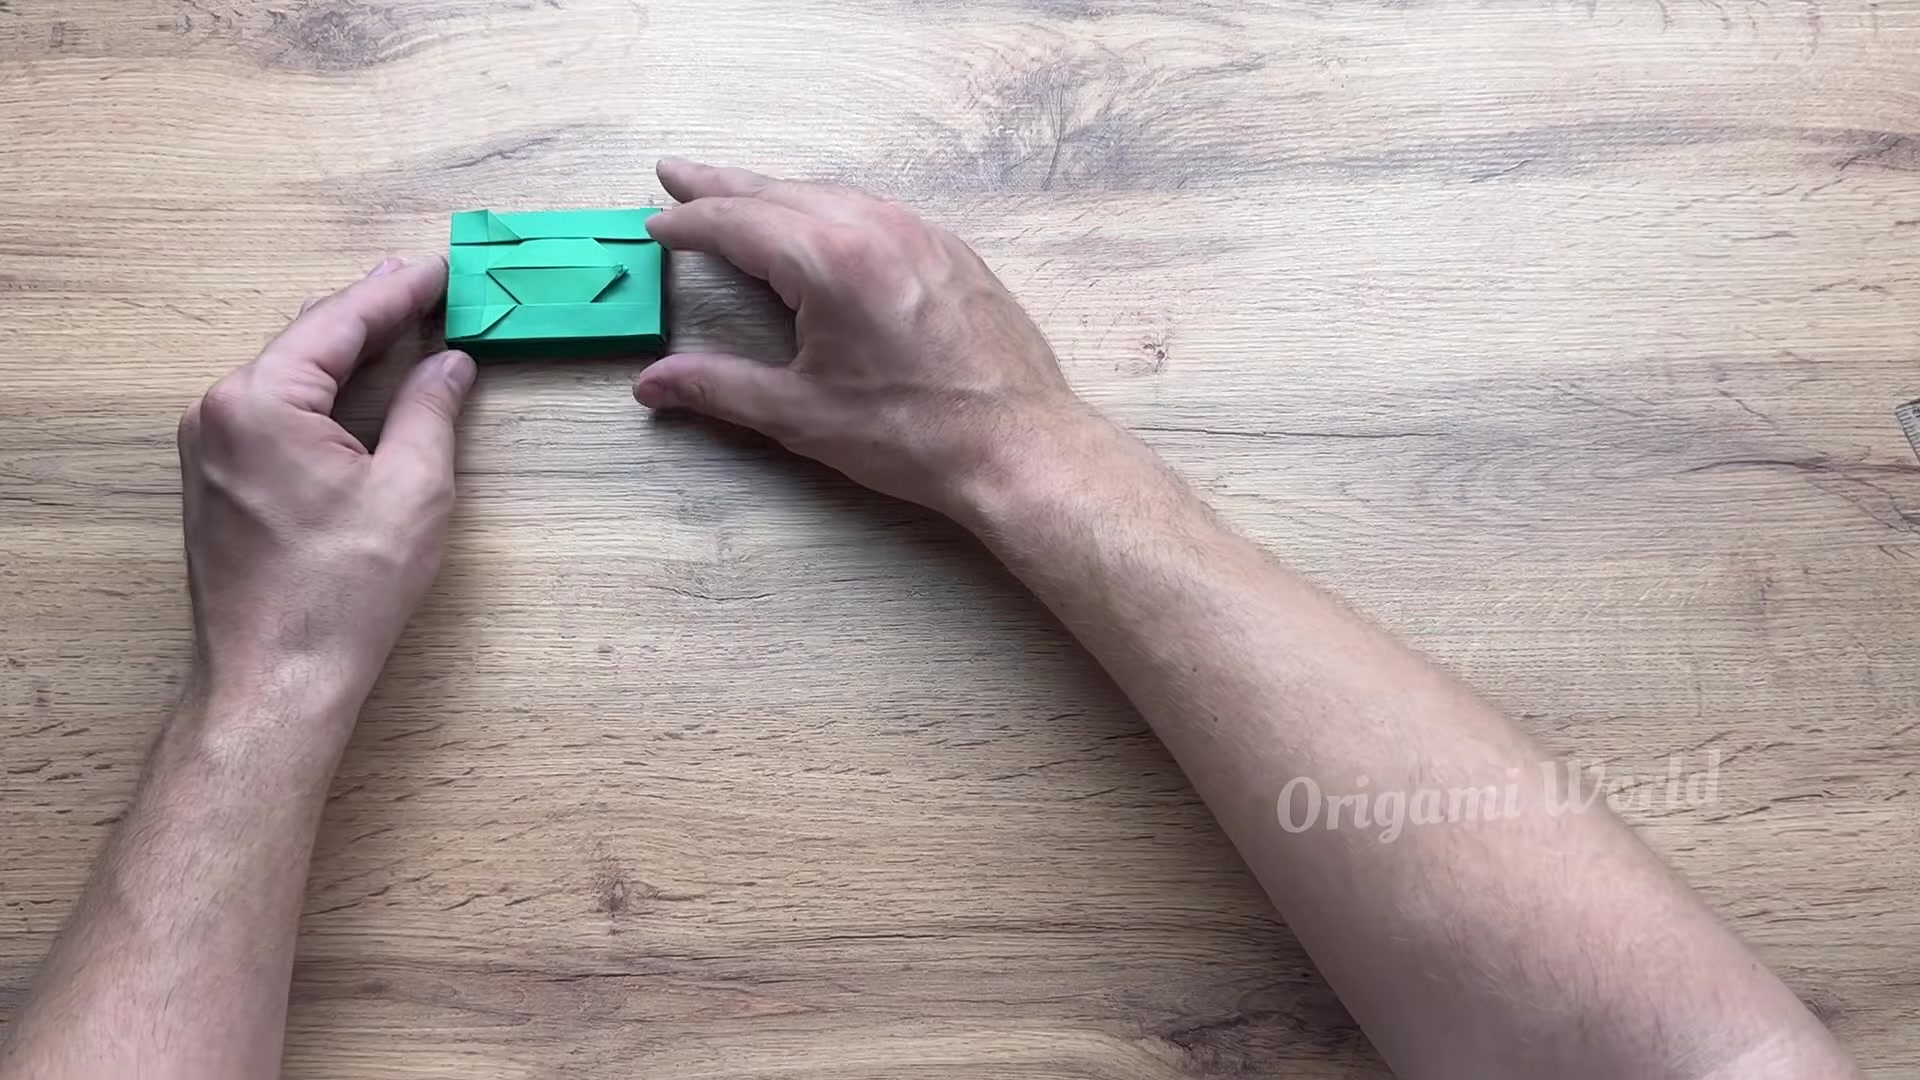
Take the A5 green paper sheet and roll it tightly from the short edge into a narrow tube. Seal the edge with paper glue so the tube stays firm.
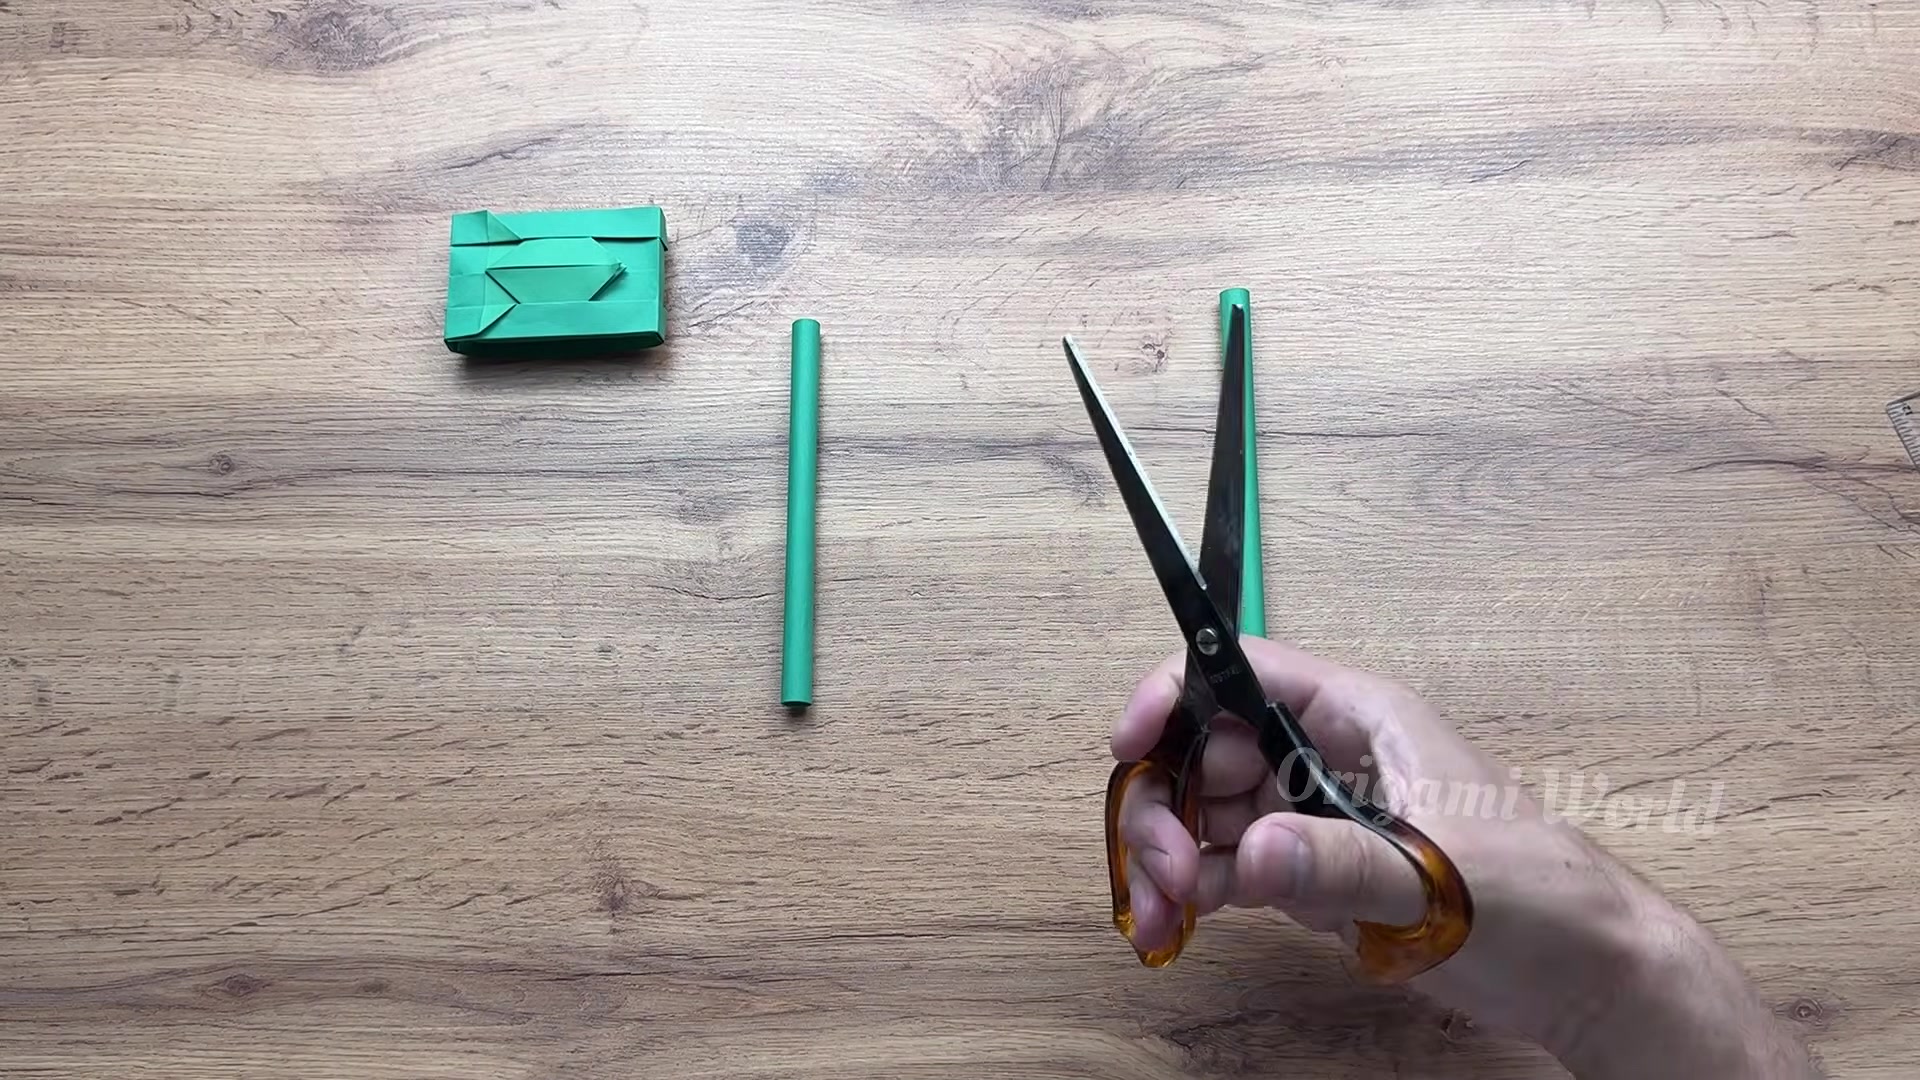
Use scissors to cut the rolled tubes into the needed lengths: 3 cm, 6 cm, 7.5 cm, and 5 cm. Keep the pieces grouped so the turret and track parts stay organized.
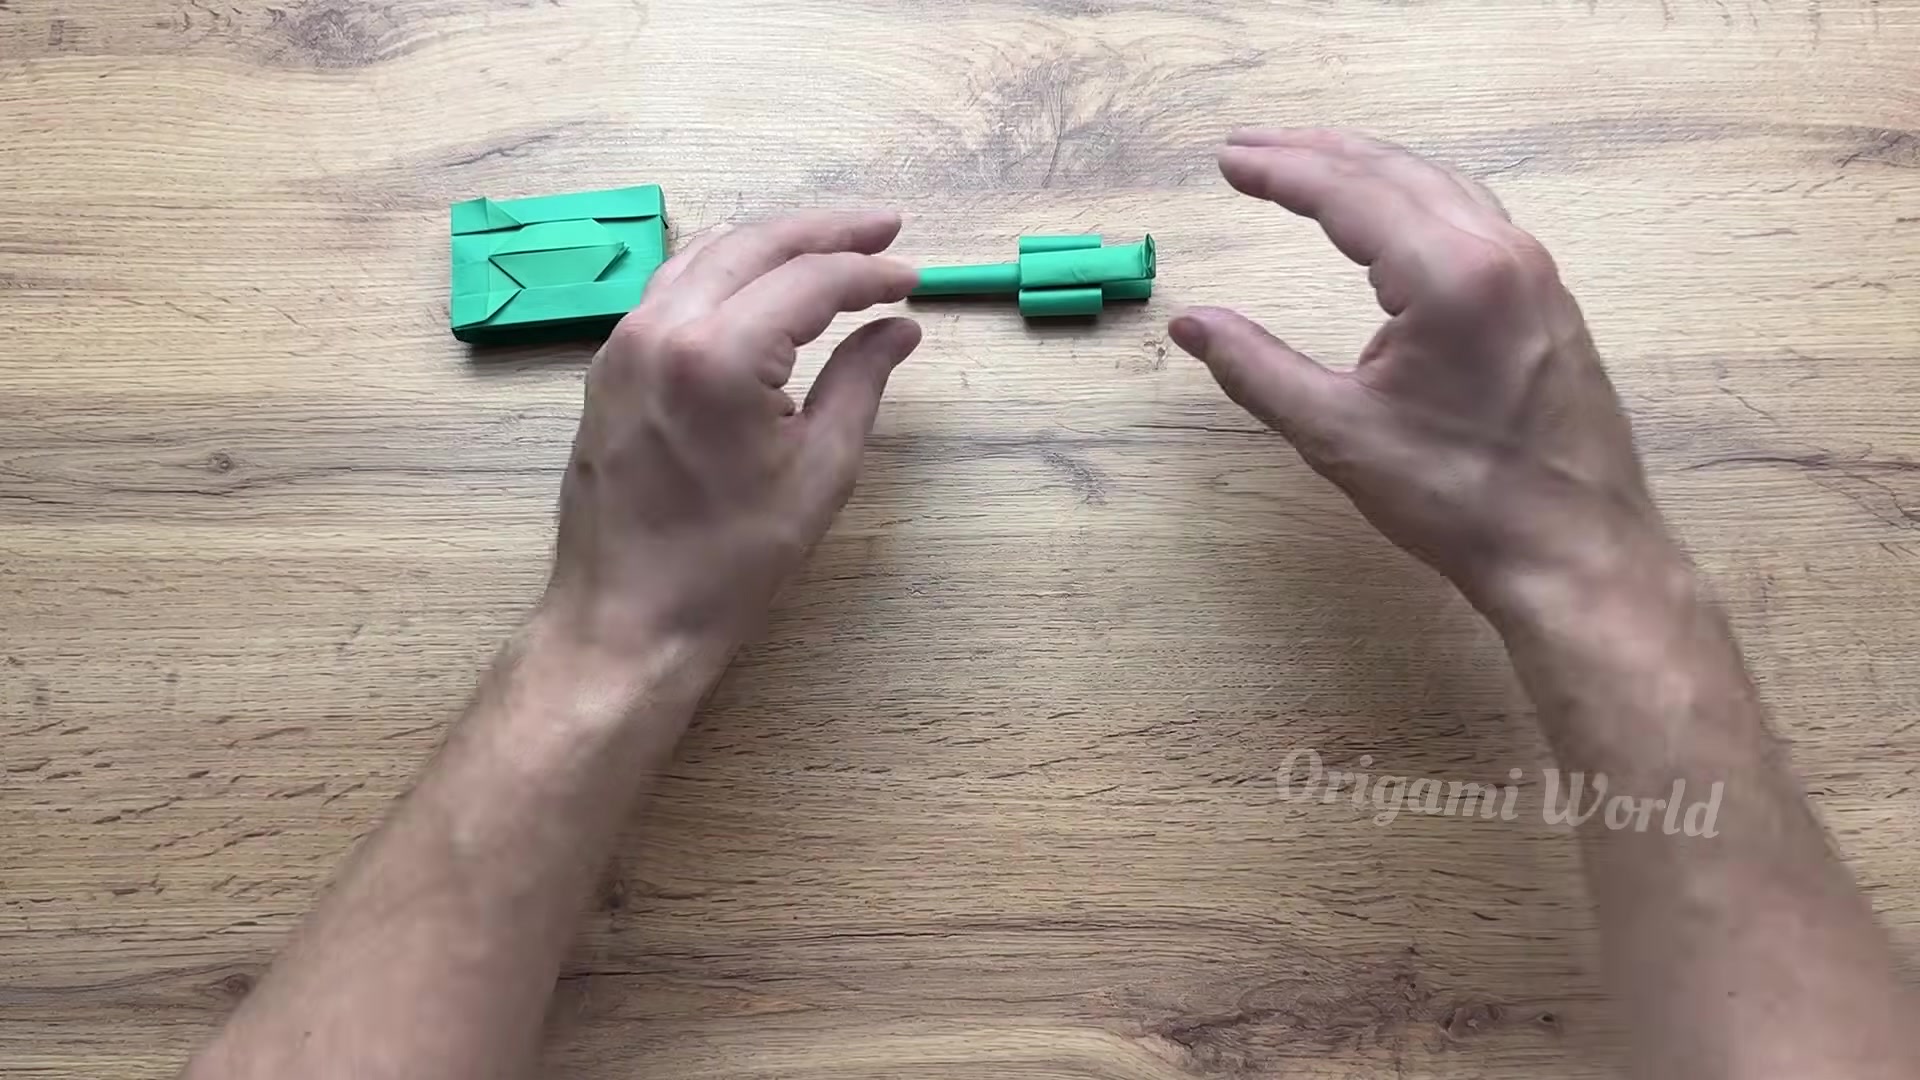
Roll the small green paper strip tightly around a wooden skewer to make a slim cannon tube. Slide it off carefully so the barrel stays narrow and straight.
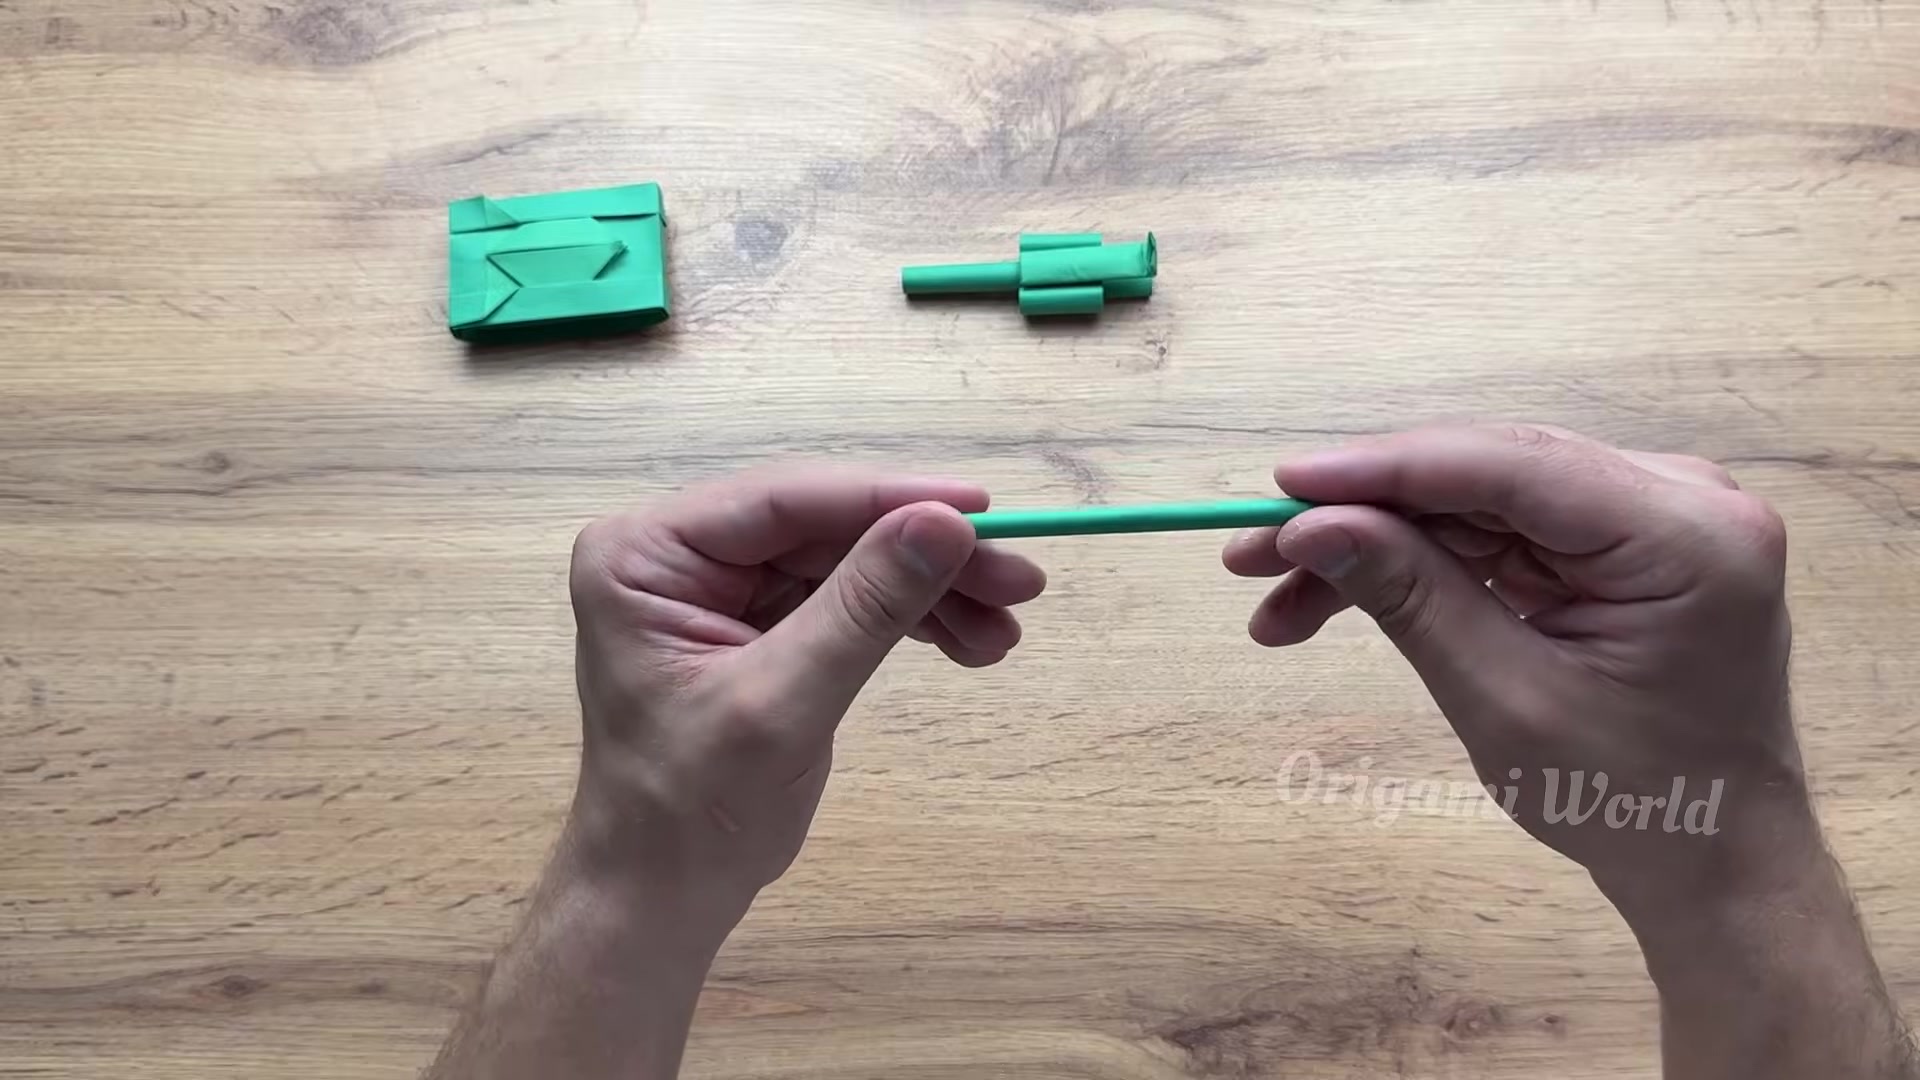
Cut a 4.5 cm piece of thin paper tube and attach the small yellow rubber band to it. This creates the spring-loaded trigger that powers the launcher.
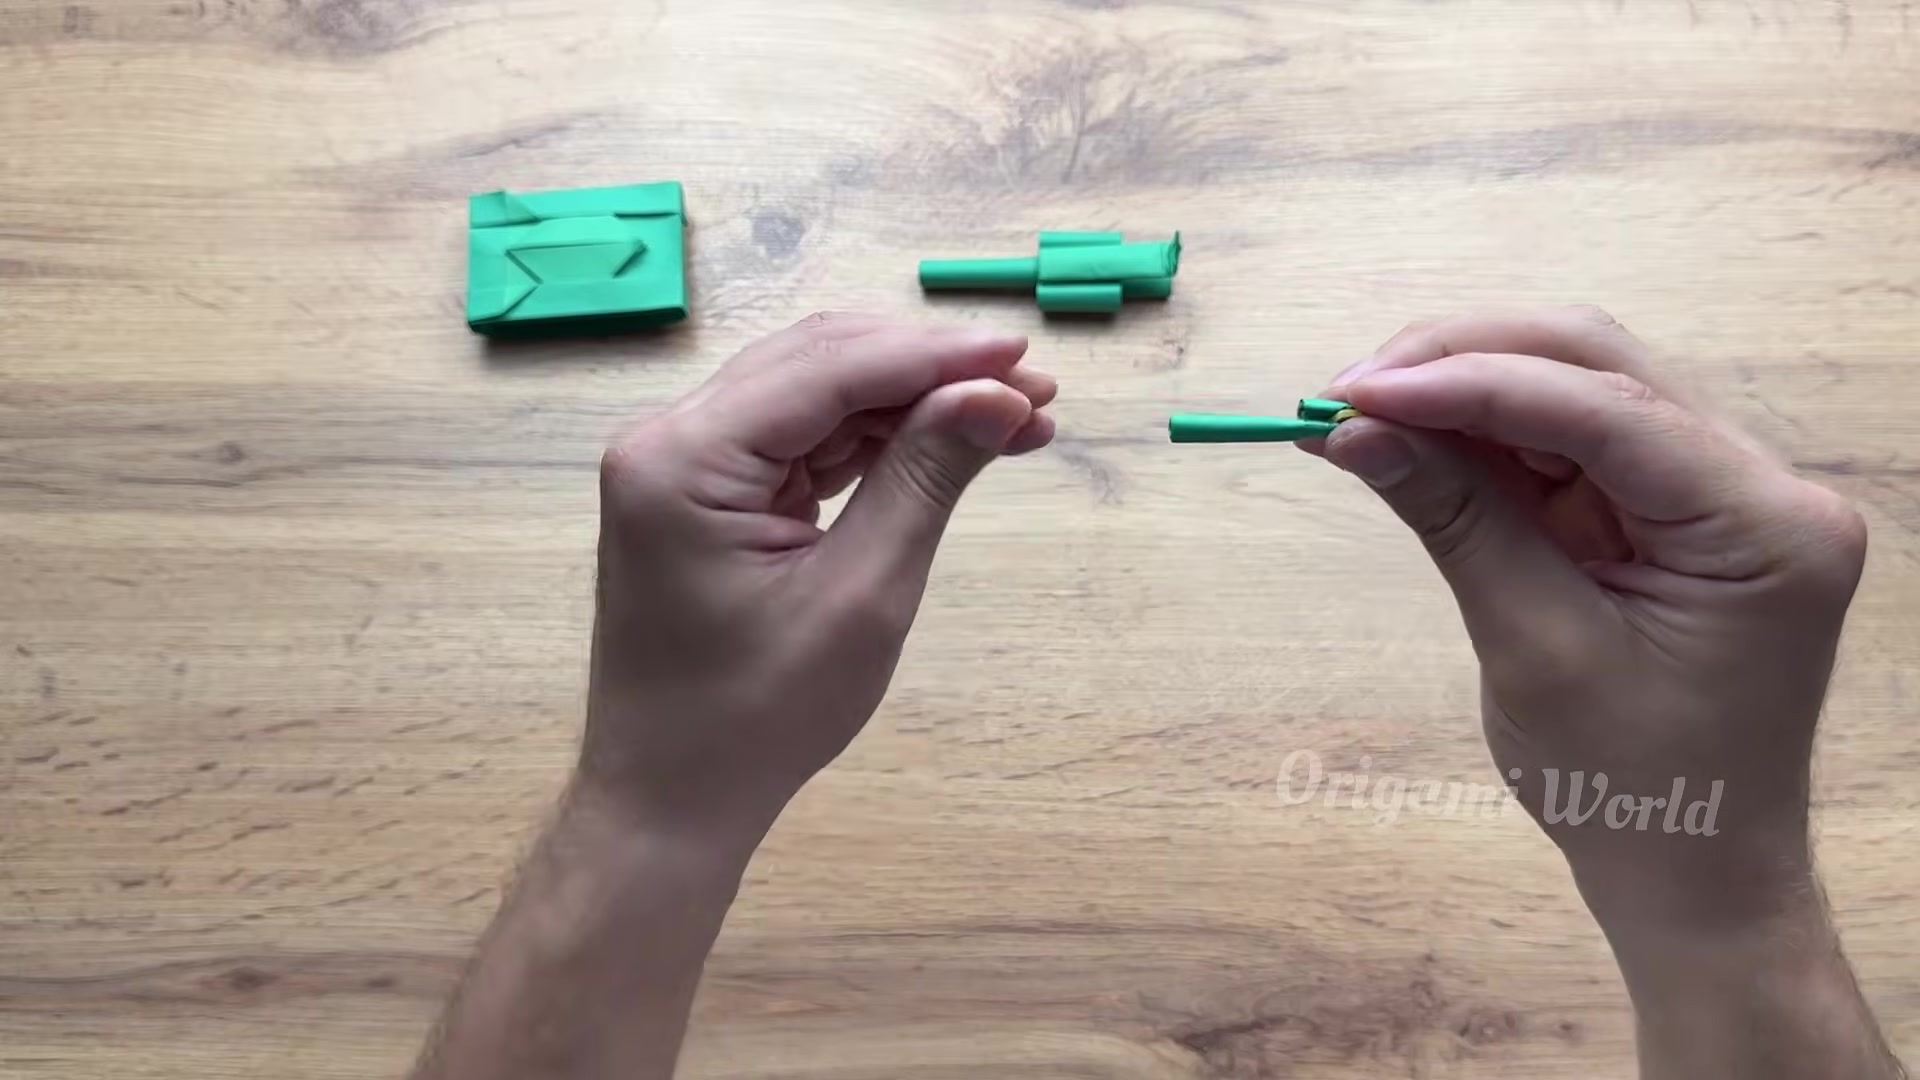
Slide the rubber band trigger assembly inside the wider cannon barrel sheath. Make sure it moves smoothly so the firing mechanism can work.
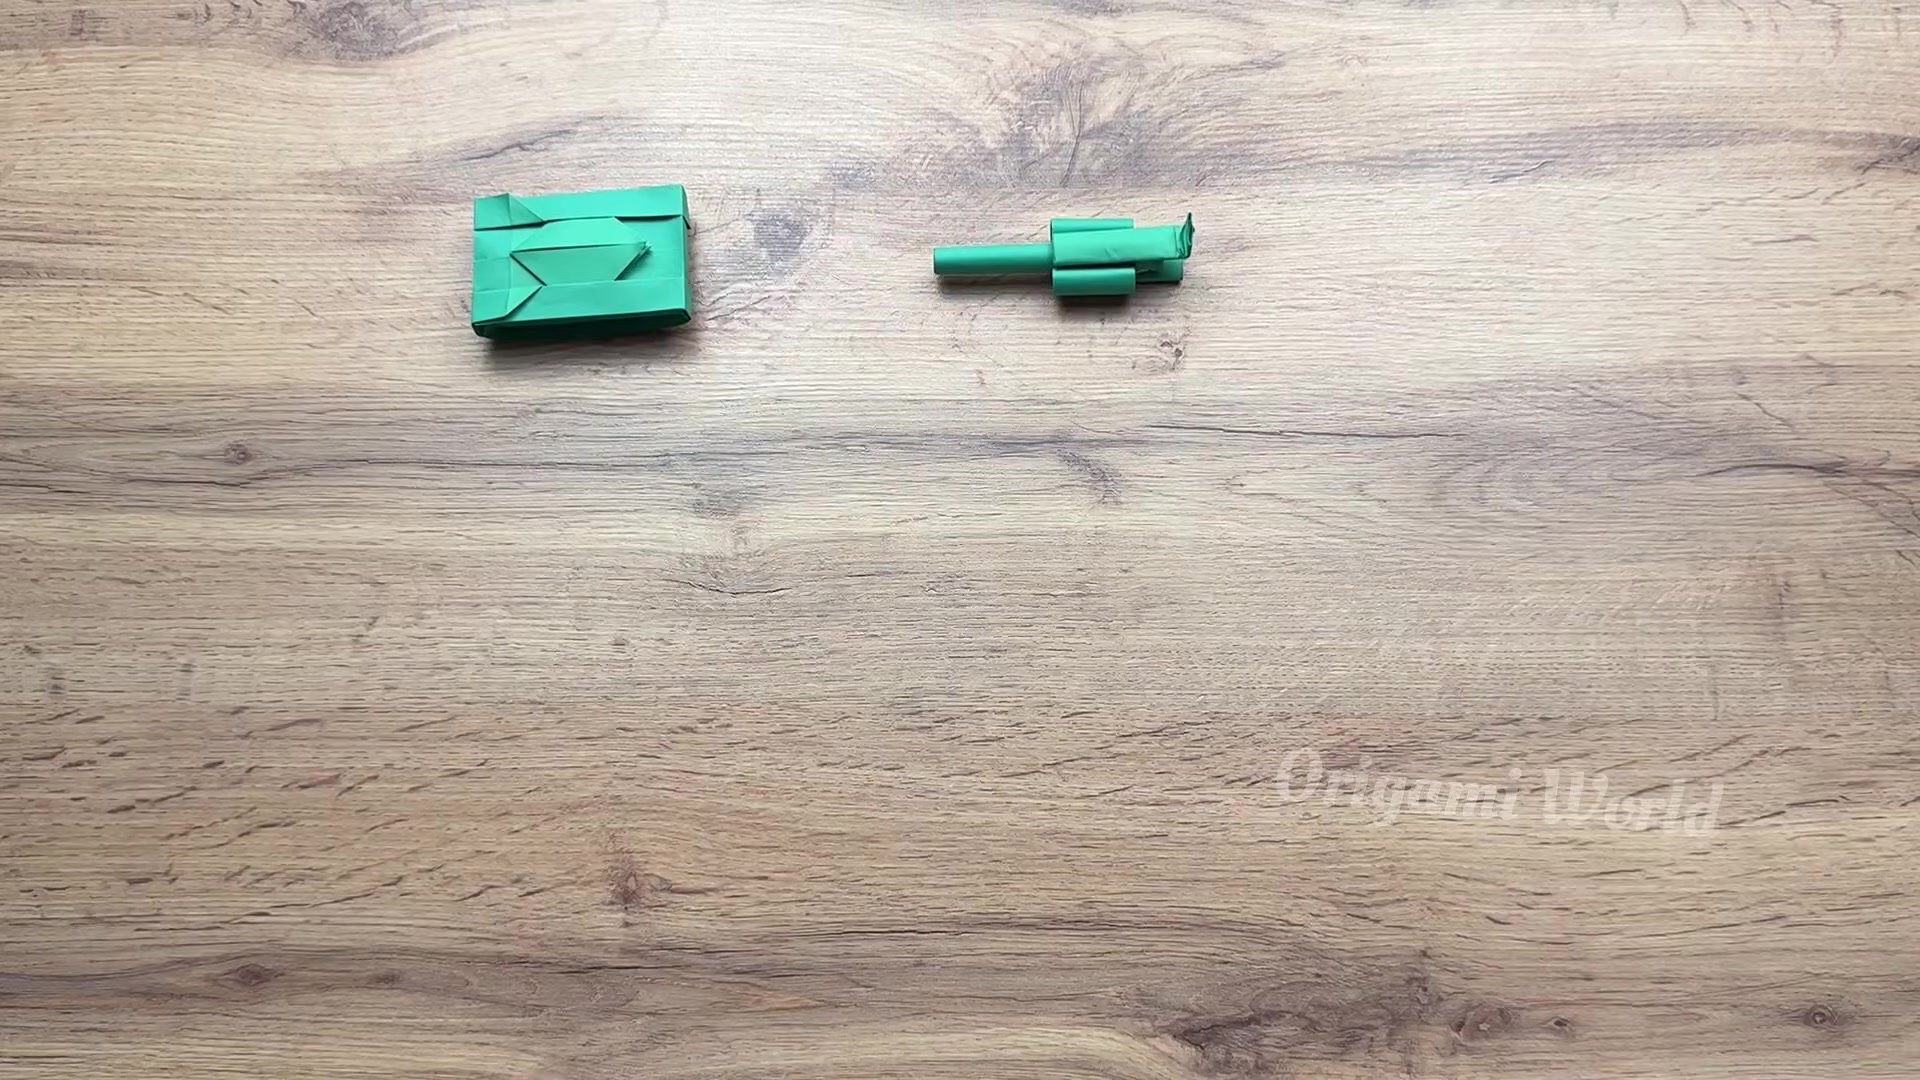
Roll a narrow paper strip into a small paper bullet, then roll another strip into a circular T-shaped turret mount pin. Keep both pieces tight so they hold their shape.
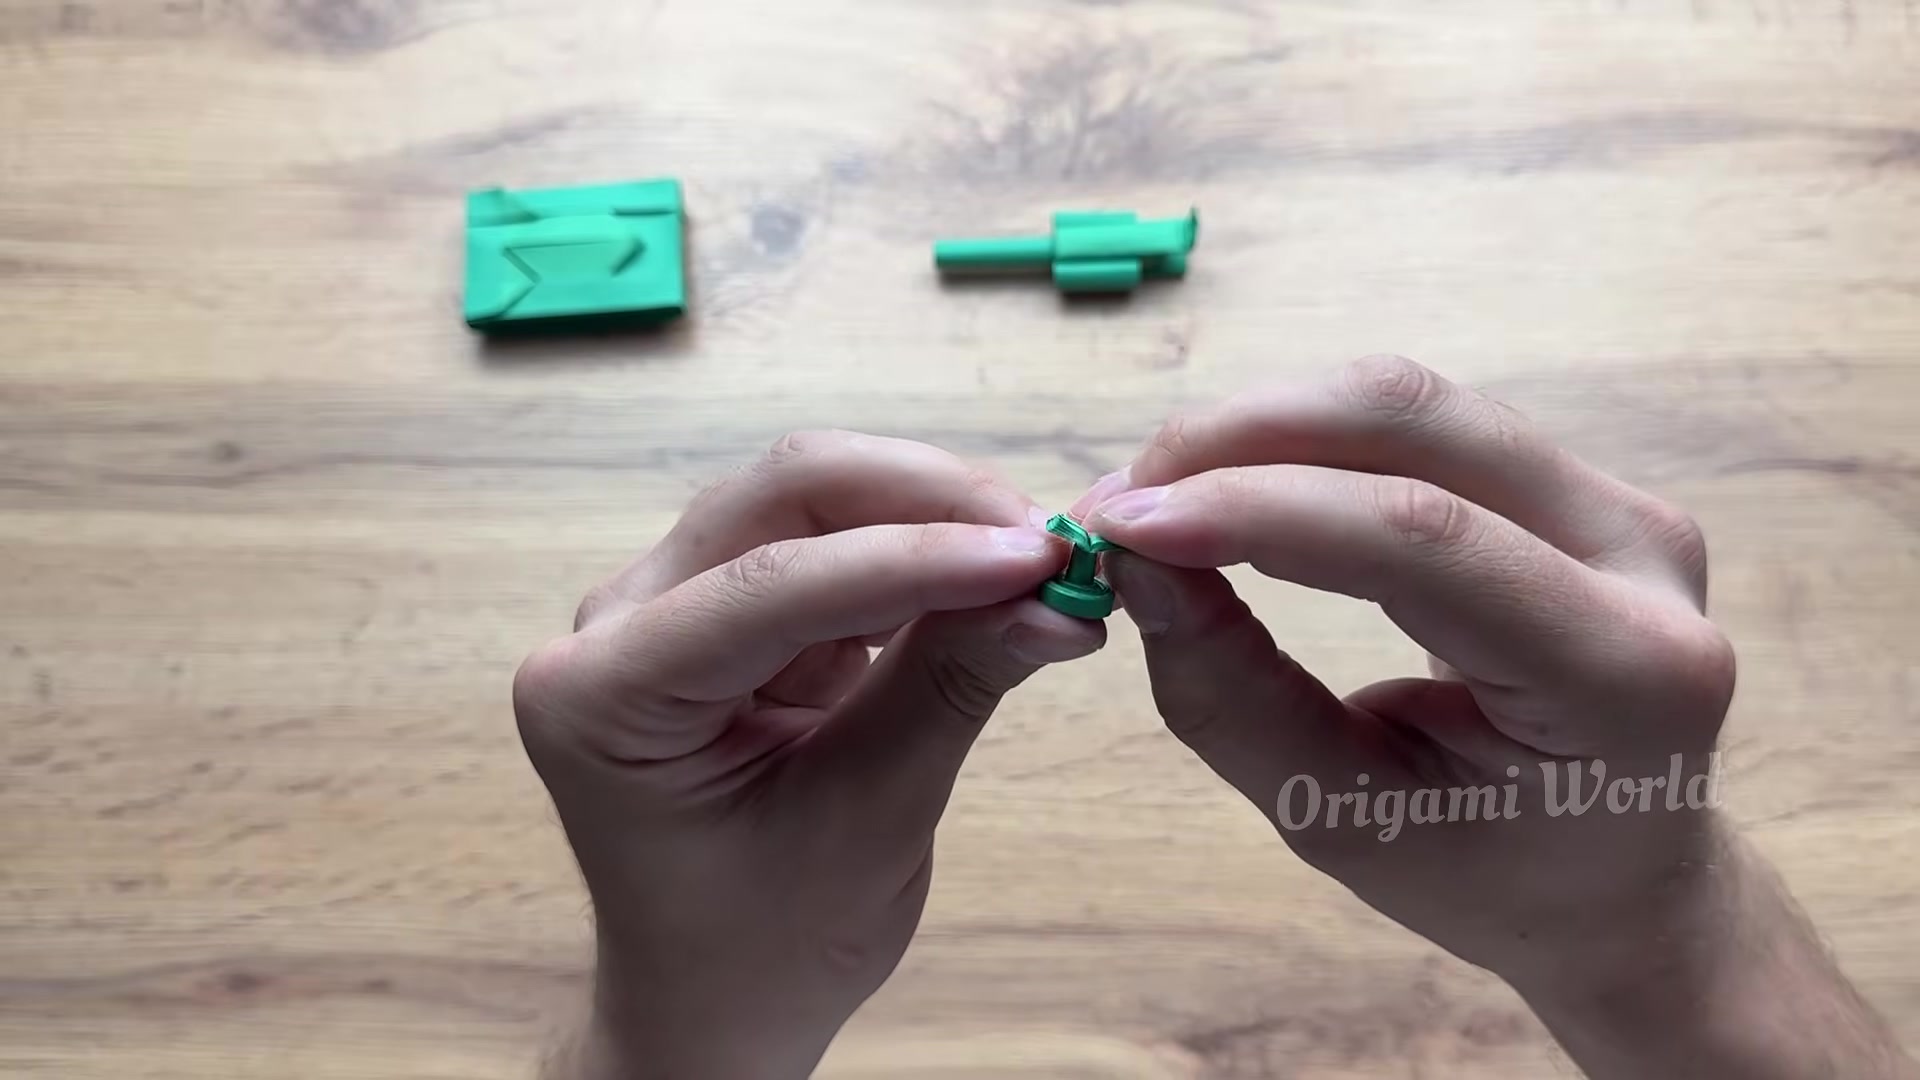
Insert the small paper pin into the top center slot of the tank chassis. This gives the turret a swivel connection and keeps the cannon centered.
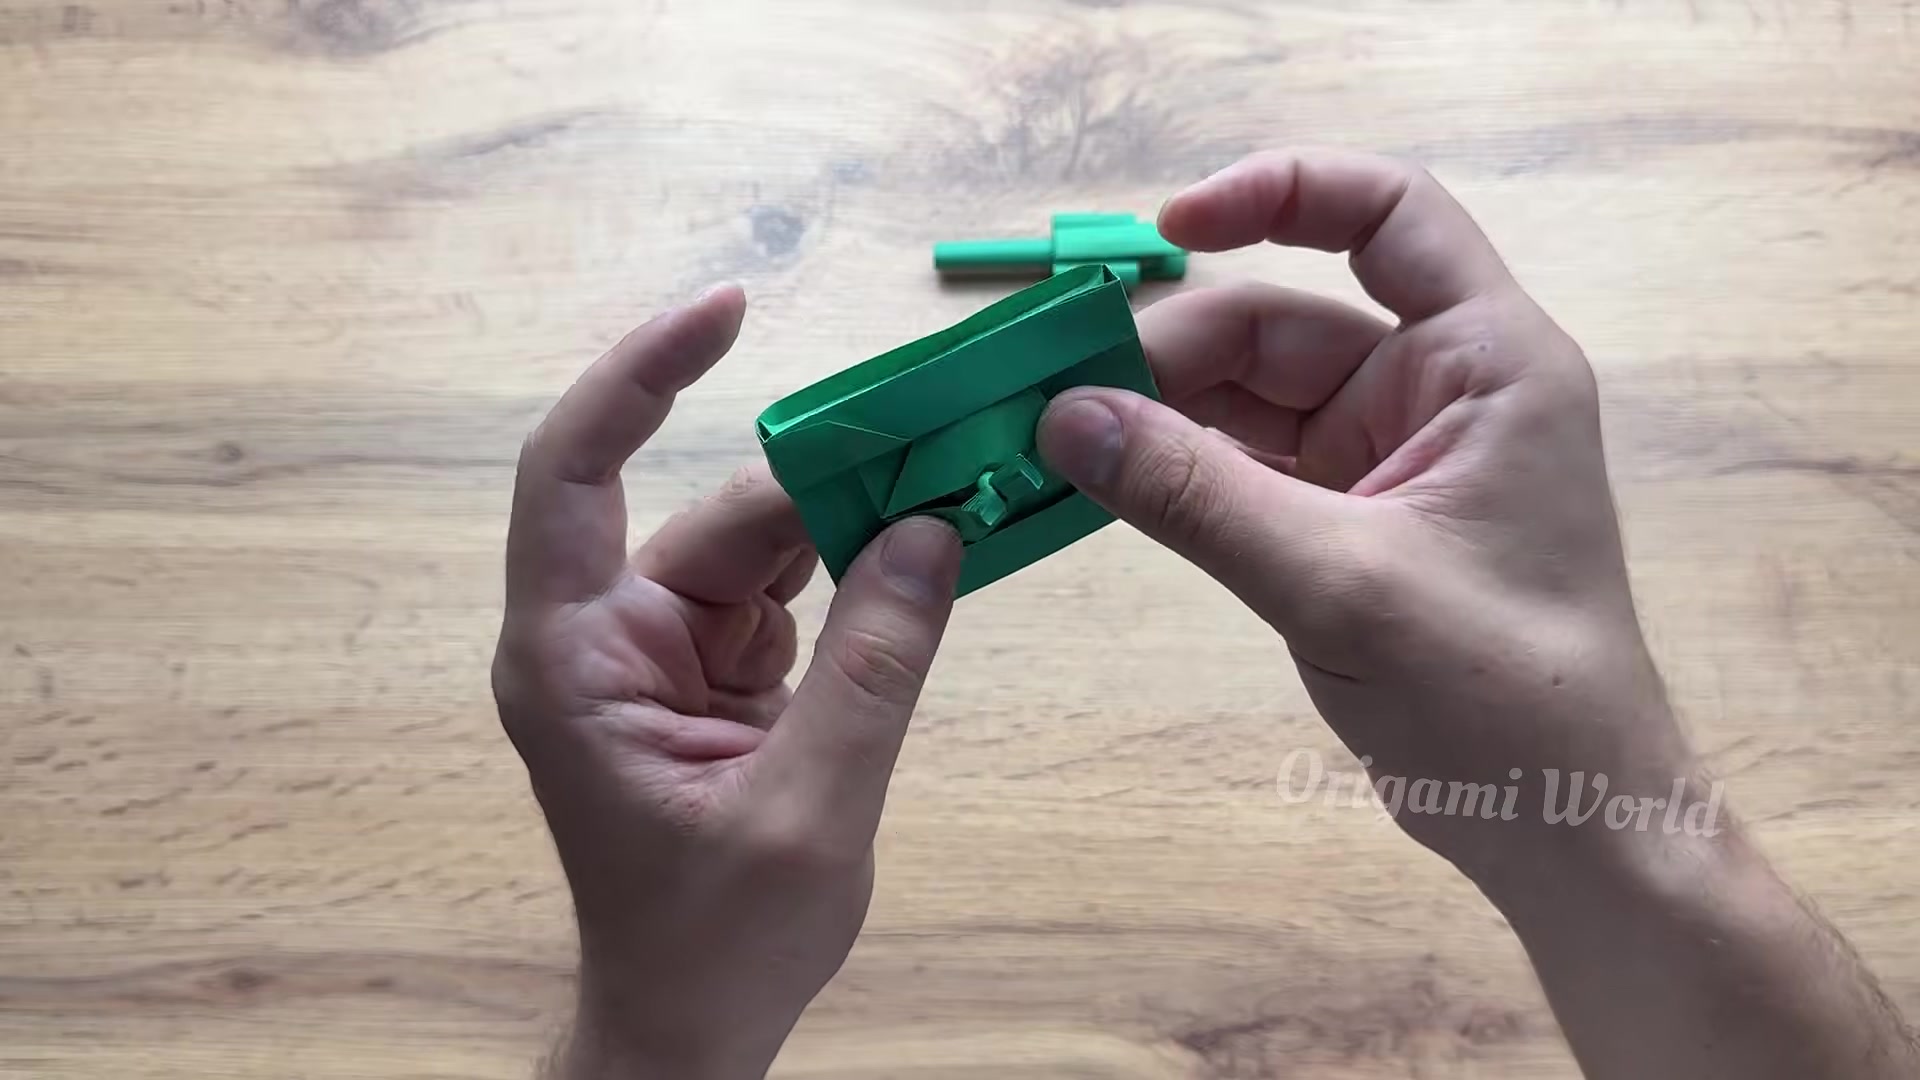
Attach the cannon unit onto the turret pin and slide the six short rolled tubes into the side track openings. Check that everything sits snugly before the test.

Place the paper bullet into the barrel, pull back the launcher latch, and release to fire. Finish by showing the completed tank from the front, side, and top so your child can enjoy the result.
Real-world answers for busy mornings, active recess hold, and tear-free removal.
Most dads can finish it in about 10 to 11 minutes once the paper parts are cut and ready. If you are building with a child, expect a little extra time for the rolling and alignment steps.
No special paper is required. A green A4 sheet cut in half, plus an A5 sheet and a few small paper strips, is enough to make the tank body, barrel, tracks, and bullet.
Re-press the center crease, then re-tighten the side folds and tuck points. Most shape problems come from folds that were not pressed firmly enough the first time.
Make sure the barrel is rolled tightly, the rubber band trigger moves freely, and the bullet is rolled snug but not oversized. If it sticks, check for loose paper edges inside the barrel.
 Level 3: Superhero Dad
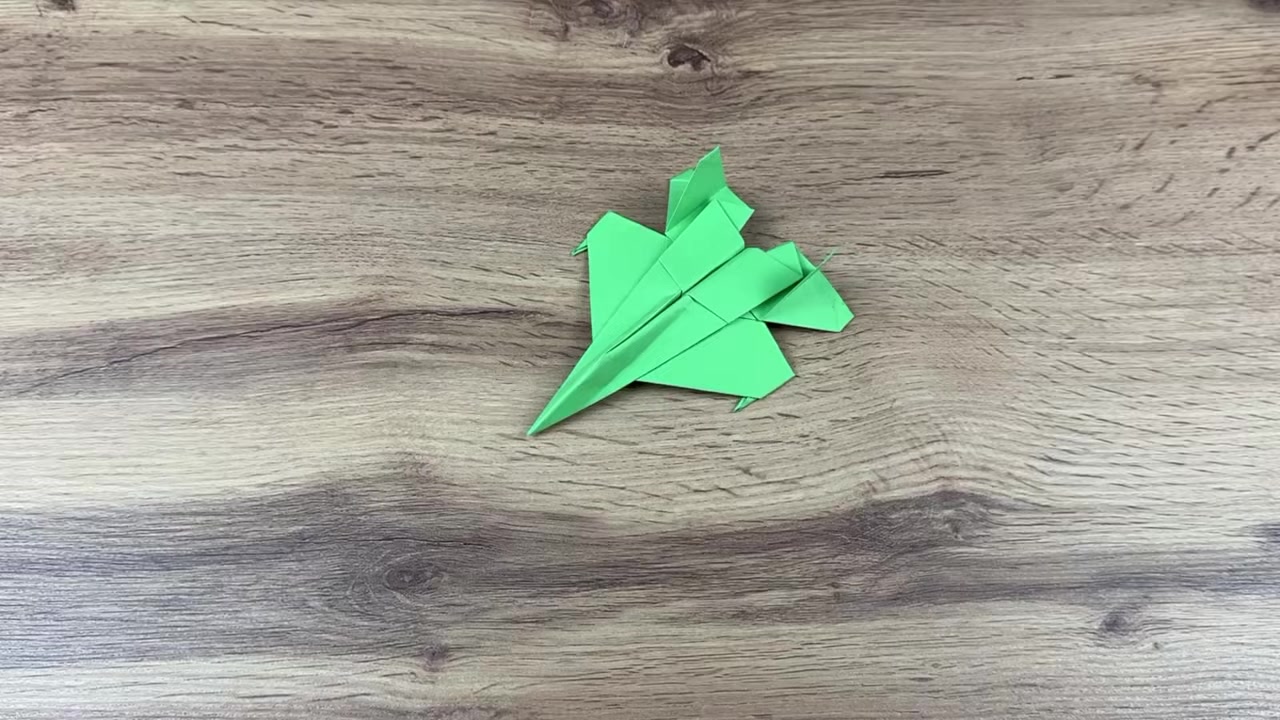
How to Fold a Long-Distance Paper Airplane That Flies Fast
A sleek origami jet that folds from one sheet into a fast, stable flyer with crisp creases and easy wing tuning.
1 sheet of A4 printer paper or square origami paper
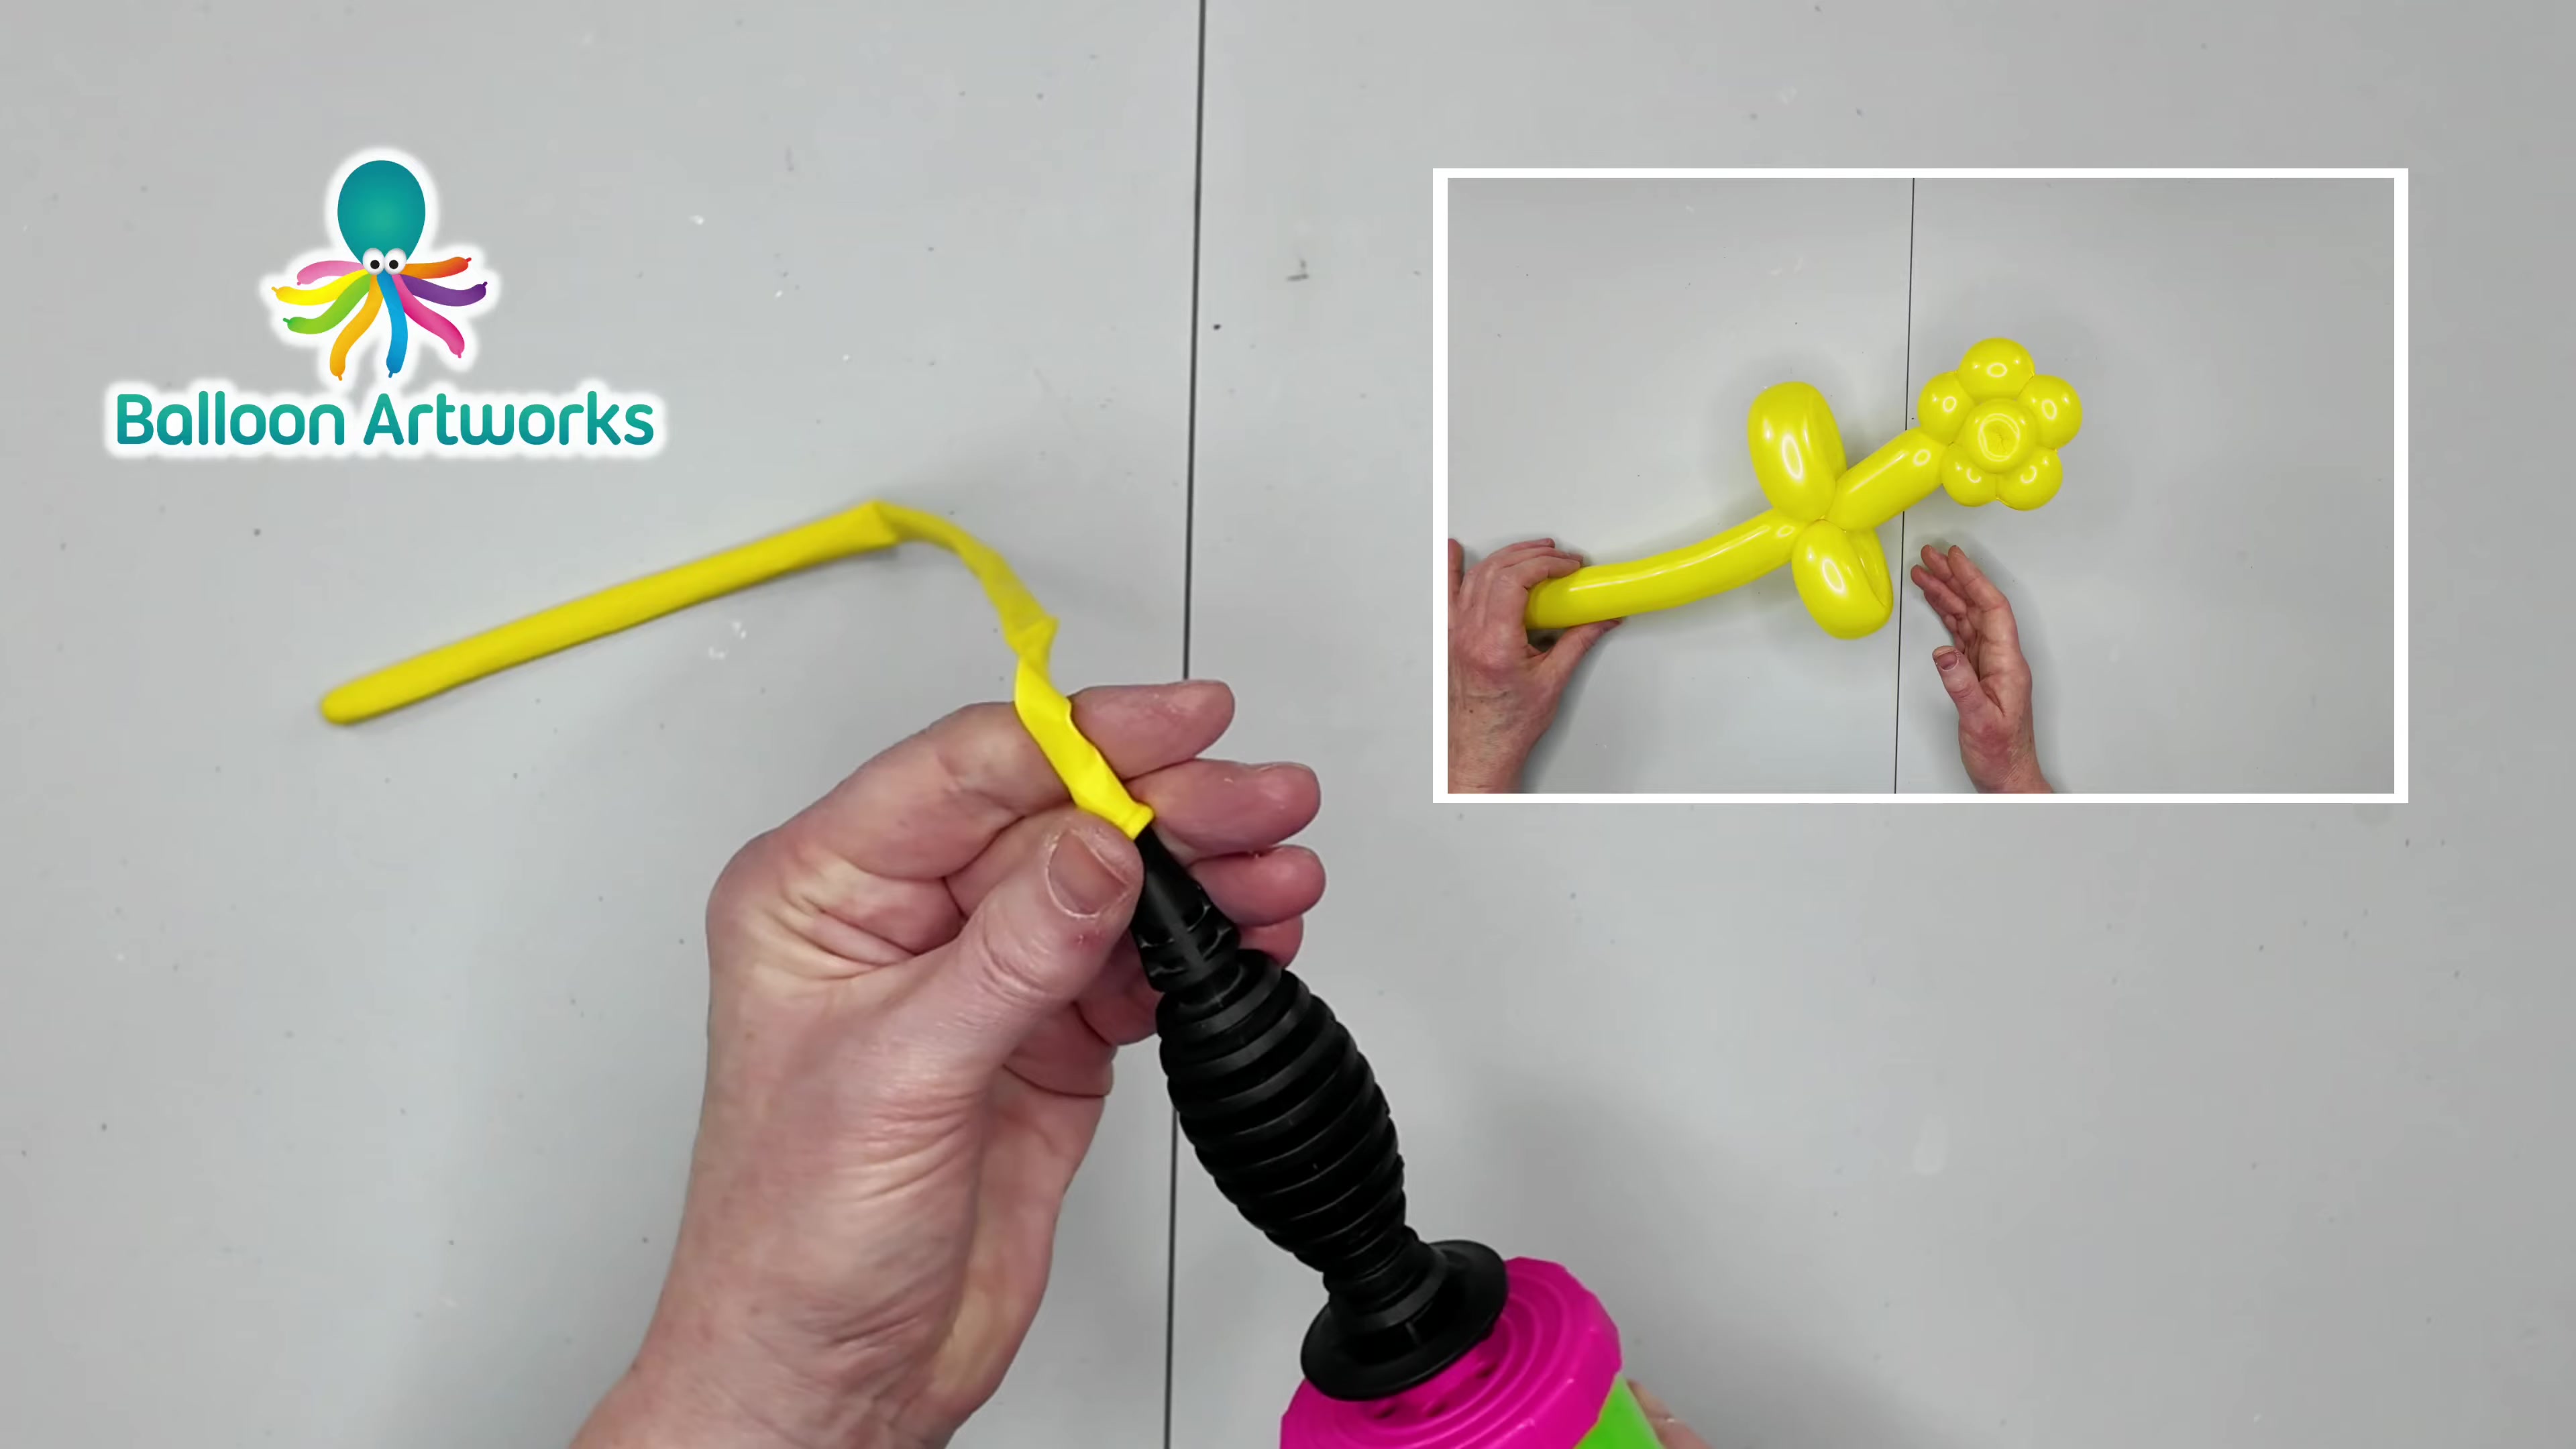 Level 2: Handy Dad
How to Twist a 1-Balloon Flower: Easy Step-by-Step Tutorial
A bright balloon flower you can build in one smooth run, with a soft balloon and same-direction twists that keep it from popping.
1x 260Q modeling balloon (yellow or any bright color)
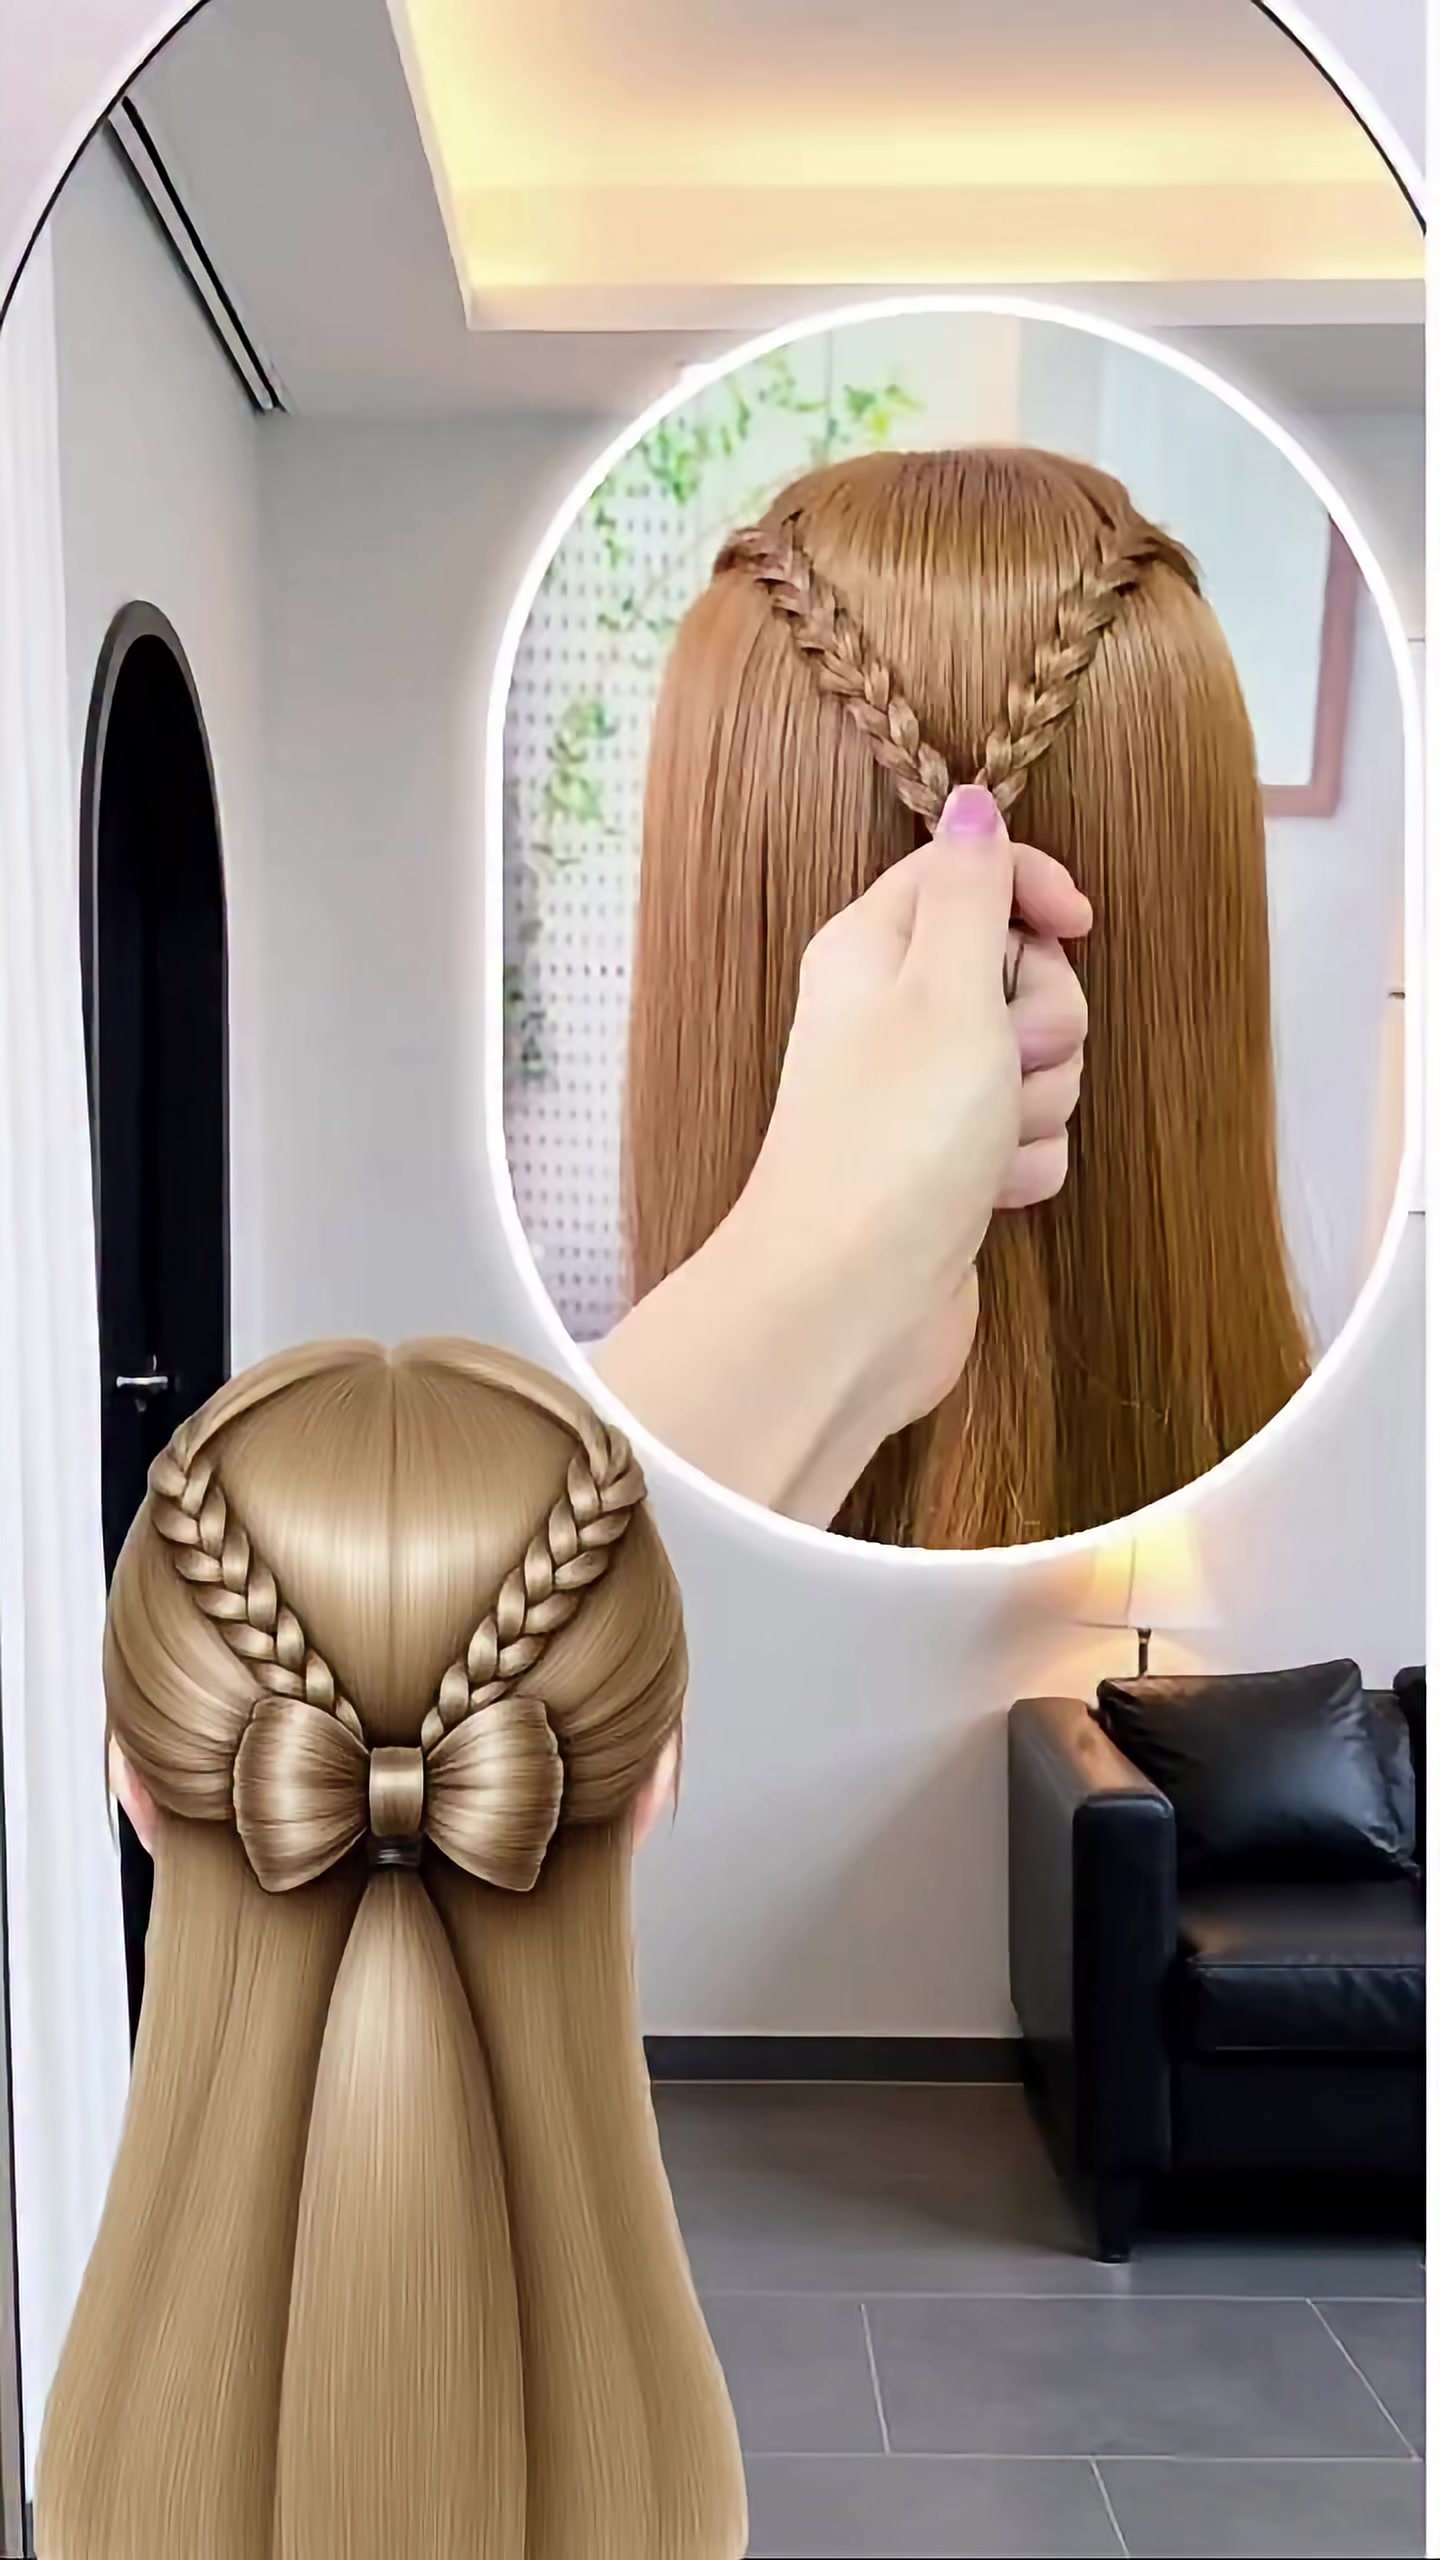 Level 2: Handy Dad
How to Do a Half-Up Hair Bow: Cute and Easy Princess Hairstyle
Turn a simple half-up ponytail into a show-stopping bow that stays neat all day.
Wide-tooth detangling comb
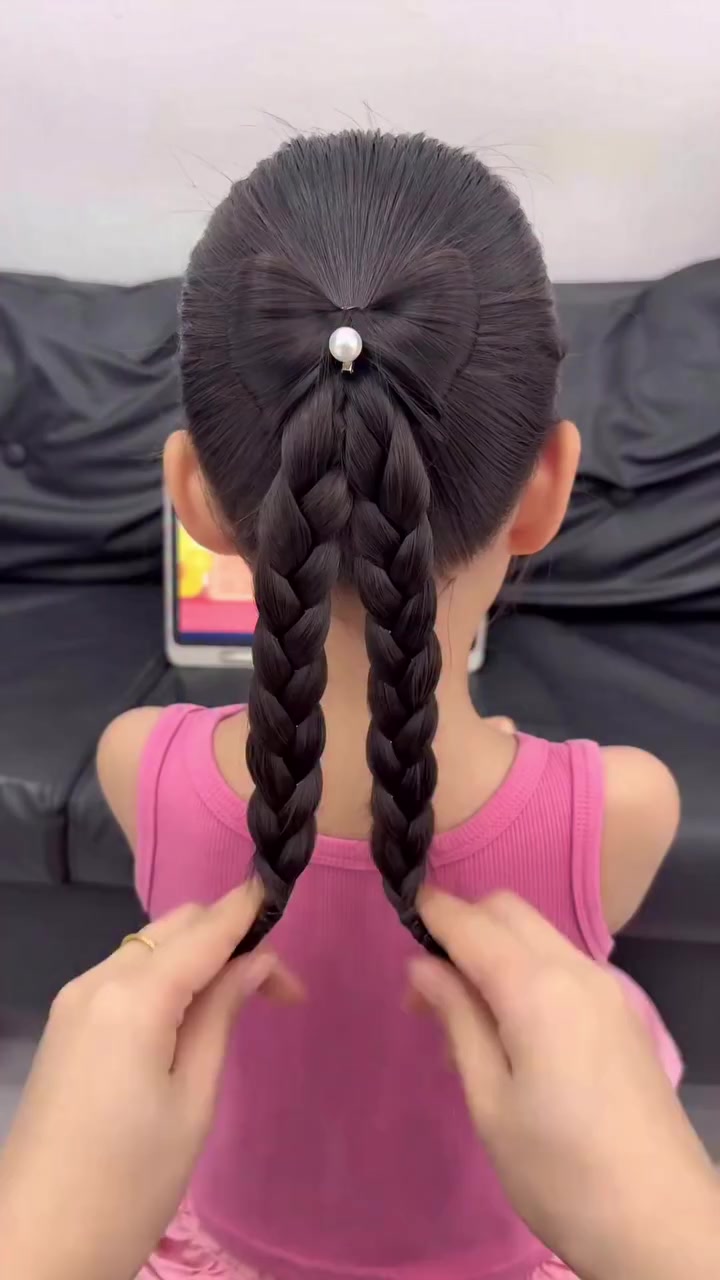 Level 2: Handy Dad
How to Make a Bow Ponytail Hairstyle for Girls
A polished bow ponytail that stays neat and photo-ready in minutes.
1 snag-free elastic band for the high ponytail