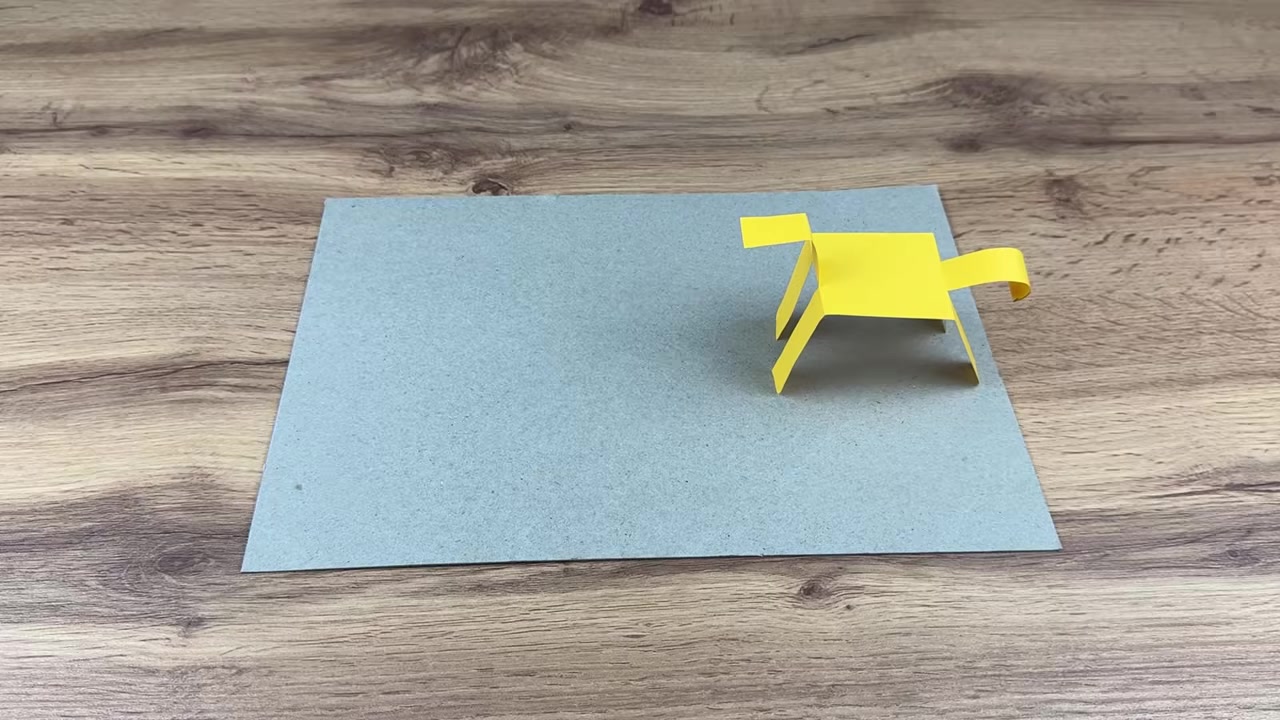
01 Show the Horse in Action
00:00 - 00:22Start by showing the finished paper horse walking down a slanted cardboard ramp. Let your kid see the goal first so the build makes sense right away.
A simple origami horse that rocks and walks down a slope using one strip of paper and a few clean folds.
Start by showing the finished paper horse walking down a slanted cardboard ramp. Let your kid see the goal first so the build makes sense right away.
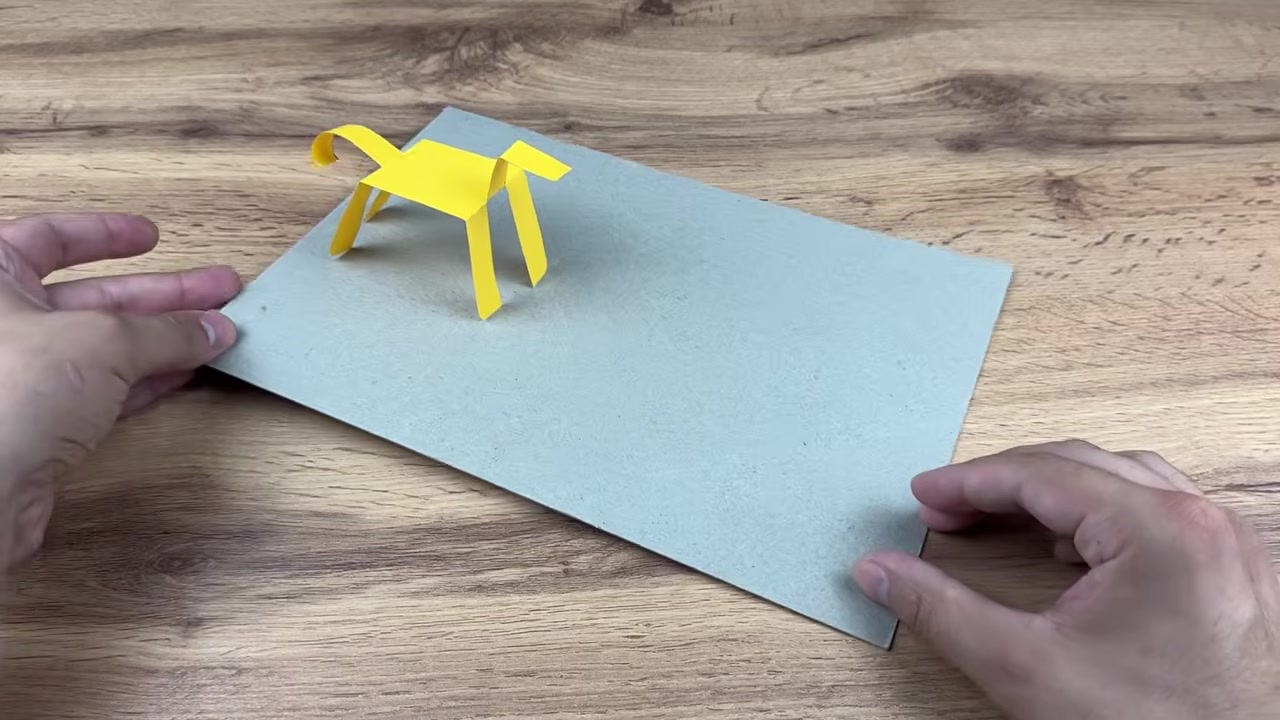
Turn the toy and show it from a few angles so Dad can see how the legs and body rock. This helps set up the tutorial before the title screen.
Use a yellow paper strip about 4.5 cm by 15 cm with the guide marks already drawn in. Keep the strip flat and ready before any cutting starts.
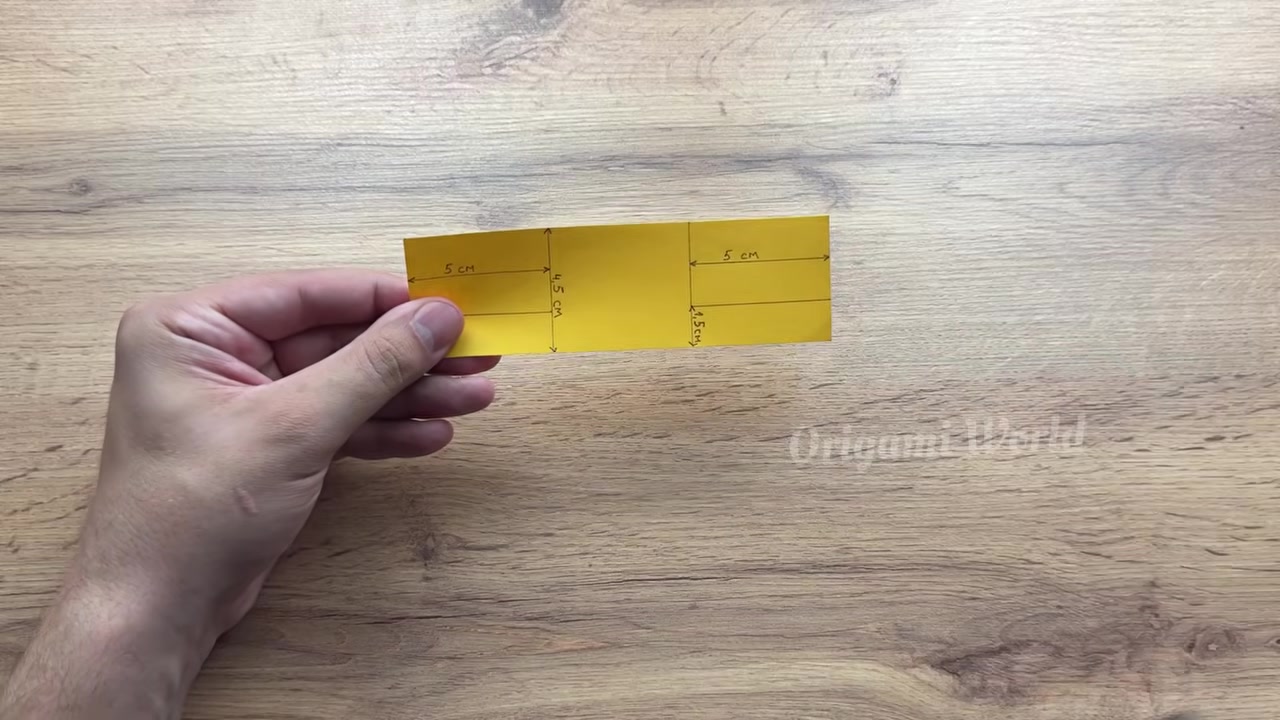
Carefully cut along the marked 5 cm leg lines on one end of the strip. Stop cleanly at the guide marks so the side strips stay attached and become the legs.
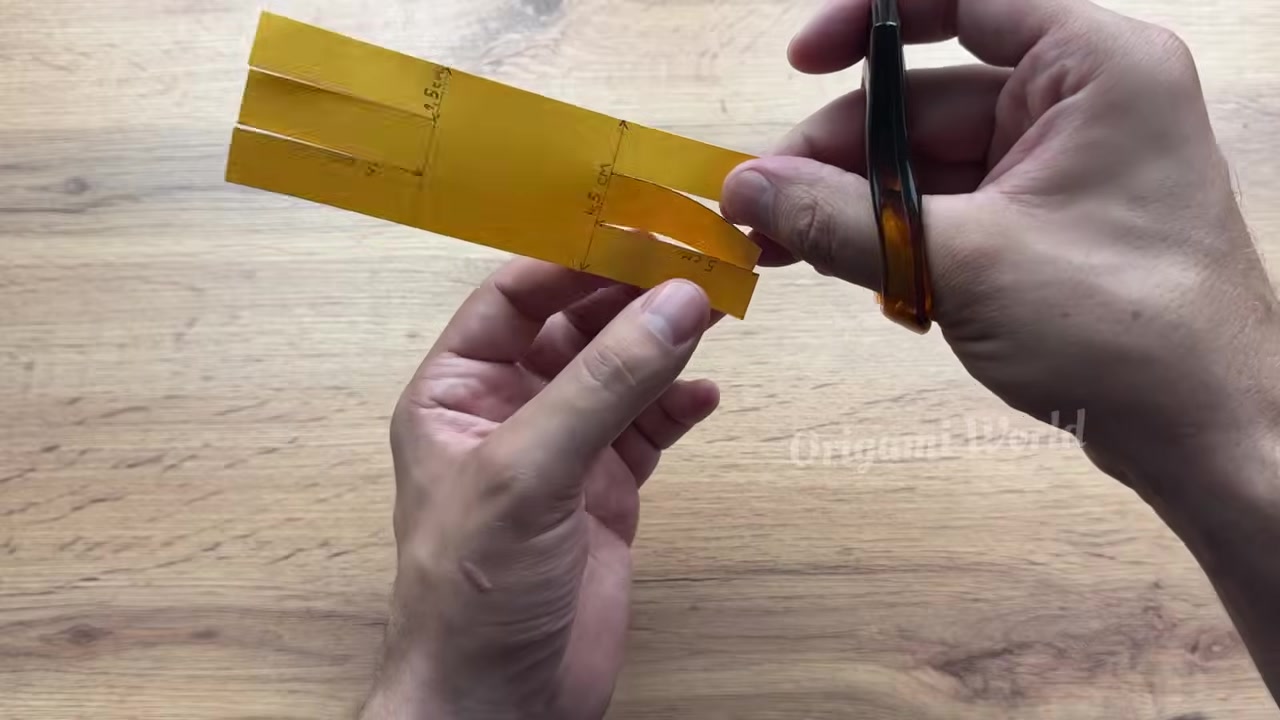
Repeat the slit cuts on the opposite end, then trim the corners into soft rounded curves. This gives the horse a cleaner shape and helps it move smoothly.
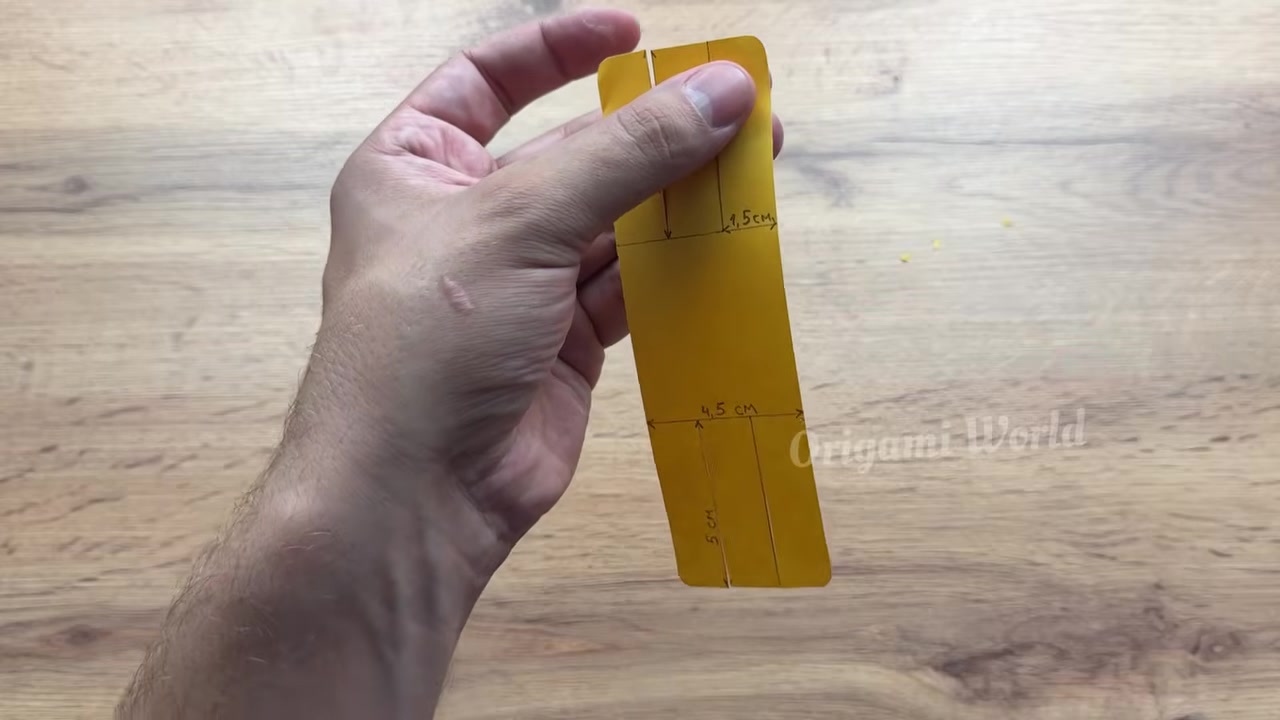
Make sharp valley folds along the crosswise guide lines, then bend the side strips straight down at 90 degrees. Press each crease firmly so the four legs stand evenly.
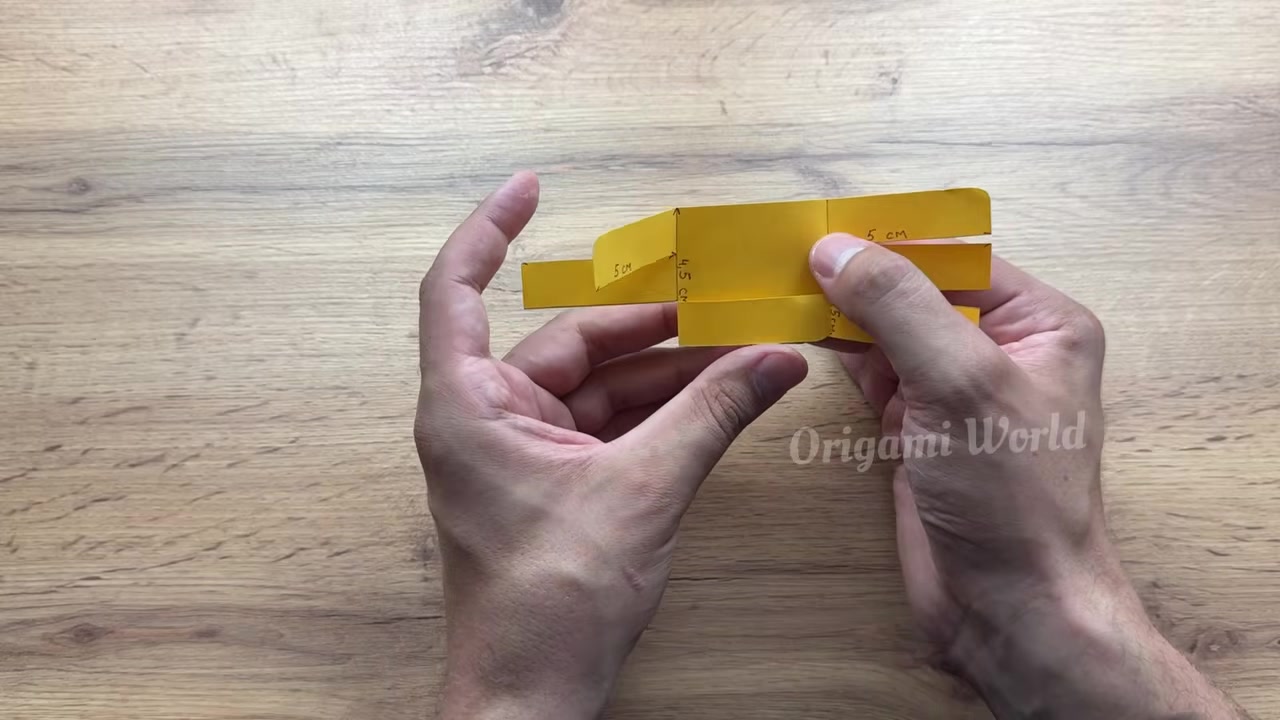
Fold the front center strip downward to form the neck and head, then gently curl the rear center strip downward for the tail. Keep the shape balanced so the horse can rock without tipping.
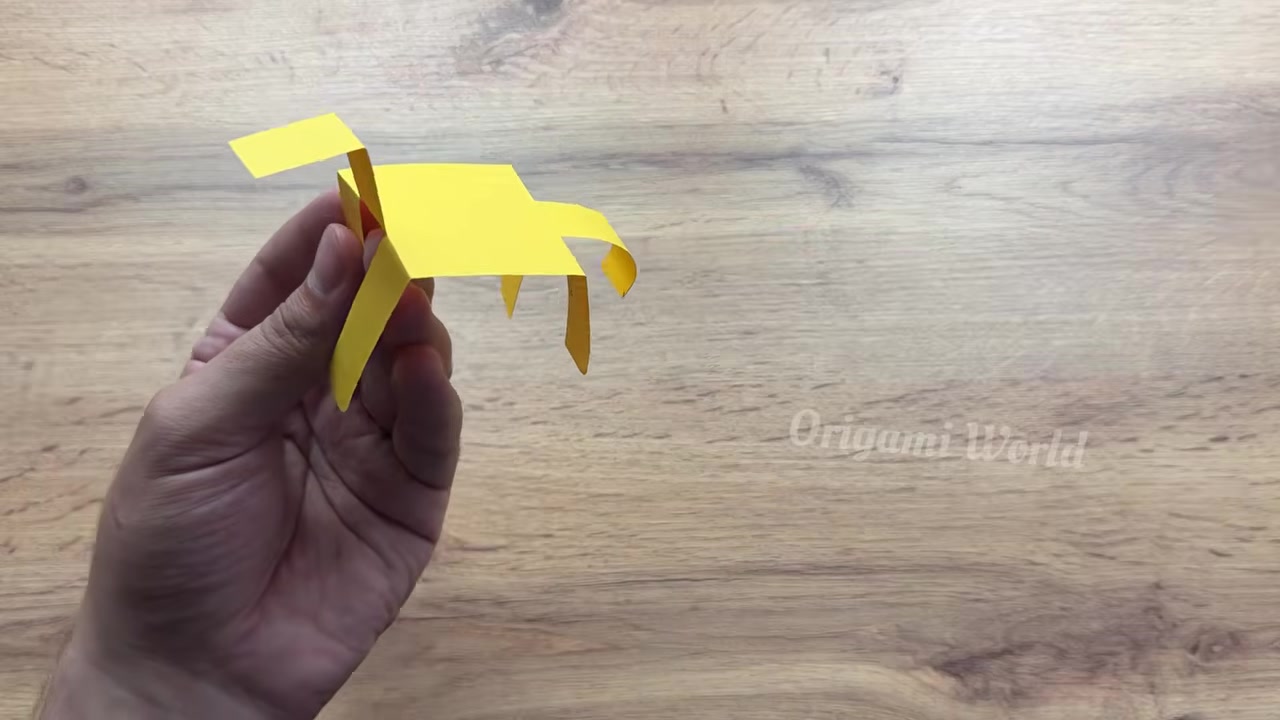
Place the horse on a stiff cardboard ramp and tilt it slightly. Adjust the angle until the toy starts rocking and walking forward on its own.
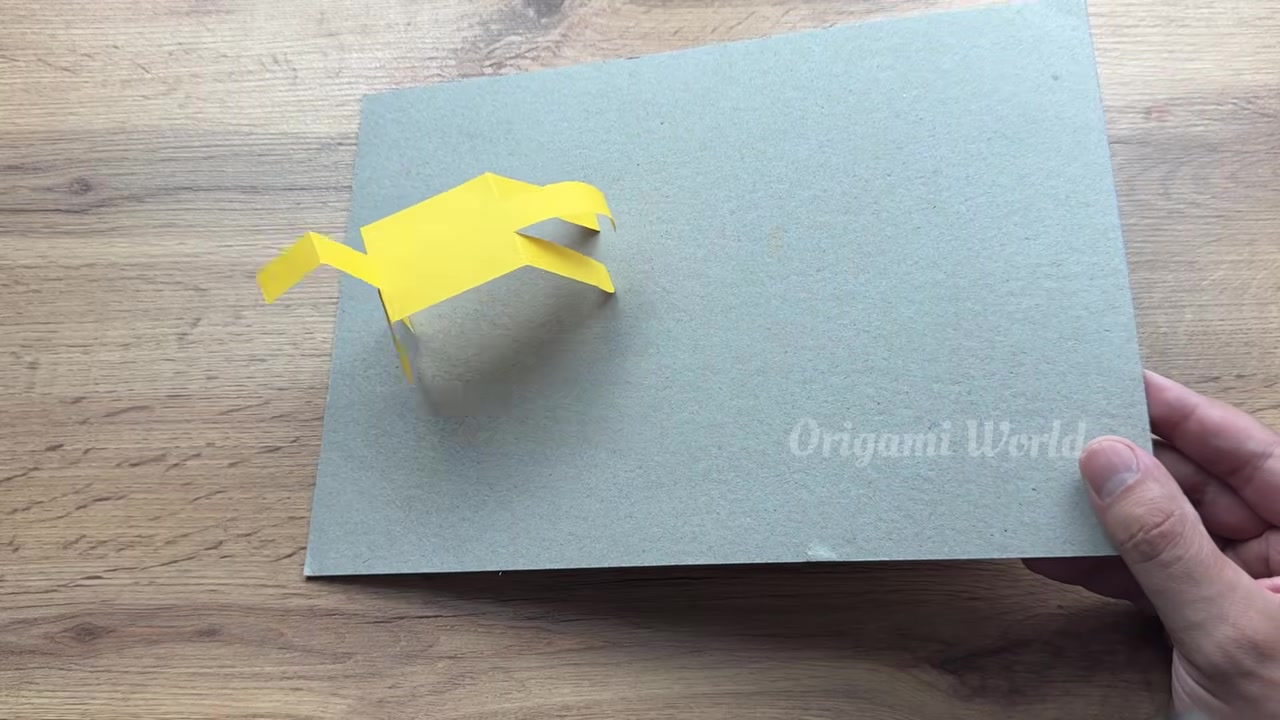
Set the completed horse on the tabletop and let it stand balanced for the final reveal. This is the clean finish shot for the build.
Real-world answers for busy mornings, active recess hold, and tear-free removal.
Usually the legs are uneven or the folds are too soft. Re-crease the body, make sure all four legs touch evenly, and test again on a gentle slope.
A firm strip of printer paper or light craft paper works best. If the paper is too thin, the horse may flop; if it’s too thick, it may not fold cleanly.
Not for this version, because the leg slits and rounded edges need cutting. A dad should handle the scissors, then let the child do the folding and testing.
Slightly curl or lift the rear section so it acts like a small counterbalance. Also check that the ramp is only lightly tilted, not too steep.
 Level 2: Handy Dad
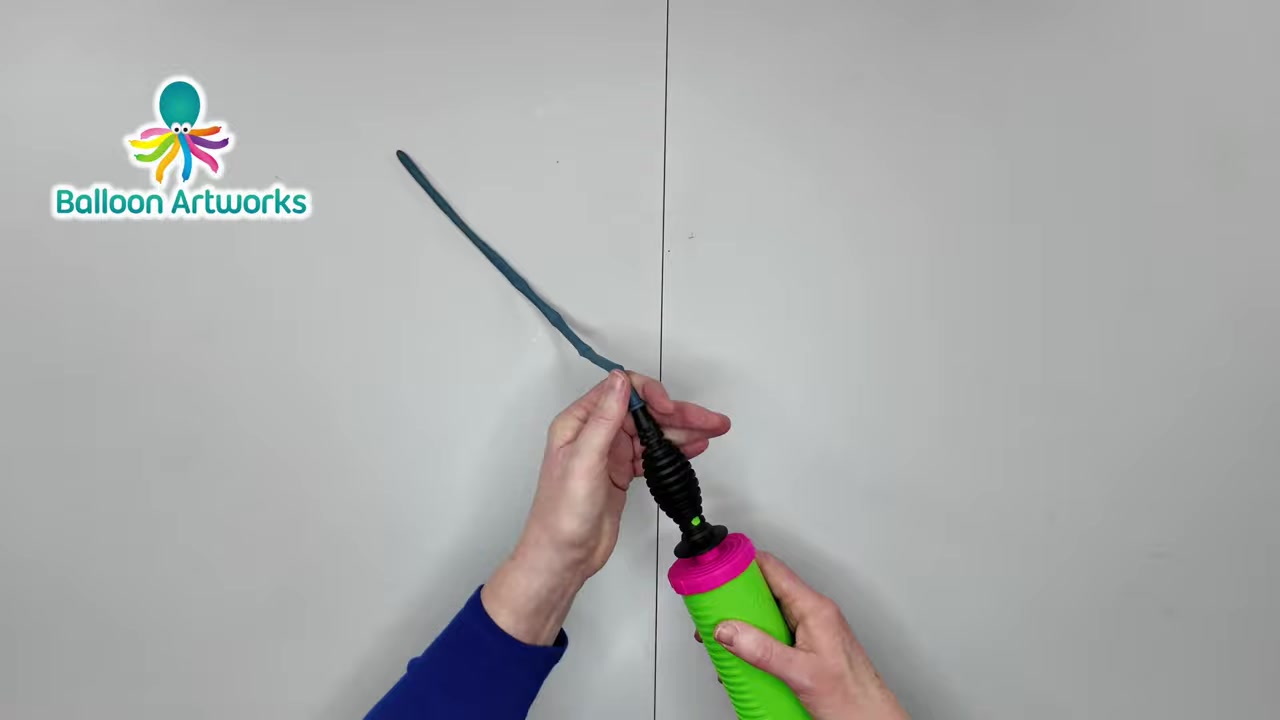
Quick 1-Balloon Pirate Sword: Easy 2-Minute Party Favorite
A quick party favorite that turns one balloon into a sturdy sword in just over a minute, with a simple burp-and-lock method that helps prevent pops.
1x 260Q modeling balloon (any bright color)
 Level 2: Handy Dad
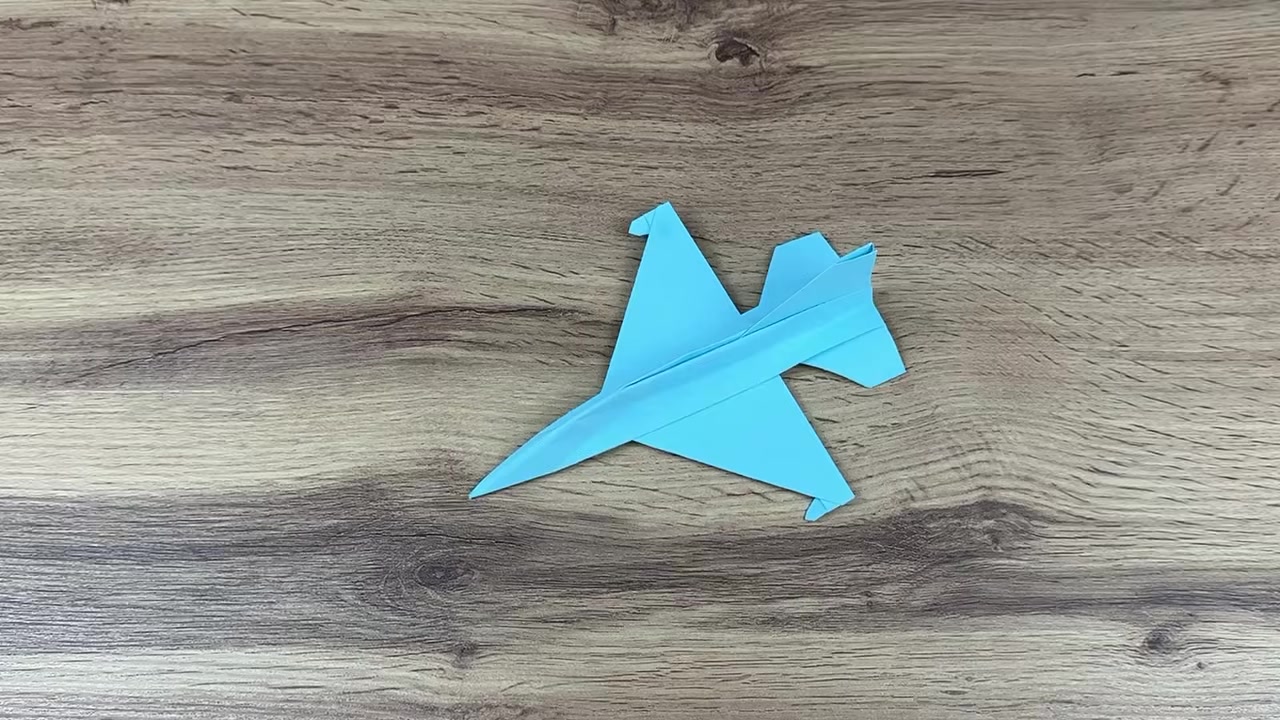
How to Fold an Origami Jet Fighter That Flies Cleanly
A sharp, balanced jet fighter that looks clean and folds fast with one strong center line.
1 A4 sheet of paper
 Level 2: Handy Dad
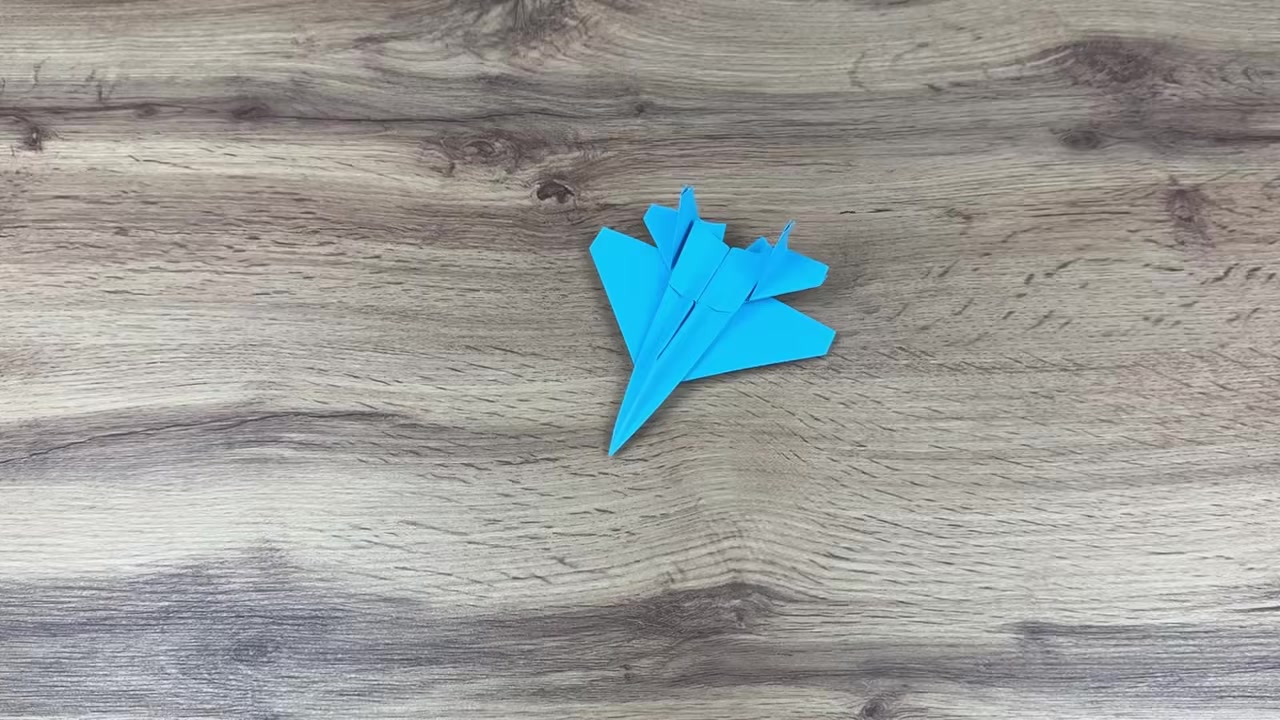
Fast Flying Origami Jet Fighter: Easy Step-by-Step Paper Plane
A sleek paper jet that folds fast, locks in cleanly, and flies better with a tiny upward bend on the rear wing tips.
1 sheet of A4 printer paper or square origami paper
 Level 3: Superhero Dad
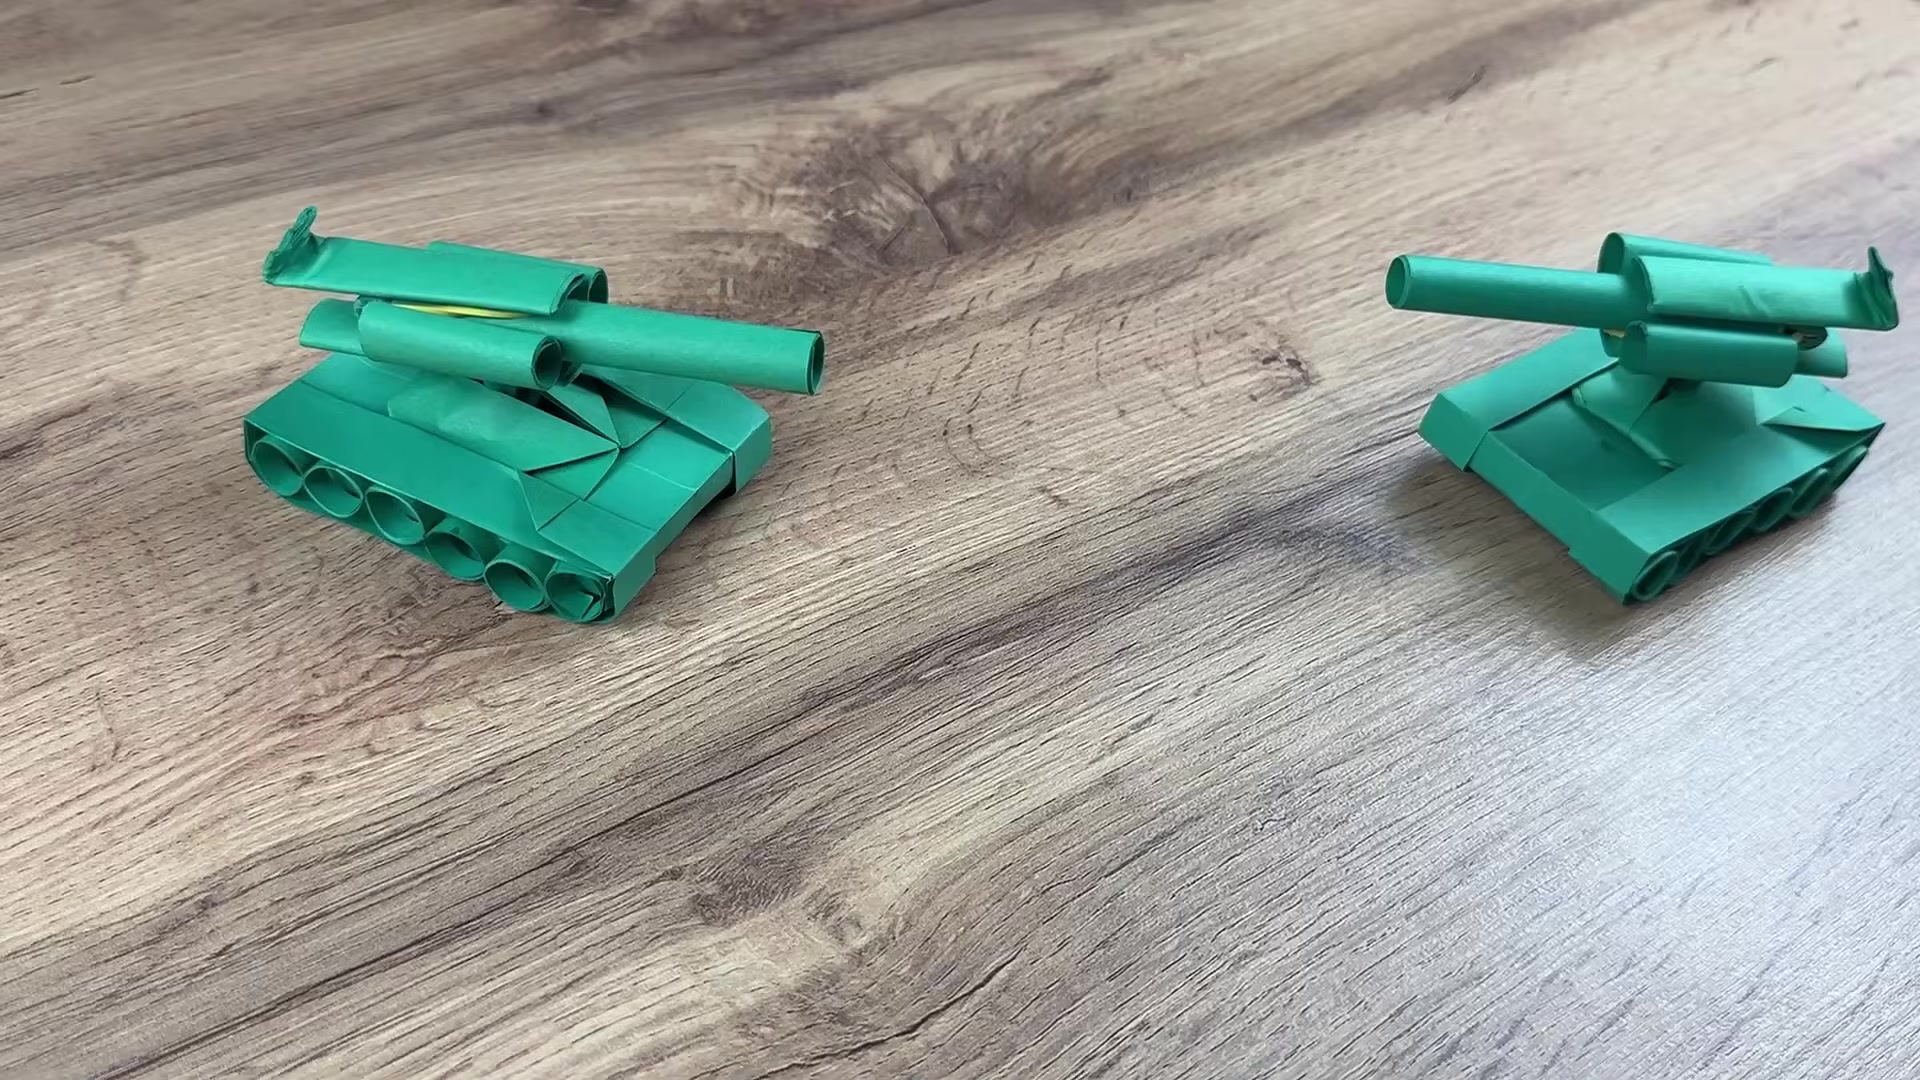
How to Make a Paper Tank That Shoots (Easy Step-by-Step Toy)
A fold-and-build paper tank that rolls, swivels, and fires a paper bullet using simple paper parts.
1 green A4 paper sheet cut in half lengthwise